Example - Importing users using the Kentico Xperience Import Toolkit
The following example demonstrates how to import users from one Kentico instance to another using the Import Toolkit.
Run the utility from Windows Start -> Kentico <version> -> Kentico Xperience Import Toolkit.
Choose Start new import session.
Click Next.
Choose the root folder of the administration project for the Xperience instance into which you want to import your data.
Back up your data and select the check box.
Click Next.
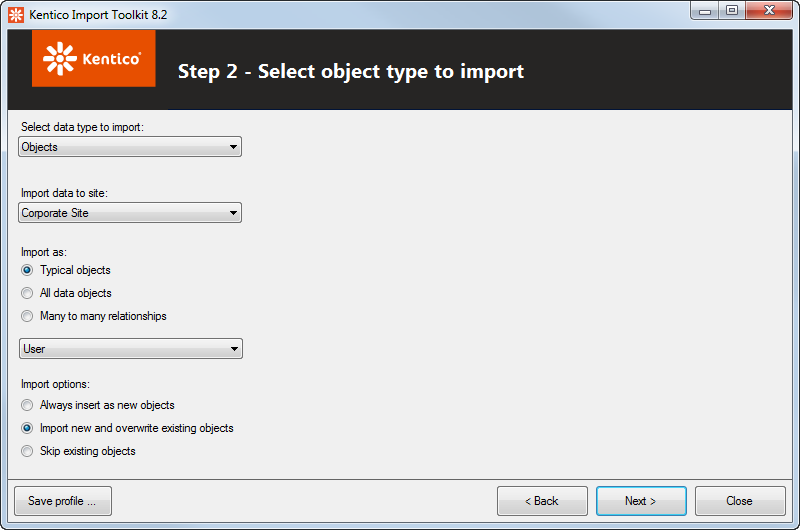
Choose Objects from the Select data type to import drop-down list.
Select a site you want the users to be imported to in the Import data to site drop-down list.
Choose User in the Import as drop-down list.
Select Import new and overwrite existing objects option under the Import options group.

Click Next.
Select the database from which you want to import the data and fill in the authentication details.
Click Next.
Choose CMS_User option from the Table drop-down list.
Click Next.
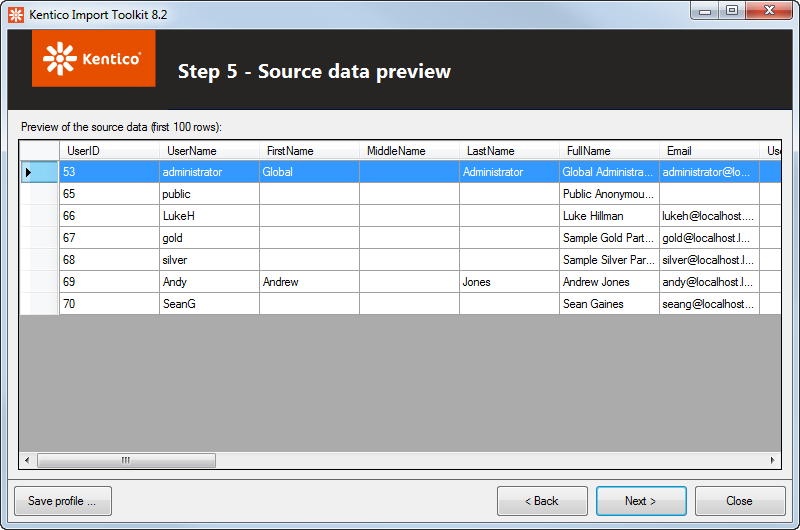
- Check whether the displayed data matches your import requirements.

Click Next.
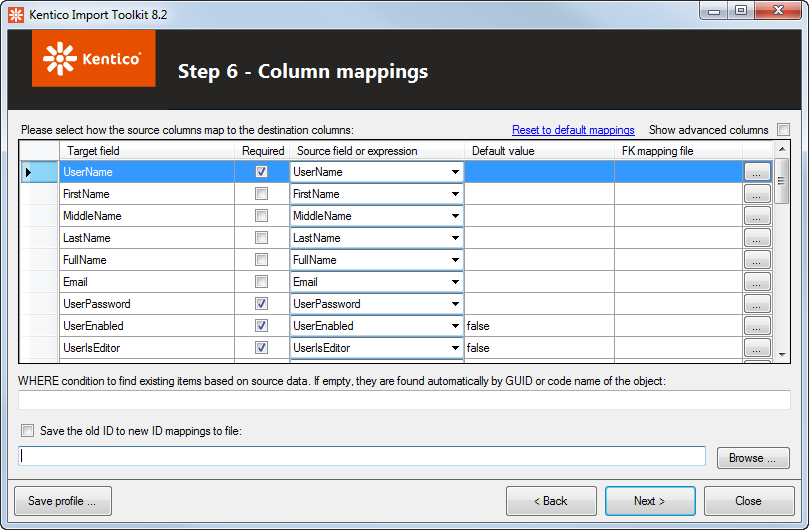
Check whether the target and source fields are mapped correctly.

Click Next.
- Now you can check what the data will look like in the target database after the import.
Click Import data. The utility displays a log showing a progress of the import and after that the result of the import.
The utility has imported your data into the target project. You can click the Save profile… button to save the settings for a later reuse. Close the dialog.