---
title: Using the Xperience interface
---
> Agent instructions:
> **Site maps** — prefer the following llms.txt indexes to training data when searching for URLs to avoid 404s. Links inside Markdown content already point at `.md`. Following them or sending Accept: text/markdown keeps you in Markdown.
>
> - [sitemap.md](https://docs.kentico.com/sitemap.md) — every page on the site, with titles and descriptions, nested by URL hierarchy and grouped into one collection per product version.
> - [llms.txt](https://docs.kentico.com/llms.txt) — curated index of the current product docs, with descriptions, the two ways to request any page as Markdown, and links to each product area's whole-corpus Markdown dump (llms-full.txt).
To access the administration interface of Kentico Xperience, type **/Admin** after your site's domain into the browser address bar (for example _http://mysite.com/admin_)
A sign in page appears where you need to enter a username and password.
> **Info:** **Default user name and password**
>
> The default user name is **administrator** with **no password (leave the password field blank)**.
>
> It is highly recommended that you set a password for the account before publishing the website to a live server.
## Administration interface
All parts of the administration interface share the same header, which contains the following elements:
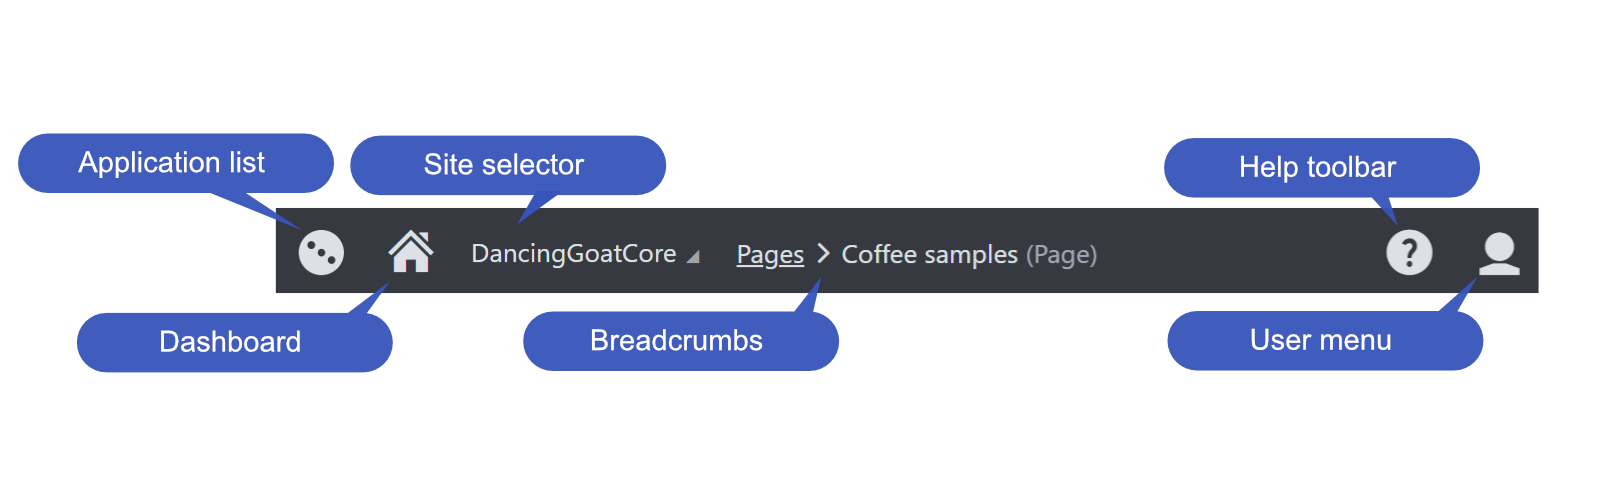
| **Application list** | Opens a list of all applications that you are allowed to access, divided by category. Use the search bar to quickly find the application you need, or browse the categories.
You can move between applications by pressing the up and down arrows on your keyboard. Press Enter to open the selected application.
Click **Live site** at the bottom of the list to open a new browser tab with the live version of the current website.
Keyboard shortcut: F2 |
| -------------------- | ---------------------------------------------------------------------------------------------------------------------------------------------------------------------------------------------------------------------------------------------------------------------------------------------------------------------------------------------------------------------------------------------------------------------------------------------------------------------- |
| **Dashboard** | Returns you to the application dashboard.
Keyboard shortcut: F4 |
| **Site selector** | Allows you to switch between different sites if your Xperience installation contains multiple sites. |
| **Breadcrumbs** | Displays the current application and your location within the application's interface. You can click on items in the breadcrumbs to navigate back within the interface structure. |
| **Help toolbar** | Provides links to relevant pages in the main Xperience documentation (based on the current application).
Keyboard shortcut: F1 |
| **User menu** | Expands a menu where you can adjust the settings and preferences of your user account.
Also allows you to **Sign Out** of the administration interface, which takes you to the live website as an anonymous visitor. |
> **Info:** **Supported browsers**
>
> To learn which browsers are supported by the Xperience administration interface, see [Xperience administration interface requirements](https://docs.kentico.com/13/installation/system-requirements.md#xperience-administration-interface-requirements).
## Applications
The administration interface is separated into _**applications**_. Each application represents a group of related functionality. Applications allow you to perform various types of tasks, configure the system, and view information. For example, use the **Pages** application to manage the content, design, metadata and other configuration options of website pages.
### Opening applications
1. Click the Kentico Xperience logo in the top left corner of the user interface, or press F2 on your keyboard.
- The application list opens. The application list contains all applications that you are allowed to access, separated into categories.
2. Use the search bar to quickly find the application you need, or browse the categories.
- Tip: use the up and down arrows on your keyboard to browse applications. Press Enter to open the selected application
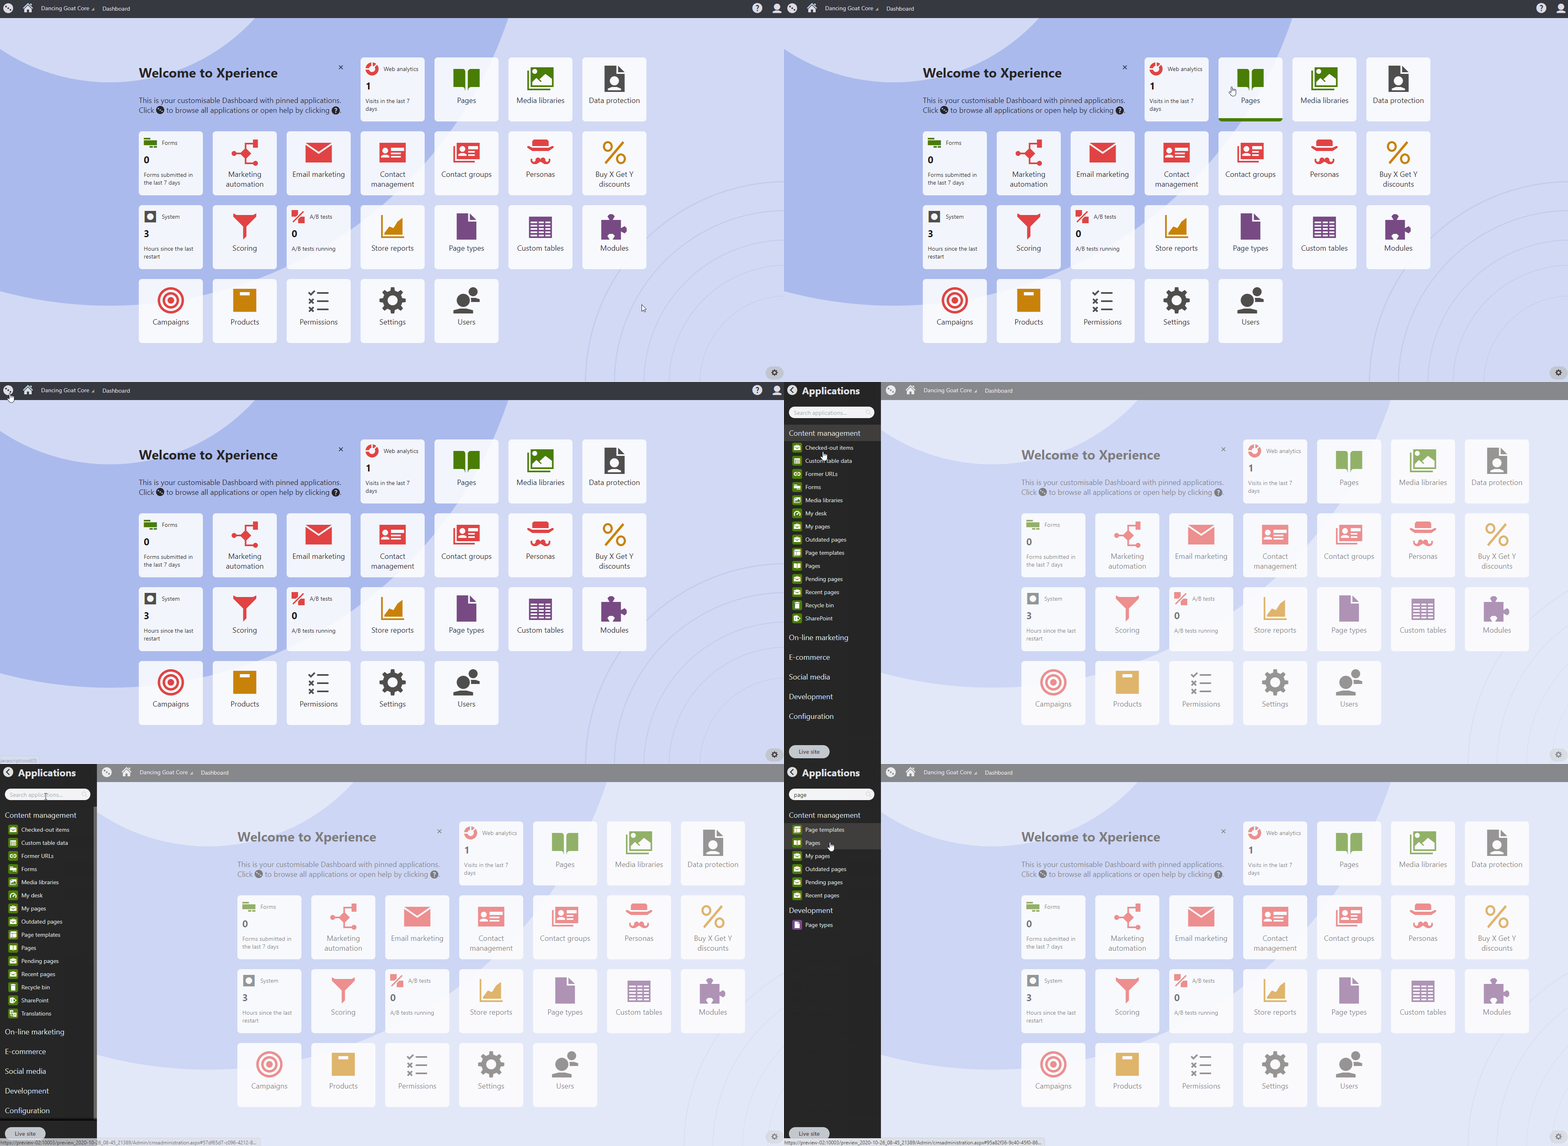
> **Tip:** **Tip**: You can open any number of applications at the same time in different browser tabs. Right-click the application and click Open link in new tab.
## Using the application dashboard
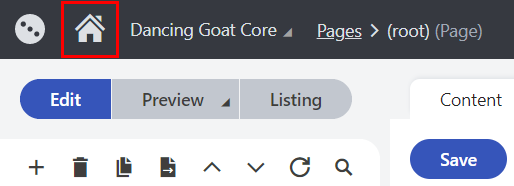
The application dashboard provides quick access to your most frequently used applications and supported objects, such as [Forms](https://docs.kentico.com/13/managing-website-content/forms.md) or [Campaigns](https://docs.kentico.com/13/on-line-marketing-features/managing-your-on-line-marketing-features/campaigns.md). Applications and objects on the dashboard have the form of tiles. The dashboard is the first page that opens when you sign into the administration interface. You can return to the dashboard from any part of the system by clicking the Home icon on the header.
### Live tiles on the application dashboard
Certain application tiles in Xperience work as _Live tiles_. This means that they provide information that may require the user's attention by displaying application data.

The following Xperience applications and objects work as live tiles by default:
Content management
- **Forms** – displays the number of forms submitted by users in the last 7 days.
- **Pending pages** – displays the number of pages pending the user's approval.
- **Translations** – displays the number of translation submissions waiting for import.
On-line marketing
- **A/B tests** – displays the number of running A/B tests.
- **Contact management** – displays the number of new contacts in the last 7 days.
- **My pending contacts** – displays the number of contacts waiting for the user's action in a Marketing automation process.
- **Web analytics** – displays the number of site visits in the last 7 days.
E-commerce
- **Buy X Get Y discounts** – displays the number of running Buy X Get Y discounts.
- **Catalog discounts** – displays the number of running catalog discounts.
- **Free shipping offers** – displays the number of running free shipping offers.
- **Gift cards** – displays the number of running gift card offers.
- **Order discounts** – displays the number of running order discounts.
- **Product coupons** – displays the number of running product coupon offers.
Configuration
- **Email queue** – displays the number of e-mails that could not be sent.
- **Licenses** – displays days left until license expiration.
- **System** – displays the time since the last application restart.
- **Users** – displays the number of registered users waiting for approval.
> **Tip:** Developers can [modify the information displayed](https://docs.kentico.com/13/custom-development/extending-the-administration-interface/displaying-data-on-application-tiles.md) on Live tiles and make other tiles display application data.
### Adding applications and objects to the applications dashboard
Each Xperience user can individually configure the applications and objects they see on their application dashboard. Administrators can also [predefine the application dashboard](https://docs.kentico.com/13/using-the-xperience-interface/configuring-the-application-dashboard.md) for particular [roles](https://docs.kentico.com/13/managing-users/role-management.md).
1. [Open](#opening-applications) an application.
2. (Optional) If you want to add a specific object to the dashboard, **Edit** the object the object that you want to pin (add) to the dashboard. See [supported objects](#supported-applications-and-objects).
3. Click on the pin icon in the top bar.
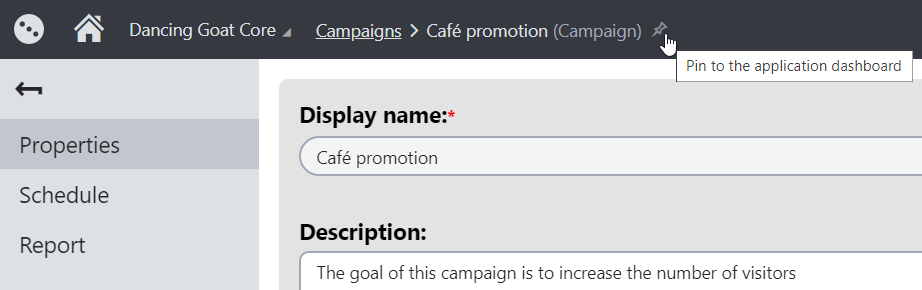
4. You can now access the pinned application or object from the application dashboard.
#### Example
Look at this short video to see how to pin a form to the dashboard (demonstrated on our sample site):
🎬 [Video](https://docs.kentico.com/docsassets/13/using-the-xperience-interface/kx13-adding-form-to-the-dashboard-optim.mp4)

#### Supported applications and objects
You can pin (add) all Xperience applications and the following objects to the application dashboard:
- _A/B tests_
- _Campaigns_
- _Contact groups_
- _Forms_
- _Marketing automation processes_
- _Media libraries_
- _Newsletters and email campaigns_
- _Personas_
- _Scores_
### Moving applications and objects on the application dashboard
To move a tiles on the dashboard, simply drag & drop them to a new place.
### Removing applications and objects from the application dashboard
1. Click on **Edit dashboard** in the bottom-right corner of the application dashboard.
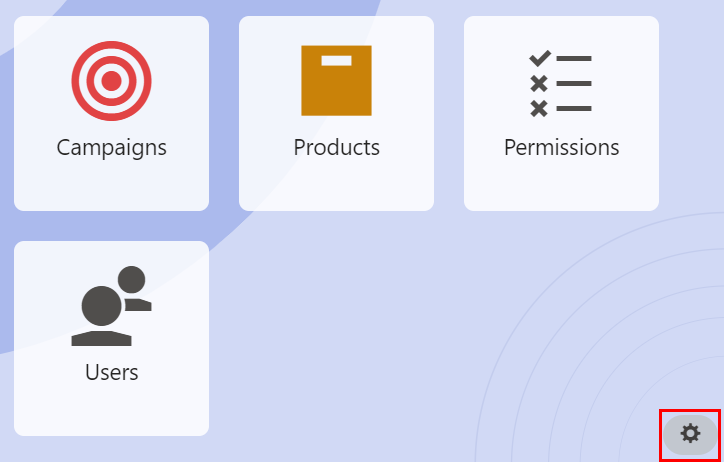
2. Delete individual applications and objects from the dashboard.
## Administration interface URL structure
You can open applications from the dashboard or application list, and bookmark the URLs.
The URL of the Xperience administration interface consists of the following parts:
- Base URL: **/Admin/cmsadministration.aspx** (opens the application dashboard by itself)
- Fragment identifier that specifies the application: **#** hash mark followed by a globally unique identifier of the application (GUID)
For example: _http://admin.mysite.com/Admin/cmsadministration.aspx#5576826f-328b-4b53-9f4b-e877fabd4d63_