Editing documents and pages
There are two main differences between editing documents and pages in Kentico:
- In the Pages application, you mainly edit the content of documents on the Form tab.
- In the Pages application, you mainly edit the content of pages on the Page tab.
In this topic, you can learn about:
- Editing pages in the Pages application
- Editing pages on the Live site
- Editing documents in the Pages application
- Editing documents on the Live site
Editing pages in the Pages application
Open the Pages application.
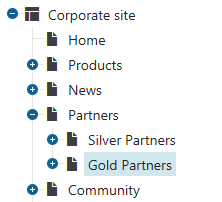
In Content tree, click on the page that you want to edit.
Make sure you are on the Page tab.
Click into an editable region.
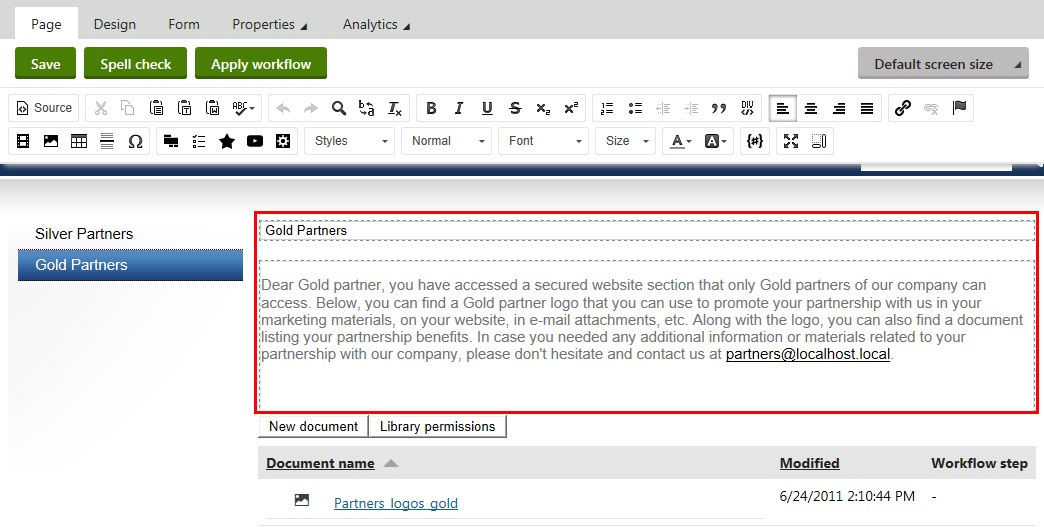
Use the editor to make changes in the editable region.
Save the changes that you made.
The system reloads the page to display the updated content. You can now preview the changes that you made to the page.
To preview the changes that you made to the page
You can preview how the changed page looks by switching to the Preview view mode.
The Preview mode allows you to see how the page looks even if it hasn’t been published yet. That is, you always see the last version of the page.

Live site allows you to see the page the way site visitors currently see it. Note, however, that Live site doesn’t have to show the latest version of the page that you edited. For example, when the latest version of the page hasn’t been published yet. To open Live site, use the Live site button in the Applicationlist.
Editing pages on the Live site
Log on to the live site.
Click on Edit page in the top left corner.

Navigate to the page that you want to edit.
Move your mouse over the section of the page that you want to edit. The system automatically highlights the editable regions as you move your mouse over them.
You can use the Highlight action on the on-site editing toolbar above the page. The button makes all editable items placed on the page visible at the same time. This way you can easily find all editable text regions and editable images and modify them as necessary.
Click on the Edit () button of the editable region that you want to edit. An Edit text dialog appears.
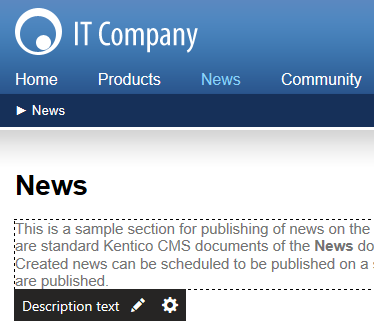
Use the editor to make changes to the text.
Save the changes that you made.
The system reloads the page to display the updated content.
Editing documents in the Pages application
Open the Pages application.
In Content tree, click on the document that you want to edit.
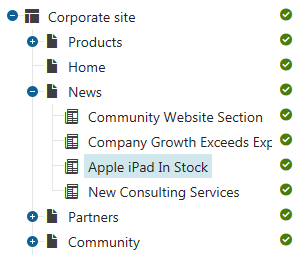
Switch to the Form tab.
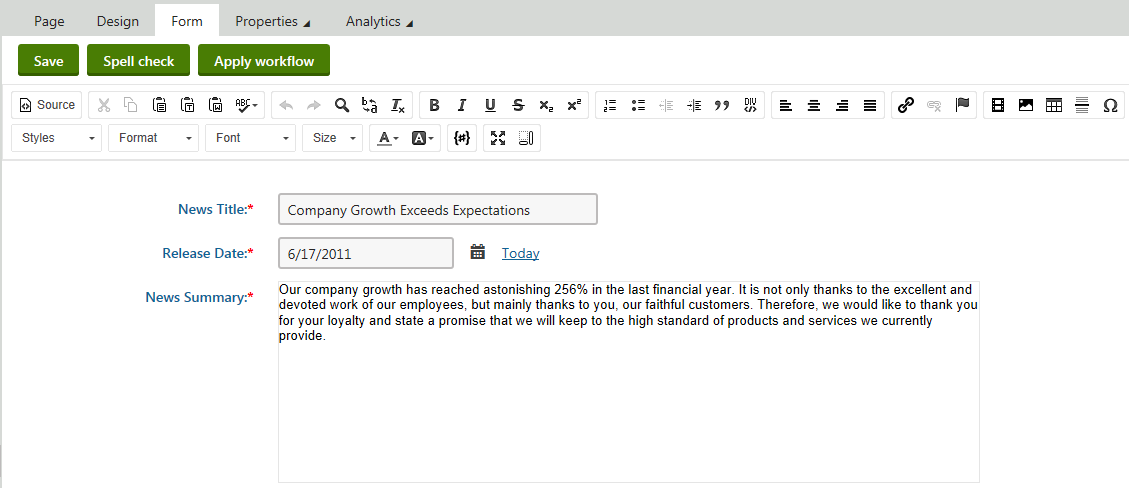
Use the editor to make changes to the document.
Save the changes that you made.
The system reloads the page to display the updated content. You can now preview the changes that you made to the document.
To preview the changes that you made to the document
You can preview how the changed document looks by switching to the Preview view mode.
The Preview mode allows you to see how the document looks even if it hasn’t been published yet. That is, you always see the last version of the document.

Live site allows you to see the page the way site visitors currently see it. Note, however, that Live site doesn’t have to show the latest version of the page that you edited. For example, when the latest version of the page hasn’t been published yet. To open Live site, use the Live site button in the Applicationlist.
Editing documents on the Live site
Log on to the live site.
Click on Edit page in the top left corner.

Navigate to the document that you want to edit.
Click on the Edit button on the top panel. An Edit document dialog appears.
Edit the document using the editor. This editing dialog is equivalent to the one on the Form tab of the Pages application.
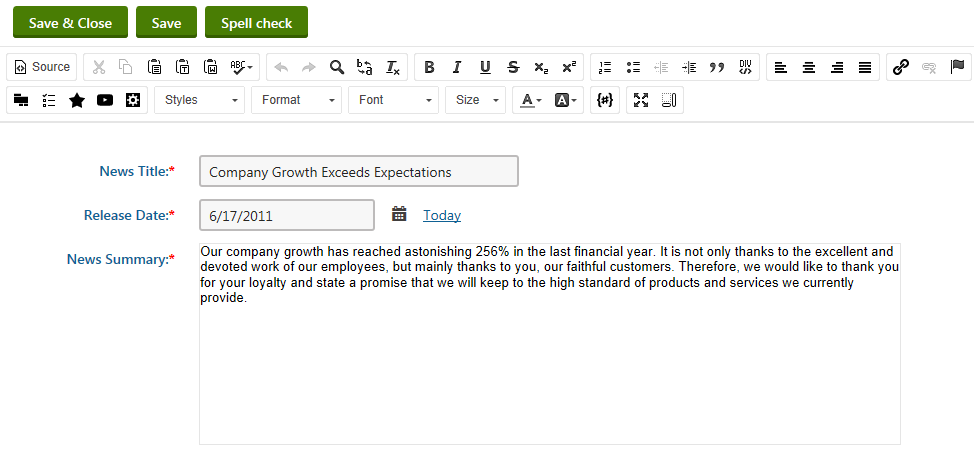
Confirm the changes that you made by using Save & close.
The system reloads the page to display the updated document.
In many cases, document lists are configured to provide edit mode buttons, which are also visible when editing the live site. Such buttons are shown both on the list page next to individual items and when viewing the details of a specific document.
The Edit button works the same way as the corresponding action on the main toolbar.