Creating alternative forms for document types
The alternative forms allow you to create alternative representations of existing forms, which you can then use in different situations. You will find more information in Creating alternative forms. In Code names of automatically used alternative forms, you can learn about special code names of alternative forms. If you create an alternative form with one of these names, it will be used automatically in the given situation.
You can also create alternative forms for other objects in the following Forms application and in the Custom tables application:
This example will show you how to create an alternative form for the File document type and use it in a document properties dialog.
Adding an alternative form
You want to modify the Document properties form used with the Document library web part. For this purpose, you can create an alternative form of the File document type and modify its fields.
- Open the Document types application.
- Edit () the File document type.
- Switch to the Alternative forms tab.
- Click Create new form.
- Type the name of the new form.
- Click Save.
The system creates a new alternative form.
Configuring the alternative form
After you create an alternative form, you can change its fields using the field editor.
- Switch to the Fields tab.
- Modify the fields as you desire. For example:
Select the FileAttachment field.
Disable the Display attribute in the editing form check-box.
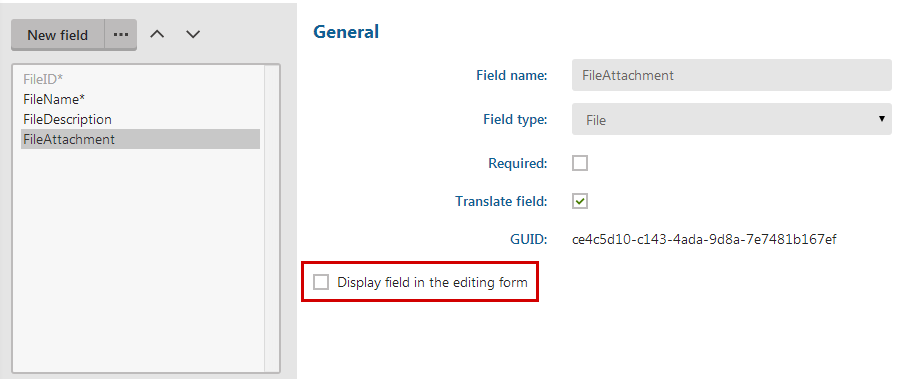
Click Save.
Select the FileDescription field.
Change the Form control type to Text box.
Click Save.
The alternative form is ready to be used.
Using the alternative form on the live site
You can use the alternative form to change the appearance of the Document properties dialog used with the Document library web part.
Another example of the usage of the alternative form in a web part is the Contribution list web part. In this web part, you can define documents that visitors are allowed to create on the live site.
Open the Pages application.
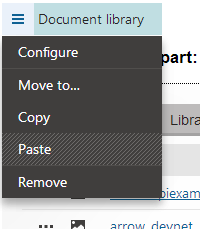
Place the Document library web part.
- You can also use the example on the Corporate site -> Examples -> Web parts -> Document library -> Document library page.
Switch to the Design tab.
Configure the Document library web part.
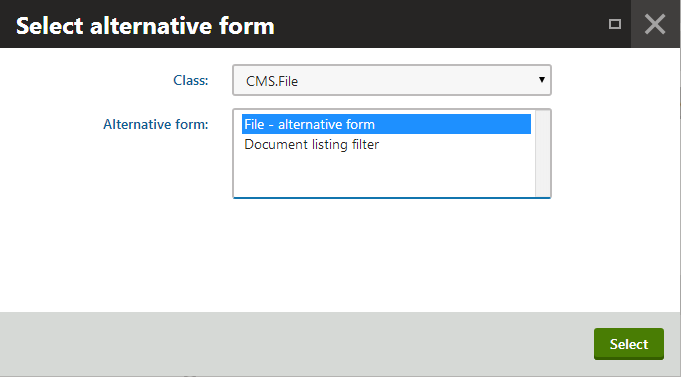
Click Select next to the Document form field.
Choose the CMS.File class and the alternative form you have created and click OK.
Click OK again to close the Web part properties dialog.
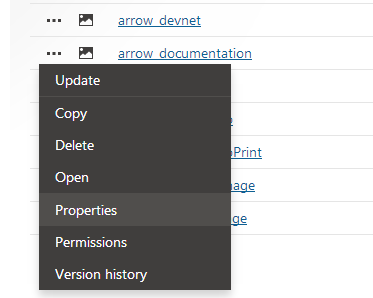
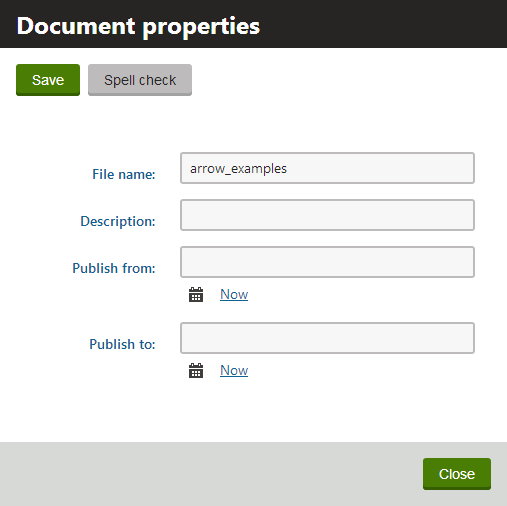
If you now click (…) next to a document name and select Properties, the system displays the Document properties dialog without the file selection field.