
SharePoint integration examples
This page demonstrates how you can use the SharePoint integration in Kentico:
- SharePoint integration examples - learn how to display site lists.
- SharePoint integration examples - learn how to display items from a list.
- SharePoint integration examples - learn how to retrieve picture library type lists.
- SharePoint integration examples - learn how to display pictures from picture libraries.
Site hierarchy
Here you will learn how you can display site lists resembling the site hierarchy panel on a SharePoint site.
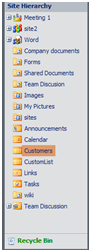
Add one of the SharePoint web parts (e.g. SharePoint repeater) onto a page and configure the web part in the following way:
- SharePoint site URL - enter the URL of your SharePoint server.
- Username and Password - enter your username and password or leave the fields empty if you configured them in Settings -> Integration -> Microsoft SharePoint.
- Mode: Display site lists
- Transformation - the system offers a transformation for displaying site hierarchy called SiteHierarchy under the SharePoint - Transformationsdocument type. You need to edit the transformation and change the name of the SharePoint server in the code.
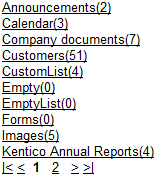
Leave the default values for the remaining properties and click OK. The system creates a link to each of the lists on the SharePoint server.
List items
Using the Display list items mode, you can display items from any list from the SharePoint server.
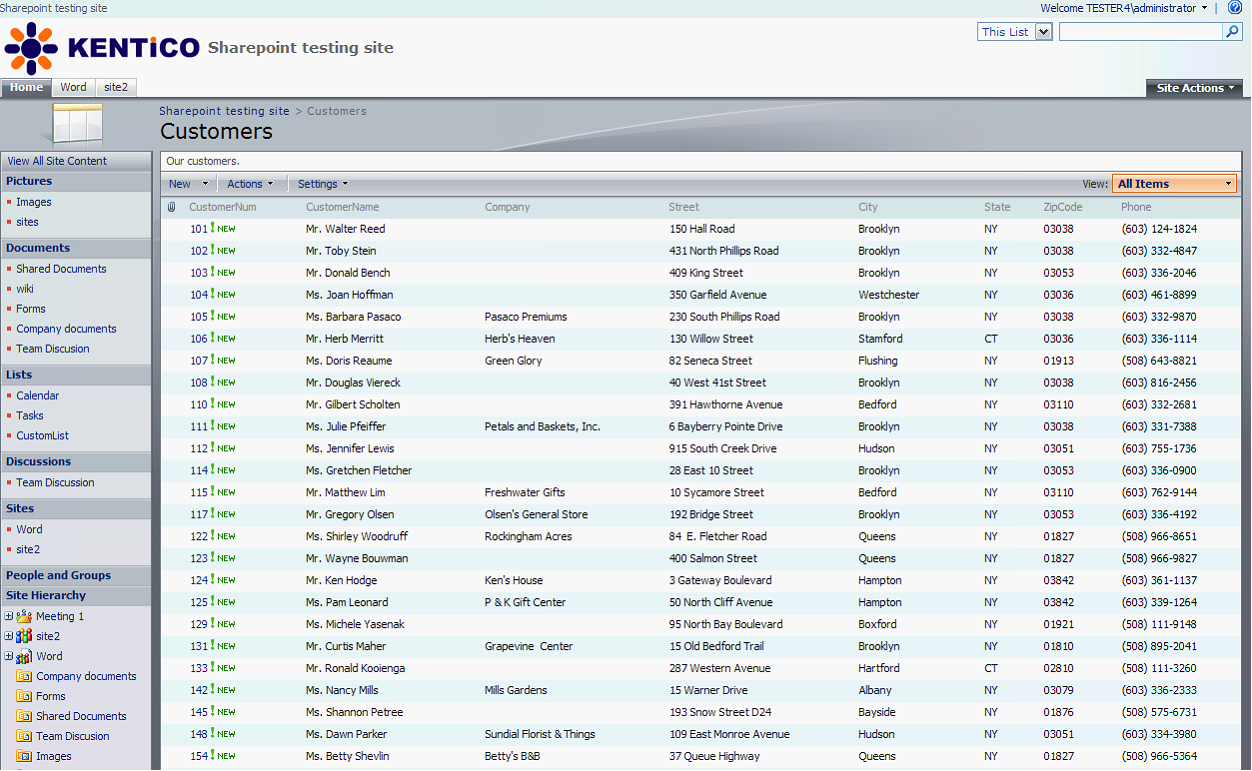
The example uses a custom list named Customers in SharePoint. The list stores information about company customers in fields such as Customer name, Street, City, Phone, etc. You want to display data from this list on your Kentico website.
Add one of the SharePoint web parts (e.g. SharePoint repeater) onto a page:
- Configure the web part in the following way:
- SharePoint site URL - enter the URL of your SharePoint server.
- Username and Password - enter your username and password or leave the fields empty if you configured them in Settings -> Integration -> Microsoft SharePoint.
- Mode: Display list items
- Transformation - the system offers a transformation for displaying item lists called ListItems under the SharePoint - Transformations document type. You need to change the name of the SharePoint server in the transformation code.
- Show raw response: enabled; this is because we will need to inspect the retrieved data and change the transformation to suit our needs.
Leave the default values for the remaining properties and click OK. You should see a result similar to the screenshot below.
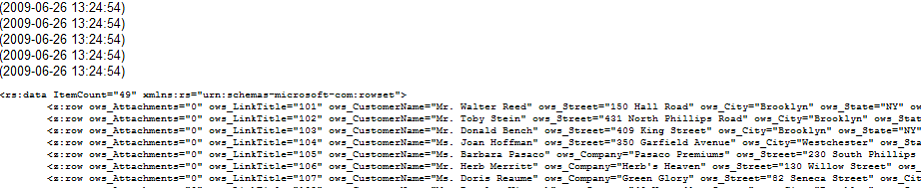
To see the customers’ name and city, you need to look into the raw output and search for those fields. You can find them there under the ows_CustomerName and ows_Street attributes.
- Now that you know the names of the attributes, you need to edit the transformation code or create a new transformation.
Replace the original Transformation:
<%# Eval("ows_Title") %> (<%# Eval("ows_Created")%>) <br />
with something like this:
<%# Eval("ows_CustomerName") %> - <%# Eval("ows_City")%> <br />
The output now displays the desired values.
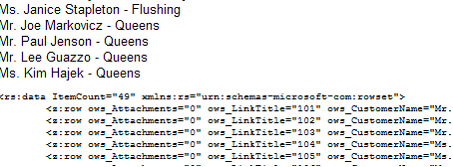
- To click individual items and see more details, you must prepare the Selected item transformation. The transformation may look like the following code sample:
<strong><%# Eval("ows_CustomerName") %></strong><br/>
<%# Eval("ows_City")%> <br/>
<%# Eval("ows_Street")%> <br/>
<%# Eval("ows_Phone")%> <br/>
- In the web part’s properties, you must enter the name of the field by which you want to select items. In this case, it is the ID field. In the raw response output, you can see it as ows_ID. Enter the following values:
- Selected item querystring key name: id
- Selected item field name: ID
- Selected item field type: Counter
Finally, you must alter the original Transformation to suit the values you have just entered. This means you need to create a link to customer details using the id parameter in the query string. It can look like this:
<a href="<%# CMS.Helpers.URLHelper.AddParameterToUrl(CMS.Helpers.RequestContext.RawURL, "id", (string)Eval("ows_ID")) %>">
<%# Eval("ows_CustomerName") %> - <%# Eval("ows_City")%> </a><br />
The final result, a simple text list of customers with links, looks like this:
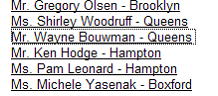
After clicking a customer name, the system displays customer details.

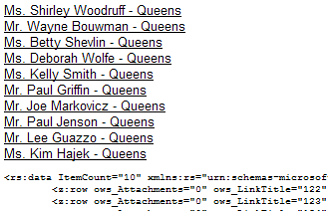
- Now configure the Advanced settings. You want that the system displays a maximum of 10 customers. Besides, the displayed customers are from Queens only.
Enter number 10 into the Row limit field and use this code as the Query:
<Query>
<Where><Eq><FieldRef Name="City" /><Value Type="Text">Queens</Value></Eq></Where>
</Query>
The <Eq> tag means equals, the field name is City, and its value of type Text equals to Queens.
Click OK. Now you should see the filtered output as in the following screenshot:
Picture libraries
Here you will learn how you can use SharePoint to retrieve only a picture library type list. To achieve this, you need to configure the following properties:
- SharePoint site URL - enter the URL of your SharePoint server.
- Username and Password - enter your username and password or leave the fields empty if you configured them in Settings -> Integration -> Microsoft SharePoint.
- Mode: Display picture libraries
- Transformation - the system offers a transformation for displaying picture libraries called PictureLibLists under the SharePoint - Transformations document type. You need to change the name of the SharePoint server in the transformation code.
Leave the default values for the remaining properties and click OK. You should see a result similar to the screenshot below. The system displays a list of picture libraries with links to the SharePoint server.

List of pictures
The Display list of pictures mode allows you to display pictures from picture libraries on a SharePoint server.
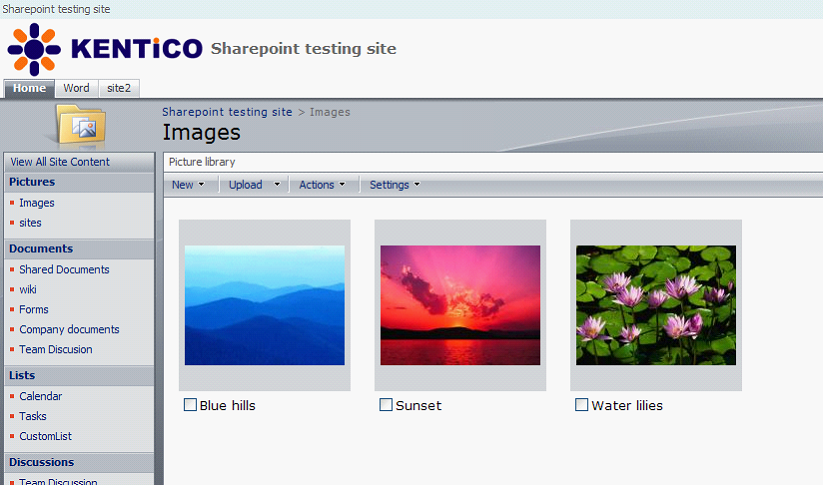
This example uses a picture library named Images on the SharePoint server. To display the pictures on your Kentico website, you must enter the following properties of a suitable web part (for example, the SharePoint repeater web part):
- SharePoint site URL - enter the URL of your SharePoint server.
- Username and Password - enter your username and password or leave the fields empty if you configured them in Settings -> Integration -> Microsoft SharePoint.
- Mode: Display list of pictures
- List name: Images
- Transformation - the system offers a transformation for displaying picture lists called Pictures under the SharePoint - Transformationsdocument type. For correct behavior, you must only change the name of the SharePoint server.
Leave the default values for the remaining properties and click OK. You should see a result similar to the screenshot below.
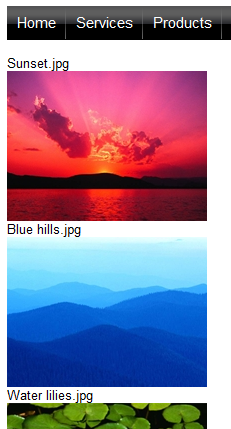
The transformation code looks like this:
<%# SharePointFunctions.SplitSharePointField((string)Eval("ows_FileLeafRef"),1) %><br/>
<img src="<%# SharePointFunctions.GetSharePointFileUrl("tester4", SharePointFunctions.SplitSharePointField((string)Eval("ows_FileRef"),1)) %>&maxsidesize=200" /> <br />
The system downloads the images through the GetSharePointFile.aspx page, same as documents. So you need to create in the transformation <img> tags with src attributes pointing to this page. For ease of use, there is the GetSharePointFileUrl function in the SharePointFunctions class, which takes two parameters and returns the URL which downloads the file. The first parameter is the server name (or site url), the second one is the location of the file in SharePoint. The final URL looks like this:
- ~/CMSModules/Sharepoint/CMSPages/GetSharePointFile.aspx?server=server_name&name=Images/Sunset.jpg
The credentials from the settings are always used for downloading the file when the GetSharePointFile page is used.
There is another useful function in the SharePointFunctions class called SplitSharePointField. SharePoint, for some reason, creates combined attribute values for certain fields. It looks like this: ows_FileLeafRef=“2;#Blue hills.jpg”.
You often need to use only a part of such a value. The SplitSharePointField function serves the purpose. The first argument is a combined value and the second one is the index of the part you want to have in the output.
The GetSharePointFile.aspx page
The GetSharePointFile.aspx page is a special page located under the ~/CMSModules/Sharepoint/CMSPages directory. The correct URL to access the page is:
- ~/ CMSModules/Sharepoint/CMSPages/GetSharePointFile.aspx?server=server_name&name=Images/Sunset.jpg
The page downloads a specified file from the SharePoint server and sends it further to the user. The credentials that you configured in Settings -> Integration -> Microsoft SharePoint are used for authentication by the web service. You can control the Content-Disposition HTTP header using the disposition query parameter.
Images
The page supports maxsidesize, width and height parameters to control the size of the image, and the Kentico cache is used. You can configure the cache in Settings -> System -> Performance: Cache files (minutes), Client cache (minutes).
Servers
You can specify servers that the system can retrieve the files from. Enter names of the servers, separated by semicolons, into the Allowed servers setting in Settings -> Integration -> Microsoft SharePoint.
Because the settings configured in Settings -> Integration -> Microsoft SharePoint are automatically used for authentication by the GetSharePointFile.aspx page and since the URL to access the page can be entered manually, it is highly recommended to enter the credentials of a user that is authorized to access only the files you want to display on your website.