
Managing newsletter subscribers
You can manage newsletter subscribers on the Subscribers tab of the Newsletters application.
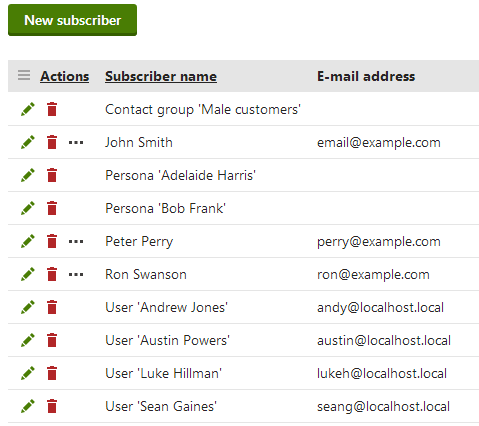
On this page, you can see a list of all subscribers belonging to the website’s newsletters. You can filter these according to their name or e-mail by entering the desired value into the appropriate filter field and clicking the Show button.
By clicking Delete () next to a subscriber record, you can remove the subscriber from the list and consequently from all newsletters to which they are subscribed.
Through the Edit () icon, you can modify a subscriber’s details and manage their newsletter subscriptions. On the General tab, you can edit the name and e-mail address of the subscriber.
Customizing subscriber fields
If you wish to store additional data for newsletter subscribers, you can add your own custom fields:
- Open the Modules application.
- Edit the Newsletters table.
- On the Classes tab, edit the Newsletter - Subscriber class.
- Define any required fields on the Fields tab.
Note: The default fields must remain unchanged to ensure that the application works correctly.
The values of custom fields can be entered manually on the General tab, filled in by users who subscribe through an appropriately configured Custom subscription form web part, or populated via the API.
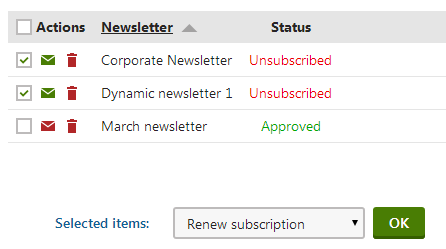
On a subscriber’s Subscriptions tab, you can see a list of newsletters to which the edited subscriber is subscribed. To choose a new subscription, click Select. You can manage individual newsletter subscriptions through the following actions:
- Unsubscribe or Subscribe from the given newsletter.
- Delete asubscription.
- Approve - manually approves the subscription to the selected newsletter. Only approved subscribers receive newsletter issues.
To apply these actions to multiple newsletters:
- Mark the newsletters using the boxes on the left side of the list.
- Choose an action in the selector below the list.
- Click OK.
If you check the Send e-mail confirmation to the subscriber box before performing an action, the system sends a notification e-mail to the given subscriber, informing about the changes in their subscription. If you check the Require double opt-in box before adding newsletters, subscriptions to newsletters that have double opt‑in enabled will be inactive (rejected) until the user confirms them or the Approve action is manually selected in the list of newsletters.
Managing subscribers for specific newsletters
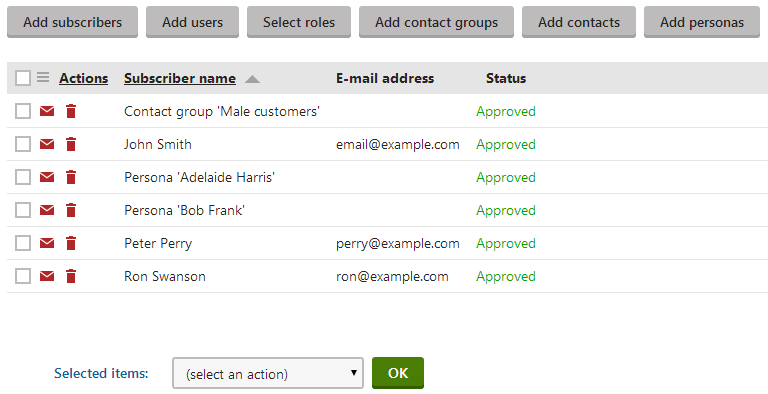
You can work with the subscribers of individual newsletters by selecting Newsletters in the left menu and editing () the newsletter on the Subscribers tab. Here you can find a list similar to the one on the main Subscribers tab, but it only contains subscribers of the selected newsletter. You can filter the subscribers in the list can be filtered by their e-mail, name or approval status.
Use the following buttons to add subscribers:
- Add subscribers - allows you to select from a list of all newsletter subscribers on the website.
- Add users - allows you to select from the registered users of the current site.
- Add roles - allows you to select from the roles of the current site (the newsletter sends issues to all members of the selected roles).
- Add contact group - allows you to select on‑line marketing contact groups (all contacts that belong to the selected groups are added as subscribers).
- Add contacts - allows you to select from a list of all contacts.
- Add personas - allows you to select from a list of personas.
You can manage individual subscriptions through the following actions:
- Remove - unsubscribes the address, user, role or contact group from the newsletter.
- Approve - manually approves the given subscription. Only approved subscribers receive newsletter issues.
- Reject - rejected subscriptions remain in the list, but they do not receive newsletter issues. Users who subscribe to newsletters with double opt-in enabled are rejected by default until they confirm their subscription.
To apply these actions to multiple subscribers:
- Mark the subscribers using the boxes on the left of the list.
- Choose an action in the selector below the list.
- Click OK.
If you check the Send e-mail confirmation to the subscriber box before performing an action, the system sends a notification e-mail to the affected users, informing them about the changes in their subscriptions. If you check the Require double opt-in box (only available if the newsletter has double opt-in enabled), added subscriptions will be inactive (rejected) until the users confirm them or until you manually Approve the subscriptions.
Duplicate subscriber addresses
Even though all regular newsletter subscribers need to have a unique e-mail address, it is still possible to have a single address subscribed to a newsletter multiple times through users, roles, contact groups or personas. In these cases, the system filters out the duplicate addresses from the newsletter queue, so each e‑mail address only receives the newsletter’s issues once.
Importing subscribers and performing mass actions
If you need to add or modify a large number of subscribers, you can use the import tool to save time.
Open the Newsletters application on the Import subscribers tab.
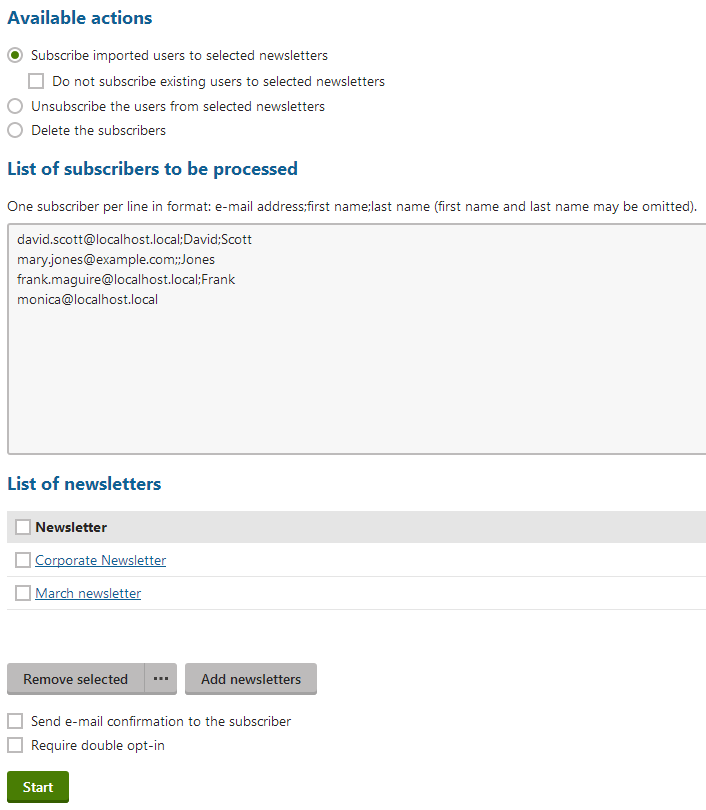
Select one of the following actions:
- Subscribe imported users to the selected newsletters - the imported users will be subscribed to the selected newsletters.
- Do not subscribe existing users to selected newsletters - if checked, the import only updates the names of existing subscribers with matching e-mail addresses (does not add the subscribers to the selected newsletters).
- Unsubscribe the users from selected newsletters - removes the imported users from the selected newsletters.
- Delete the subscribers - deletes subscribers matching the imported data from the system.
- Subscribe imported users to the selected newsletters - the imported users will be subscribed to the selected newsletters.
Prepare a list of subscribers in the following format: email;firstname;lastname
- The name sections are optional. The following examples are all valid:
david.scott@localhost.local;David;Scott
mary.jones@example.com;;Jones
frank.maguire@localhost.local;Frank
monica@localhost.local
Copy the import list into the List of subscribers to be processed text area.
- Each record must be on a new line.
Click Add newsletters to select the target newsletters for the subscribe or unsubscribe actions.
- If you check Send e-mail confirmation to the subscriberbox before performing the import, the system sends a notification e-mail to the entered addresses, informing them about the changes in their subscriptions.
- If you check Require double opt-in, subscriptions to newsletters that have double opt-in enabled will be inactive (rejected) until the users confirm them.
Click Start.
The system performs the selected mass action.
- A dialog appears showing the progress of the action.
- You can Cancel the operation at any time.
- If one of the input lines contains an invalid entry, the import is not processed for any of the records and the page displays an error.
Exporting subscribers
If you need to export a list of subscribers to another application:
- Open the Newsletters application on the Export subscribers tab.
- Click Add newsletters to export subscribers from specific newsletters.
- Do not select any newsletters if you want to export all subscribers on the website.
- Select one of the Export subscribers options to limit the output according to the approval status of subscriptions (for newsletters with double opt-in enabled).
- Click Export.
The subscribers are exported in format:
- email;firstname;lastname
You can copy the output to a file or external application.
Alternatively, you can also export subscriber data into other file formats (XLSX, CSV, XML) using the general export feature, which is available for all lists of data in Kentico.
- Open the Subscribers tab (either in the main menu or when editing a specific newsletter).
- Click in the Actions column header of the subscriber list.
- Select one of the export formats.
For more details, refer to Exporting data from the user interface.