
Creating document types
In this example, you will learn how to define a new custom document type.
- Open the Document types application.
- Click New document type. A New document type wizard opens.
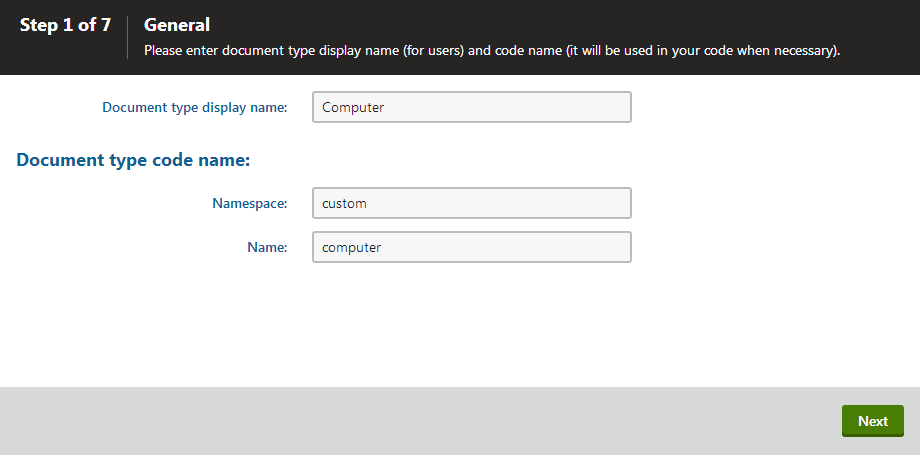
Step 1
- Fill in the following values:
Document type display name: Computer (the system displays this name to users in the administration interface)
Namespace: custom (namespace to distinguish your document types from the default system types that use the cms namespace)
Name:computer (the identifier of the document type)
- Click Next.
Step 2
Enter a Table name for the database table that stores the document type data.
Enter a Primary key name for the table.
(Optional) Select if you want the document to to Inherit fields from document type.

Click Next.
The wizard creates the database table.
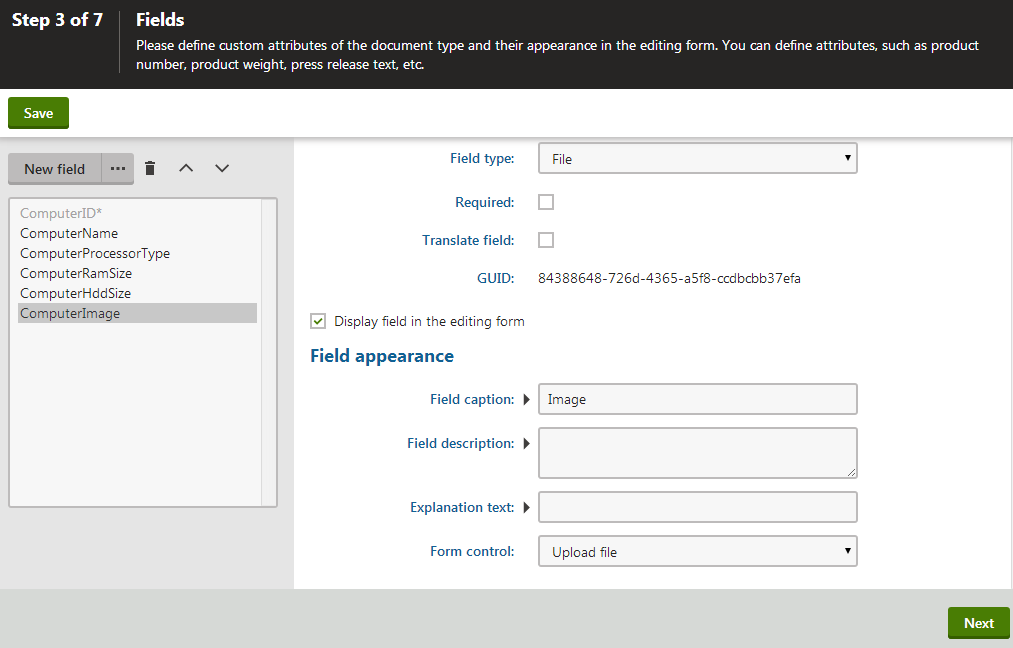
Step 3
Now, you need to define fields of the document type (columns of the table).
Click New field.
For each field, enter the values, click Save and repeat the procedure until you have defined all the listed fields.
Field name: ComputerName
Field type: Text
Field size: 200
Required: yes (checked)
Field caption: Computer name
Form control: Text box
Field name: ComputerProcessorType
Field type: Text
Field size: 200
Field caption: Processor type
Form control: Drop-down list
Editing control settings -> Data source: select List of options and enter the following items into the text area, one per line:
  Athlon;Athlon
  Pentium XEON;Pentium XEON
  Pentium Core 2 Duo;Pentium Core 2 Duo
Field name: ComputerRamSize
Field type: Integer number
Field caption: RAM (MB)
Form control: Text box
Field name: ComputerHDDSize
Field type: Integer number
Field caption: HDD (GB)
Form control: Text box
Field name: ComputerImage
Field type: File
Field caption: Image
Form control: Upload file
Click Next.
You can also define system fields that will be displayed when editing documents of this type on the Form tab. You can do this using the Field type drop-down list when creating a new field. Select Document field and you can then choose from the following two groups of system fields:
- Document attributes - offers the system fields of documents.
- Node attributes - offers the system fields of content tree nodes.
Document or node system fields will then be offered in the Attribute name drop-down list. If you leave the Display attribute in the editing form check-box turned on, the field will be visible on the document Form tab.
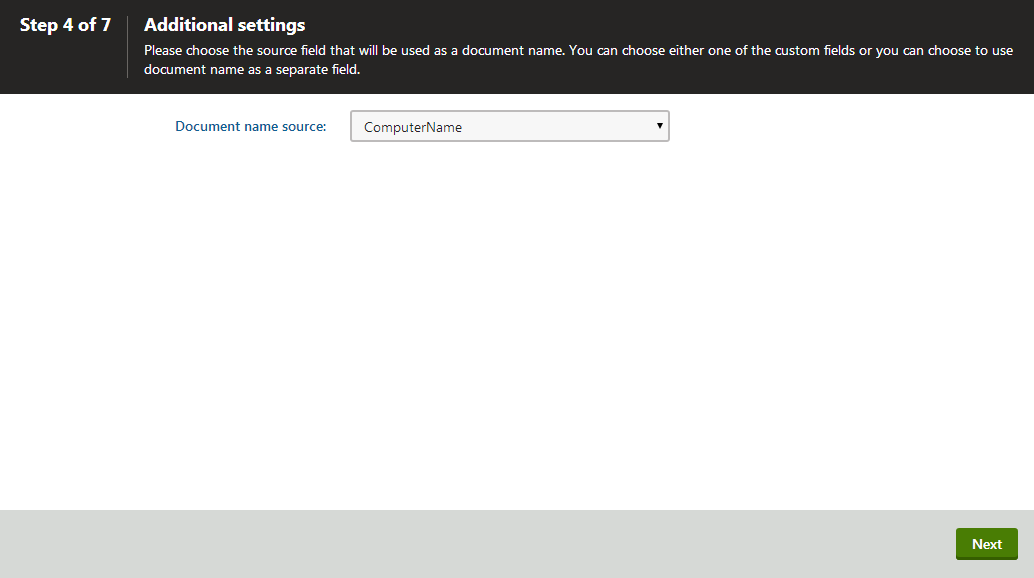
Step 4
Now you need to choose the field that will be used as the name for document’s of this type.
Choose the ComputerName option from the drop-down list. This ensures that computer documents will use the value of the ComputerName field as the name displayed in site navigation and in the Page application’s content tree. The field is available in the drop-down list because you set it as Required in the previous step and it’s a text field.
Click Next.
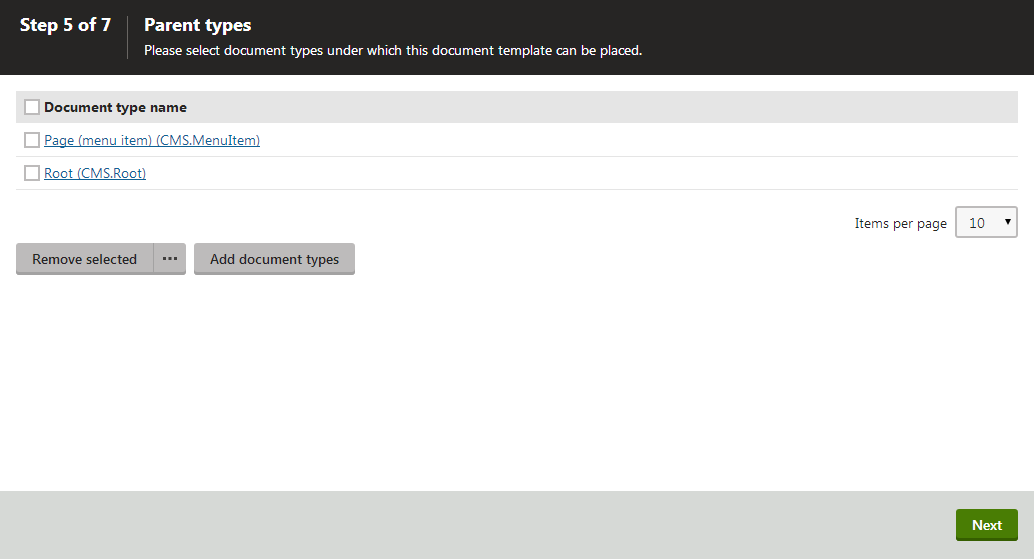
Step 5
Select the document types that will be supported as parents for computer documents in the Page application’s content tree.
Click Add document types.
Select the Page (menu item) document type.
Click OK. Users are now only allowed to place computer documents under pages, not under articles, news items or other document types.
Click Next.
Step 6
Assign the document type to all websites on which you want to use it.
Click Add sites.
Check the appropriate websites in the selection dialog.
Click OK.
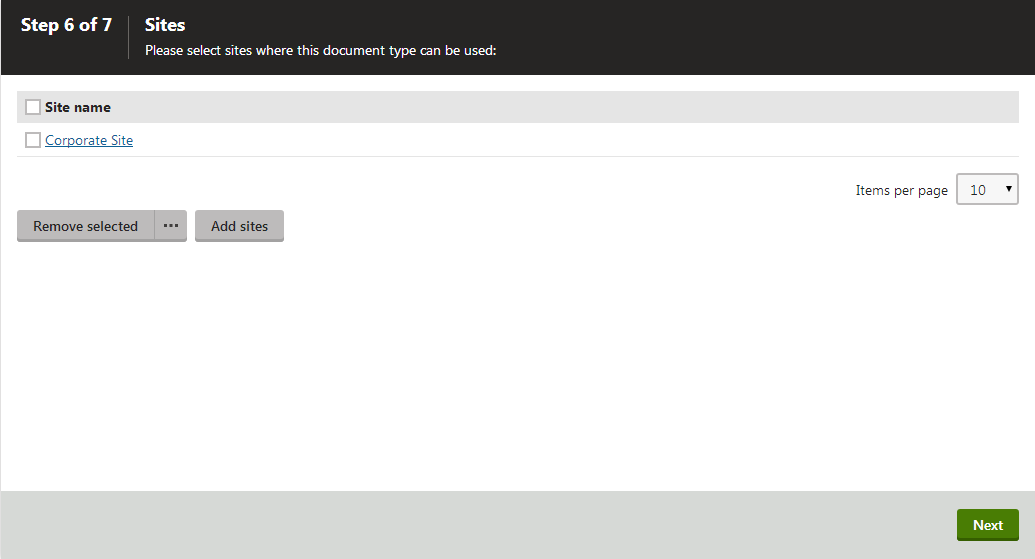
Click Next.
Step 7
The wizard has finished the configuration of the new document type. It has automatically created not only the database table, but also the SQL queries for SELECT, INSERT, UPDATE and DELETE operations and the default transformations.
Click Finish. You have created a new document type.
Now, you may want to:
- Extend the document type’s listing filter – editors use document listing to perform multiple document (batch) operations in the Pages application.
- Limit documents users can create – this way you can control where on the site users create new documents.
How the content is stored
The new document type Computer has its own database table for its specific fields. Each document is stored in three tables: CMS_TREE (tree structure), CMS_Document (document properties, metadata and content defined on the Page tab) and the custom table - in the case of this example, CUSTOM_Computer.
The system automatically ensures all operations are performed correctly on these tables. The advantage of this storage is that it is very fast and you can easily write standard SQL SELECT queries to retrieve data from the Microsoft SQL Server database.