
Creating new sites using the wizard
This page describes how to add a new website to the system using the wizard. Start the New site wizard in the Sites application, and select Create a new site using a wizard in the first step.
Step 2 - Enter new site settings
Enter the following basic site properties:
- Site display name - name of the new site displayed in the administration interface.
- Site code name - name of the new site used in website code. We do not recommend changing the code name later.
- Domain name - domain name under which the new site will run. The domain must be unique for each website running in the system.
- Site culture - the default culture of the site.
Click Nextto continue.
Step 3 - Object selection
In this step, select which objects will be imported along with your new site. Choose the categories displayed in the tree on the left side of the wizard.
The following options are available in the root of the tree:
Global object selection
- Load default selection
- Select all objects - selects all of the default objects.
- Select only new objects - selects only those objects that do not already exist in the system (clears selection for existing objects).
- Deselect all objects - clears the selection for all default objects.
Import settings
- Assign all objects to the imported site (recommended) - if enabled, all imported site related objects will be assigned to the imported site.
- Run the site after import - if enabled, the system attempts to start the new site immediately after the import is finished.
- Delete incomplete site when import fails - if enabled, the system deletes the site if any part of the import process fails.
- Do not import objects where parent object is missing - if enabled, the import process skips any child objects whose parent objects is not present in the target system.
- Import tasks (recommended) - serves no purpose when creating new sites.
- Log staging synchronization tasks - if enabled, the system logs staging tasks reflecting all changes made by the creation of the new site. Check this option to synchronize the imported data to other servers connected through content staging.
- Log integration tasks - if enabled, the system logs outgoing integration tasks for all changes made by the creation of the new site. Check this option if you want to transfer the imported data to a system connected via the integration bus.
- Import files (recommended)
- Import code files - indicates if the new site includes code files that require compilation, i.e. files with the following extensions: cs, vb, aspx, ascx. You cannot import code files if your application is precompiled.
- Import custom assembly files - if enabled, the new site includes custom assembly files bound to notification gateways, translation services, payment options, integration connectors, scheduled tasks, advanced workflow actions, marketing automation actions and smart search analyzers. Custom assemblies are those whose names do not begin with the CMS. prefix. You cannot import assembly files if your application is precompiled.
- Import global folders - if enabled, the import process includes global files originally exported from the following folders:
- ~/App_Code/Global/
- ~/CMSGlobalFiles/
- ~/CMSScripts/Custom/
- ~/App_Code/Controllers/
- ~/Controllers/Global/
- ~/Views/Global/
- Import site folders - if enabled, the import process includes site-related files originally exported from the following folders:
- ~/App_Code/<site code name>/
- ~/App_Data/<site code name>/
- ~/<site code name>/
- ~/Controllers/<site code name>/
- ~/Views/<site code name>/
You can leave the default settings and click Nextto continue.
Step 4 - Import progress
A log appears, showing the progress of the site creation.
When the process finishes, click Next.
Step 5 - Select master page
Here you can select the master page template. The master page defines the basic visual structure of the website. You can switch to a different master page later at any time.
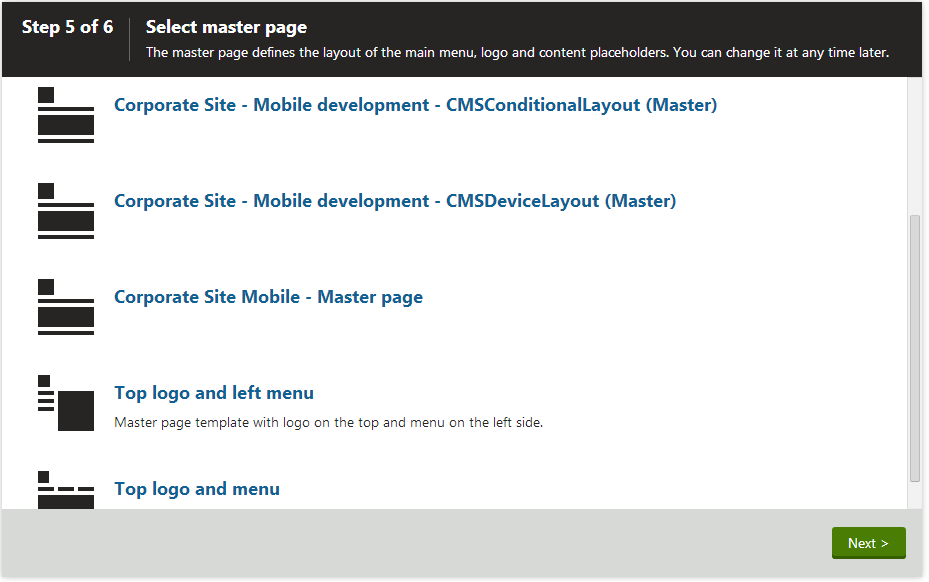
Select one of the layouts and click Next.
Step 6 - The website has been created successfully
You have successfully created the new website. Click Finish to return to the Sites application.
You can now begin developing the website or managing the website content.