
Assigning memberships to customers manually
In general, memberships group together one or more existing roles. In the e-commerce context, memberships are typically associated with a certain product, which customers can then purchase. This allows them to gain access to restricted sections of the website or other types of premium content for a specified amount of time.
You can assign memberships only to registered customers.
To assign a membership to a customer:
Open the Customers application.
If you do not know how, see Using the Kentico interface.
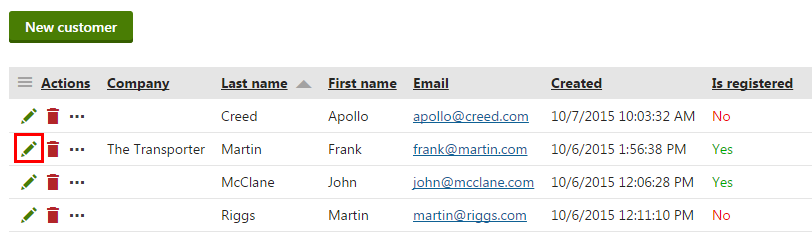
Edit () the desired customer.
You can edit a customer by clicking the Edit icon (). Choose the Edit icon that is on the same line as the name of the customer whose attributes you want to change.
Switch to the Membership tab.
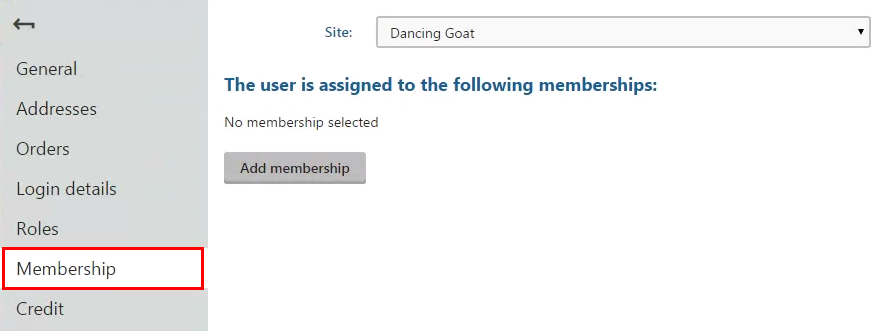
(Optional) If you want to choose a membership from a different website running on Kentico, select the site in the Site drop-down list.

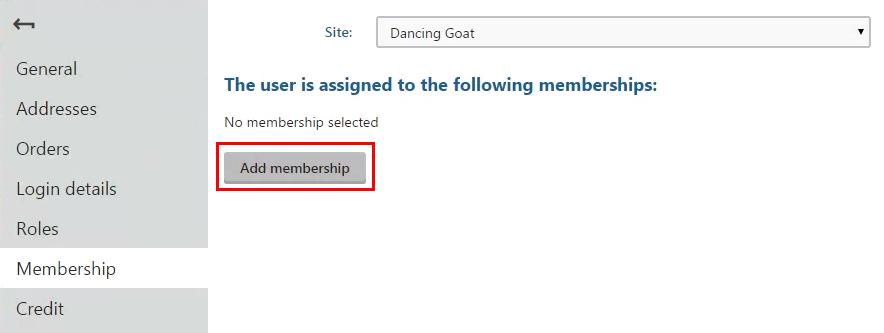
Click Add membership.
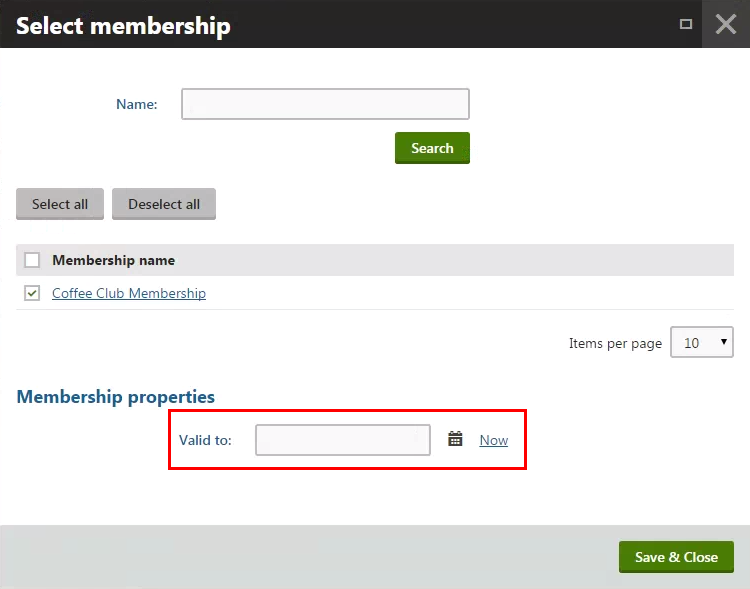
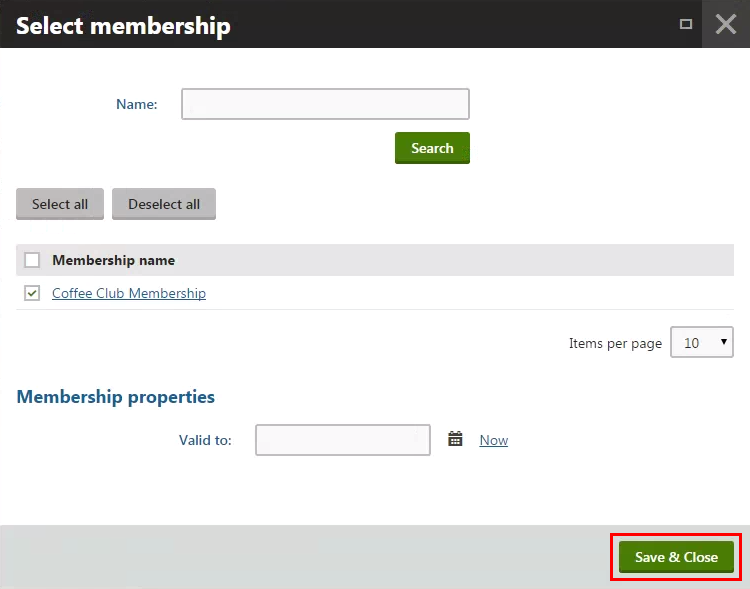
In the Select membershipdialog, select the memberships which you want to assign to the customer.
If you have multiple memberships, you can use the filter above the membership listing.
(Optional) You can select until when the customer is a member of the membership in the Valid to field. Then, the system automatically removes the membership from the customer.
Click Save & Close.
The system assigns the membership to the customer (user). The customer can now use the membership benefits.
You can see the assigned memberships in the listing on the Membership tab.
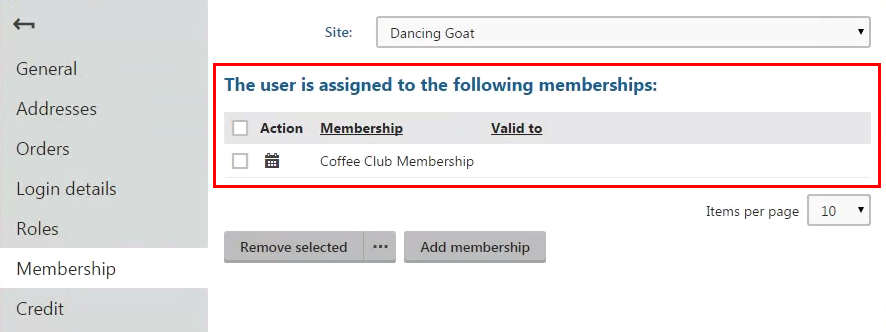
To remove the membership from the customer, select the membership’s check box and click Remove selected.