
Sending marketing emails
Before sending your marketing emails, you need to make sure that you have added their recipients.
License limitations for email recipients
Kentico websites have a maximum limit on the number of marketable recipients for each email feed. The limit depends on the License Edition under which the site is running:
- Kentico CMS Base: 500
- Kentico CMS Ultimate: 5000
- Kentico EMS: unlimited
If an email feed exceeds the recipient limit, sending of marketing emails within this feed is not possible.
Adding recipients to email campaigns
After you have created an email campaign, and also prepared the content of its marketing emails, you can add recipients to marketing emails.
- Open the Email marketing application on the Email feeds tab.
- Edit () an email campaign.
- On the Emails tab, edit () the marketing email for which you want to add recipients.
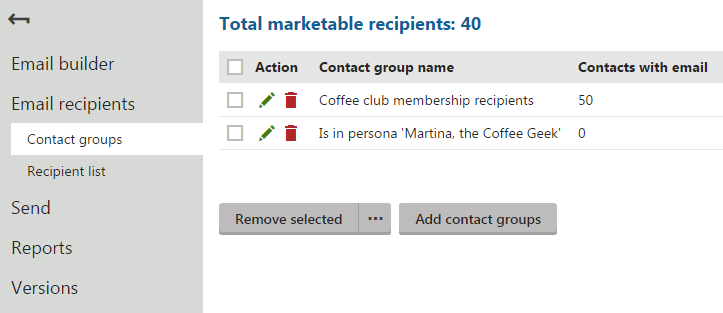
- Switch to the Email recipients tab.
- On the Contact groups tab, click Add contact groups to add contact groups as recipients.
- Select the contact groups and click Select.
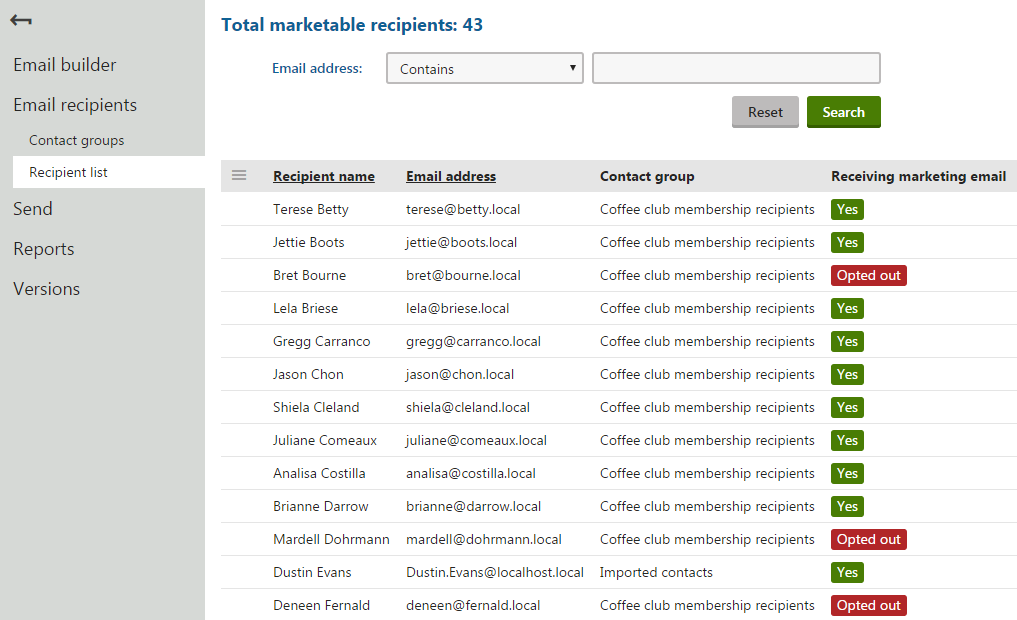
- (Optional) Switch to the Recipient list tab to see whether contacts from the added contact groups are receiving your marketing emails.
You can add different contact groups as recipients for each marketing email of your email campaigns.
Marketable recipients
Marketable recipients are contacts that are receiving your marketing emails and have the Yes status. Contacts that unsubscribed from all marketing emails have the Opted out status. Contacts that reached the maximum number of bounces and do not receive any marketing emails have the Undeliverable status.
Adding recipients to newsletters
After you have created a newsletter, you can add its recipients.
- Open the Email marketing application on the Email feeds tab.
- Edit () a newsletter.
- Switch to the Recipients tab.
- Click Add contact groups.
- Select a contact group and click Select.
- (Optional) Click Add contacts.
- (Optional) Select contacts and click Select.
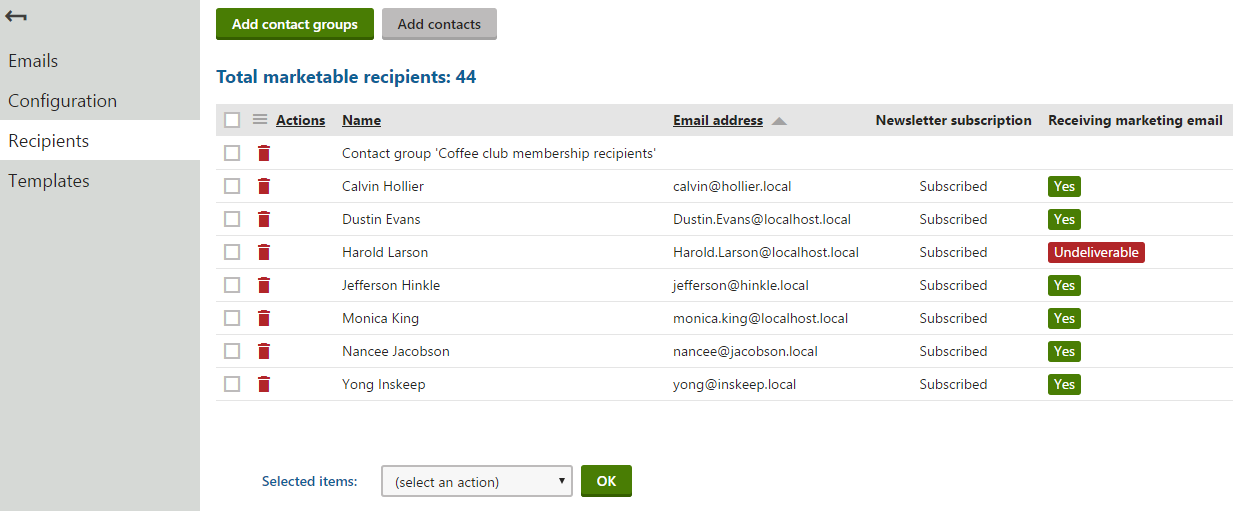
You can use the Add contact groups and Add contacts buttons to select contact groups and contacts as recipients of your newsletters.
Sending marketing emails
After you have prepared the content of marketing emails and added their recipients, you can proceed to send the newsletter and email campaigns.
To send individual marketing emails:
Open the Email marketing application on the Email feeds tab.
Edit () an email campaign or a newsletter.
On the Emails tab, edit () the marketing email which you want to send.
Switch to the Send tab.
Choose when the system sends out the email:
- Click Save schedule to send out the email on the specified date and time.
- Click Send now to send out the email immediately to all recipients.
You can view a list of sent emails on the newsletter’s or email campaign’s Emails tab.
Resending marketing emails
If you want to resend a marketing email, you need to clone it first.
- Open the Email marketing application on the Email feeds tab.
- Edit () an email campaign or a newsletter.
- On the Emails tab, click Other actions () next to the email you need to clone.
- Select Clone.
- (Optional) Change the cloned email’s name in the New object display name field.
- Click Clone.
Now that you have cloned the marketing email, you can manage it on the email campaign’s or newsletter’s Emails tab.