
Localizing form fields
To provide multilingual support for forms, define resource string keys via the Localization application and use them when specifying the properties of individual form fields, such as the label, tooltip, explanation text, or other custom properties supporting text input. Resource strings store different translations under a single unique key, which resolves into text localized in the culture selected by site visitors.
When localizing a form:
- Create resource string keys using the Localization application
- Localize form fields via the properties panel
- Consider localizing other text displayed as part of the form
Creating new resource strings in the Localization application
To create new resource strings:
Open the Localization application.
Editing of resource strings in the Localization application is only possible for users who belong to roles with the Localize strings permission for the Localization module.
If you do not see the application in the Application menu or are unable to access it, please contact your site’s administrator and ask them to grant the required permissions to your account.
Choose the default culture in the Culture selector.
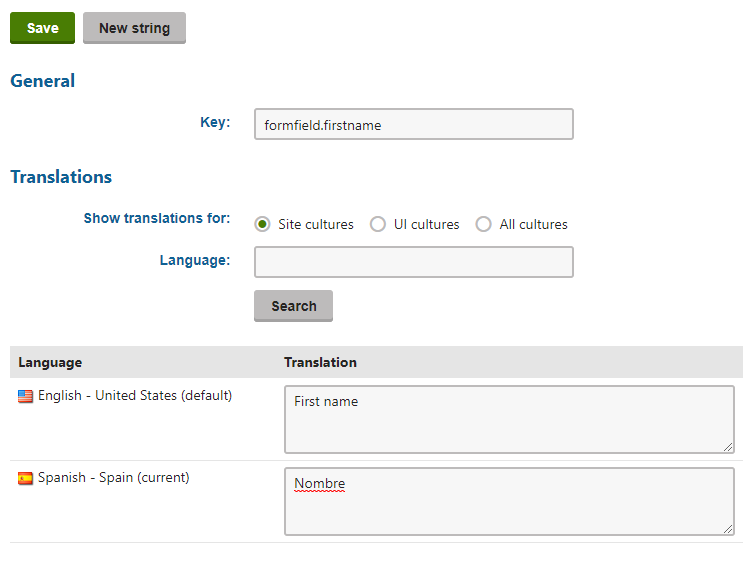
Click New string.
Type the name of the resource string into the Key field.
Type the text for the key into the Translation field of the corresponding language.
Click Save.
You have added a new resource string and can use it to localize form field properties such as the label and tooltip.
Translating existing resource strings into additional languages
If a site expands its multilingual support to additional languages, you can edit existing resource strings and add localizations for new languages as necessary:
- Open the Localization application.
- Edit () a resource string.
- If you do not see the desired language, use the Show translation for radio buttons to change the category of cultures.
- Translate the string into the desired language in the corresponding Translation field.
- Click Save.
You have now added a new translation to the existing resource string key.
Localizing form fields
When you have created the required resource string keys, you are ready to localize your form:
- Open the Forms application and edit () a form.
- Switch to the Form builder tab.
- Select an existing field or place a new one.
- On the properties panel, enter the
{$key$}macro expression into the input field of the property you wish to localize. Substitute ‘key’ with the resource string key you created in the Localization application.- For example, the following image illustrates the localization of the Label and Explanation text properties into Spanish using created formfield.firstname and formfield.firstname.explanationtext resource string keys.
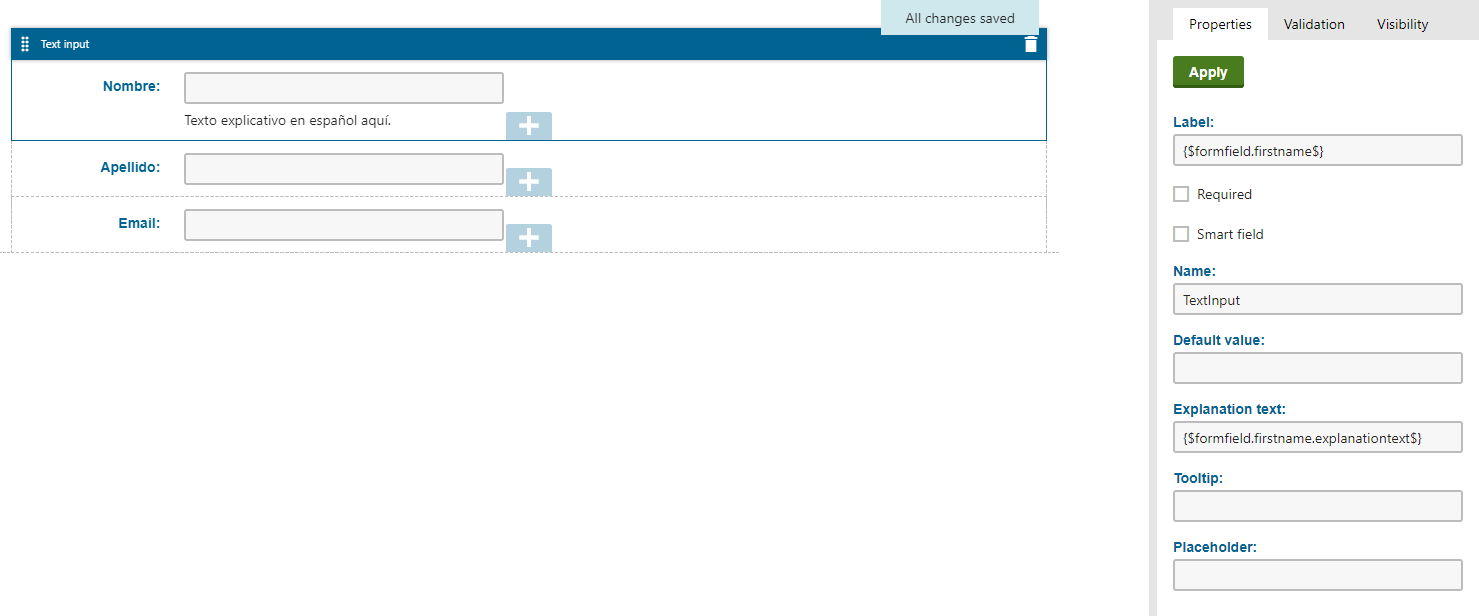
- For example, the following image illustrates the localization of the Label and Explanation text properties into Spanish using created formfield.firstname and formfield.firstname.explanationtext resource string keys.
- Click Submit.
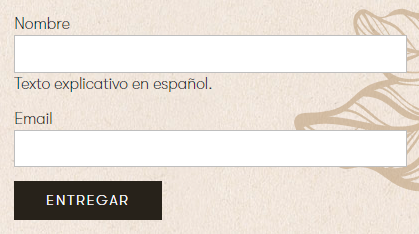
In the form builder preview, the system resolves the given key to the text you specified for the default UI culture. Site visitors will always see the text in their selected culture.
Localizing other form text
Apart from text related to individual form fields (such as field labels and tooltips), you can also translate and localize other text related to the form in general. The most typical examples are:
Form submit button text
- Edit the form and select the General tab.
- Localize the Submit button text value as described in Localizing text fields.
Validation message for required fields
If you enable the Required setting for a form field, visitors see a default error message when they attempt to submit the form without entering a value for the given field. To translate this message into another culture:
- Create a resource string with the following key: general.requiresvalue
- Translate the string into the desired cultures.
The message text is shared by all fields in all forms, but you can provide your own translation for every culture.
Form autoresponder emails
To localize the content of form autoresponder emails:
- Create resource strings with the required text for all desired cultures.
- Add the strings into the content of your autoresponder emails using
{$key$}expressions (on the form’s Autoresponder tab).