
Working with pages on the live site
Kentico provides an On-site editing interface, which you can use to manage pages on the live site (as an alternative to the Pages application).
To be able to work with pages on the live site, your administrator needs to enable On-site editing on the site.
Creating new pages
To create pages on the live site:
Sign in on the live site.
Click on the Edit page () button in the top left corner.
Navigate to the page under which you want to create the new page.
Click the New action on the toolbar. A New page dialog opens.
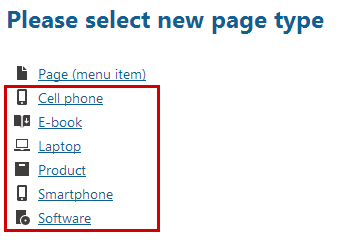
Creating a structured page
Choose the type of page that you want to create.
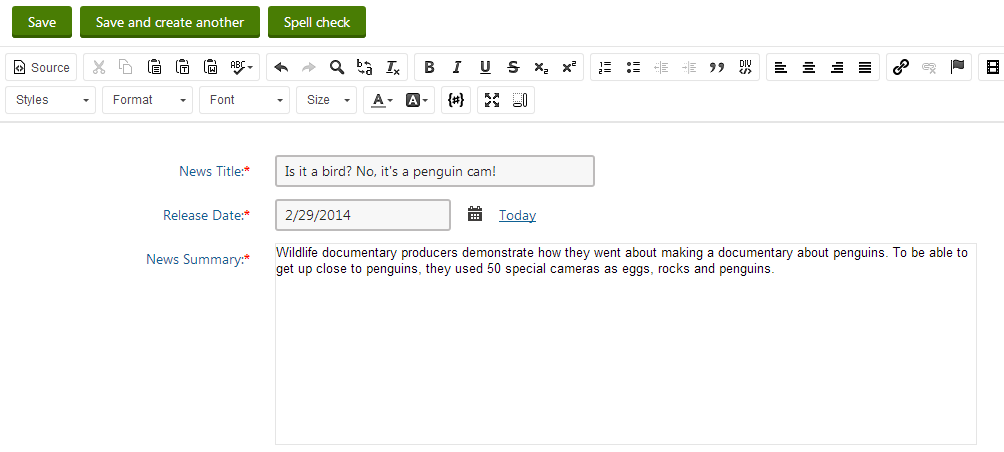
Fill in the editing form.
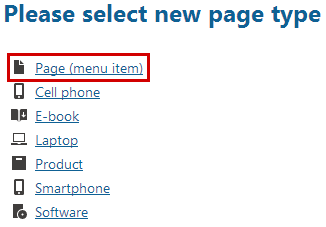
Creating a Page (menu item) page
Click on the Page (menu item) page type.
Fill in the Page name field.
Choose from the following options using the radio buttons below the Page name field:
- Use existing page template – choose to view reusable page templates.
- Use parent page template – choose to make the page inherit the template used by its parent page.
- Create a blank page with layout – choose to create a new ad-hoc portal page template using one of the page layouts below. Select the Copy this layout to my page template check box to generate a unique copy of the chosen layout for this template – otherwise the template will share its layout. Any changes made to a shared layout affect all the page templates that use it.
- Create a blank page – choose to create a new ad-hoc portal page template for the new page. The page has a single web part zone and no other formatting.
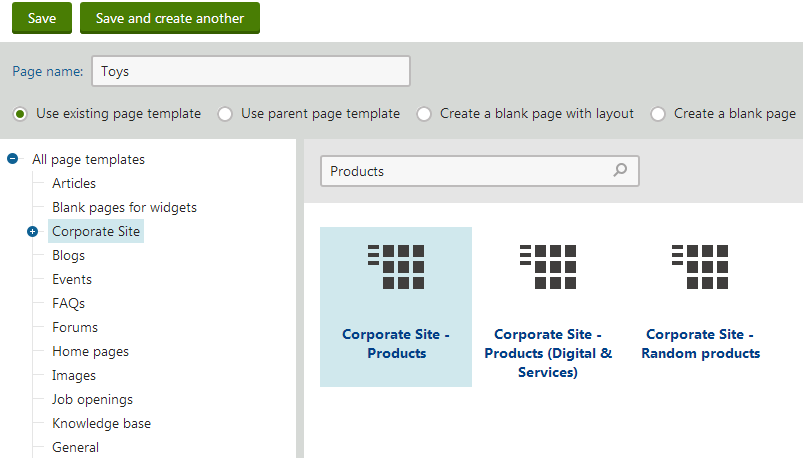
Click Save to confirm, or Save and create another to confirm and start creating a new page of the same type.
You have created a new page and can now edit the page.
Editing pages
To edit pages on the live site:
Sign in on the live site.
Click on the Edit page () button in the top left corner.
Navigate to the page that you want to edit.
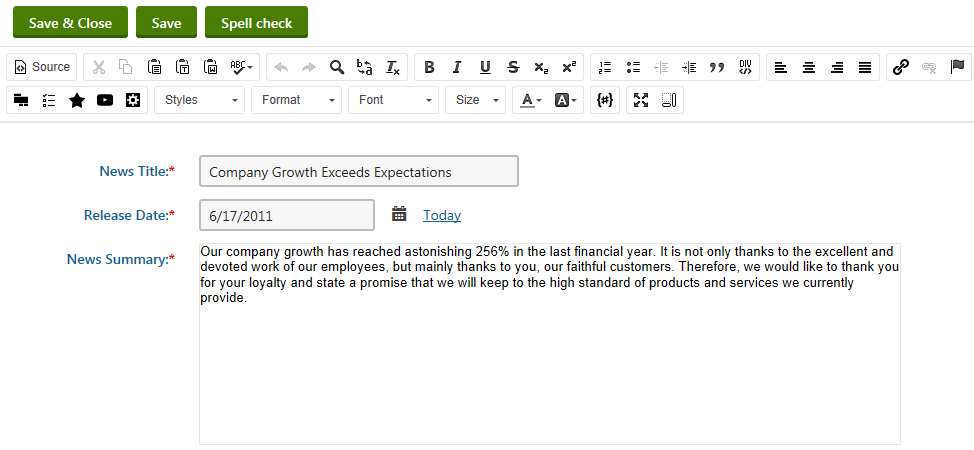
Editing structured pages
Click the Edit button on the top panel. An Edit page dialog appears.
Edit the page using the editor. This editing dialog is equivalent to the one on the Form / Content tab of the Pages application.
Editing Page (menu item) pages
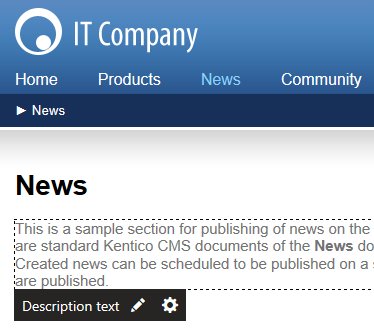
Move your mouse over the section of the page that you want to edit. The system automatically highlights the editable regions as you move your mouse over them.
You can use the Highlight action on the on-site editing toolbar above the page. The button makes all editable items placed on the page visible at the same time. This way you can easily find all editable text regions and editable images and modify them as necessary.
Click the Edit () button of the editable region that you want to edit. An Edit text dialog appears.
Use the editor to make changes to the text.
Save the changes that you made.
The system reloads the page to display the updated content.
Deleting pages
To delete pages on the live site:
- Sign in on the live site.
- Click on the Edit page () button in the top left corner.
- Navigate to the page that you want to delete.
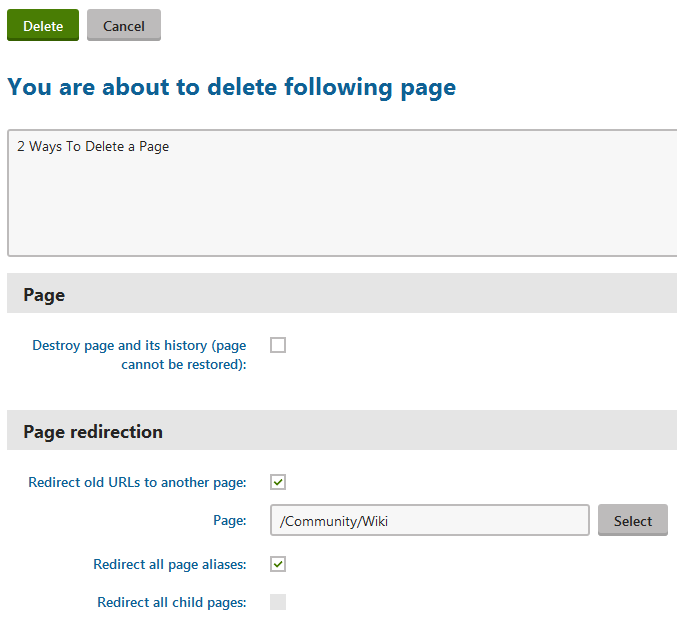
- Click on Delete () on the top bar. A Delete page dialog appears.
- Specify the deletion options:
- Destroy page and its history (page cannot be restored) – select the check box if you want to make sure the page cannot be restored later. Note that linked pages are never moved to the recycle bin and you cannot restore them once they are deleted.
- Redirect old URLs to another page –ensures that when users visit a link to the deleted page, the system redirects them to a different page instead.
- Page – specify which page users see instead of the one you delete.
- Redirect all page aliases – select the check box to make the website use the redirection page for all available URLs of the deleted page.
- Redirect all child pages – select the check box to use the redirection page for all child page.
- Confirm by clicking Yes.
The system deletes the page. If you specified that you don’t want the system to destroy page and its history, you can restore the page at any time.
Copying and moving pages, creating linked pages
To copy, move or link pages on the live site:
Sign in on the live site.
Click on the Edit page () button in the top left corner.
Click on Browse. The Page listing dialog box opens.
Select the pages for which you want to perform the Copy, Move or Link action.
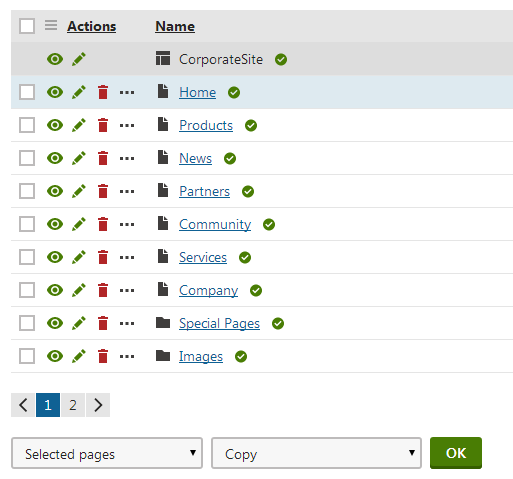
In the bottom drop-down list, select the action that you want to perform.
Click on OK. A new dialog box opens.
In the left content tree, navigate to the destination.
(Optional) If the page has children, select the target children in the right content tree.
(Optional) Select Copy page permissions if you want the linked page to retain the same permissions as the original.
Click on Copy,Move or Link.
Listing pages
To list pages on the live site:
Sign in on the live site.
Navigate to the page under which you want to list pages.
Click on the Edit page () button in the top left corner.
Click Browse. The Page listing dialog box opens.
In the Page type drop-down list, select the Page type that you want to list. Do not choose any page type if you want to view all the pages in the system.
Use the filter to adjust the listing.
If you want to list pages from all levels under the selected page (descendant pages), select the Show all levels check box.
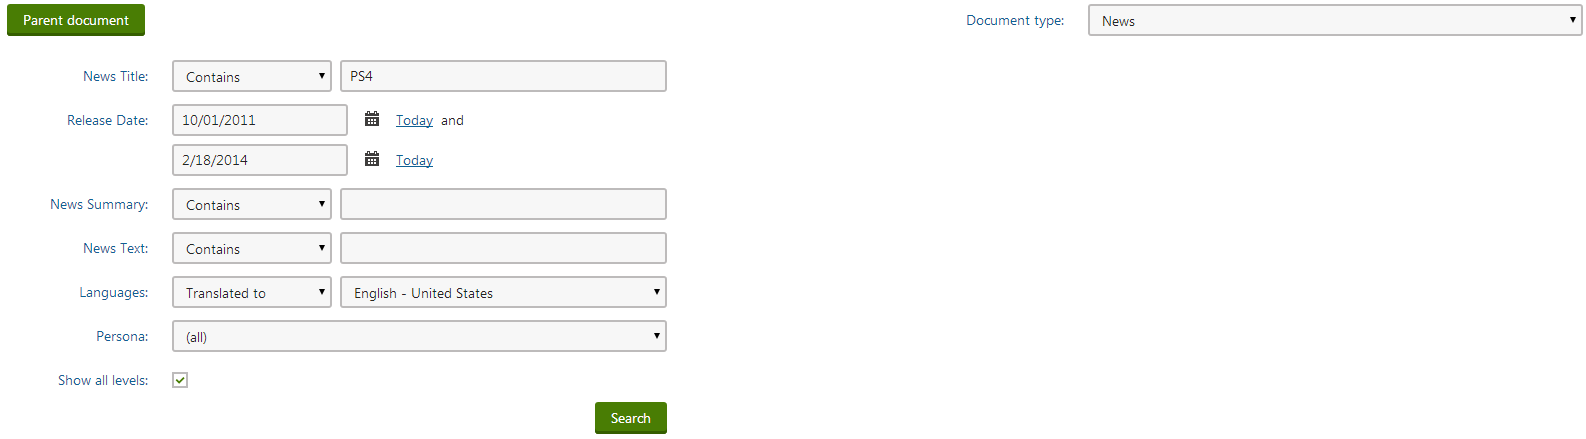
Click Search.
The system lists all the pages based on the criteria you specified in the filter.
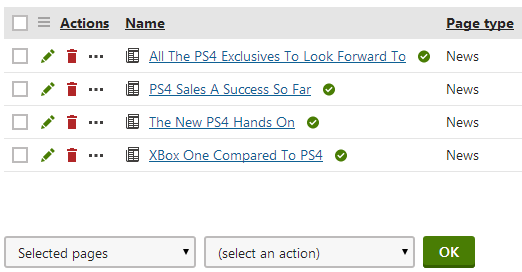
In many cases, page lists are configured to provide edit mode buttons, which are also visible when editing the live site. Such buttons are shown both on the list page next to individual items and when viewing the details of a specific page.
The Edit button works the same way as the corresponding action on the main toolbar.
Now, that you listed the pages, you can perform multiple page operations on them.