
Creating an Events page
Events managed by the Events module are stored in the content tree as pages of the Event (booking system) page type (code name CMS.BookingEvent).
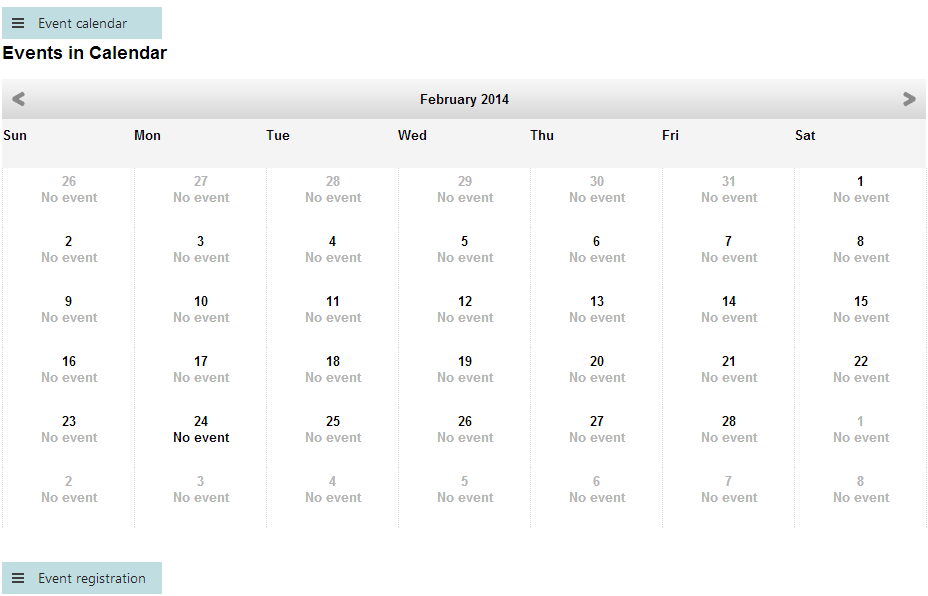
In a typical scenario, events are displayed using the Event calendar web part, while registration to the events is ensured by the Event registration web part. You can see an example of such a setup on the Community -> Events page of the sample Corporate Site. Once the Event calendar web part is placed on a page, editors can create events.
In this topic, you can learn about:
Creating an events page
- In the Pages application, create a new Page (menu item) where you want to place the events page.
- Fill in the Page name and choose whether you want to use a template or create a blank page.
- Click Save. The system creates the page in the path that you chose.
Placing the Event calendar web part
Switch to the Design tab of the events page that you created.
Place the Event calendar web part on the page. A Web part properties (Event calendar) dialog opens.
Specify the web part properties. Hover over a property label to see more information about the property.
By default, the properties of the web part are set to work in conjunction with the Event (booking system) page type (code name CMS.BookingEvent). To create a new event, users create a new page of the Event (booking system) type under the path specified in the web part and use its EventDate and EventEndDate fields.
Click on OK. The system places the web part on the page.
You can use the Event calendar web part to display other page types as well. For example, you can configure it to display News pages on your site based on the date they were published on. This example is described in Displaying various page types in a Calendar web part.
Placing the Event registration web part
Make sure you are on the Design tab of the events page that you created.
Place the Event registration web part on the page. A Web part properties (Event registration) dialog opens.
Specify the web part properties. Hover over a property label to see more information about the property.
You can make sure the registration web part is displayed only when users select an event in the calendar. To do so, under Visibility properties, use the Select button next to the Show for page types field to specify the page type that your site uses for creating events (CMS.BookingEvent by default).
Save & Close. The system places the web part on the page.
You have set up an events page. Editors can now create events that the visitors of the website can view and register for.
To validate the look of the event calendar on the page, use the Preview mode.
Allowing editors to create only Event (booking system) page types under the event page
Use Page type scopes to limit the pages that editors can create under the events page to the Event (booking system) page type.