Creating tables
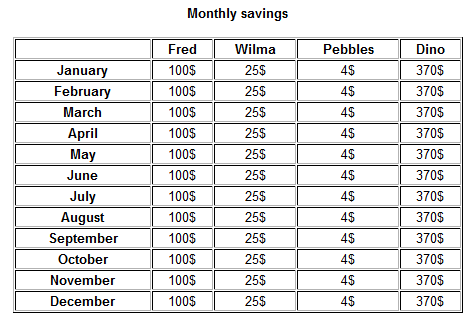
On this page, you can learn how you can create tables using the text editor.
Adding tables
- Click where you want to insert the table.
- In the toolbar, click the Table button. A Table Properties dialog appears.

- Fill in the table properties.
- Click OK. The system places the table into the current location of your cursor.
- Save the page.

Modifying tables
The editor also allows you to extend or otherwise modify existing tables.
Right-click a cell within the table, and select among the available options:
- Cell – add, remove, split or merge table cells.
- Cell -> Cell Properties – set detailed properties for individual table cells, such as their Width and Height. By setting the width or height for a cell, you can also fix the width or height for the entire table column containing the cell.
- Row – add or delete rows in the table.
- Column – add or delete columns in the table.
- Delete Table
- Table Properties – allows you to change the table properties that were originally set when creating the table.