Working with contacts
Kentico EMS required
Features described on this page require the Kentico EMS license.
Contacts represent visitors of the website and store marketing-related information about them. Contacts cover both anonymous visitors (identified by an HTTP cookie) and regular registered users or customers (identified by username or email address). The system automatically gathers data about contacts based on the actions and input of the associated users.
Kentico allows you to:
- Segment contacts into contact groups or personas based on conditions. Use these segments to personalize your site and communication.
- Track and analyze the activitiesof contacts on the website
- Define automated processes for communicating with contacts or performing other actions in the system
- Assign statuses to contacts (for example VIP contacts)
- Associate contacts with accounts (companies or other bodies where the contact operates) and specific roles within accounts
Managing contacts
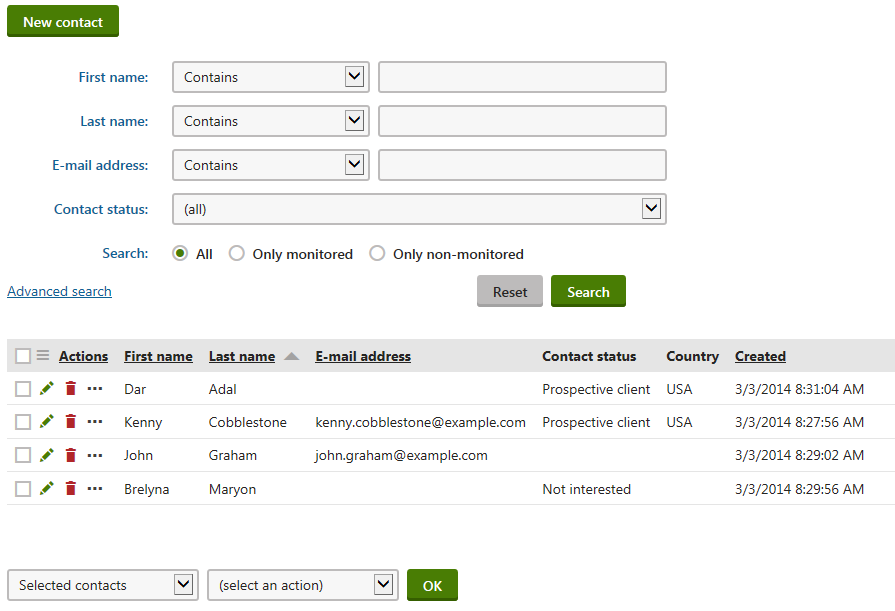
To manage contacts, use the Contact management application.
The Contact management application allows you to manage contacts based on the currently selected contacts. For example, from all the websites or from a currently selected website. You can also manage global contacts in the application.

Click New contact to manually create new contacts.
To manage existing contacts, use the following basic actions:
- Edit () - opens the contact’s editing interface, where you can view and modify the contact’s details
- Delete ()
Editable contact fields
|
Section |
Fields |
|
General |
|
|
Personal info |
|
|
Contact settings |
|
|
Address |
|
You can also leave Notes about the contact. Click Add stamp to insert your stamp into the notes — the default stamp contains the full name of your user account and the current date and time.
Filling in contact data
You do not need to enter the values of the fields on the General tab manually for all contacts. The system automatically collects and updates the data of each contact based on the information provided by the corresponding user on the website.
See also:
The other tabs of the contact editing interface allow you to manage the various features related to contacts. Please see the related pages for more information.
Adding custom fields to contacts
If you need to store data for contacts in addition to the default fields, you can define custom fields:
- Open the Modules application.
- Edit () Contact management.
- Open the Classes tab.
- Edit the Contact management - Contact class.
- Define the fields on the Fields tab.
You can view and edit the values of your new fields on the Custom fields tab of the contact editing interface. Custom fields are visible on the General tab among the standard fields as well.

Linking contacts with user accounts
The system allows you to associate contacts with other objects that represent users. This includes:
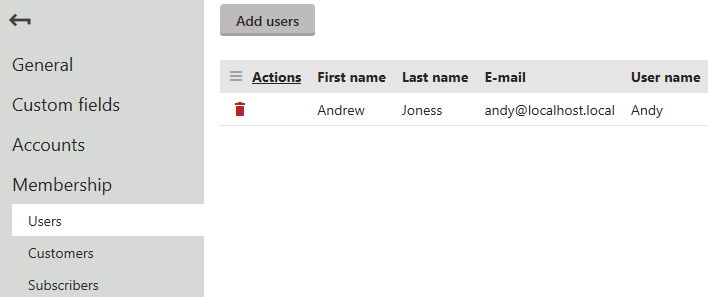
To manage a contact’s user relationships, open the Membership tab of the contact editing interface. You can add new relationships or delete existing ones.
Note: You do not need to bind contacts to users, customers or subscribers accounts manually. The system automatically updates the contact memberships when visitors:
- Register on the website
- Log in under a user account
- Fill in customer data while making a purchase
- Subscribe to a newsletter
