
Using banners - a complete example
This example will show you the whole process of banner management, from creating a banner category and filling it with banners, to displaying the banners on a site. The example uses the sample Corporate site.
Creating a banner category
- Open the Banners application.
- In the Site drop-down list, select Corporate site and click New banner category.
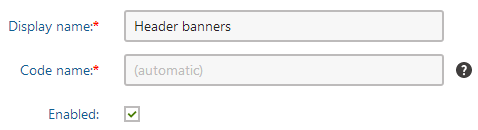
- Set the banner category properties as follows:
- Display name: Header banners
- Enabled: True
- Click Save.
Creating banners
First banner
- In the banner category that you created, click on New banner.
- Set the new banner’s properties as follows:
- Display name: Banner 1
- URL: http://www.kentico.com
- Weight: 1
- Open in new window: True
- Enabled: True
- Banner type: Plain text
- Banner content: Any text you like
- Click Save.
Second banner
- Return to the list of banners, click New banner again and set its properties as follows:
- Display name: Banner 2
- URL: http://devnet.kentico.com
- Weight: 4
- Open in new window: True
- Enabled: True
- Banner type: HTML
- Banner content: Any formatted text you like
- Click Save.
Third banner
- Return to the list of banners, click New banner one more time and set its properties as follows:
- Display name: Banner 3
- Code name: banner3
- URL: http://www.kentico.com/Download-Demo
- Weight: 5
- Open in new window: True
- Enabled: True
- Banner type: Image
- Click Select next to the Banner image property. A Select image dialog opens.
- On the Content tab, upload a file of your choice into the Images folder and click Select.
- Fill in the Image title and Alternative text fields as shown in the following picture.
- Click Save.
Placing banners on a page
You have created a set of banners that will rotate in the header of the Corporate site. Now place the Banner rotator widget on the Corporate site’s Home page as described in the following steps:
Open the Pages application.
Select the Home page of the Corporate site and make sure you are on the Page tab.
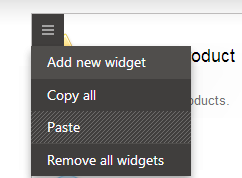
Open any of the page’s zone menu ().
Click Add new widget.
Select the Banner rotator widget from the Banner management folder.
Click OK. A widget configuration dialog opens.
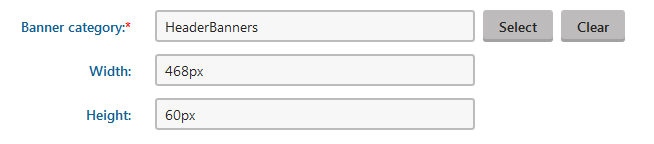
Set the widget’s Banner category, Width, and height properties.
Click OK. The widget appears within the content of the page (inside the selected zone), but is NOT permanently saved yet.
Click Save to confirm the change to the page’s widget content.
The result
You have created three sample banners and configured the Banner rotator web part to display them to visitors on the Corporate site.
When you switch to the live site, you will be presented with one of the three banners. When you refresh the page several times, the other banners will appear with frequency proportional to their Weight. For example, out of 100 page views, the banners’ displaying frequency will be as follows:
- Banner 1 has a weight of 1, therefore it will be displayed approximately 10 times.
- Banner 2 has a weight of 4, therefore it will be displayed approximately 40 times.
- Banner 3 has a weight of 5, therefore it will be displayed approximately 50 times.