Maintaining multilingual stores
In the Kentico E-commerce Solution, you can translate different e-commerce objects when running a multilingual store. On this page, you can find how you can enter different content for different languages. There are three different approaches when maintaining multilingual stores:
- Maintaining multilingual products and their details
- Maintaining other multilingual e-commerce data
- Maintaining multilingual texts, such as e-commerce notifications or invoices
You can see the interface for multilingual stores only when your store is configured to use more cultures (languages). See more in Configuring multilingual stores.
Maintaining multilingual products
Products created the default way (i.e. SKU + page) can be translated the following way. However, products created as stand-alone SKUs needs to be translated as multilingual texts with resource strings.
Getting familiar with multilingual products user interface
You can translate products either from the Products application or from the Pages application. In both applications, you can see a selector with which you can switch languages.
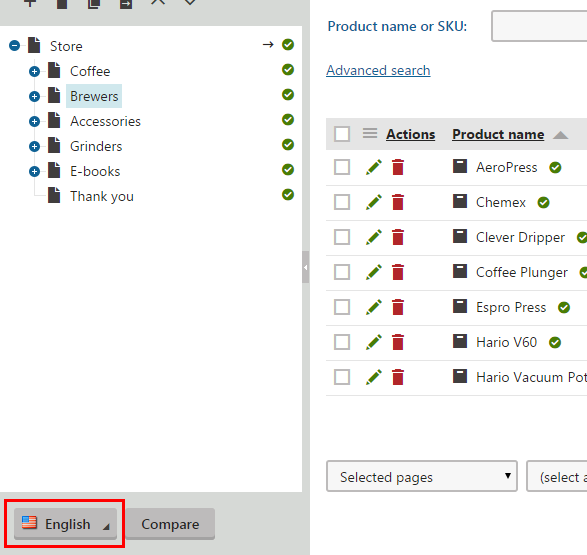
You can recognize translated and not translated products simply by looking at the product tree. The translated products are labeled with a green tick (), the not translated products are labeled with an A character in a frame.
![]()
You can also recognize the translation status of a specific article by looking at Languages column in the product listing. If you hover your mouse over a specific culture icon, additional information displays.
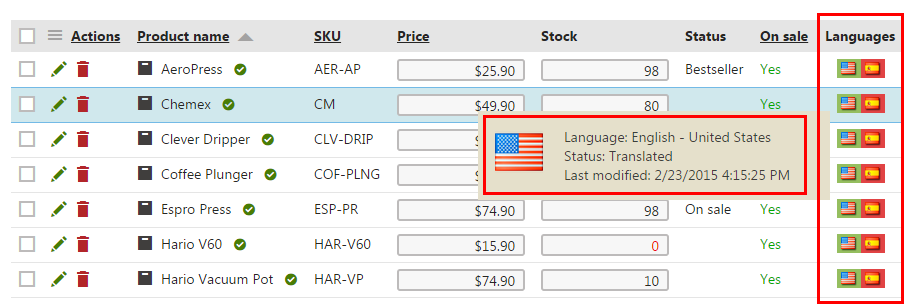
Get more information about language versions in Language status overview.
Translating products
If you edit a not translated product, the system offers you several options:
- Create an empty page – creates a new page of the same type, but without any content.
- Copy content from another language – creates a copy of the page with content loaded from the selected language version. If you select the Save the new page before editing, the system adds the new page version and immediately saves the copied content.
- Translate using translation service – the content of the page will be provided by an external translation service. The translation service needs to be configured first.
After you click Create page, you are ready to edit the page. To make translations easier, click Compare to see content of two language versions next to each other.
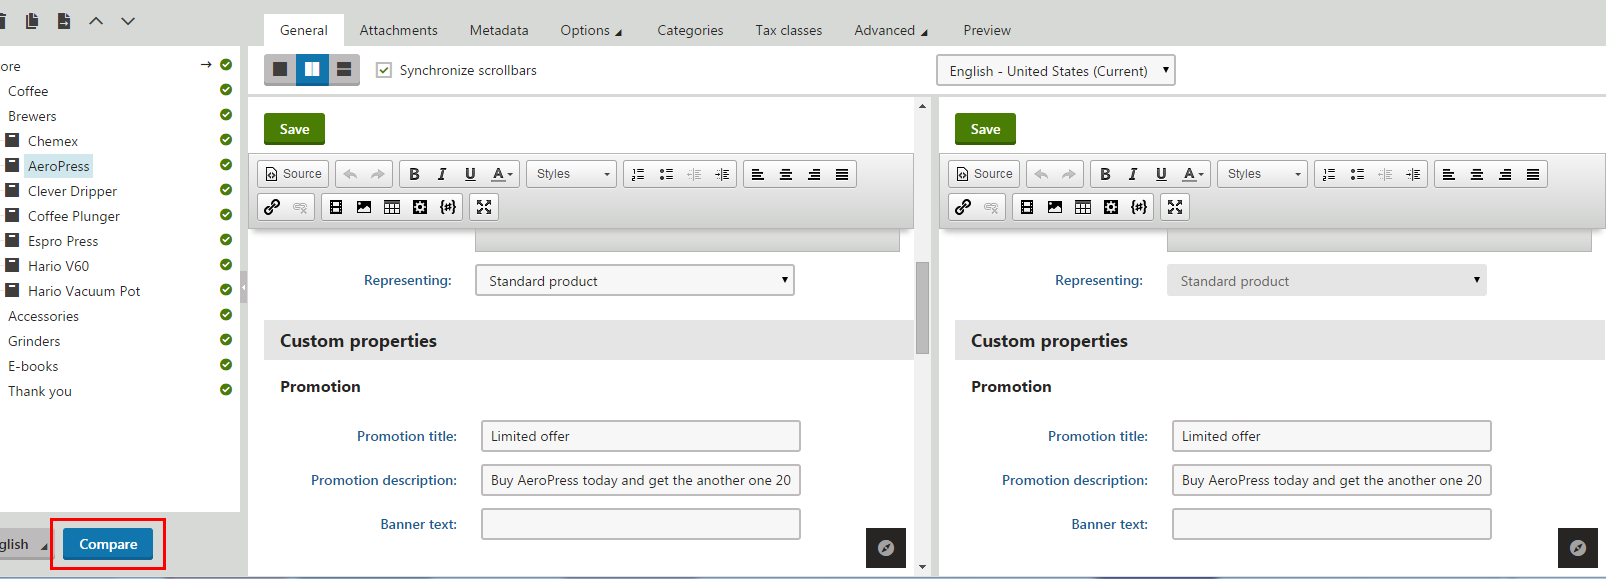
Learn more information about comparing two language versions in Comparing language versions.
Maintaining other multilingual e-commerce data
The Display name and Description fields in the administration interface of all e-commerce data provide a user-friendly way to handle localization.
For example, if you want to localize a specific Buy X Get Y discount:
Open the Buy X Get Y discounts application.
Edit () a Buy X Get Y discount.
Click to the Name field.
Click Localize (+) in the grey square that just appeared.
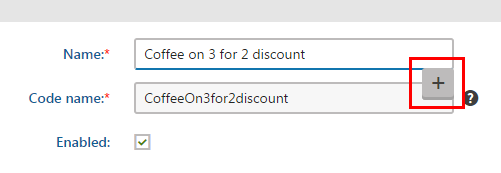
- The Localize field dialog opens.
Leave the default Create new resource string option.
- If you prepared a resource string beforehand, select Use existing resource key and select the key.
Click Save & Close.
- The Localize string dialog opens.
In the dialog, all activated languages are displayed and you can type the translation for every language.
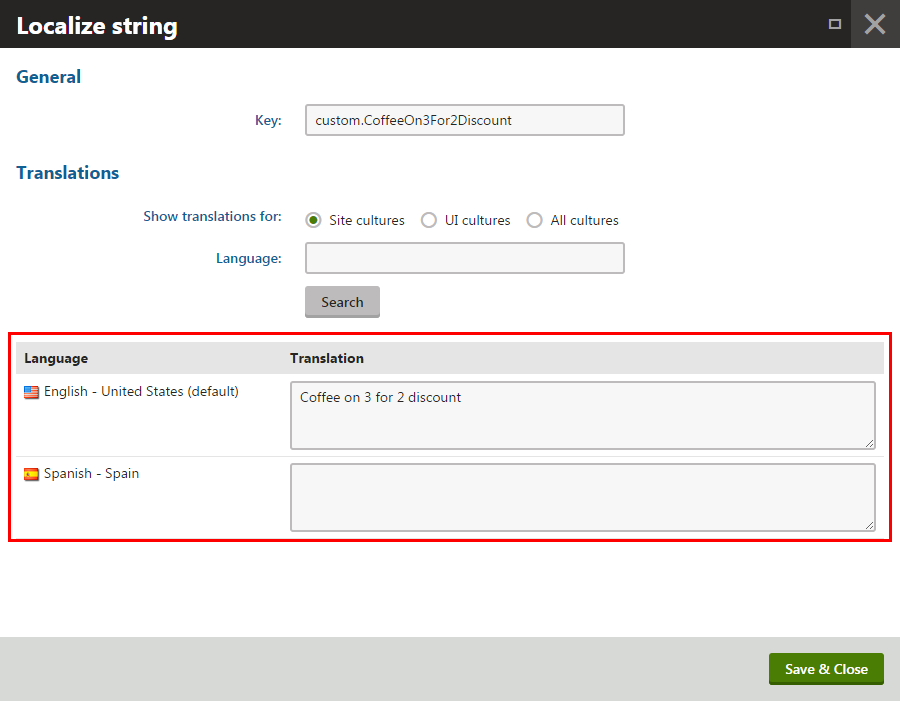
Click Save & Close.
- The dialog closes and a planet icon appears in the field.

- The dialog closes and a planet icon appears in the field.
Click Save to save the discount.
The name of the discount is now displayed differently according to user’s current language.
Similarly you can localize other e-commerce data.
See more information about multilingual display names and descriptions in Localizing text fields.
Maintaining multilingual texts
For editing content of longer texts, typically invoices or emails, you can use resource strings. The following example edits an email notification.
To create a resource string, open the Localization application.
On the Resource string tab, click New string.
Type a key in the Key field. For example, custom.Hello.
Type variants to desired languages, for example Hello in the English field and Hola in the Spanish field.
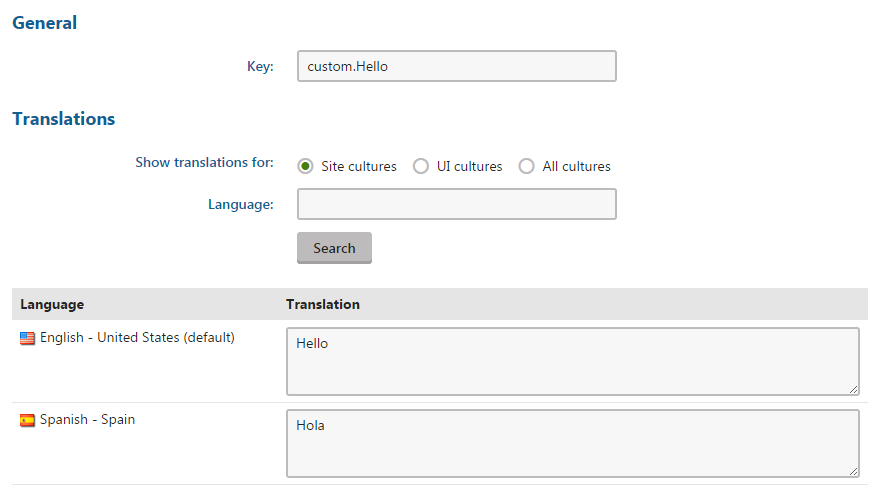
Click Save to save the resource string.
Open the Email templates application.
Click Edit () to modify a specific notification.
In the HTML version or Plain text version field, type the resource string in the following format:
{$custom.Hello$}Click Save to save the email template.
The notification now sends emails with hello in English or Spanish, according to the current user’s settings. You can set similarly also other texts.
Learn more information about resource strings in Working with resource strings.