
Microsoft Azure Web Apps
Microsoft Azure Web Apps (renamed from Azure Websites, see details) are quick to deploy and easy to set up and manage. However, they do not offer as many customization options as cloud services. For a more detailed comparison, see Azure Web Sites, Cloud Services and Virtual Machines comparison on MSDN.
You can create Kentico websites using the Azure Web Apps service:
When you have a web app created, you can manage its files over an FTP connection.
Creating Web Apps from Web Application Gallery
You can find a Kentico package in the application gallery. Creating new web apps using the provided template is quick and easy.
Open the Azure Management Portal.
Click New -> Compute -> Web App -> From gallery.
Select Kentico CMS for ASP.NET.
Click Next.
Type the URL (name) of your web app.
Choose to create a new SQL database.
Choose a region (location) for your web app.
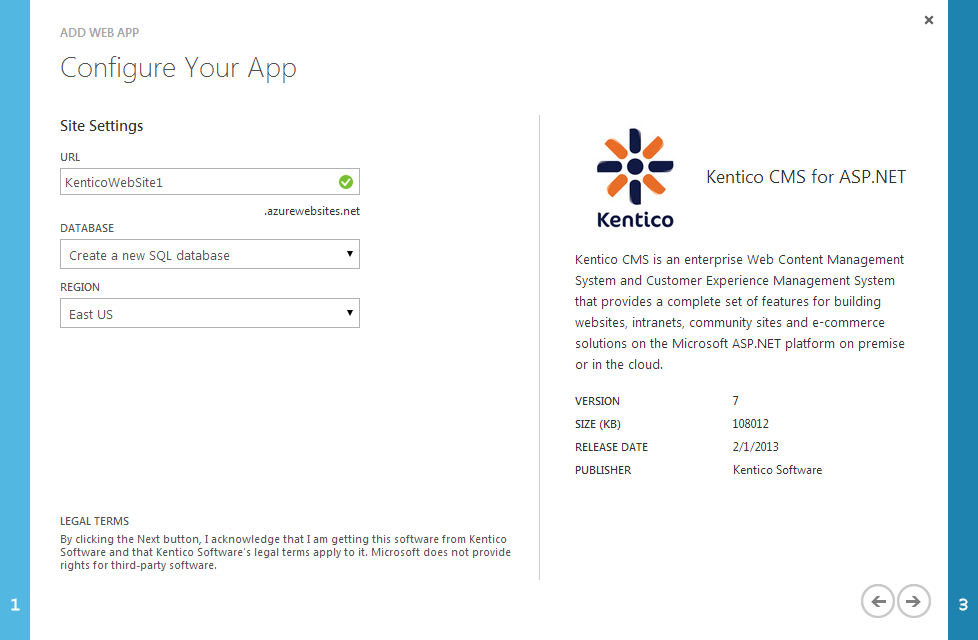
Click Next.
Type the name of the database
Create a new server or choose an existing server for the database and provide login credentials.
Complete the creation.
Database installation
- Access the created website.
- Provide the server name and credentials for the server used to create the database in.
- Click Next.
- Select Use an existing database and type the name of the database created for the website.
- Click Next.
- Click Next without filling any field.
- Select Import existing Kentico CMS website and click Next.
- The installer redirects you to the administration interface.
- Switch to the Licenses tab and add the license for the website domain.
Creating Web Apps from Visual Studio
This scenario presumes that you already have an installed Kentico web project on a local computer and you want to deploy it as Microsoft Azure Web App.
In Microsoft Visual Studio 2012 and 2013, the service is still called Azure Websites.
Open your web project in Visual Studio.
Open the Server Explorer tab (or Database Explorer tab in Express editions of Visual Studio).
Right-click Windows Azure/Web Sites and select Add New Site…
- A window Create site on Windows Azure opens.
Type the web app name (URL).
Select the location for your web app.
Select an existing database server or create a new one.
Provide the credentials for the server.
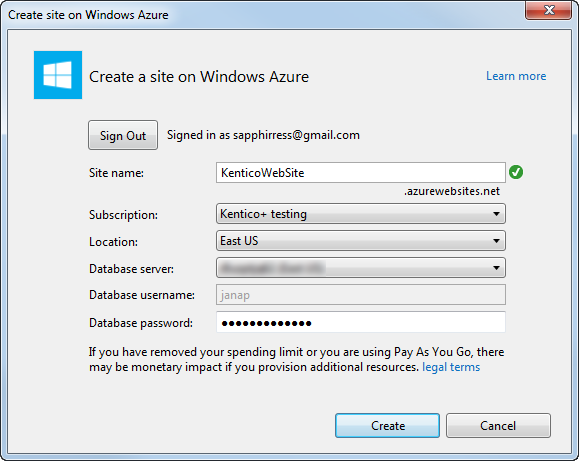
Click Create.
Visual Studio creates the Web App. Continue with adjusting the configuration of the web.config file and deploying your project.
Right-click the created web app and select View settings.
Copy the connection string value and paste it to the CMSApp/web.config file of your web project.
 <connectionStrings>
     <add name="CMSConnectionString" connectionString="Data Source=tcp:YourServerName.database.windows.net,1433;Initial Catalog=YourDatabaseName;User Id=YourUsername@YourServerName;Password=YourPassword;" />
 </connectionStrings>
Replace YourServerName, YourDatabaseName, YourUsername and YourPassword with your own values.
Configuring the connection string after the deployment
You can also configure the connection string through the Azure Management Portal in Web Apps -> select a web app -> Configure tab -> connection strings section. To set the connection string for the web app, change the DefaultConnection name to CMSConnectionString.
Make sure that the sessionState mode is set to InProc in the web.config file.
<sessionState mode="InProc" />Right-click the project folder (CMSApp or CMS) in the Solution Explorer and select Publish (or Publish Web Site).
Click Import.
Select the created web app in the drop-down list.
Click OK.
Leave the settings as they are.
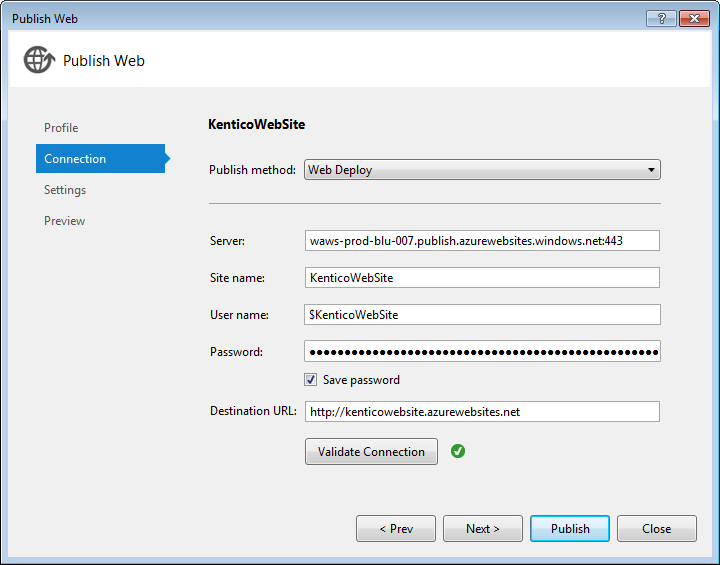
Click Publish.
When the project is published and the website of your project is automatically opened in a browser, complete the database installation.
Uploading files to Microsoft Azure Web Apps over FTP
When you have created Azure Web Apps and deployed your web project, you can manage its files over an FTP connection:
Open the Azure Management Portal.
Select your web app on the Web Apps tab.
Switch to the Dashboard tab.
Click Set up deployment credentials.
Type a user name and password and click OK.
Use the FTP host name and Deployment / FTP User information to configure your FTP client.
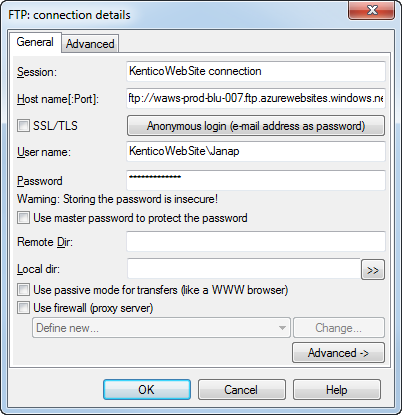
When you connect to your web app project, you can see the following folders:
- Logfiles - contains website specific diagnostics log files.
- site - contains website files.