
Displaying media library content on the live site
You can use the Media gallery web part to display content of a media library on the live site.
Putting the Media gallery web part on your web page
Open the Pages application.
Choose the page on which you want to place the web part.
Switch to the Design mode.
Place the Media gallery web part to a content area of your choice. The Web part properties dialog box opens.
Under Content, specify the Media library to which you want to be able to upload files.
Under Upload settings turn the check-box on for the following properties:
- Allow upload - enables on-site upload of files.
- Allow upload thumbnail - enables on-site upload of file thumbnails.
Note that you Allow upload thumbnail works only when Allow upload is enabled as well. The Thumbnail that you upload is always attached to the file that you upload with it.
- (Optional) If you are displaying items from a secured media library, Enable the Check file permissions property.
- Click Save & Close.
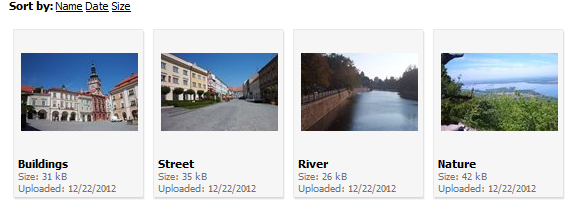
Viewing the media library content using the Media gallery web part
Now that you inserted the Media library web part onto your page, visitors can use it to view the content of the media library.
- Open the Live site.
- Select the folder that you want to view in the web part.
Note that whenever you resize an image that you inserted using a web part, the link to that image changes. Refer to URLs of resized images for more information.