
Departments
The Departments application helps you organize your product management efforts. It allows you to specify users responsible for the management of products in selected departments of your on-line store. This means you can have different product managers, for example, for the Books department and for the Electronics department.
You can create a single department and place there all your products. If you run a bigger store, your better option is to create multiple departments and have them managed separately by specialized product managers.
Departments are a different feature from product categories displayed to the visitors of your website.
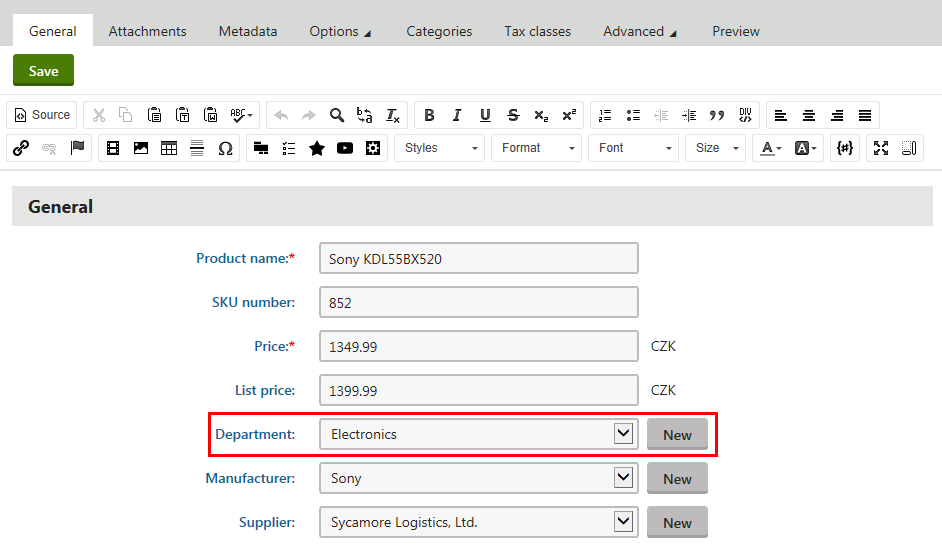
When creating a new product or editing an existing one (on the General tab), you can specify a department under which this product should be placed. You can do this by using the Department drop-down list, or you can add a new department.
Managing departments
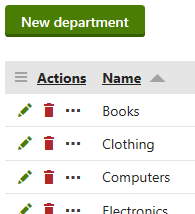
You can manage your on-line store departments in the Store configuration application on the Departments tab (or in Multistore configuration -> Departments; global departments only). Here, the system displays a list of all defined departments. You can add new departments by clicking New department, and you can modify properties of existing departments after clicking Edit () in the Actions column. You can also remove departments from your on-line store by clicking Delete () next to respective department items.
When editing a department, the system offers the following tabs to specify its properties:
- General
- Default tax classes
- Users
General
Here you can edit general properties of the current department.
- Display name - specifies the name of the department displayed to users on the live site and in the administration interface.
- Code name - specifies the name of the department used by developers in the code.
Default tax classes
Here you can specify which taxes the system automatically applies to all new products from the currently edited department. To add tax classes, click Add tax classes and select appropriate tax classes in the displayed selection dialog. You can remove selected tax classes from the list at any time using the Remove selected action. You can also remove all listed items at once by clicking … and performing the Remove all action.
Users
Here you can specify which users can manage products in the currently edited department. To add a user, click Add users and select appropriate users in the displayed selection dialog. You can remove selected users from the list at any time using the Remove selected action. You can also remove all listed items at once by clicking … and performing the Remove all action.