
Example - Publishing community news
In this example, you will create a new section for publishing community news. Each registered site member can create new news items and edit/delete their previously posted news. The example assumes that you are using the Corporate Site sample website.
Creating the community news section
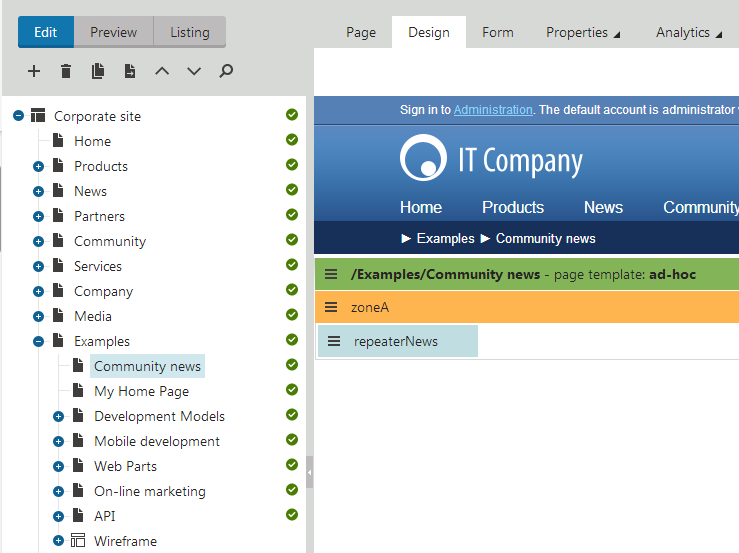
- Open the Pages application and Create a blank page called Community news under the Examples page.
- Switch to the Design tab of the newly created page and add the Repeater web part. Set the following properties:
- Web part control ID: repeaterNews
- Page types: cms.news
- Transformation: CMS.News.preview
- Selected item transformation: CMS.News.default
Adding the New page button
Add the Contribution list web part to the Community news page. Set the following properties:
- Show for page types: cms.menuitem – this ensures that the web part is displayed only when the list of news is displayed, not on the news detail page.
- Allowed new page types: CMS.News – this means that the users will be allowed to create only news items under this section.
- Display list of pages: disabled – this ensures that the web part displays only the New page link, without displaying the list of pages.
- Allow editing by users: Authenticated – this means that only authenticated users will be able to edit/delete the page.
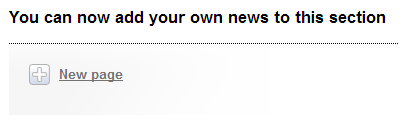
The web part displays the New page link. Try to create a new page using the link on the live site.
Adding the editing support
Add the Edit contribution web part to the Community news page. Set the following properties:
- Show for page types: cms.news – this ensures that the web part is displayed only on the news detail page.
- Allow editing by users: Page owner – this ensures that only the creator of the news item can edit or delete the page.
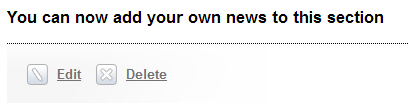
The web part displays the Edit and Delete buttons when an author opens a news item they wrote.
Testing the results
- Open the Users application and click New user.
- Set the following properties:
- User name: test
- Full name: test user
- Privilege level: None
- Click OK to save the user.
- Switch to the Sites tab and assign the user to the Corporate site.
- Sign out and sign in to the Corporate site as test.
On the Community news page, the test user can see and use the New page link. Once you save a new page, the Delete button appears. If you go back to the Community news page and click the newly created news item, you can edit or delete the news item.
Approval process
To set up an approval process for published news, use workflow on the particular site section.