
Create a navigation menu
Navigation menus give your visitors a quick way to move through your website and find the content they need. In Kentico Xperience, menus are flexible. You can set up a simple list of links, build a fully customized navigation structure, or adapt menus for different devices and channels.
This guide explains the options you have for building navigation menus and highlights the best practices to follow. You’ll learn how to add new navigation menu items, adjust their order, and include external links when needed. By the end, you’ll know how to create a clear, user-friendly menu that works across desktop and mobile.
Prerequisites: you have a Kbank demo site Kbank demo site running to follow along with the exercise.
Create a new navigation menu group
A navigation group is a menu item that holds a set of related links. It’s often used as a top-level item in the menu bar (for example, Accounts with links to Premium account and Advanced account), but it can also be placed deeper in the menu wherever you want to provide expandable links. The links you add inside it appear together as part of the menu upon hover.
- Go to the Personal banking channel in the Channels application.
- Select Navigation menu -> Header nav in the content tree and create a New page:
- Fill in the Page name: Promotions
- Choose the page’s Content type: Navigation menu group.
- Finally, Publish the new navigation menu.
You can change the order of the navigation menu group by dragging it to your desired location, either in the top-level navigation menu or within subgroups.
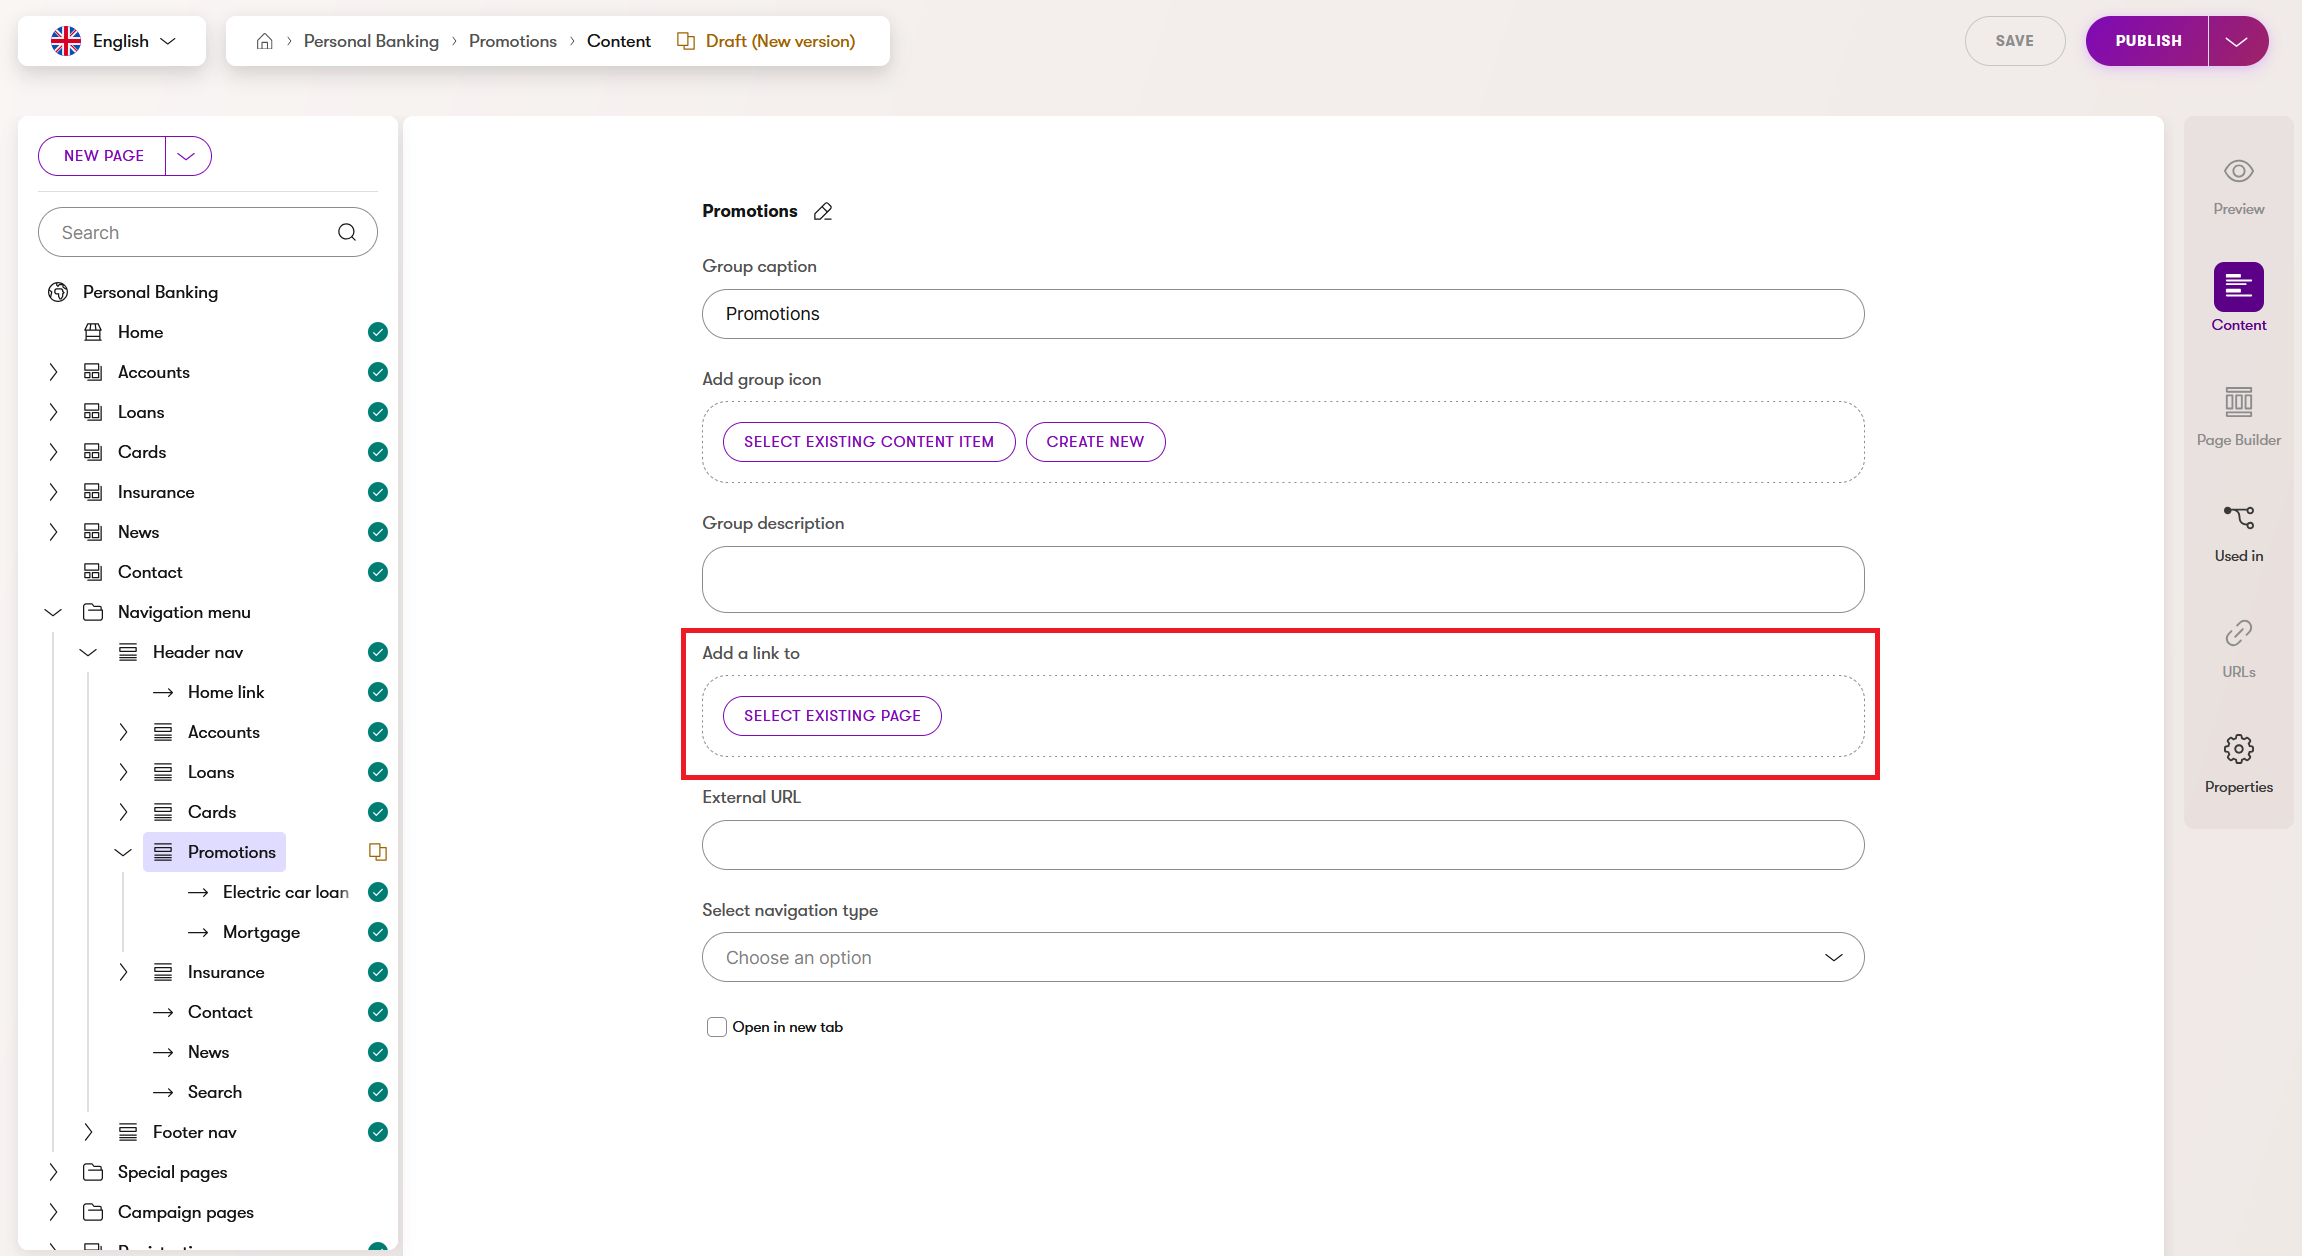
The navigation group can also link to a page. To link a page to the navigation group, edit the page representing the navigation group, search for the page you wish to link using the Add a link to selector and select the page from the navigation structure.
Add a new navigation menu item
A navigation menu item is the child item of the navigation group. To add new menu items to your Promotions navigation menu:
- Click New page under the selected Promotions menu group to add a new menu item.
- Fill in the following details:
- Page name: Electric car loan
- Content type: Select Navigation menu item (or the appropriate content type for menu items in your project).
- Continue.
- In the next step, enter the Caption corresponding to the Page name.
- Add link to page by searching for the Electric car loan page and selecting it. With this field, you can only add pages from within the current channel. To add a page from another channel or from anywhere on the internet, see how to add a navigation menu item linking to an external page
- Publish your new navigation item.
The new menu item “Electric car loan” will now appear in your navigation menu. You can reorder or further configure it as required.
Add a navigation menu item linking to an external page
To add a menu item that links to a page from a different channel using an external URL:
- Click New page under the selected Promotions menu group to add a new menu item.
- Fill in the following details:
- Page name: Mortgages
- Content type: Select Navigation menu item (or the appropriate content type for menu items in your project).
- Continue.
- In the next step, enter the Caption corresponding to the Page name.
- Add a link using External URL. Enter the full URL of the page from the other channel (for example, https://www.example.com/mortgages).
- Publish your new navigation item.
The new menu item “Mortgages” will now appear in your navigation menu and will link to the specified external page from another channel. You can change the order of the navigation menu items by dragging it to your desired location within the Promotions folder.
When setting up a navigation menu for another language variant, ensure that each linked page in the navigation menu has a translated version available in that language. To make the translation of the content easier, you can use AIRA translations.
You have now successfully created a new navigation menu group and added items.
Tips to implement your own navigation menu
Before creating a navigation menu group, coordinate with your team on which pages to include and ensure developers have prepared the menu setup. This will help you manage the menu without issues.
Navigation menus also need to work well on both desktop and mobile devices. Follow these tips to keep your menu clear, usable, and consistent across devices:
- Keep menus short: Aim for 3–5 main items. Long menus may look fine on desktop but are hard to use on mobile.
- Check both views: Always preview the menu on both desktop and mobile.
- Avoid deep nesting: Multi-level dropdowns are difficult to use on mobile.
- Use clear labels: Short, descriptive names prevent wrapping or overlap.
- Highlight key actions: Place important items (e.g., Contact, Promotions) where they’re easy to tap.
With your navigation menu set up, your visitors will have a much easier time finding key content and moving through your site. Remember to review your menu regularly as your website evolves, and adjust it to keep navigation clear and user-friendly.