Create a landing page from page components
A landing page is a page designed for a specific marketing or advertising campaign. It focuses on a single offer or product and has a simple purpose - conversion.
Let’s create a landing page from page components in the Kbank demo site. You’ll create a landing page for a special promotion of personal loans. The targeted group is existing Kbank clients with premium accounts. It offers higher loan limits and lower interest.
Prerequisites: you have a Kbank demo site running to follow along with the exercise.
Create the landing page
1. Add the new page to the content tree
Create a new landing page in the Personal banking channel within the Campaign pages folder.
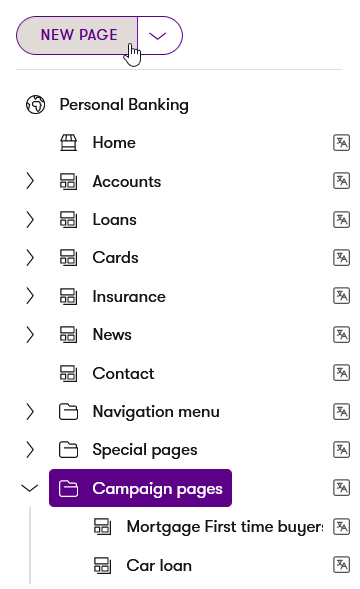
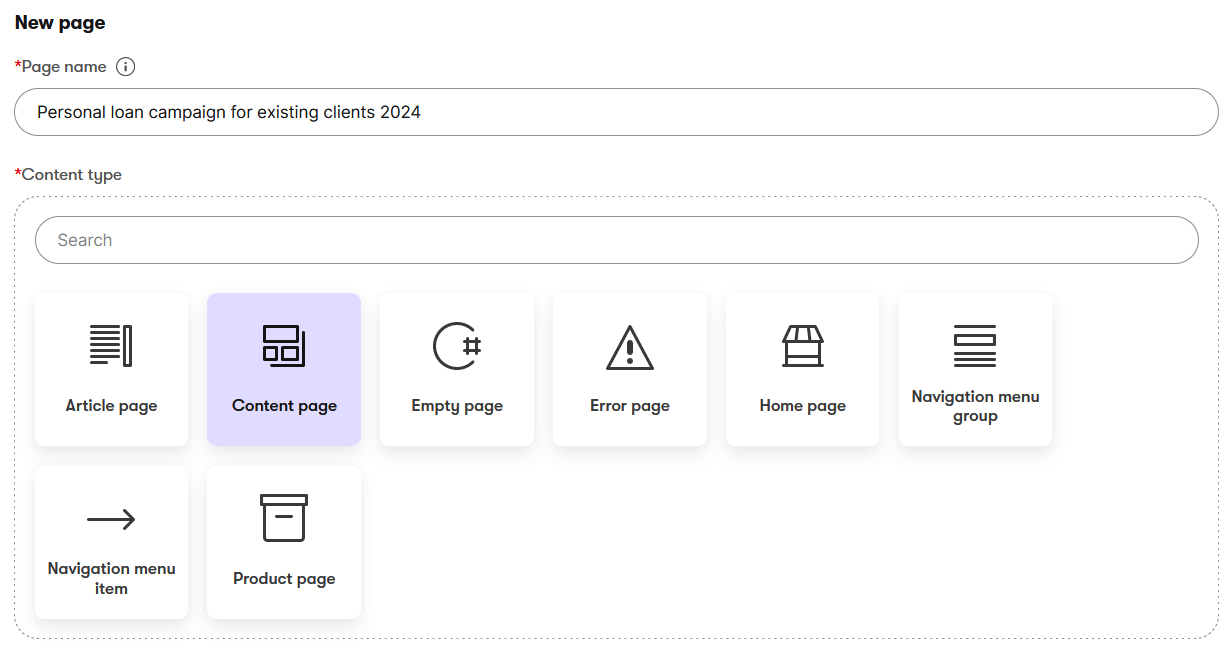
Call it a Personal loan campaign for existing clients in 2024. This is an internal name that will not appear publicly or anywhere in the system, so you can follow a specific naming pattern. If you don’t have any naming conventions in your company, be descriptive enough to give your team an idea of what the page is used for. Use the Content page type and continue to the next step.
2. Remove the page from indexing by search engines
Since you are creating the landing page for a selected group of people, you don’t want it to be publicly available or searchable.
Kbank pages have SEO properties that allow editors to influence how the search engines see and treat every page. By unselecting the SEO Index page in the SEO part, you make sure the search engines don’t index the page and won’t show it in any search results.
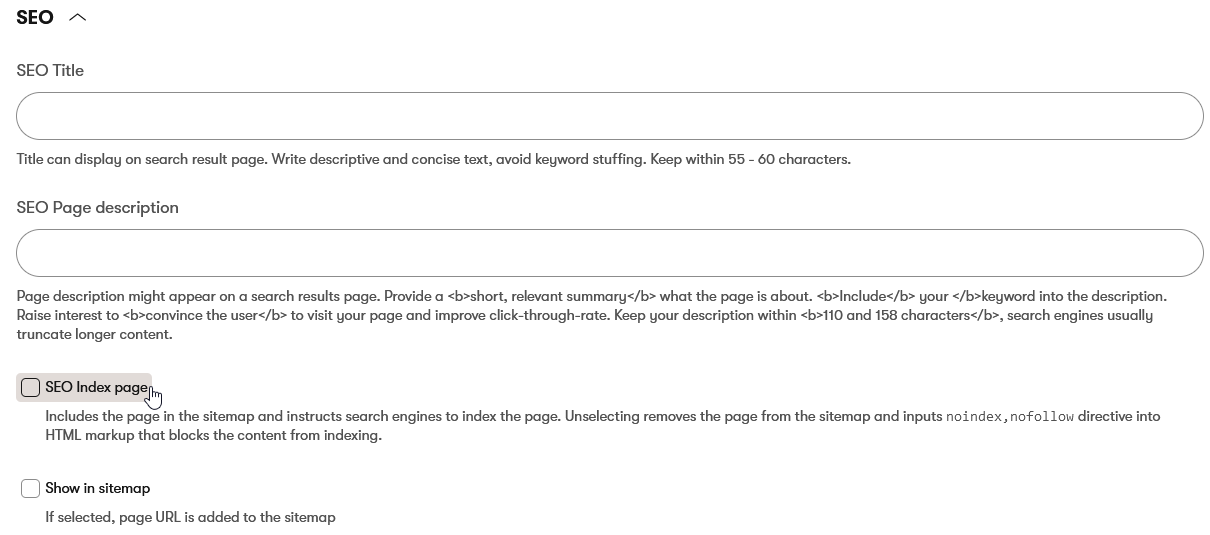
Similarly, for the same reason, select the Exclude content of this page from Rich results on Google option.

Save the changed settings.
Fill in the content
3. Add a Hero banner to the page
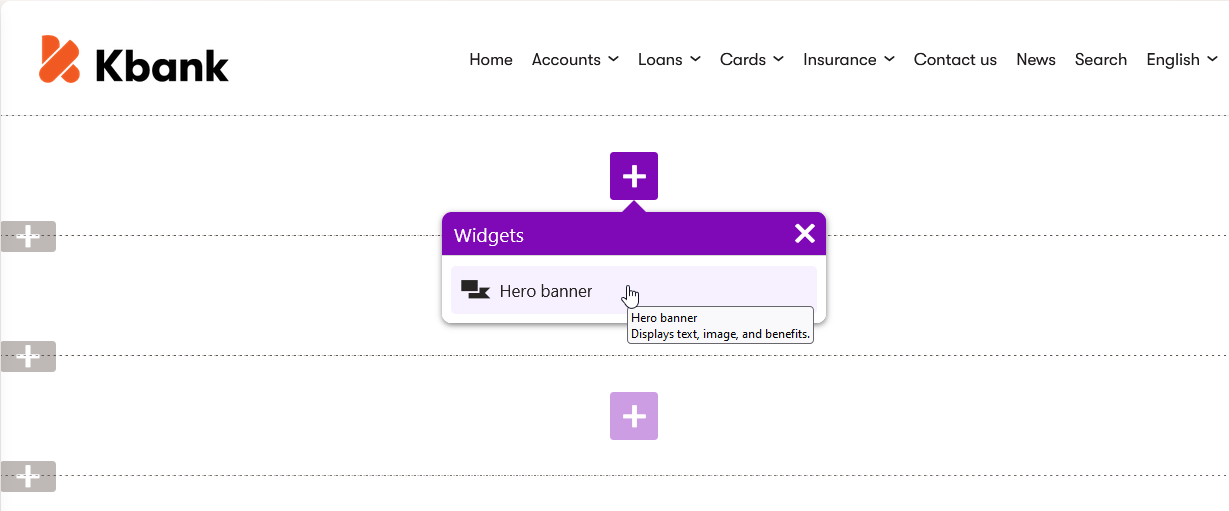
In the Page Builder, add widgets that you’ll use to populate your page with content. Start with the Hero banner at the beginning of the page.
You can see in the screenshot below that the top section of the page allows you to add just the Hero banner. Kbank developers set this up to ensure visual consistency on all the pages. Editors can add captivating images to the Hero banner, paired with brief text to capture visitors’ attention and create a positive impression.
4. Select content to promote
To promote a specific product and populate the widget with content, open the Hero banner properties via the Configure widget button. Select product page and add the page with the product you want to promote to select the intended product in the content tree.
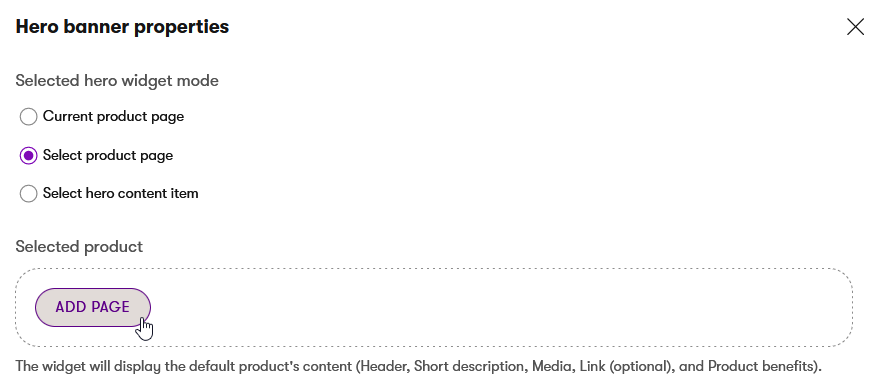
In this exercise, we want to promote personal loans. Select the Loans folder in the content tree and the Personal loan product page.
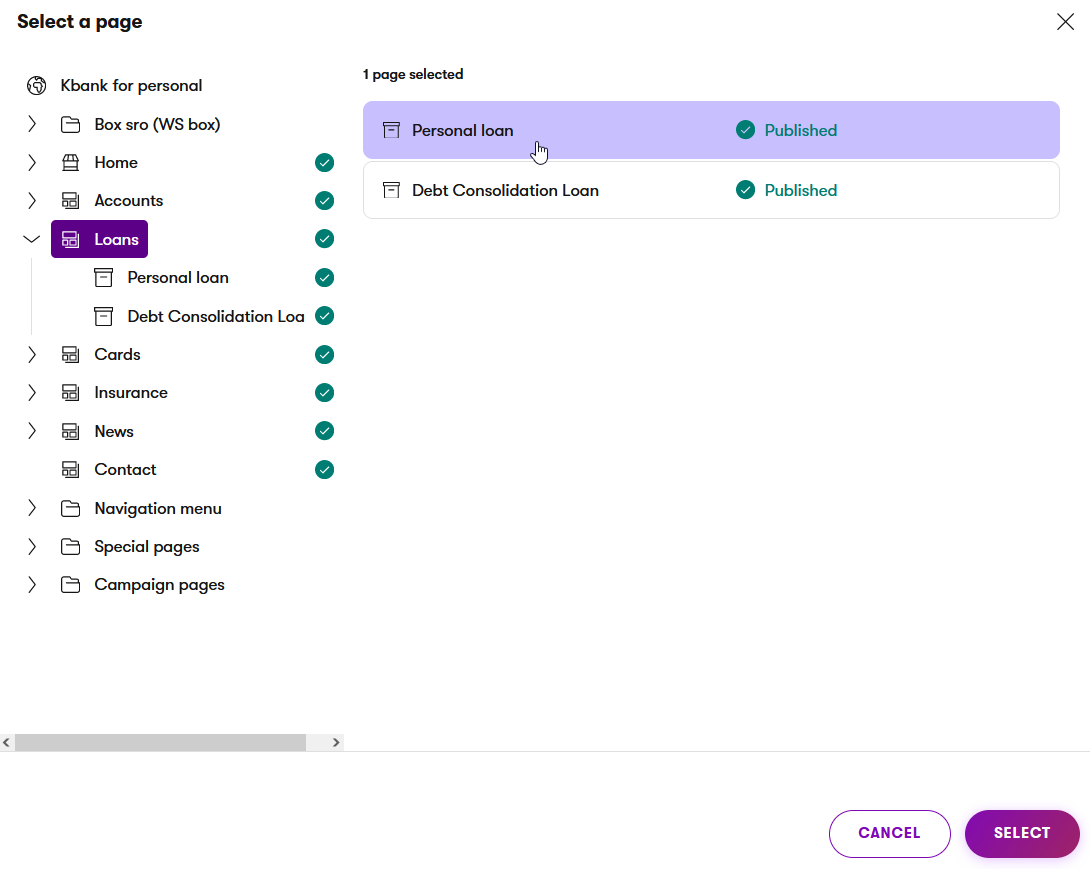
5. Make the content stand out
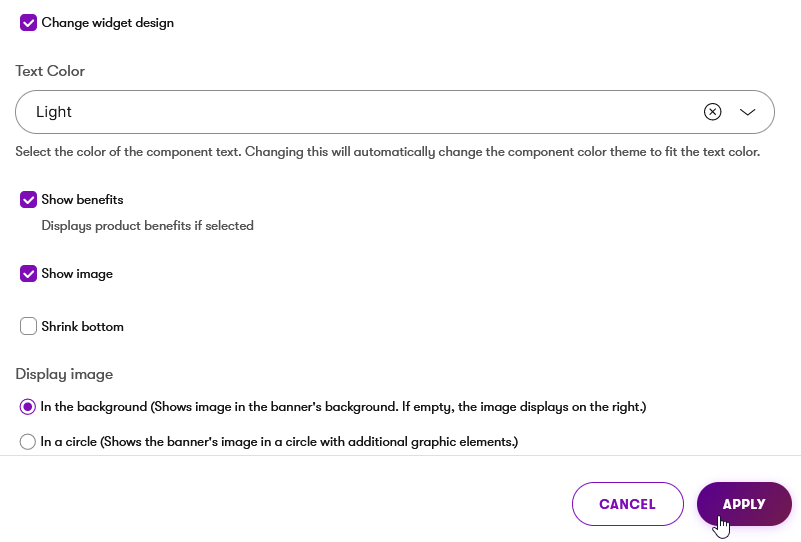
Change the widget design to make the hero area stand out (and distinguish it from the original product page). Switch the text color to Light, show the benefits, and display the image in the background.
6. Tell visitors about the benefits
In the next section, you want to introduce the special offer for the current Kbank customers. You’ll create a separate benefit tailored for the targeted group and link it to the Benefit widget.
The special benefit is meant for this special campaign. Still, you can reuse it on the landing page, in campaign emails, or for any similar campaign in the future.
Let’s create the special benefit first
- Create a new item in the Content hub.
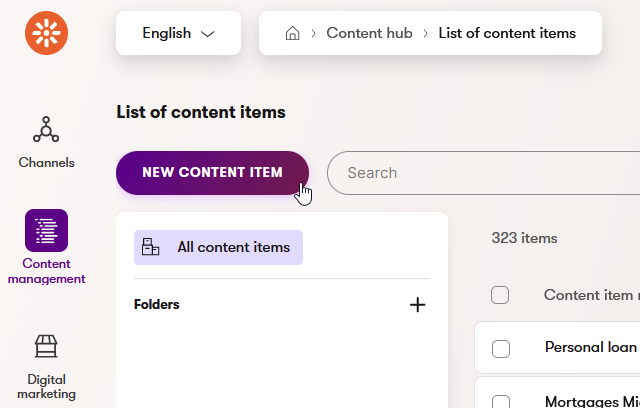
Name it Personal loan special offer 2024 to imply this is not a standard benefit and should be used only in this specific campaign. Use the benefit content type.
Describe the special offer and pick the Trophy icon:
As our valued client, take advantage of this unique personal loan opportunity!
You can now borrow up to $30,000 compared to the standard personal loan. We also give you a friendlier interest rate, lowered by 2%.
- Select the Product benefit category.
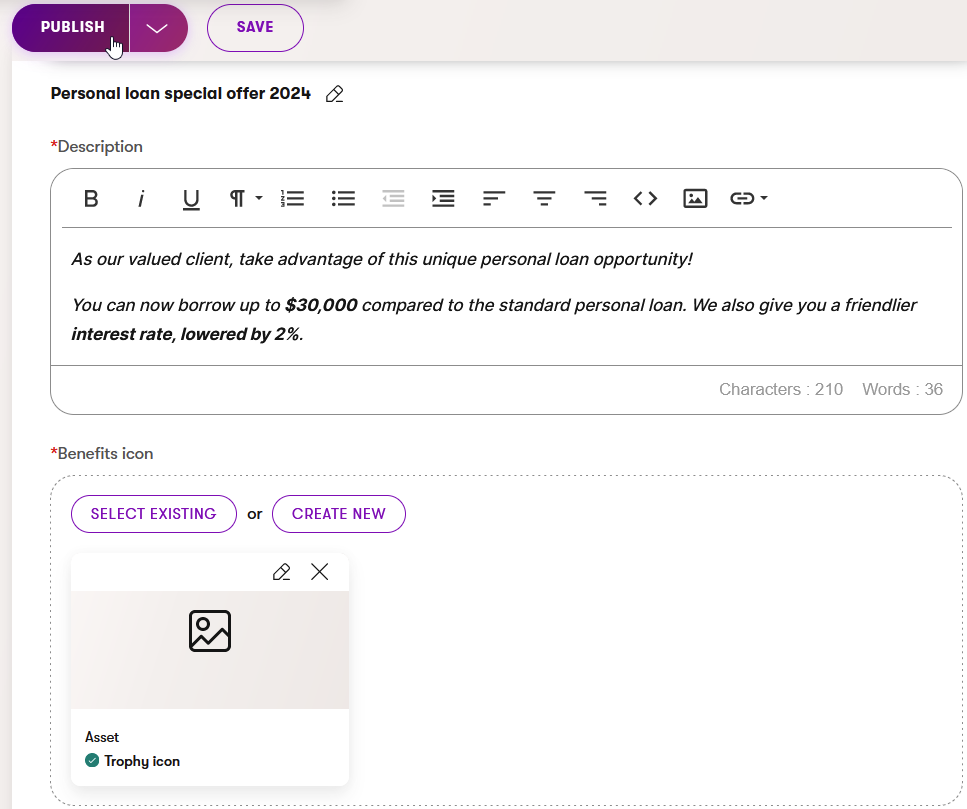
- Publish the benefit content item to make it visible on the page. If you don’t publish the content item in the Content Hub, you’ll see the new item in draft status in the Page Builder. You can open the content item, edit dialogue, and publish it directly from here.
Let’s continue with the landing page.
7. Promote a special offer
Add a Page heading and then Benefit widgets into one section.
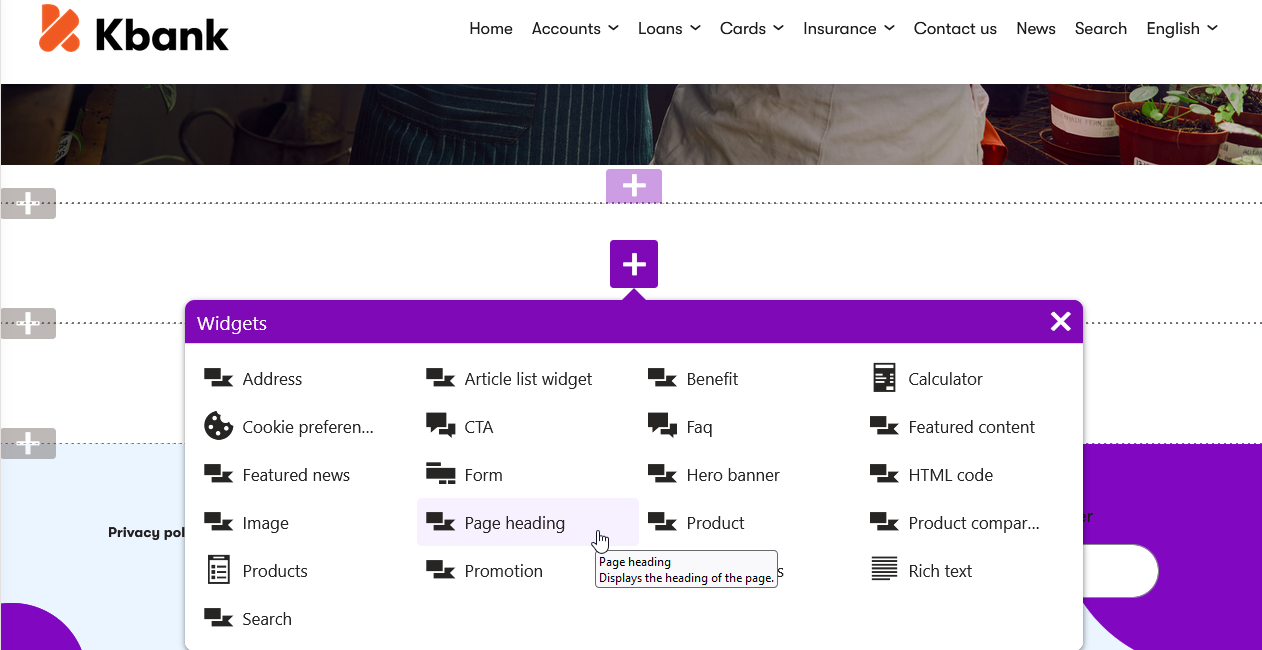
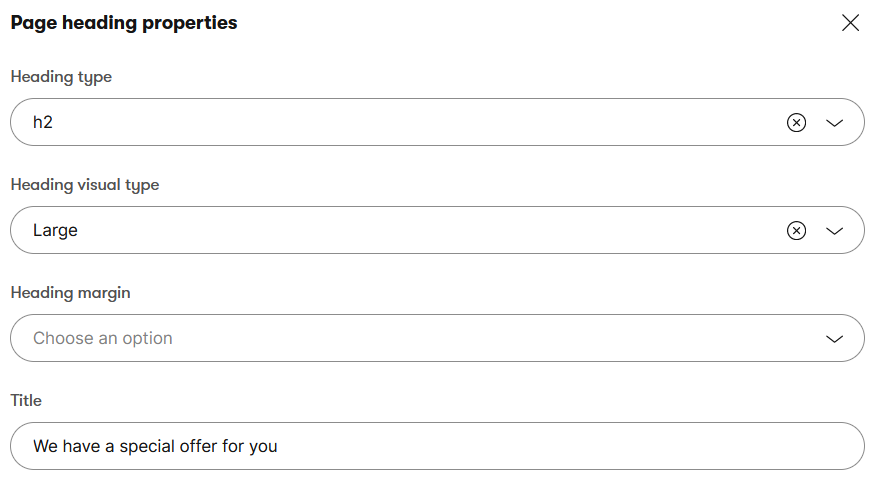
In the Page heading properties, choose the Heading type H2, Heading visual type Large, and add the **Title*:
We have a special offer for you.
8. List special offer benefits
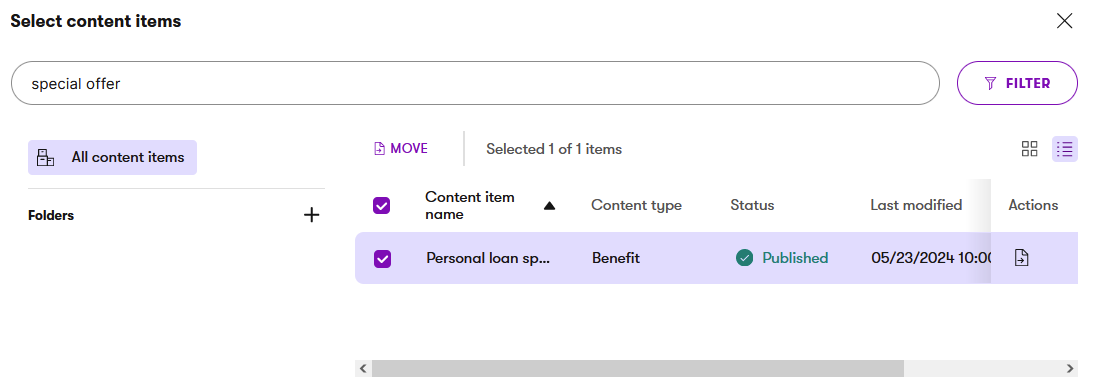
In the Benefit properties, select the Benefit content items and choose from the existing benefits.
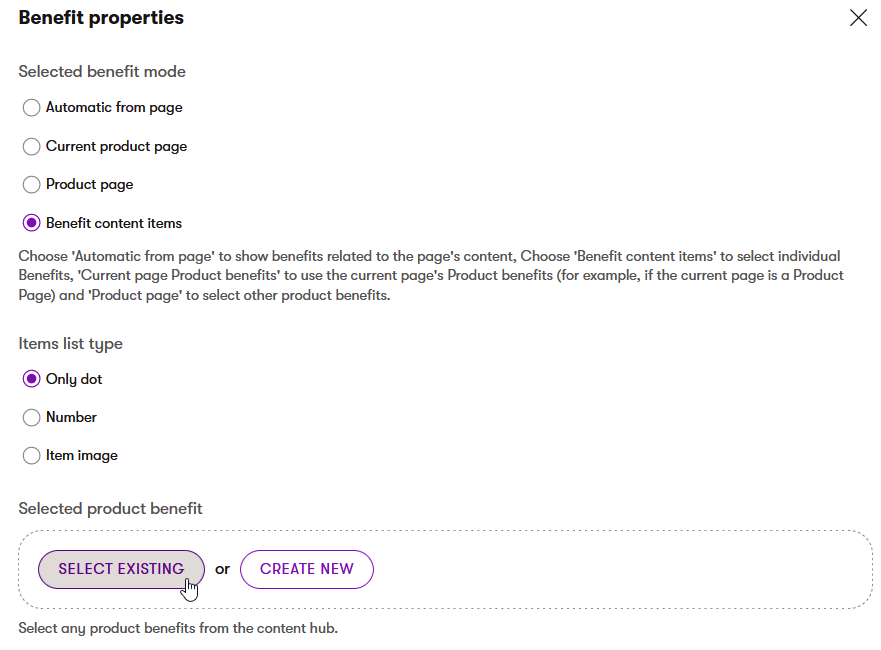
Now, find the special benefit you prepared.
You want your audience to know they don’t have much time to hesitate! The offer is limited and is not coming back so they need to act when there’s still time. Let them know the offer ends in two months.
This information is specific to this campaign. You won’t repeat it anywhere else in your website, so you can use a Rich text widget.
9. Provide additional details to the special offer
Add the Rich text widget with the following text:
This offer is available for the next two months from launch, ending on 30 July 2024. Requests received after this date will be processed as a standard personal loan. You can request one or more loans during this period for the total sum of 30.000 USD.

10. Lure readers in with a powerful image
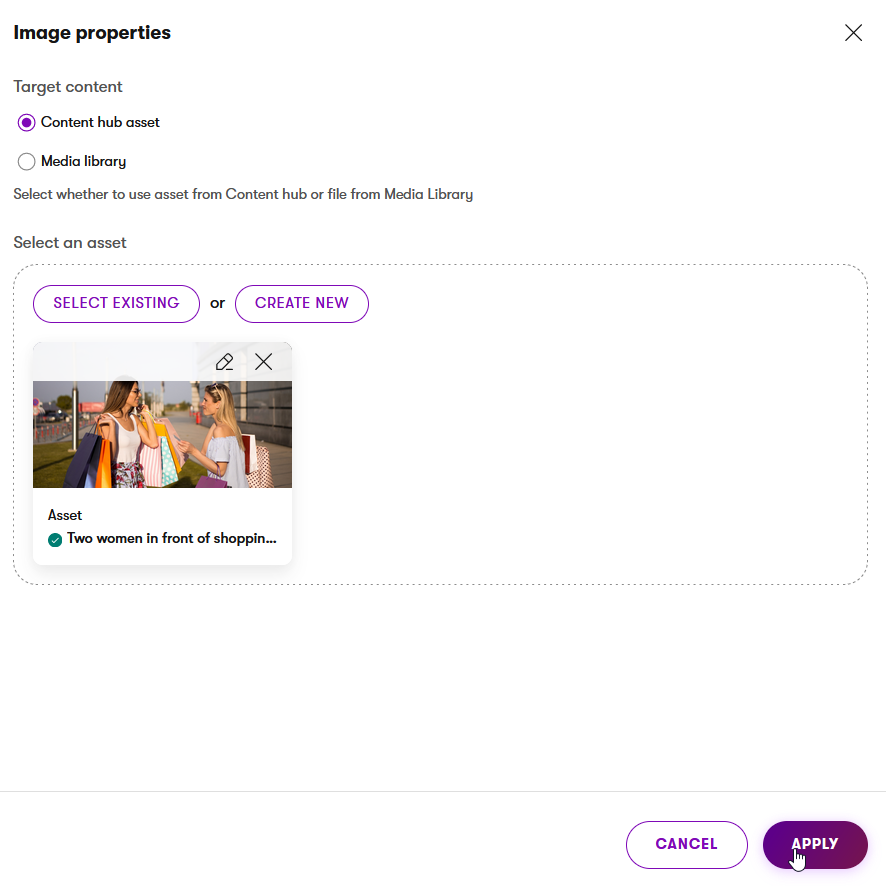
To freshen up the page a bit, let’s add an image. Use the Image widget, and in the properties select existing content hub Asset. Choose the Two women in front of shopping mall image.
11. Collect visitor’s data with a form
Every landing page should end with a clear call message of what to do next. It can be, for example, a Call to action button or a from.
Let’s complete the page with a Form to contact the Kbank loan experts, who will contact the client and finish the loan processing.
For this exercise, create a new form that will group all the specific contacts in a dedicated contact group. Name the form Personal loan special offer 2024 and include the following fields:
- First name (mandatory).
- Last name (mandatory).
- Phone.
- Email.
- Leave a message.
If you don’t know how, check our guides about how to create a form and a contact group.
Add a Form column and the following widgets: the Page heading and Form widgets.
For the Page heading, choose the Heading type h3, Heading visual type Large, and the Title:
Contact Kbank’s loan experts to get your special offer.
In the Form widget, pick the Personal loan special offer 2024 form. Display a message after submission:
Thank you! Our loan experts will contact you within the next business day.
Publish the page
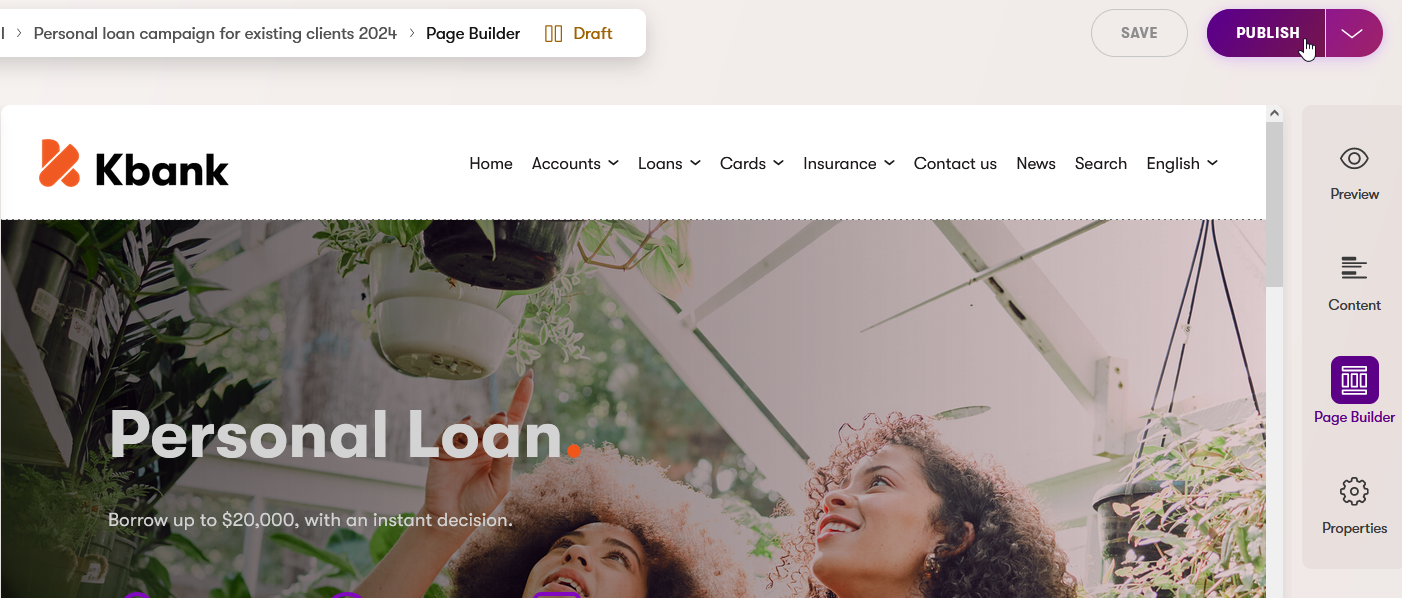
Now you have the landing page ready. You can publish the page so it’s available and ready for the campaign.
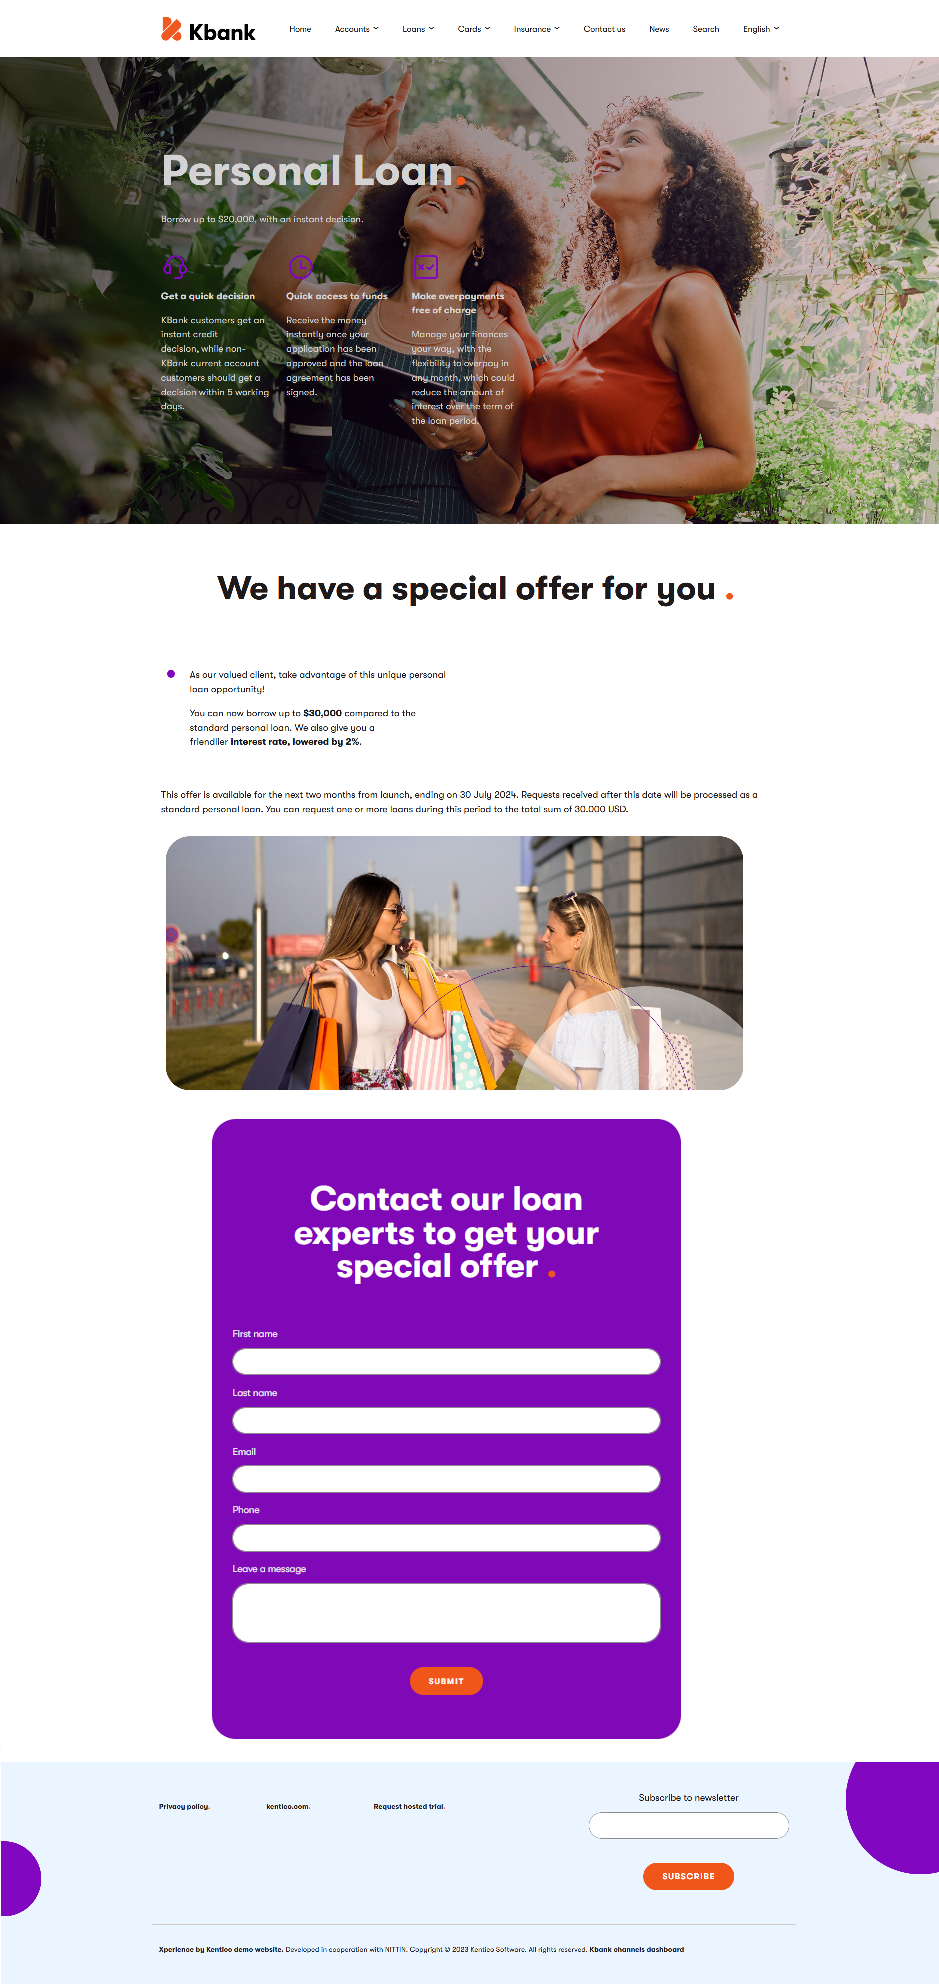
If you have followed this exercise, your landing page will look like this:
Next step
In the next guide, you’ll learn about creating a reusable landing page template.