How to model a 404 page
When you’re exploring the digital world, a 404 error page comes into play if you, the user, try to visit a page that doesn’t exist or has been removed. The 404 is a server response code indicating a user is trying to access an invalid URL. There are many HTTP status codes that respond to user requests, each one of them with a different meaning.
When a supposedly functional URL leads a visitor to a page that no longer exists or has been taken down, a well-designed 404 should navigate them back to your website. With Xperience, you can create a 404 page that aligns with your company’s brand design and ensures a positive user experience rather than making the visitors leave confused.
You can check some best practices for the 404 pages here.
Set up a 404 page in Xperience
Let’s see how you can create a 404 page in Xperience by Kentico. We’ll use Kbank’s demo website as an example.
The 404 page you see in the Kbank demo is created to match Kbank guidelines. Your 404 design, the widgets you’ll use, and their configuration will depend on how your Xperience application is implemented.
Store the error pages in one place
Before you create the page, think about where you want to store it in the content tree. If you plan to create more than one error page, keeping them together in one place is a good idea. This way, you know where to look for them.
As you can see in the example below, there is a folder in the content tree dedicated to Special pages, with an Errors subfolder.
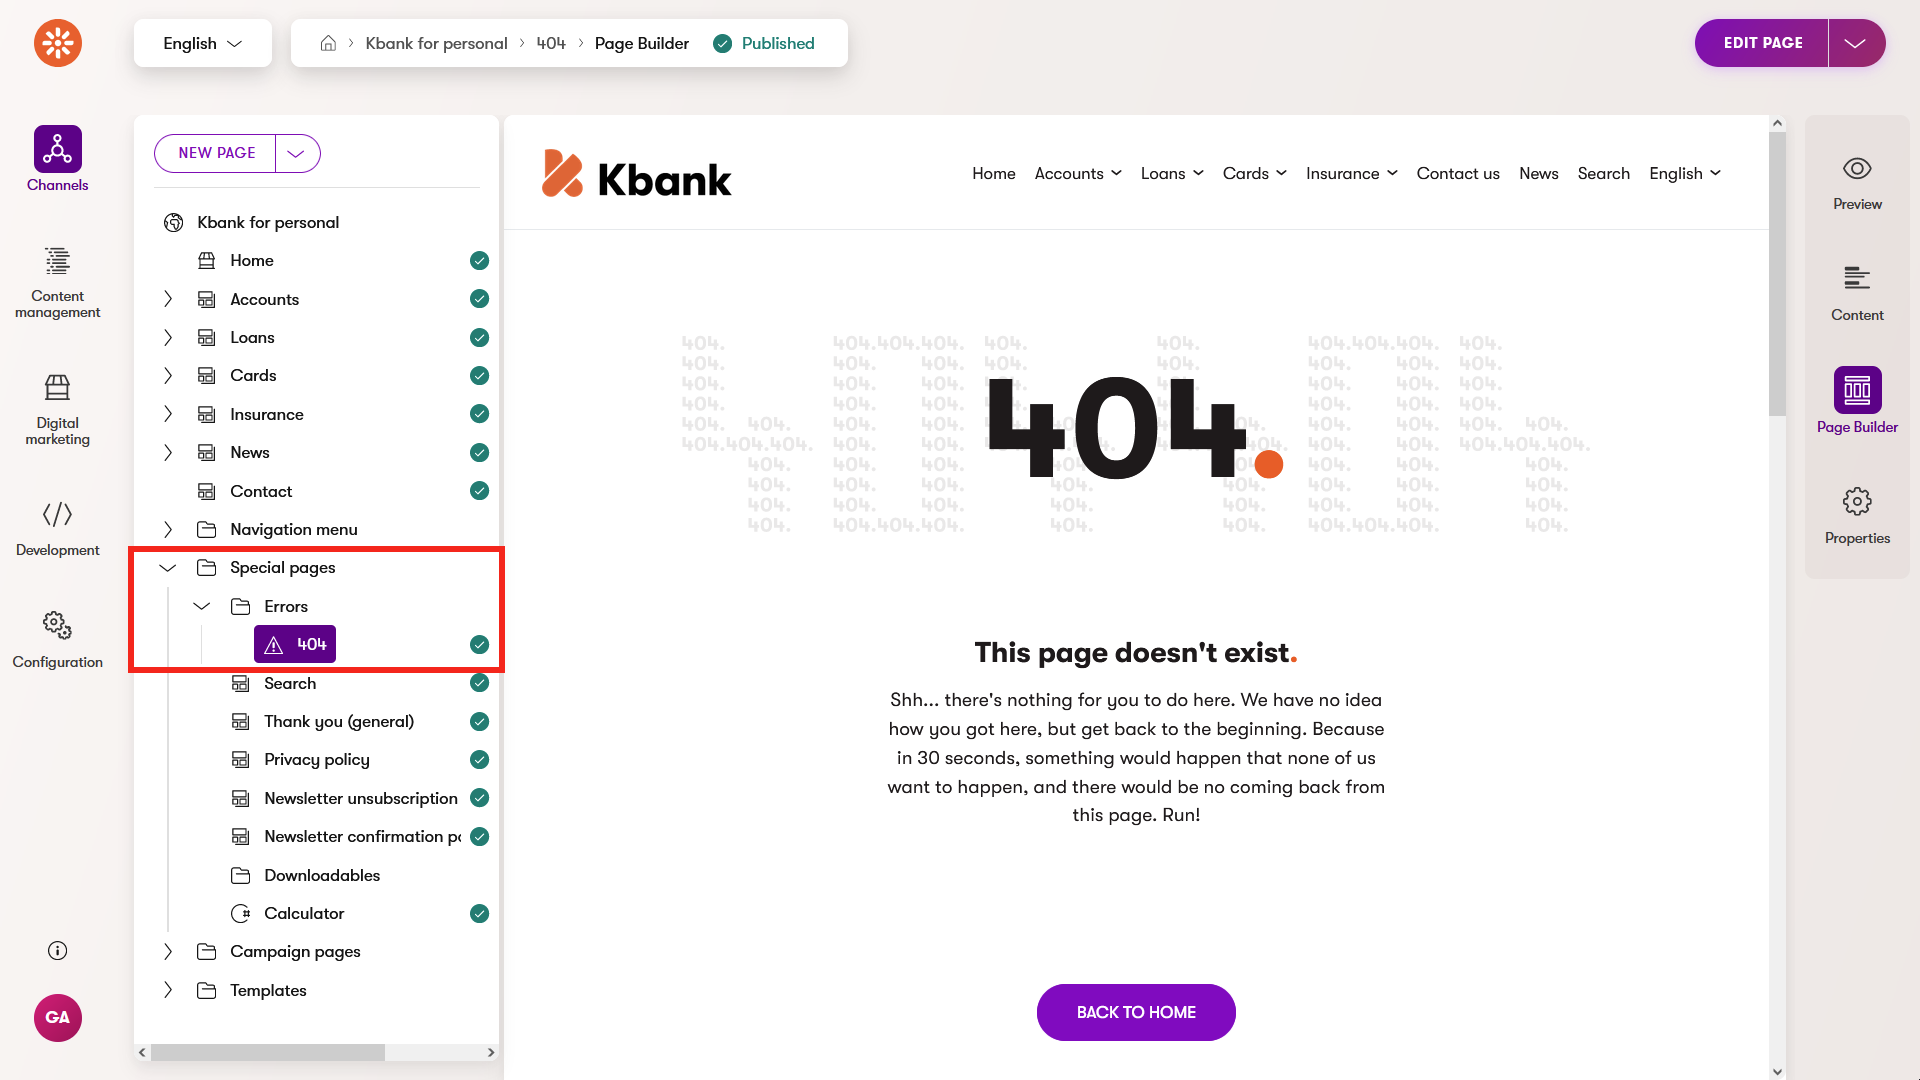
Create the 404 page
Let’s imagine a scenario where you already have a Special pages folder in the content tree and want to add a new folder for error pages. You know you plan to create just the 404 page for now, but you may add more error pages in the future.
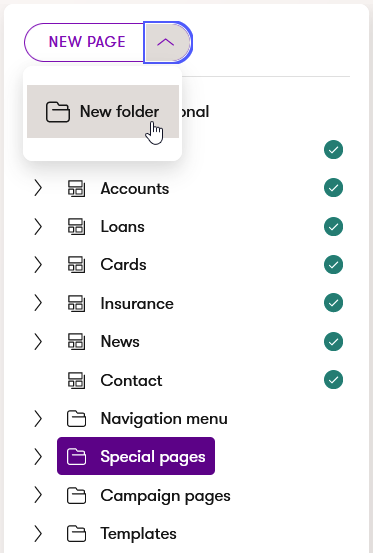
To create a new folder, select the Special pages in the content tree. Open the drop-down menu next to the New page button. Use the New folder button to create an Errors folder.
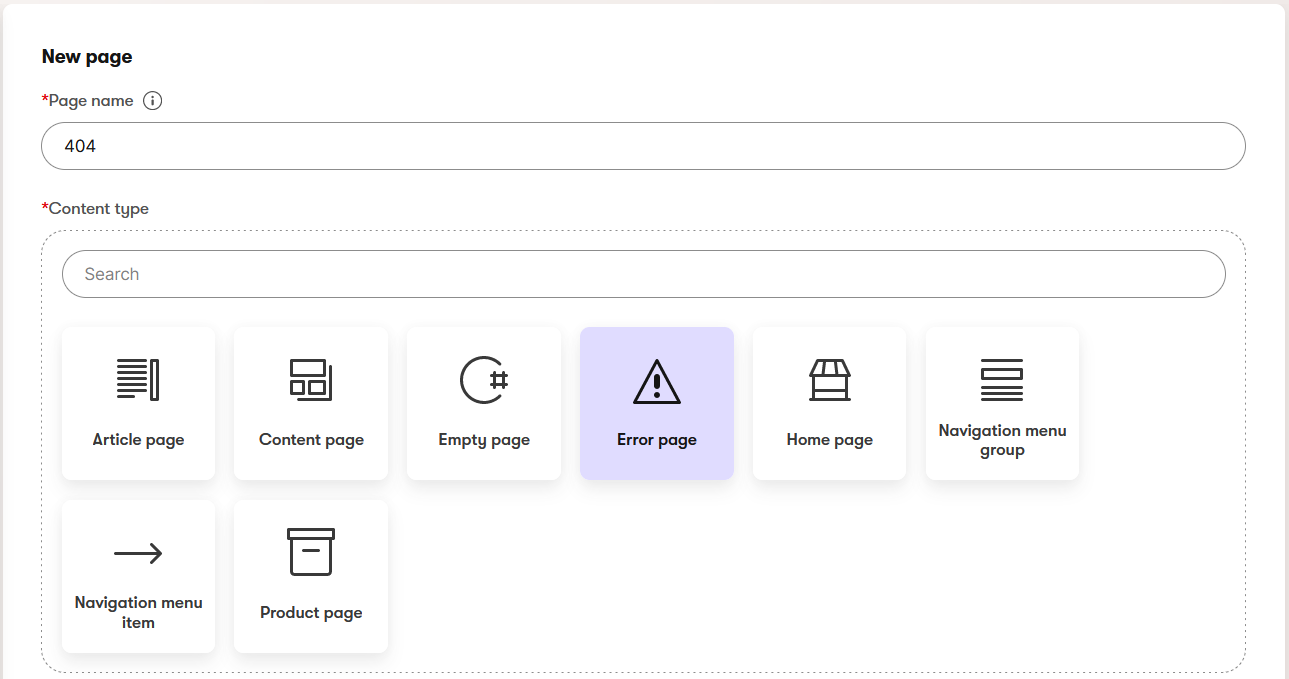
Now select the folder you’ve just created and add a New page. Choose the Error page type and name it 404.
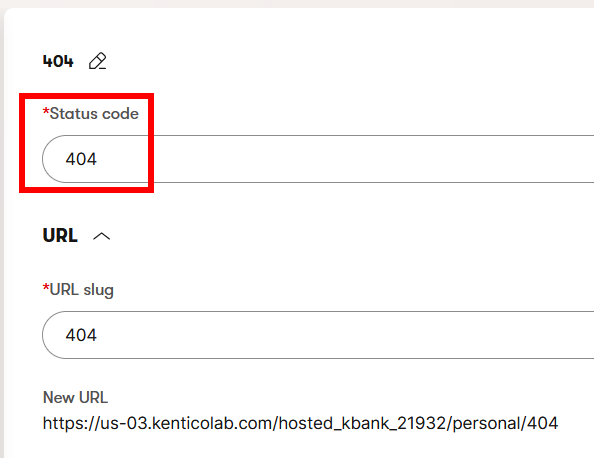
Fill in a Status code. It tells Xperience to display this page when the specific server error appears. So, in this scenario, the Status code will be 404.
Save your changes and switch to the Page Builder tab to set up the page content.
The way editors created the 404 in Kbank is just a band-aid. They wanted to save time so they used existing widgets and created a very simple page. For them, it wasn’t worth it to create special designs or custom widgets.
The first banner we use is a Rich text. Error pages are a good example of using the Rich text widget with non-reusable content. The error page is one of a kind, and its content is so specific that there is no need to make this content reusable and save it in the Content hub. Add the “404” header and a paragraph explaining the page was not found.
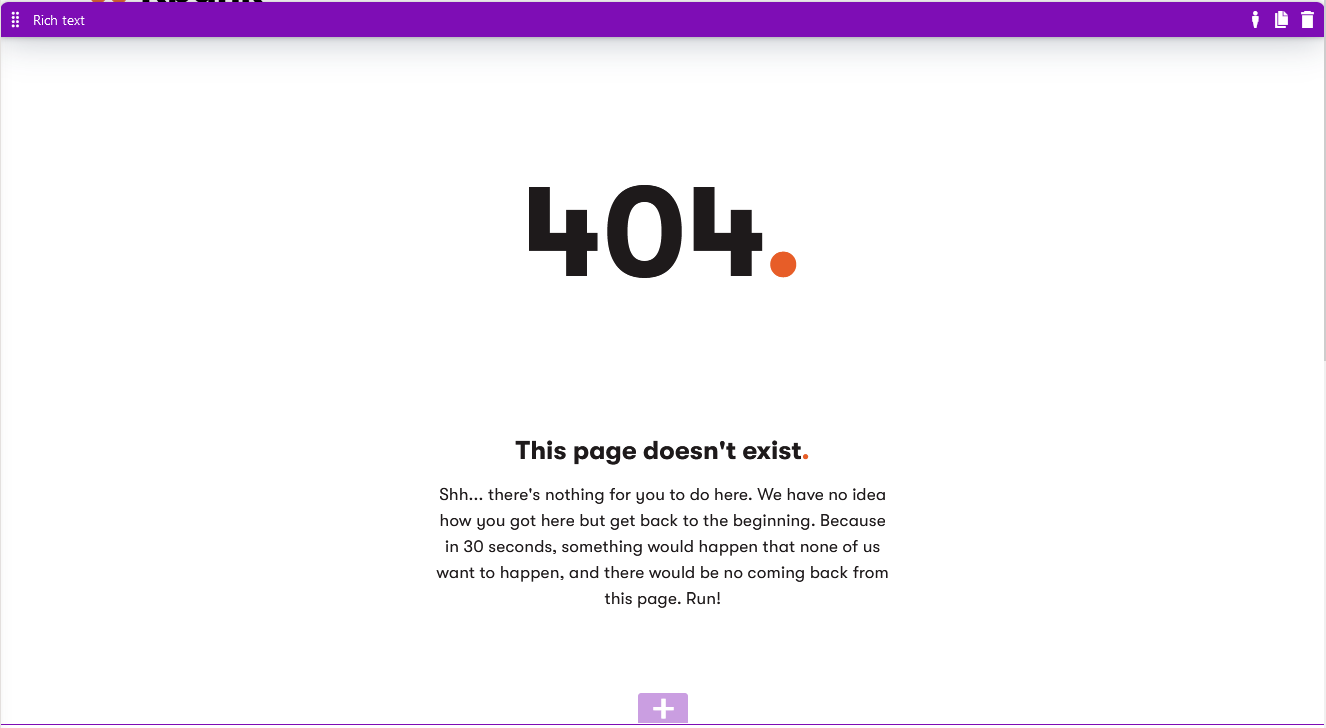
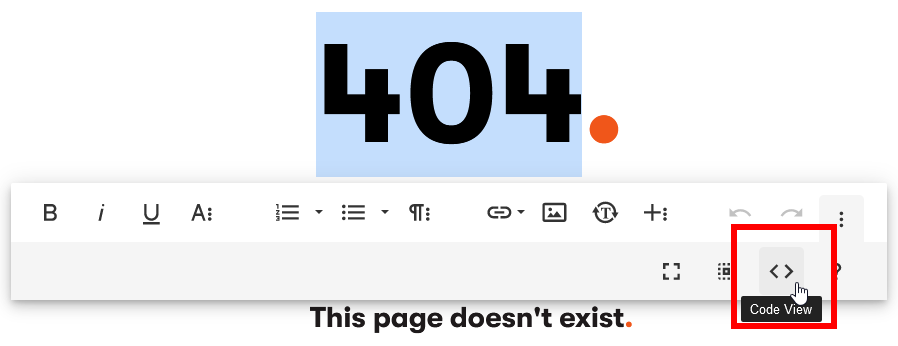
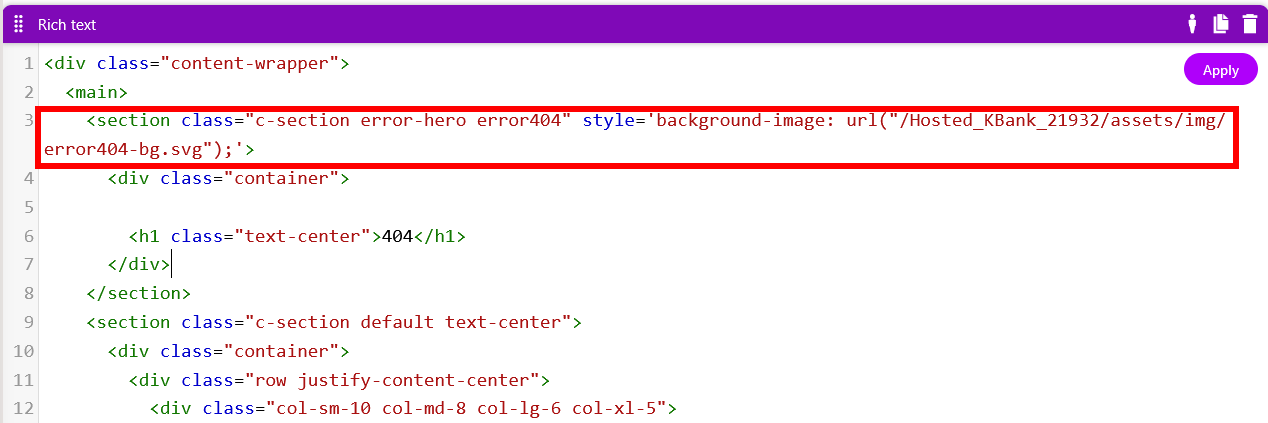
To adjust the widget’s styling, open the Rich text editor, select the More misc option on the right, and choose the Code view. You can change the background using the HTML code.
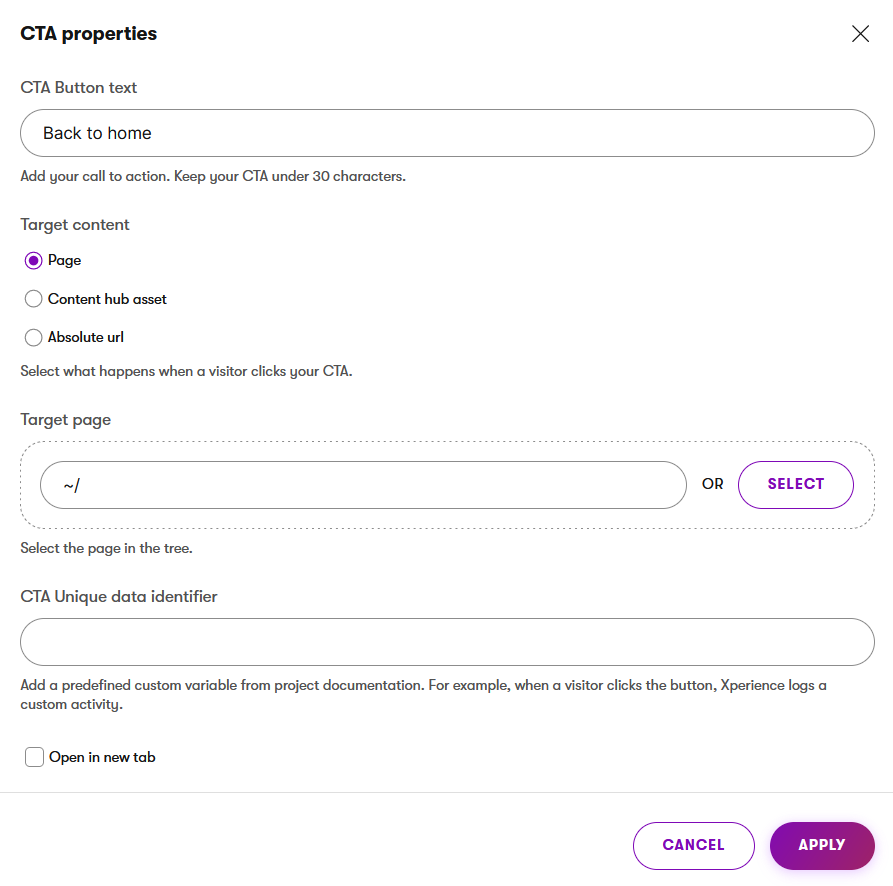
The first widget explains to the visitors what happened. The second one helps them return to the home page and start their journey all over. Use the CTA widget, name it “Back to home,” and link it to the home page.
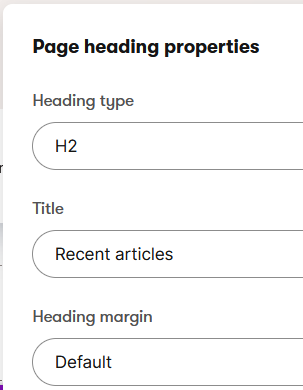
The last two widgets offer the visitors links to the latest articles. Use the Page heading for the section title and the Article list widget, which links the News section of the content tree and will display the newest articles.
Use personalization
When you complete the error page, feel free to further refine and enhance the experience. If you collect information about your visitors, you can offer them tailored content. Content personalization is a great tool that may help your visitors find what they are looking for and keep them on your website.
Let’s assume that some of the visitors are interested in travel insurance, and you want to guide them on their journey and offer them relevant articles. To do so, you decided to personalize the Page heading and Article list to catch their interest.
First, add a personalized variant of the widget. You have a contact group gathering visitors who showed interest in anything insurance-related, so you’ll create a new variant of the widget targeting this group.

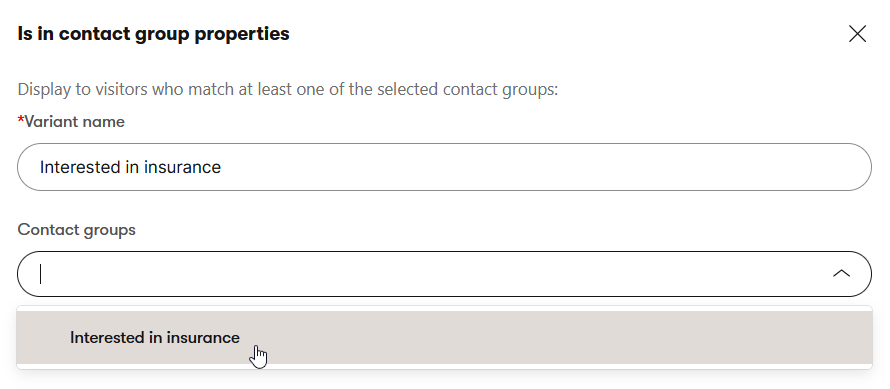

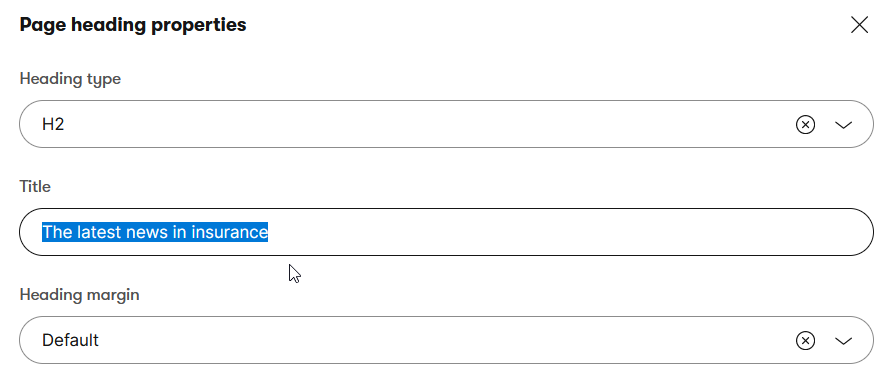
Once the variant is ready, let’s change the heading. Configure widget to open the configure dialogue window and adjust the heading. It’s good to include keywords matching the targeted group. You want to engage visitors who showed interest in travel insurance before, so the keyword here will be insurance.

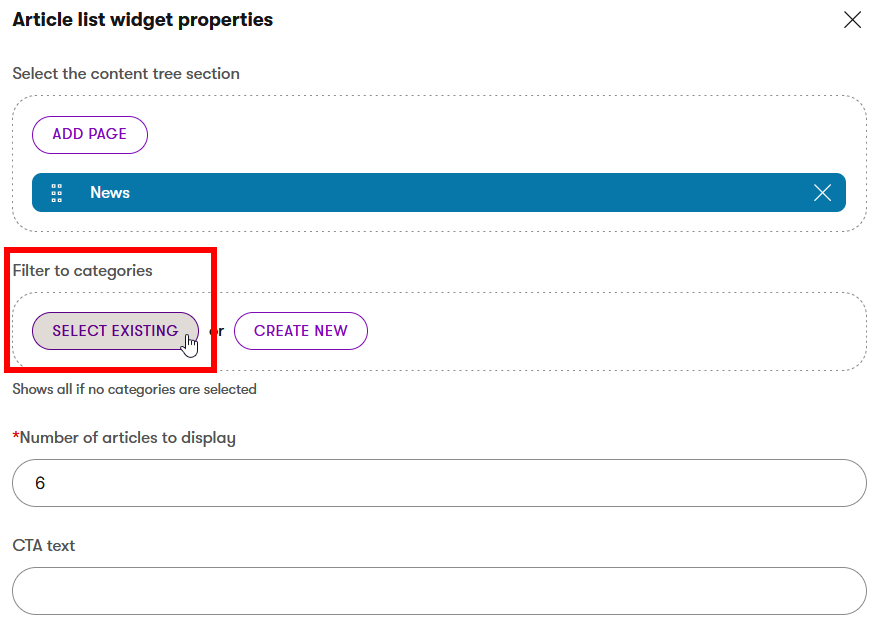
Similarly, prepare the personalization of the Article list widget.

Open the widget properties and select the existing category. Choose the Insurance category, which filters only the news in this category. In other words, you can say the chosen articles have an Insurance tag.
Kbank uses a content type called Category items to tag content with a specific category. Selecting the insurance category filters all articles editors tagged with the category into the article listing.
The personalization is done. This is what the widgets for the specific contact group look like:
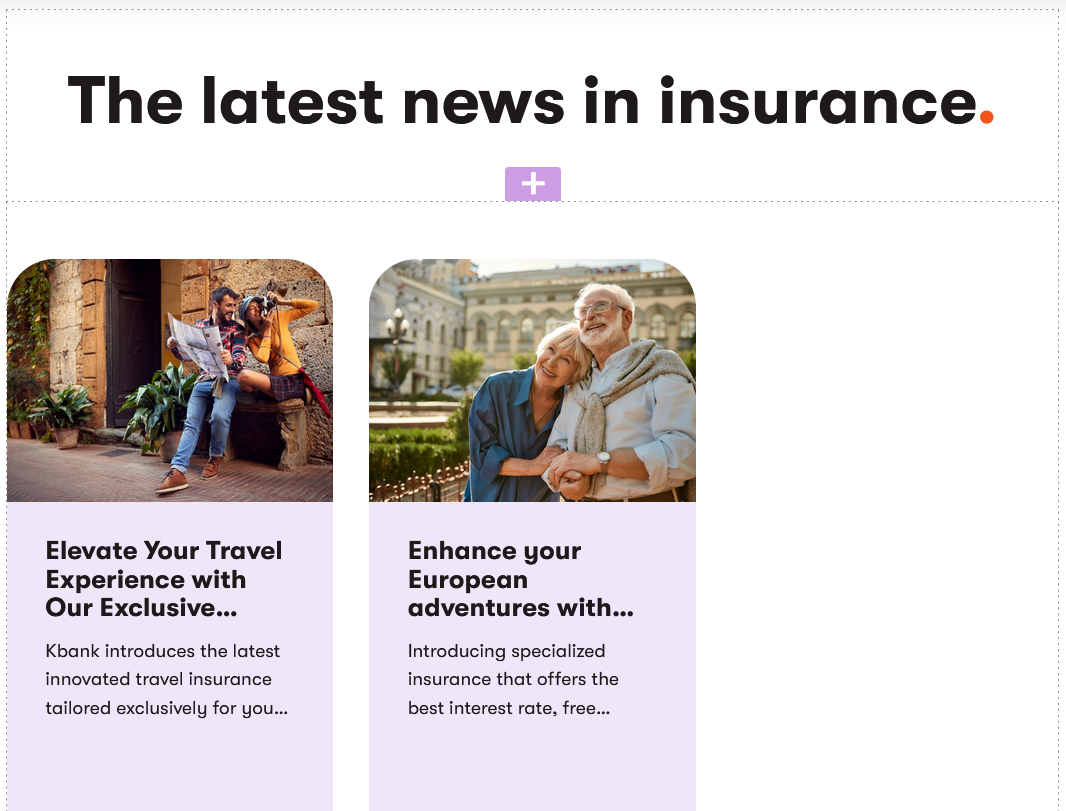
You’re not limited in the number of personalizations, so you can adjust the page for more contact groups.
Watch a short step-by-step guide on creating a personalized 404 page in Xperience by Kentico.
You’ve just seen how you can create and personalize a simple 404 error page in Xperience by Kentico. It’s a good practice to have a 404 page and if you design it well, it can enhance user experience and turn inconvenience into opportunity.