
Workflows
Content management workflows help marketers streamline content creation, ensure consistency, and control the quality of their content.
In this article, you’ll learn about what workflows in Xperience by Kentico are and how to use them to optimize and align the content approval process with strategic business goals.
Prerequisites:
If you want to test the scenario, have the Kbank demo site available. If you don’t have it, request your instance of Kbank hosted on our servers.
Workflow in Xperience is a process editors use to define the content lifecycle. It consists of steps from creating a content item, through working with it as intended, to publishing it. You can apply workflows to different content types, including reusable content items, web pages, emails, and headless items.
Each workflow starts by default with a Draft step and finishes with a Published step. You can add any number of custom steps in between to ensure you cover any approval or other process your company requires. You cannot add any steps after the default Published step.
However, after the page is published, you can either Edit the page or Unpublish it. In both cases, you’ll have to go through the workflow cycle again (unless it changed). The difference between Edit and Unpublish is that Edit keeps the page publicly available on your website and reflects any changes the moment you publish it again, and the Unpublish step removes the page from public access.
To create a custom workflow, you need appropriate permissions. Ask your manager or system administrator if you don’t see the Workflows application on your dashboard.
What can workflows help with
Content management workflows guarantee that each item, from web pages to emails, undergoes review and approval to ensure it upholds your business’s standards and meets editorial demands.
Let’s see an example scenario: The editors’ manager wants to create a workflow for editors to make sure the articles they create get checked and proofread by someone else before release.
Another example could be a web page that for example legal team has to check for all the content before being published. Imagine, for example, a product page with the wrong price or an event page with different dates. That could cause your company big trouble.
A content type (page, content item, email, etc.) can have only one workflow. You cannot assign two or more different workflows to one content type. If you assign a workflow to a content type, this content type will not be available when assigning other workflows. (You’ll see this later in this article.)
When you assign a workflow to a content type, it doesn’t automatically apply to all existing content items, pages, etc. Items that are already in the Draft step when you assign the workflow are not pushed to the next step in the new workflow. You have to create a new item or a new version of a published item.
The new workflow applies to items that start a new editing cycle, meaning completely new items or new versions of published items.
Create a workflow
Let’s see how you can create a new workflow in Xperience. If you have a demo Kbank, you can follow the steps.
Scenario: Imagine you want to create a specific workflow for a product page. There are important pieces of information, and several people will be involved. First, an editor creates the page and adds content to it. Then, it goes to a Product manager, who checks that all the information is correct. The manager then pushes the page to a Marketing department, which decides when the page will be published so it aligns with their marketing plans.
1. Create a new workflow
Find the Workflows application in the Configuration section.
Create a New workflow, name it, and save it. Now, you can add steps and assign the appropriate roles. In our example, we create a workflow for Product pages.

2. Choose the content type
Switch to the Scope tab to Select content types. Choose the content types to which you want to apply this new workflow. In our case, we’ll be looking at the Product page.
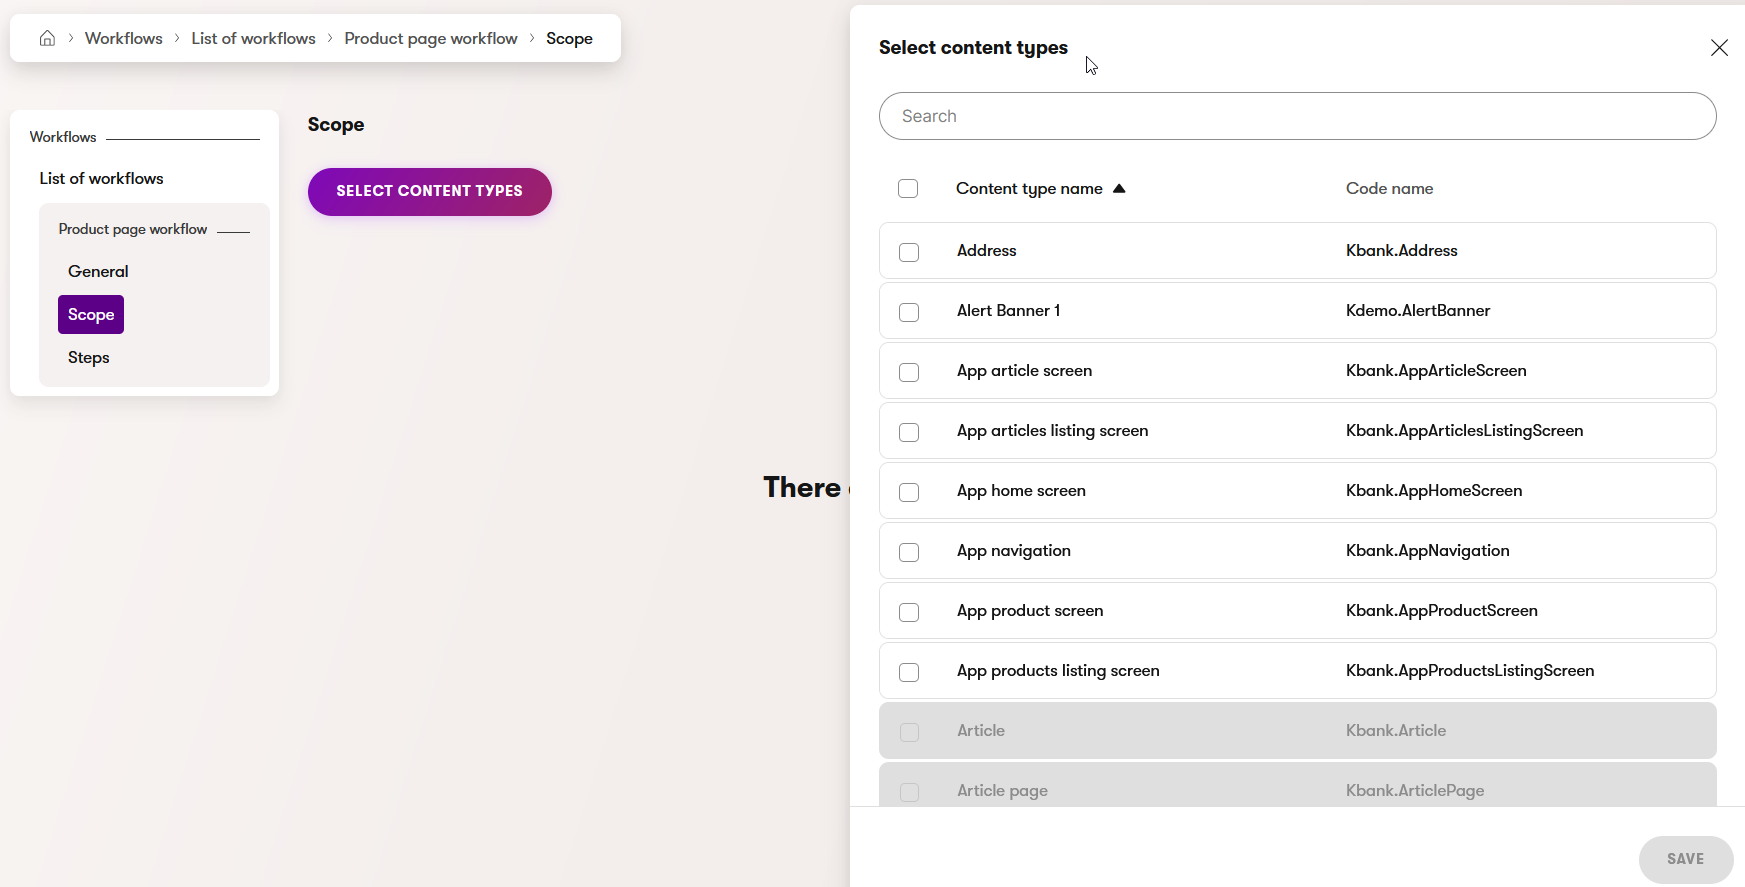
If you assign a content type to a workflow, you can no longer choose the same content type when creating a different workflow. As you can see in the image above, the Article and Article page content types are unavailable because they already have their own workflows.
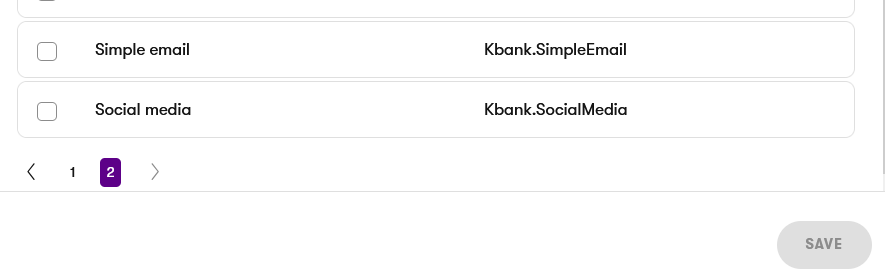
If you need to work with a channel, you can choose the respective content types, such as Simple email or Social media.
3. Define the workflow steps
Once you have selected all the content types you want, add the workflow steps. Switch to the Steps tab and add a New step.
Create a name for each step and choose an icon. The icons are a great visual aid that can help editors recognize and navigate in the flow. Choose the roles that can manage this step.
Some roles can manage any step by default; they don’t have to be assigned to the steps.
You can also have custom workflow steps prepared by developers that run programmatically without manual touches. For example, validating a page’s SEO performance, analyzing text quality through AI sentiment analysis, or running HTML validation.
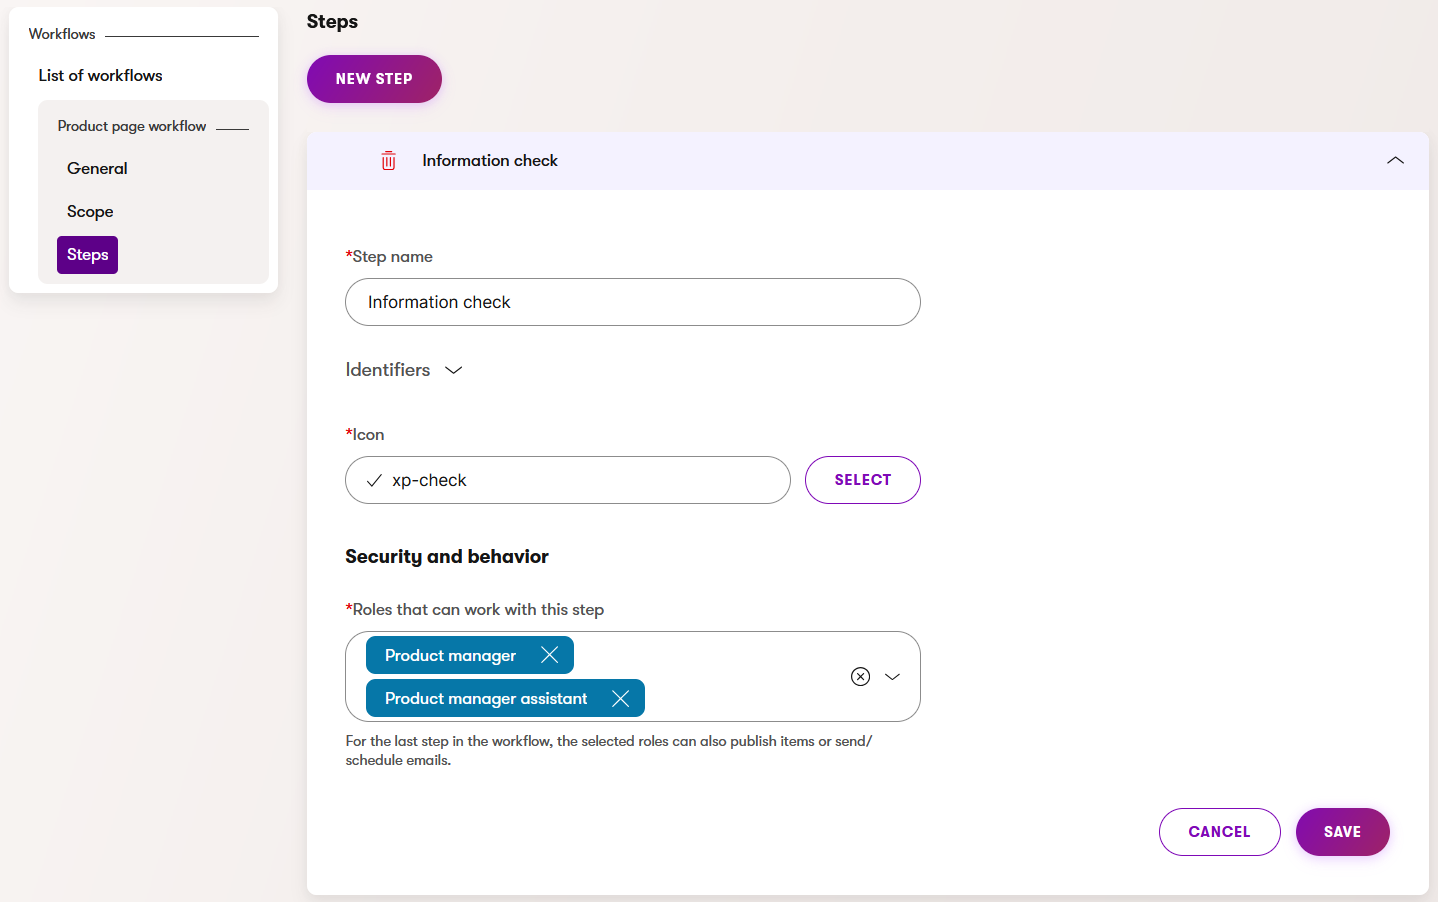
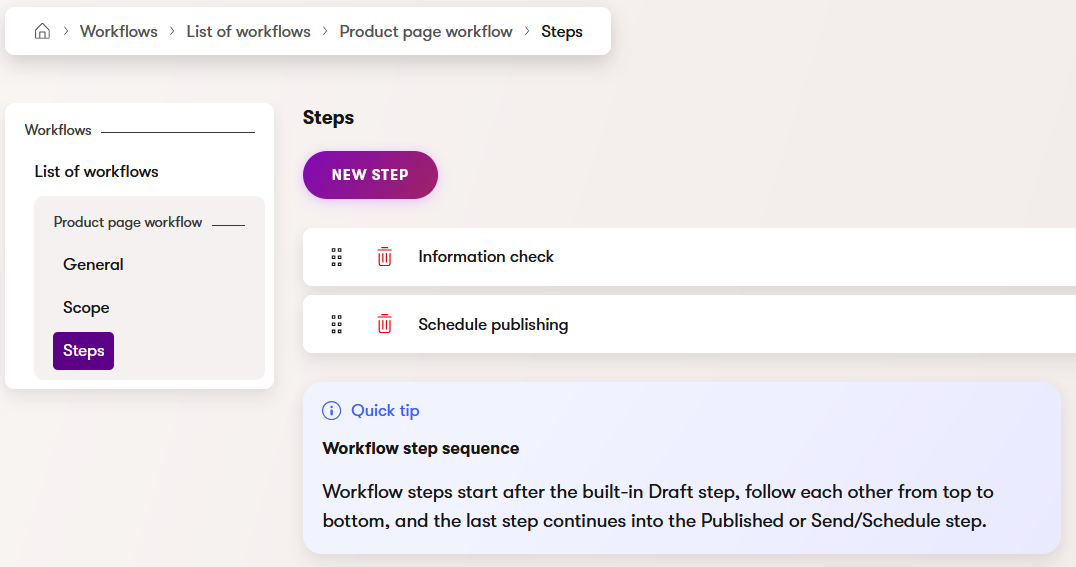
We’ll create two steps - an Information check for a Product manager and a Schedule publishing for the Marketing team.
The steps you create will keep the content in draft status. The content going through your workflow is not published until the Publish step.
Workflow notifications
You can improve your team’s editing experience and use notifications to inform different roles when some content needs their attention. In Xperience, you can send messages when an item moves to a custom step or a Draft step.
When you add a new custom step to your workflow, Xperience is set to automatically notify all roles listed in the Roles that can work with this step box, including any role that has full control over the workflow (specified in the General tab). You can add or remove roles that you don’t want to notify in the step’s Security and behavior settings. Or, you can turn off sending any notification from this step entirely.

Notify only the people who need it most
By default, Xperience sends notifications to all roles that can work with a custom workflow step. Xperience adds all roles with full access automatically to receive notifications. To keep notifications relevant, we recommend removing administrator roles (i.e., roles with full control) from receiving messages from every workflow step and limiting the number of notifications to key events. When you remove them from the step configuration, roles with full control will still retain complete control over the workflow, but unnecessary notifications won’t distract them.
Published step doesn’t trigger a built-in notification. If you need to notify some roles that an item was published, consider setting up a custom notification with the help of your developers.
Adjust or remove a workflow
If you need to slightly adjust an existing workflow, you don’t have to remove it and create it again from scratch. But there are some rules you should keep in mind.
Adding steps
If you want to add new steps, you can do so the same way described above, and rearrange their order as needed. The steps you added will immediately apply to every workflow, even those that are already running and are in process. Remember, every new custom step also triggers notifications, so don’t forget to adjust who receives a notification when an item moves to this step.
Deleting steps or workflow
If you want to remove a workflow or adjust it by deleting workflow steps, you cannot do so while you still have items in the workflow steps. It doesn’t apply to items that were in the Draft status before you created the workflow.
When you remove the content type from the workflow’s scope, items based on this type currently in the workflow will still go through the workflow steps until they’re published. A new item of the same type created after the content type removal will only go through the default Draft and Published steps.
In summary
Workflows are a great tool for ensuring that everyone works with the content in the intended way, step by step. You can create custom workflows that fulfill your company’s needs.
Exercise
Let’s test this knowledge in the following exercise. Imagine you work for big international insurance company and create a new workflow to make sure every new product is correct from factual and legal point of view.
To perform the exercise, you need the Kbank demo site. You can request it here.
Task
Create a workflow for Product, Product feature, and Benefit content items, that follows this process:
- A content creator gets information about a product, its features, and its benefits in the form of a bullet list. The content creator prepares catchy promotional texts for each type of content item mentioned above.
- An editor takes over and reviews the texts, fixes any typos, and polishes the overall outcome.
- The reviewed content items then go to a product manager, who checks them for any information errors. They need to make sure all data are correct.
- Because the insurance company works with sensitive data from people all over the world, it’s necessary to make sure the provided information are correct from the legal point of view. This is a job for a legal department.
- When everything is checked and ready, the content items are published.
You may need to create new roles for this exercise. For the sake of this exercise, create just empty roles that you name appropriately. You can check how to do it in this guide.
Hint
If you need a little help, here are the steps you should take:
- Open the Workflows application.
- Create new workflow and give it descriptive name.
- Define the scope:
- Add the content types mentioned in the task: Product, Product feature, and Benefit.
- Set up the steps:
- Give each step a name explaining what happens in this step.
- Add an icon.
- Assign the role(s) that can manage this workflow step and get notified (as long as the notification is enabled) when an item moves to this step.
- Repeat for each step.
The final look of your workflow depends on your naming convention and roles you created. But here is ours so you can compare: