
Work with taxonomies in Kbank
In the previous guide, we explored taxonomies in Xperience. This guide will show you practical examples of how to work with Taxonomies.
Prerequisites:
- Know what taxonomies mean.
- Have a Kbank demo site running, if you want to tag along the examples. You can request the demo website here.
Add or update taxonomy tags
Create a new tag
To add a tag, go to the Taxonomies application and add a New taxonomy. Then, fill in the Taxonomy name and add a Description to describe the tag or its usage in more detail to help your colleagues understand its meaning or implications.
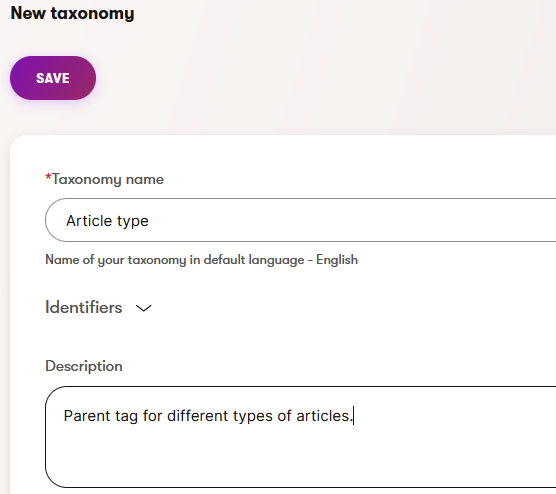
Unless you want to customize the Identifier, keep it as it is. Xperience creates the identifier automatically from the tag name.
Update a tag
Imagine you are an editor responsible for your company’s article section. You already created some tags, but then realized you need to rewrite one tag’s name.
To update the tag, find it in the tag tree in the Taxonomies application. Open the tag and adjust what you need, such as the tag name.
If you already used the tag somewhere, reconsider changing the Identifier. The identifier is a developer-friendly name similar to a code name, and you should treat it with care. Changing it can break some functionality you don’t know about.
Remove a tag
If you need to remove a tag, for example, you realize you created a duplicate of an already existing tag, you can do so in the respective tag tree. Open the three-dot menu on the right side of the tag and select Delete.
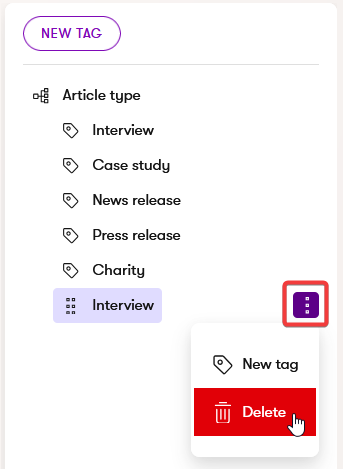
Like changing the Identifier mentioned above, removing a tag can break an existing functionality you don’t know about.
Work with tag trees
Configure parent-child relationship
Xperience by Kentico allows you to sort tags within a taxonomy into a hierarchy of tags.
Let’s follow up on the previous example and create a tag tree, which we’ll use to define article types. We want to add four children tags for our parent Article type tag.
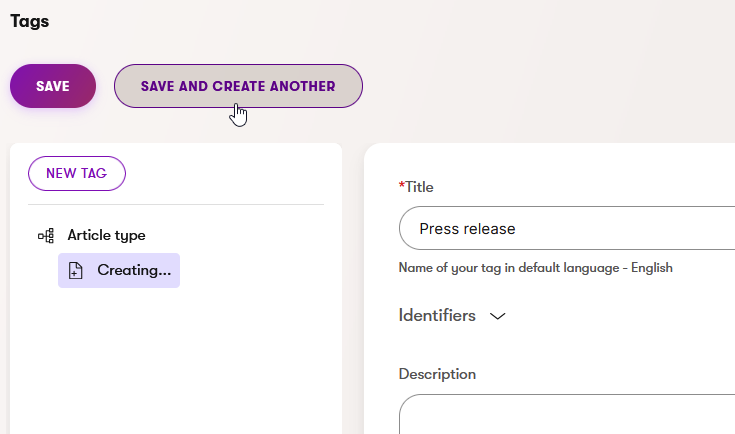
Choose the Article type taxonomy in the taxonomy list. In the left tree, you see the Article type is selected. If you have more subcategories in your tag tree, just select the one you want to add the new child tag to.
Adding a new tag will create the child tag for the tag selected in the tree. Fill in the Name, Description or other requested fields. Now, if you just Save the tag, Xperience creates it and nothing else happens. But we want to create three more tags, so let’s select Save and create another. Xperience saves the new tag and immediately creates a new one on the same hierarchy level.
Move tags in the tree hierarchy
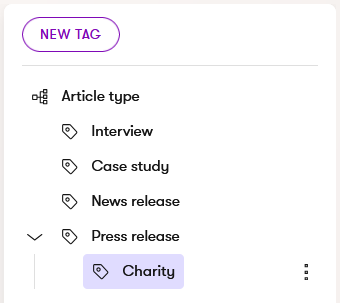
Sometimes, you need to move tags into another part of a hierarchy tree. For example, the Press release contains several articles about company’s charity activities. So you want to create a charity tag to filter the Press release articles even more. But you created the tag on the same level and now you need to move it under the Press release.
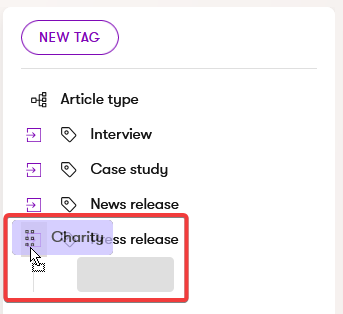
To move the tag, grab it by the grip dots icon on the left and drag and drop it where you want this tag to be in the tree.
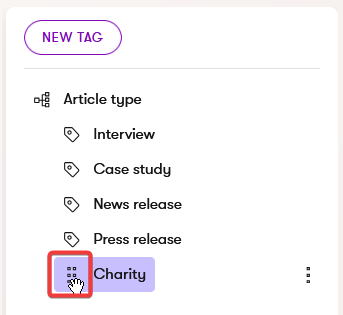
You can move the tag to different levels of the hierarchy or even create a new one, as you can see in the image below. Just move the tag more to the left to cover the arrow in the box icon. The grey box indicates the tag Press release will be a child to the Interview tag.
Translate tags across different languages
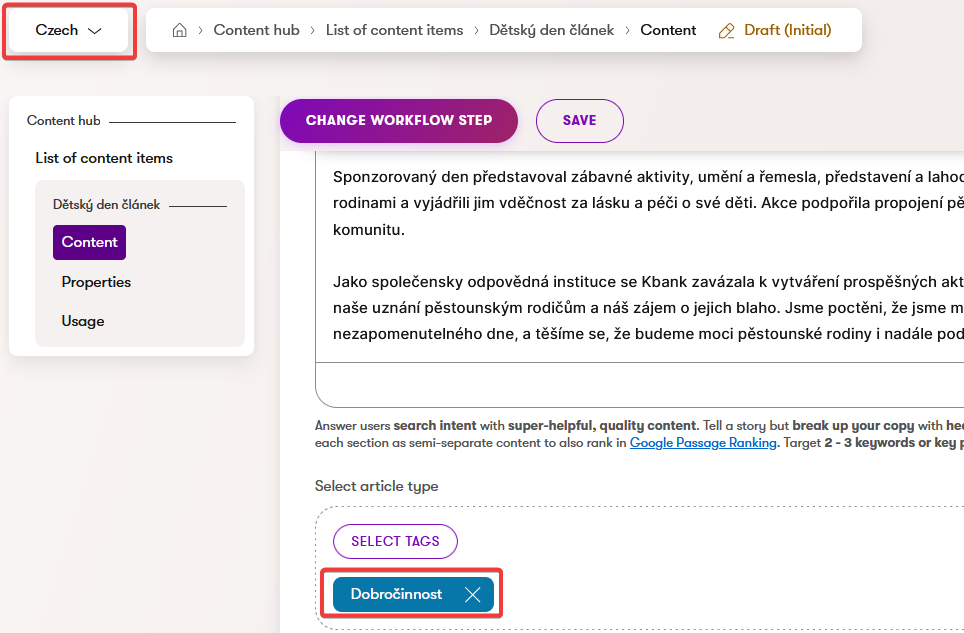
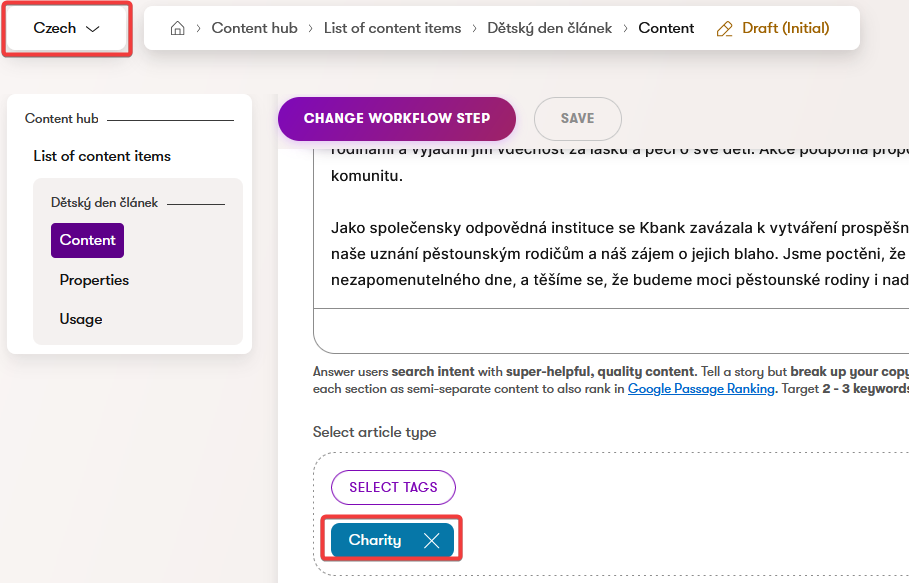
Translating tags in Xperience is easy; you can add all languages variants at one place in the Taxonomies application. Taxonomies don’t have the same properties as multilingual content, however, it doesn’t mean you cannot translate them.
Find the tag you want to translate in the Taxonomies application. Add translations to languages you need and save the changes.

The translations will show in the respective language variants of content automatically. If the tag is not translated to the target language, Xperience will show the default language.
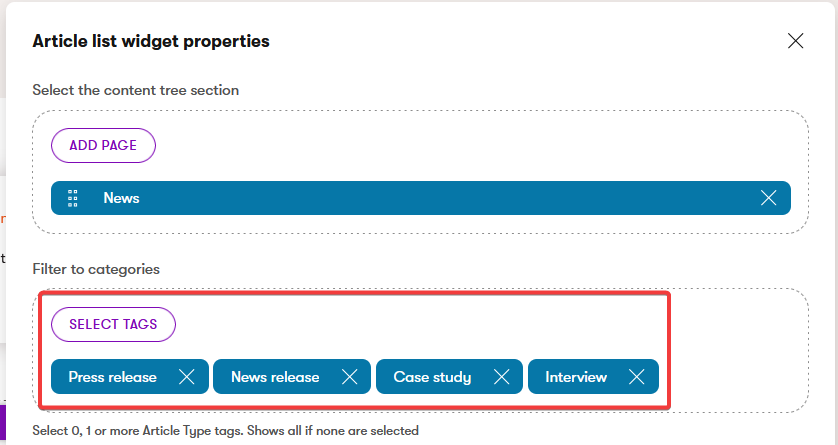
Use tags to filter categories in the Article list widget
Let’s see one more practical example of how to use taxonomies, this time in Page Builder.
Find the News page in the content tree in the Personal banking channel. Edit the page to make changes. Find the Article list widget in the Page Builder and open the widget’s properties.
As shown in the image below, you can filter the displayed articles by choosing the appropriate tags.
If you try this in the demo Kbank site, you can play around and see how Xperience immediately shows articles with your selected tags.
To sum up
If you tried the examples on your instance of demo Kbank site, you now know how to create tags and whole taxonomy trees. You are also able to move the tags in the trees, adjust or remove the tags, and are aware of possible complications the changes may bring.