
Deploy your solution to Xperience Portal
There are two ways to deploy your solution to Kentico SaaS:
- Using the Xperience Portal dashboard
- Using the Xperience Portal API
In this step, we will perform the initial deployment through the Xperience Portal. Later in this series, you’ll also see the second approach when updating an existing deployment.
Both approaches have one thing in common: exporting a deployment ZIP package, which you then upload either through the Portal or the API.
Set up PowerShell
Unless you use a Windows machine with PowerShell available out-of-the-box, make sure you have PowerShell installed.
The scripts in our code samples use PowerShell version 5.1 (Windows); you can check your version in your PowerShell terminal with this command:
\$PSVersionTable["PSVersion"]
On Windows, your account must have permissions to run PowerShell scripts from external sources. Use the following command to bypass all execution checks for the current user:
Set-ExecutionPolicy Bypass -Scope CurrentUser -Force
ExecutionPolicy is set to Bypass by running:
Get-ExecutionPolicy
Create initial deployment package
Data serialization
Before creating and exporting the deployment package, it’s always a good idea to double-check your CD configuration in the repository.config file to ensure all necessary objects are included or excluded. If you didn’t make any changes to the file or didn’t add any custom classes to your Dancing Goat project, you are all set in this case.
Next, navigate to your project’s root and run the CD store command:
dotnet run --no-build -- --kxp-cd-store --repository-path ".\`$CDRepository"
In your own project, only use the optional --no-build parameter to save time if you’ve previously built your solution, including all desired updates.
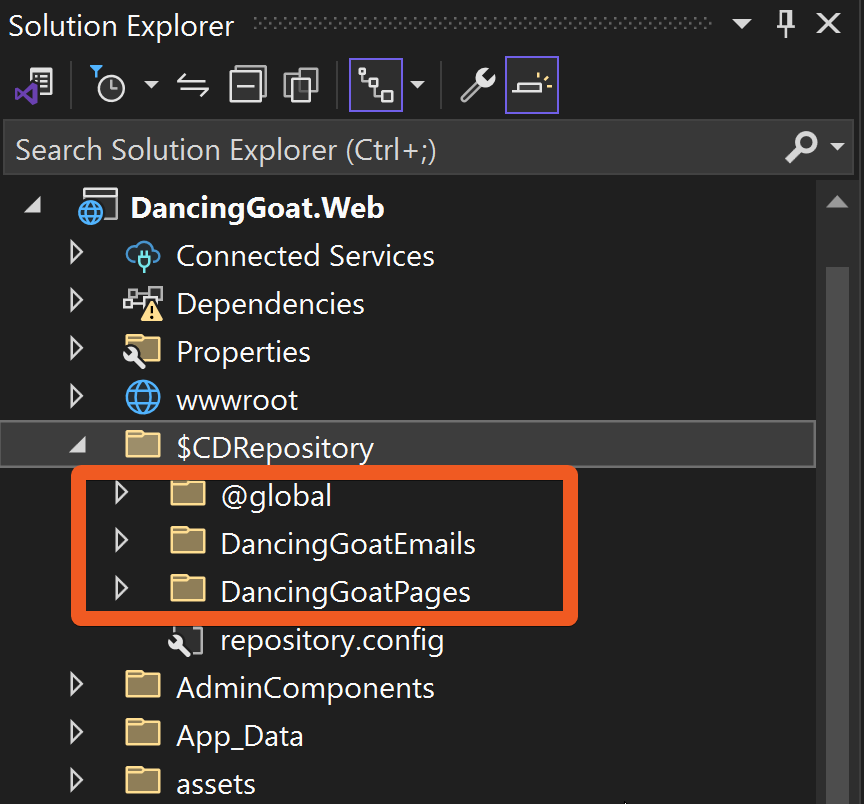
The command serializes all the CD supported data into your $CDRepository folder. After the successful run, you should see newly generated folders @global, DancingGoatEmails, and DancingGoatPages with serialized data in your $CDRepository:
Export the deployment package
In your PowerShell terminal, run the Export-DeploymentPackage.ps1 script with the following parameters:
.\Export-DeploymentPackage.ps1 -AssemblyName "DancingGoat.Web" -OutputPackagePath "./DeploymentPackage_1.zip"
AssemblyName- your project’s assembly name, by default, equal to the project’s .csproj file name without the extension.OutputPackagePath- the name and path of the deployment package. If unspecified, the package will be created as ./DeploymentPackage.zip in the current root.
For production scenarios, you can enable zero-downtime deployments by ensuring your code supports read-only mode and using the -ZeroDowntimeSupportEnabled parameter when you initially create the deployment package.
See the full list of parameters in our documentation about the deployment package.
The package export typically takes from a few seconds to a few minutes depending on the size of your project. The script will show progress while running. 

Upon the successful export, take a quick look at the $CDRepository folder in your new ./DeploymentPackage_1.zip package:
Notice that the folder contains not only serialized XML objects, but also media files. See an example in any of the article folders under DancingGoat.Web/DeploymentPackage_1.zip/$CDRepository/@global/contentitemdata.dancinggoat.image.

The multimedia files stored as assets in Content hub also serialize in this process so you don’t need to deploy them to Azure Blob storage separately. The deployment will happen automatically when we upload our package to the Xperience Portal.
Deploy the package via Xperience Portal
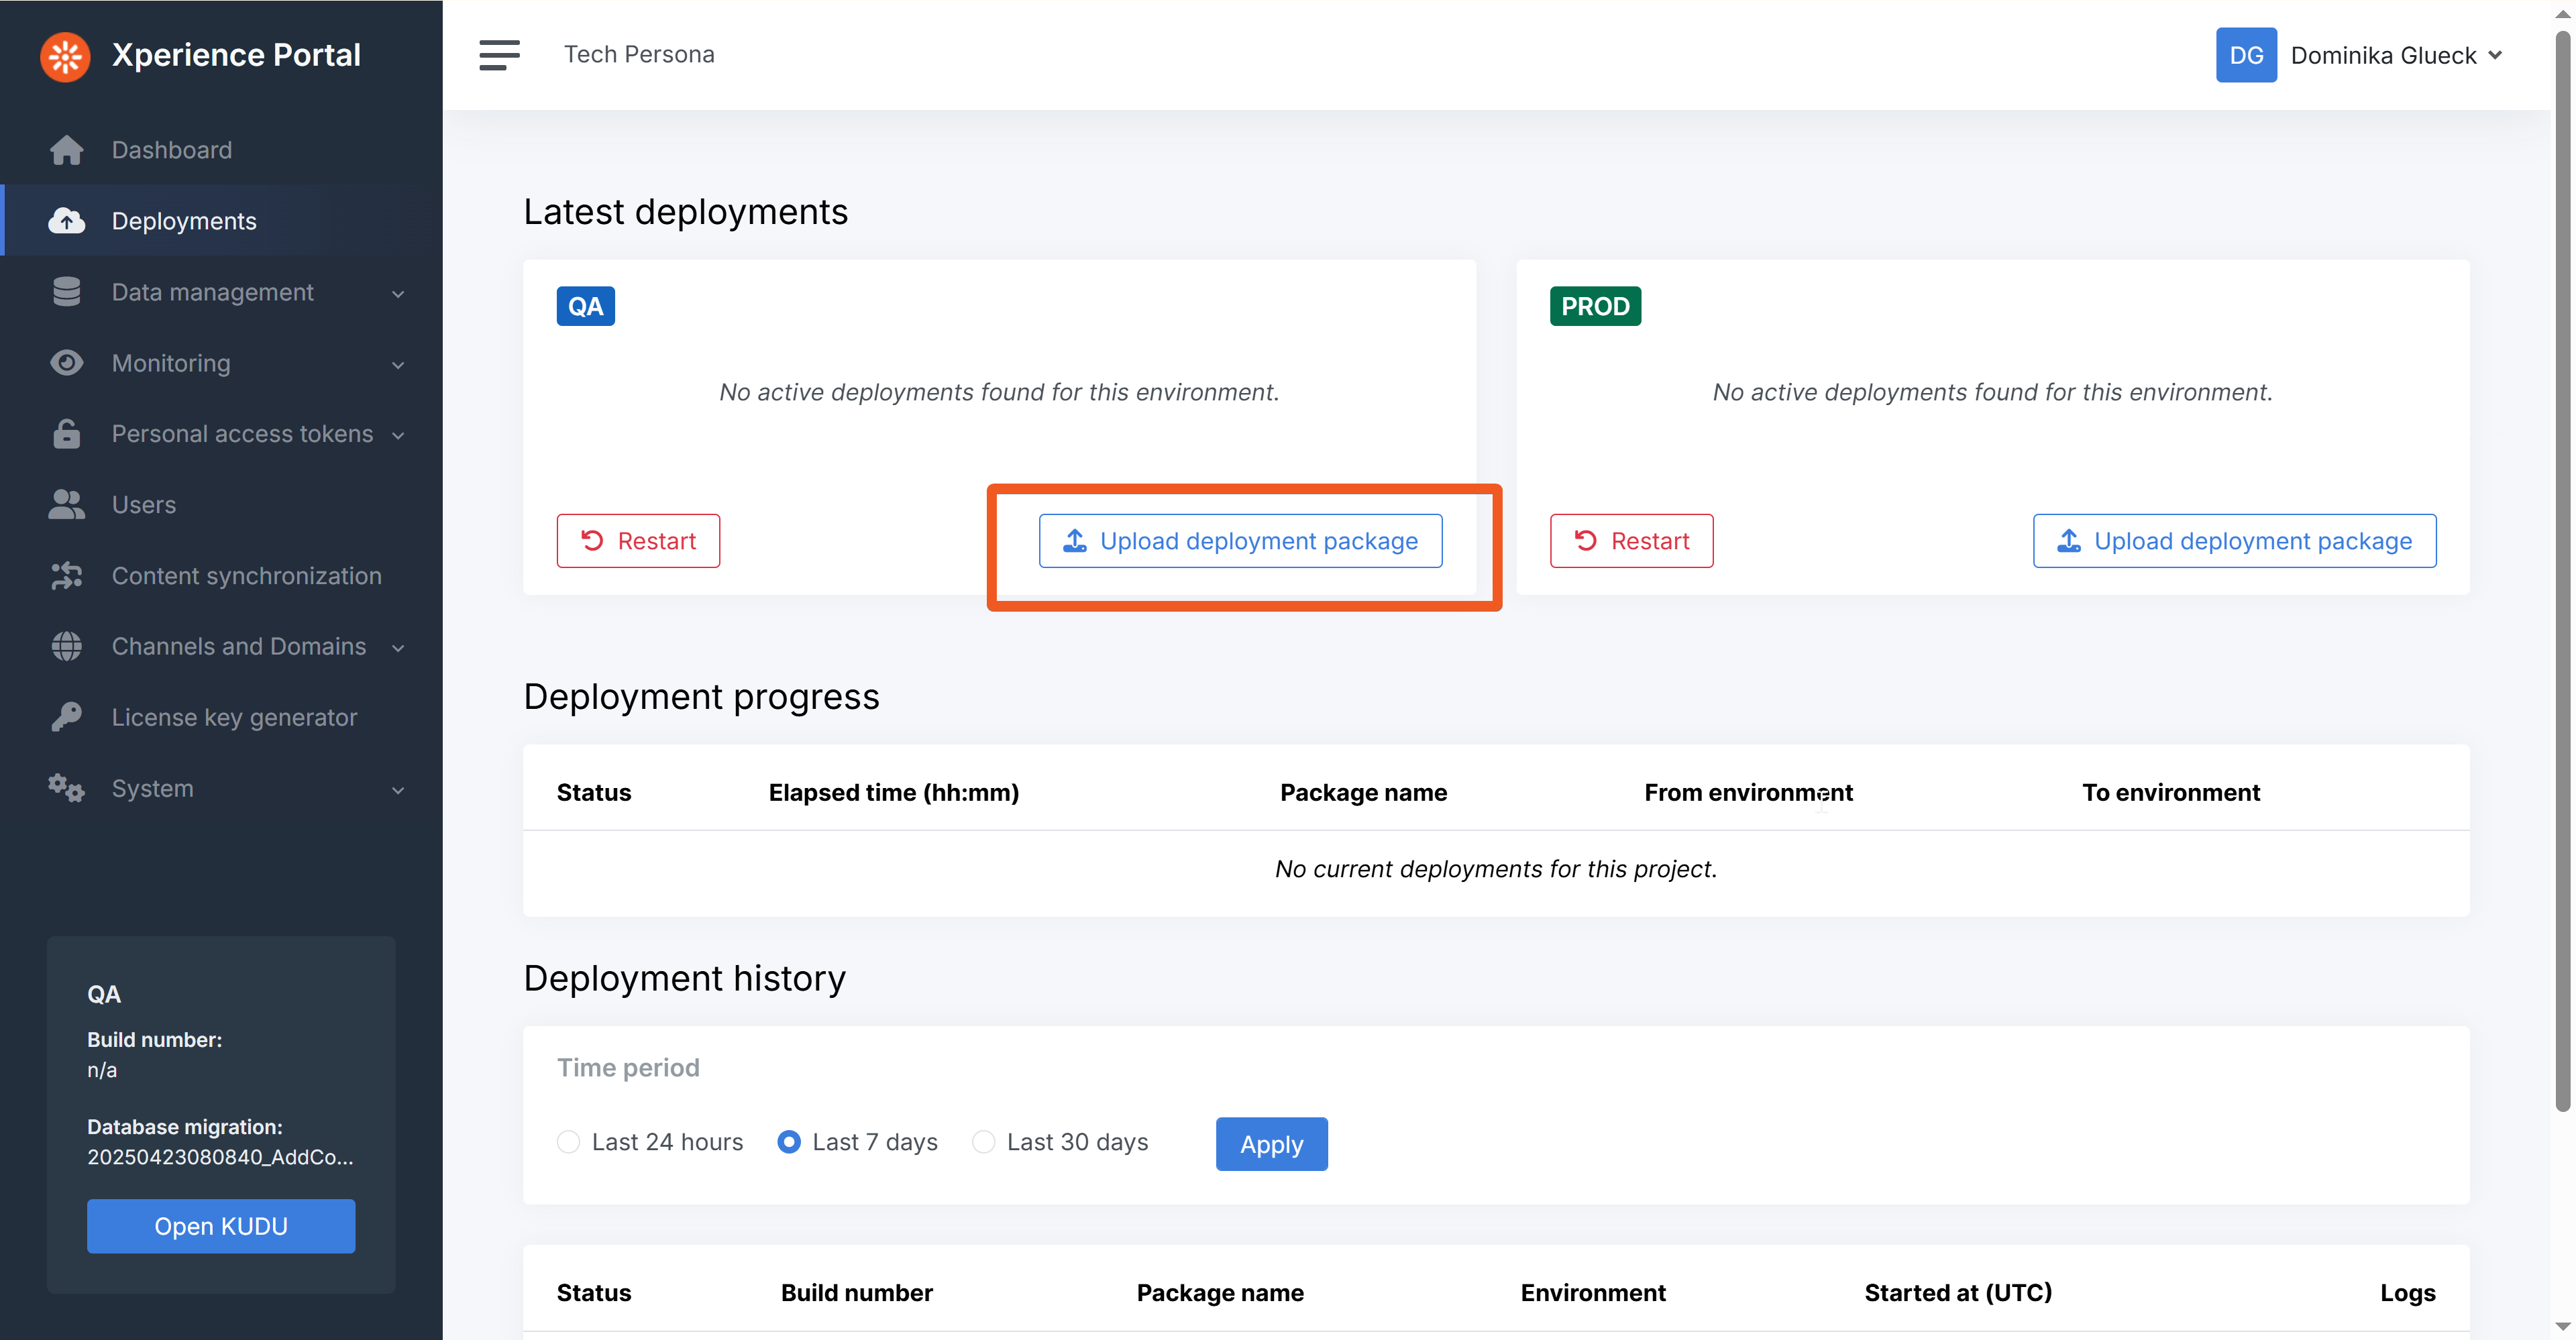
Navigate to your Xperience Portal Deployments screen.
Double-check that you are operating under the correct project.
All your environments will initially show a “No active deployments found” message.
Under QA, click the Upload deployment package button.
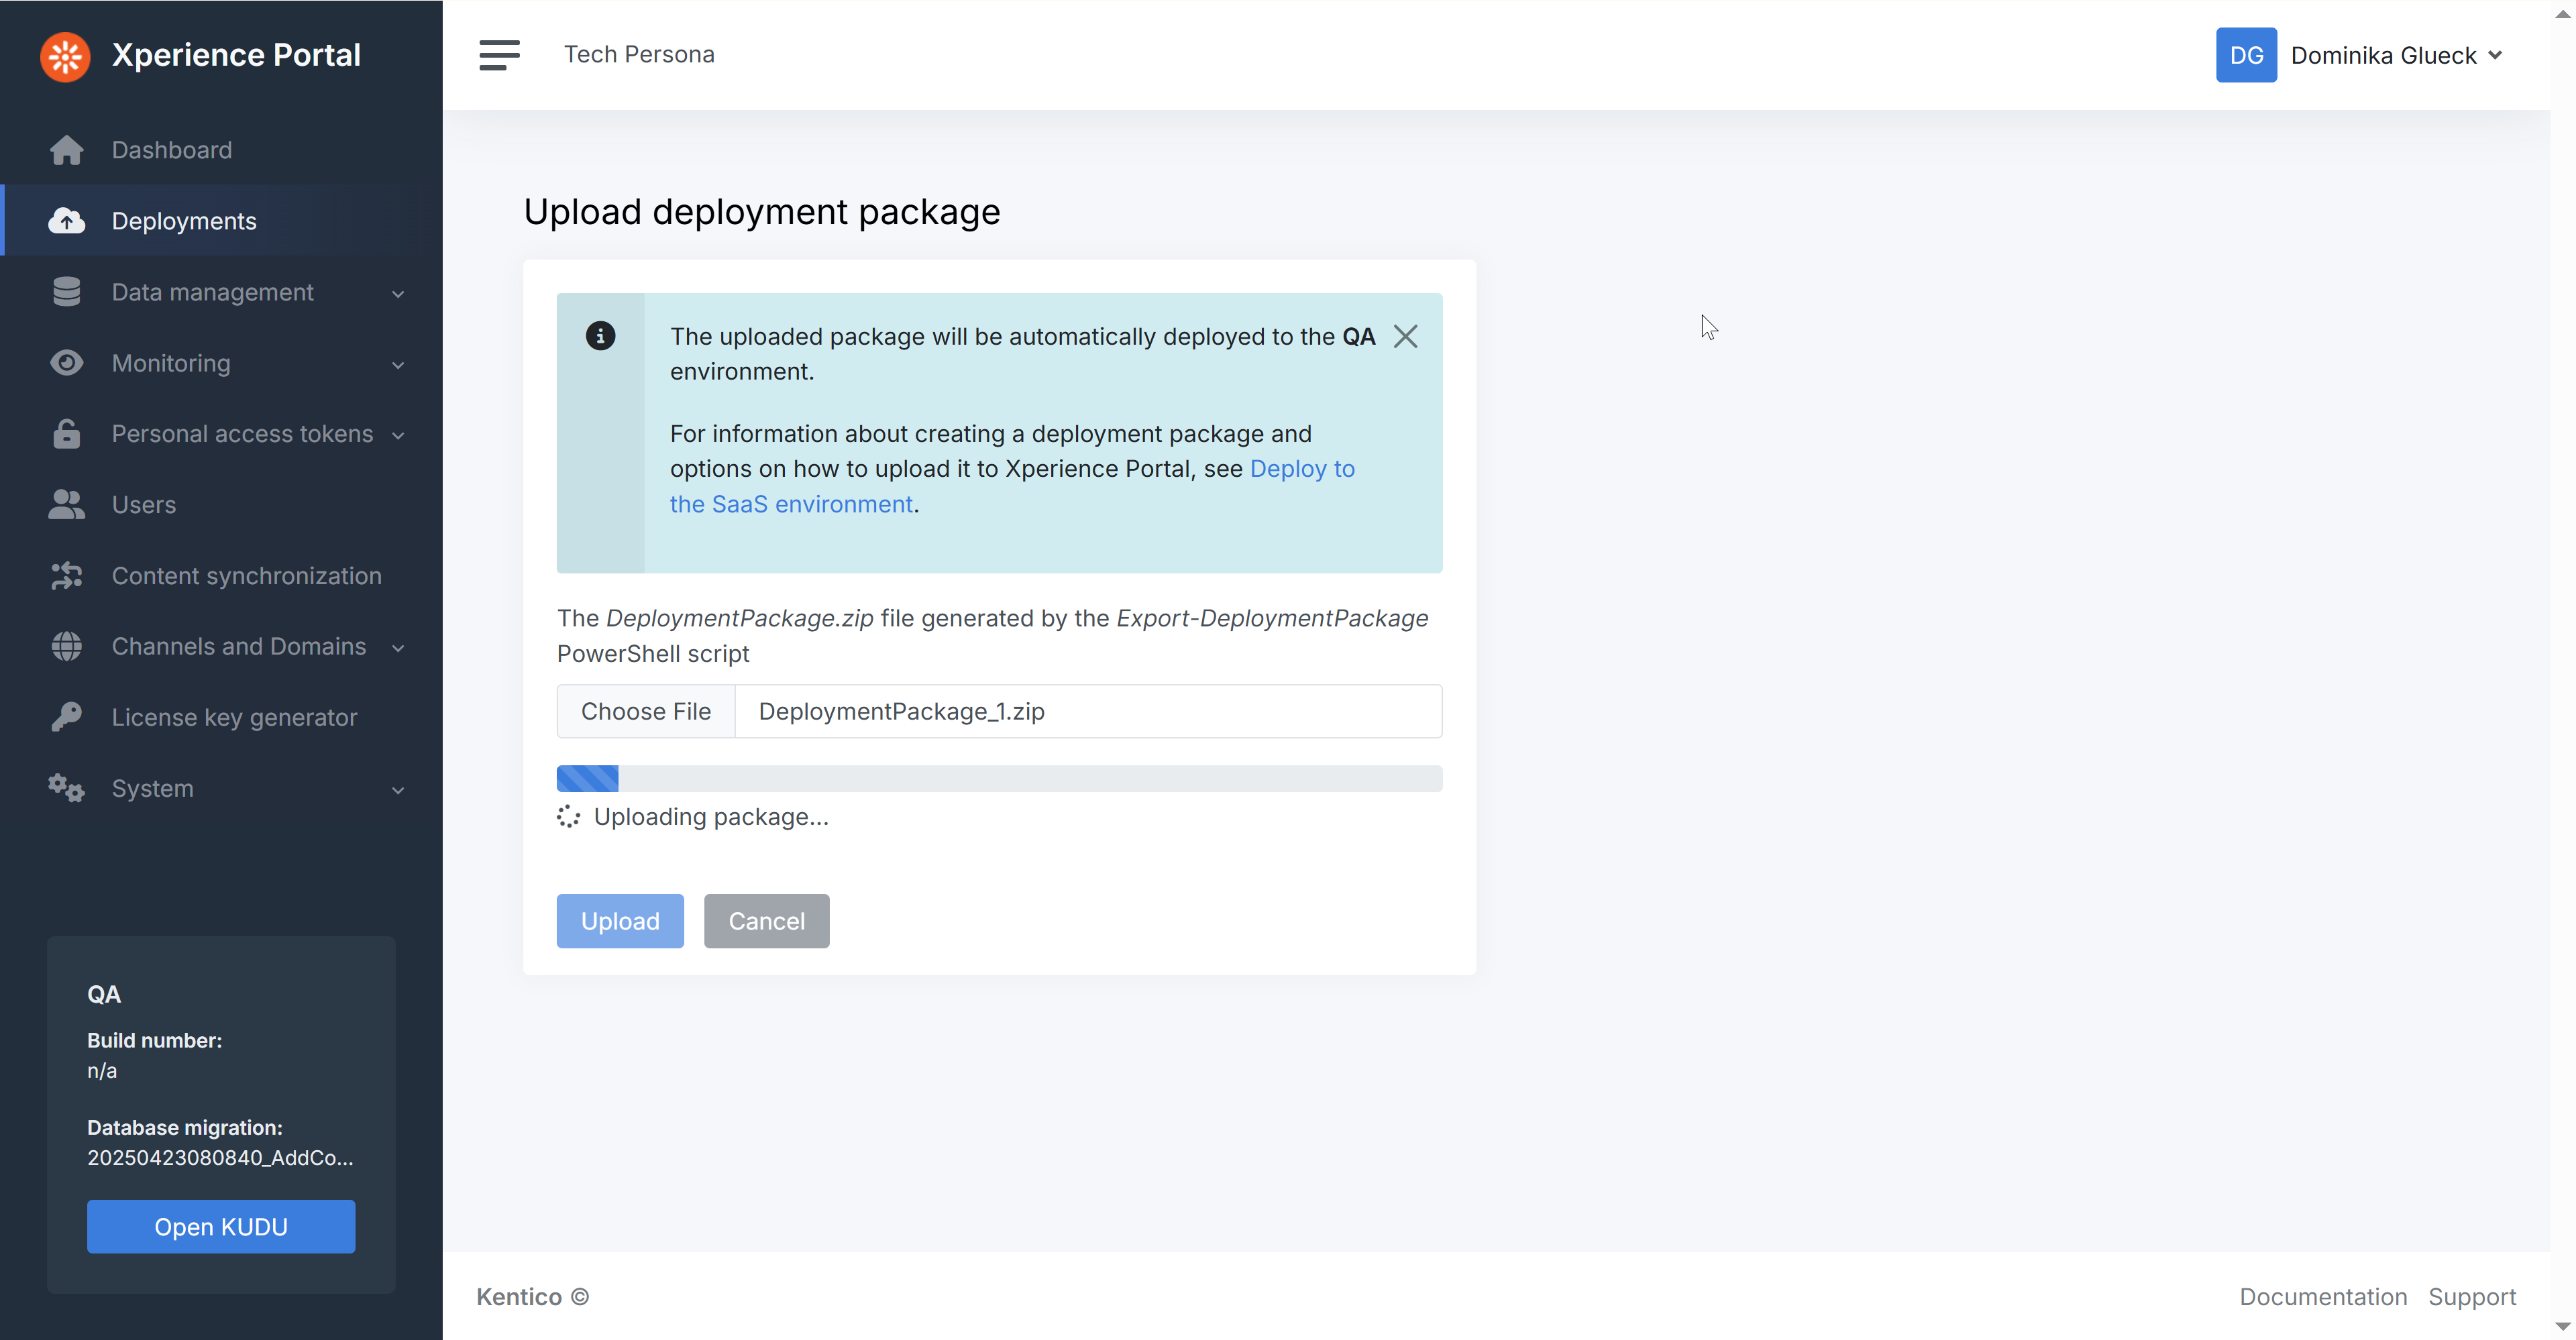
Specify the path to your DeploymentPackage_1.zip file.
Click Upload.
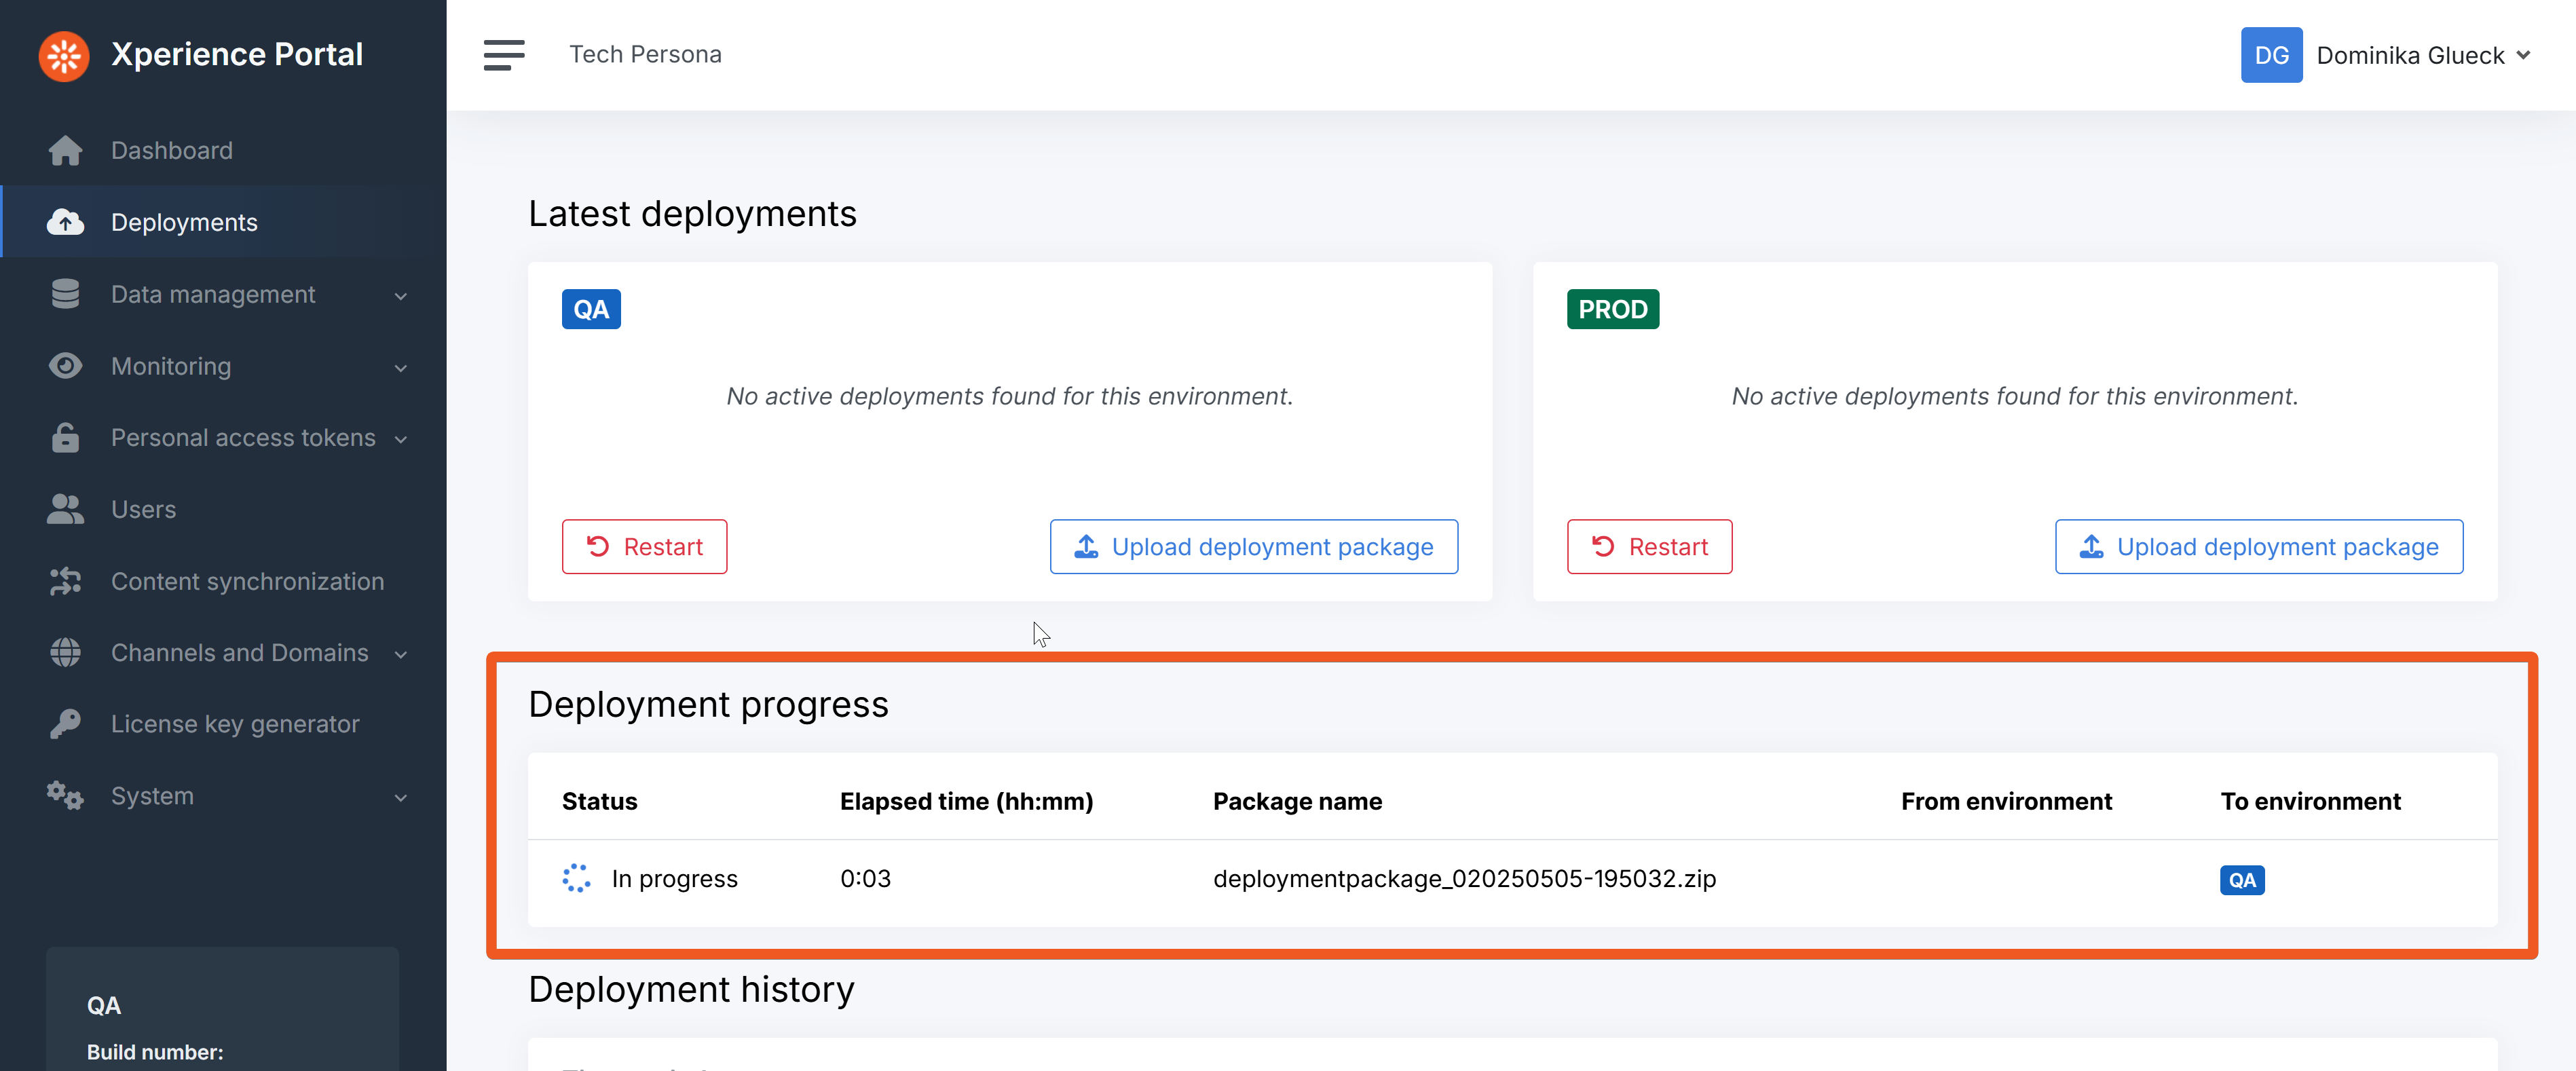
Once you upload a package, the Xperience Portal adds it to a queue and then changes its status to In progress.
A single deployment usually takes 20-30 minutes to finish, and you can monitor it in the Deployments page.
You can queue multiple deployments at once.
If you do this, don’t be alarmed if some of them seem unusually slow. The Xperience Portal UI shows total time since the package was queued, not just active deployment time. Only one deployment runs at a time, so they’re processed sequentially.
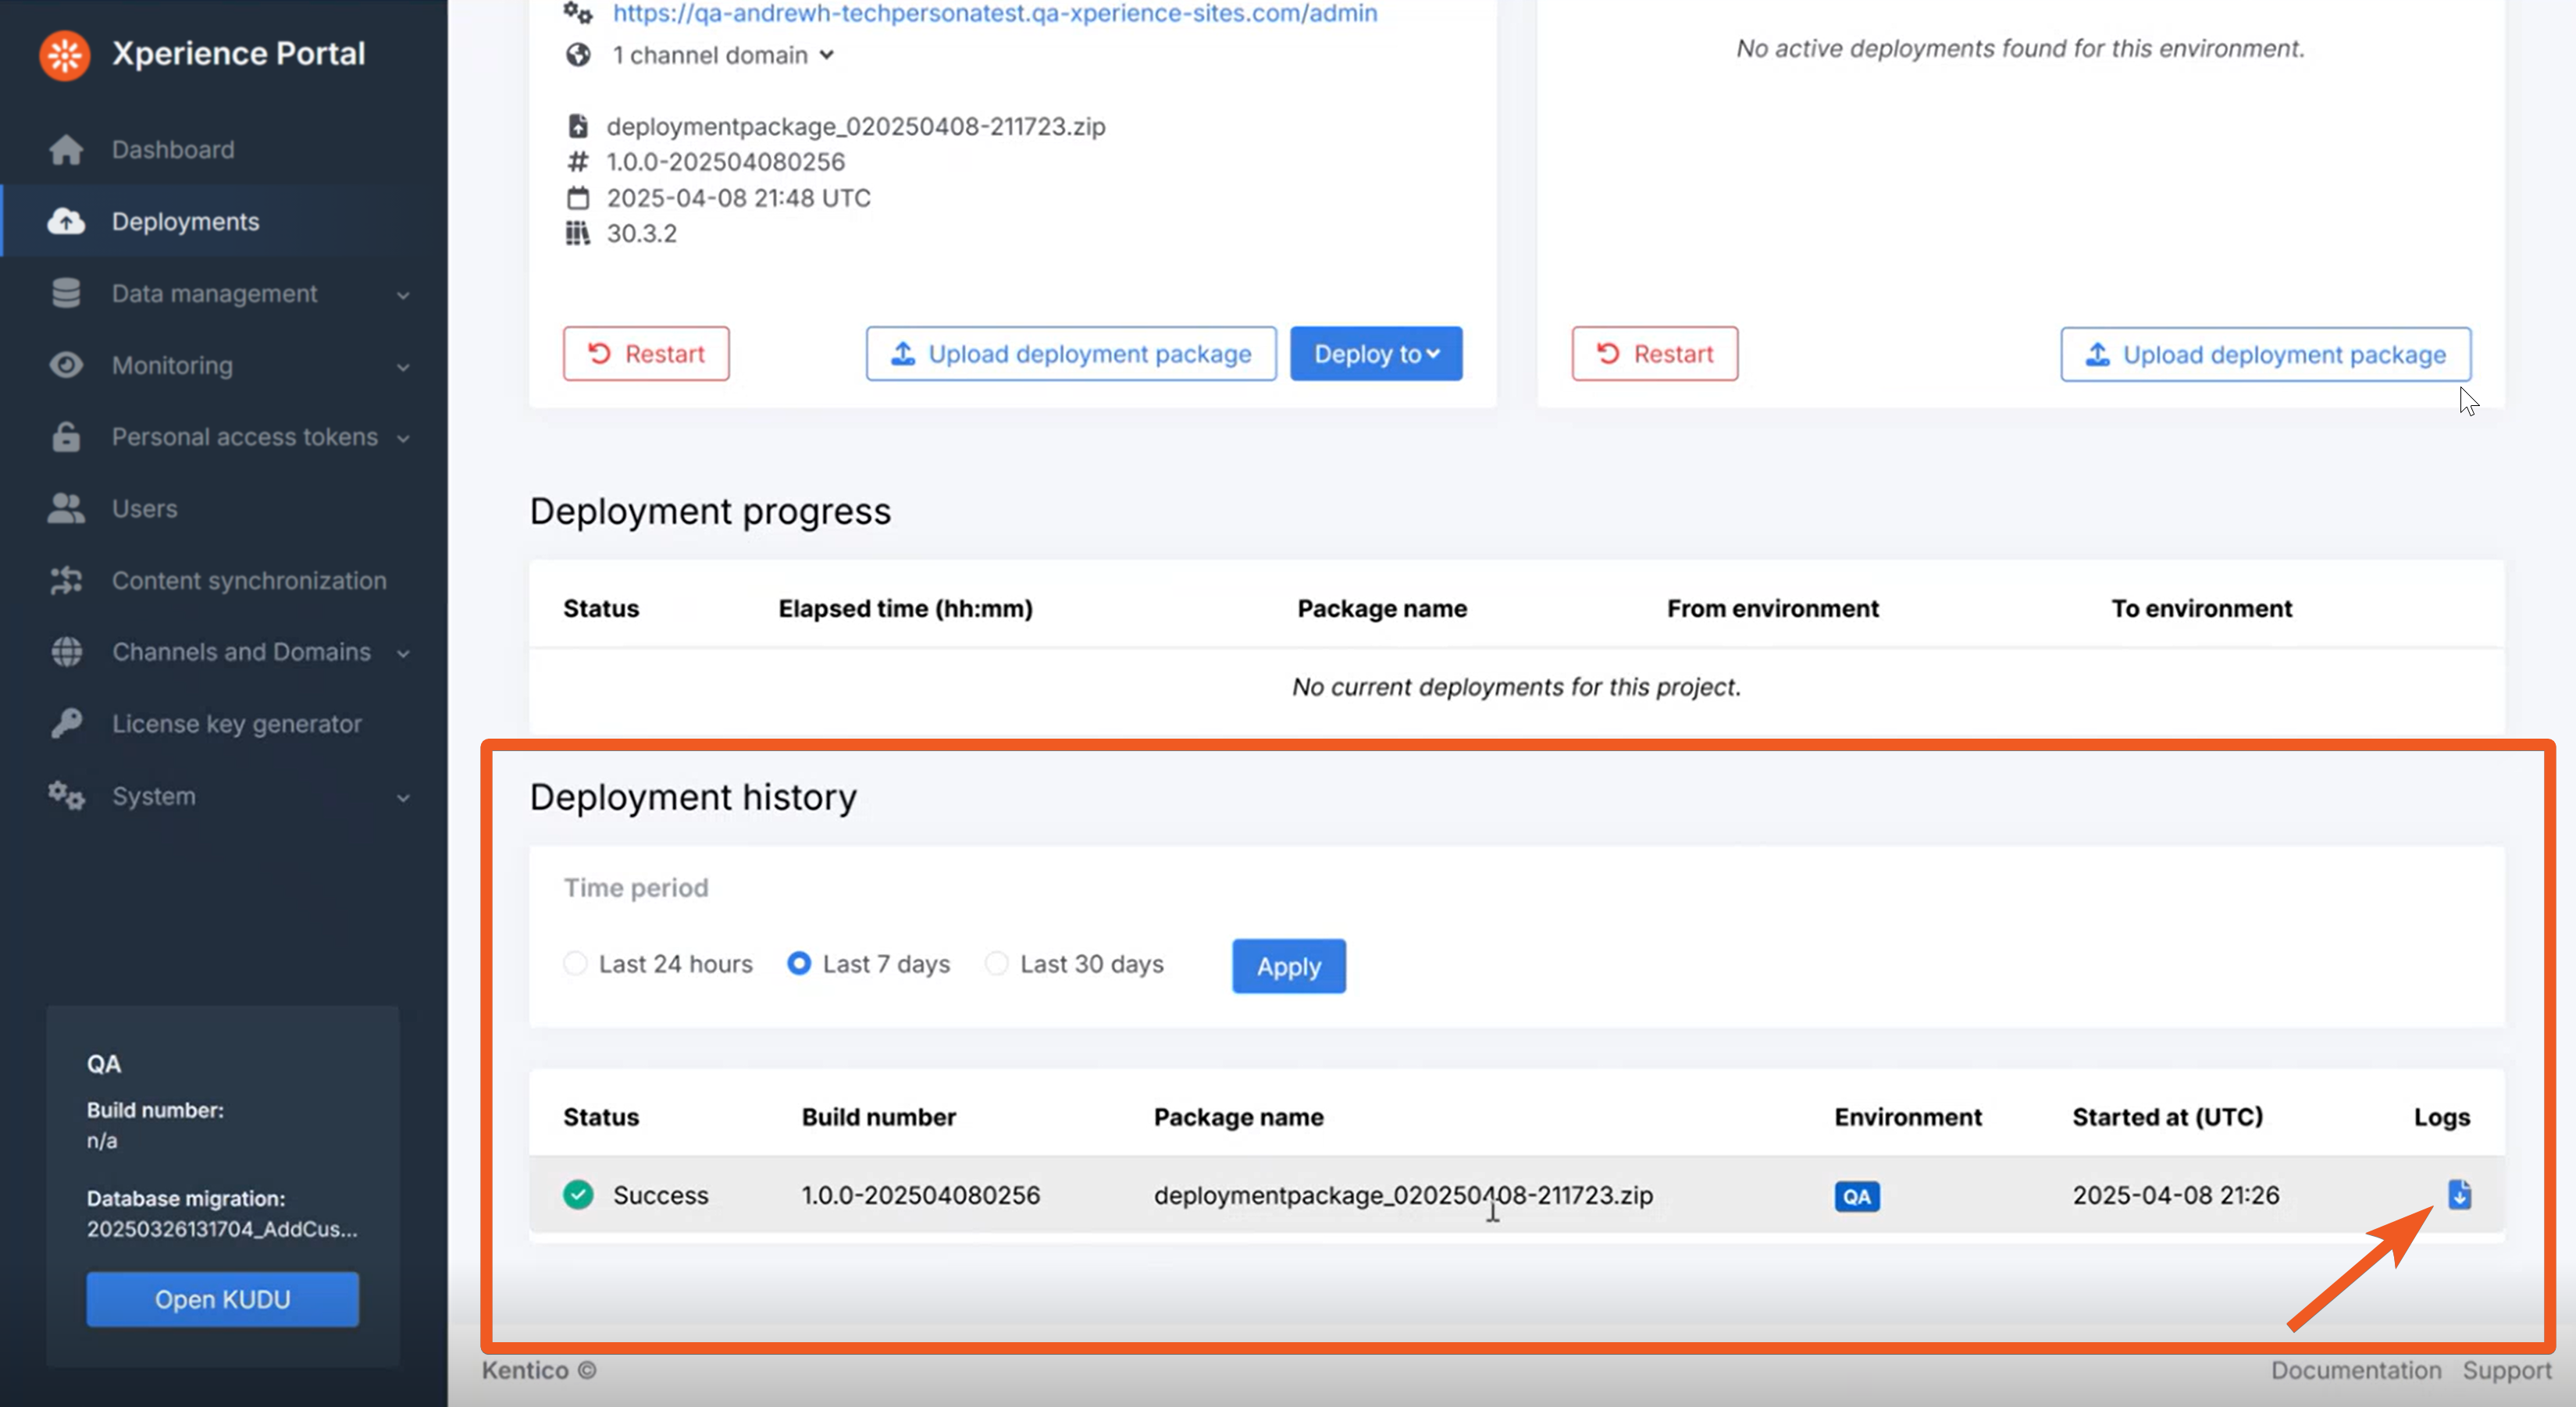
You can see all your past deployments and their logs on the Deployments page.
The above process applies if your deployment package is smaller than 2 GB. If it exceeds 2 GB, you need to use the custom restore feature instead to upload your data.
Check your progress
When your initial deployment succeeds, visit the administration interface of your project in the QA environment by clicking the link at the top.
In the Xperience administration you should be able to see your deployed content items (including assets), web pages, settings and everything else specified in your repository.config.
Great job, you are looking at the administration of your solution deployed to the SaaS QA!
Now, we still have to perform channel configuration to be able to visit our live site and use the email channel.
Continue learning
When you’re ready, move on to the next page: Configure channels