
Update a QA deployment using Xperience Portal API
Let’s talk about deploying updates to your QA environment. Whether it’s a content change, class, module, or any newly developed functionality, the mechanism of updating your app deployed in Kentico SaaS is similar to the initial deployment:
You generate a new deployment package and upload it either via the Xperience Portal, as we did in one of the previous steps, or using the Xperience Portal API.
In this step we’ll explore the latter. Uploading updates over the Xperience Portal API is a great option if you’d like to automate this process and include it in your CI/CD pipelines.
Build the deployment script
Instead of manually executing each step, let’s create a PowerShell script that:
- Serializes and stores objects supported by CD.
- Creates a SaaS deployment package.
- Deploys the package to your QA environment using the Xperience Portal API.
You can always run all of those actions separately, but the script is reusable, and you can make it a part of your CI/CD pipeline.
Create a new deploy.ps1 script file in your project’s directory; in our case, inside the DancingGoat.Web folder.
First, add the code to run CD store command to serialize all CD supported objects (all data except for form submissions and media libraries, which we are not using in this example).
Then, run the Export-DeploymentPackage.ps1 script that’s present in your project, thanks to the --cloud parameter we used during installation:
Set the
AssemblyNameto your project’s assembly name.Store the path of the deployment package in a
PackagePathvariable, so we can reuse it.Use the
PackagePathvariable for theOutputPackagePathparameter.Set the
StorageAssetsDeploymentModetoCreateUpdateto allow overwriting existing assets.Read more about theStorageAssetsDeploymentModeparameter in our documentation (scroll to step 3.).In production scenarios, consider preparing your code for zero-downtime deployment and using the
ZeroDowntimeSupportEnabledparameter.
Next, use Invoke-RestMethod to call the Xperience Portal’s upload REST endpoint:
- Set the Authorization header to use the Bearer token. The value of the token needs to be your Personal Access Token (PAT) that you created and saved in an earlier step of this walk-through. We’ll pass in the PAT as a script parameter.
- Append the project GUID parameter to the REST endpoint. You can obtain the GUID from the Xperience Portal Dashboard and pass it in as a parameter as well.
- Pass in the newly created deployment package by setting the
InFileparameter to ourPackagePathvariable.
<#
.Synopsis
    Exports and deploys a deployment package to a QA environment
#>

param (
    [Parameter(Mandatory=$true)]
    [string]$PersonalAccessToken,
    [string]$ProjectGuid
)

# Serialize CD data.
# Remember to escape the $ character with ` in PowerShell.
# If you use the optional `--no-build` parameter, make sure you always build your solution, including all desired updates before running this script.

Write-Host 'Storing CD files'
dotnet run --no-build -- --kxp-cd-store --repository-path ".\`$CDRepository"

if ($LASTEXITCODE -ne 0) {
    Set-Location -Path $originalLocation
    Write-Error "CD store failed."
    Read-Host -Prompt "Press Enter to exit"
    exit 1
}
else{
    Write-Host 'CD files stored'
}

# Export deployment package.

$PackagePath = "./DeploymentPackage.zip"

Write-Host 'Exporting deployment package'
.\Export-DeploymentPackage.ps1 -AssemblyName "DancingGoat.Web" -OutputPackagePath $PackagePath -StorageAssetsDeploymentMode "CreateUpdate"


if ($LASTEXITCODE -ne 0) {
    Set-Location -Path $originalLocation
    Write-Error "Exporting deployment package failed."
    Read-Host -Prompt "Press Enter to exit"
    exit 1
}
else{
    Write-Host 'Deployment package exported at ' $PackagePath
}

# [OPTIONAL] Disable the progress bar.
# Due to a PowerShell issue, we recommended disabling the progress bar to boost the performance significantly.
# See https://github.com/PowerShell/PowerShell/issues/2138 for more information.
$ProgressPreference = 'SilentlyContinue'

# Upload the deployment package
Write-Host 'Uploading deployment package to cloud'
# authenticate with your PAT
$Headers = @{ Authorization = "Bearer $PersonalAccessToken" }
# Append Project GUID to the Uri.
# The Uri structure is: {host}/api/deployment/upload/{projectGuid}/{environment}
# Without specifying the environment, the deployment defaults to QA.
$Uri = "https://xperience-portal.com/api/deployment/upload/$ProjectGuid"

Invoke-RestMethod -Uri $Uri -Method Post -InFile $PackagePath -ContentType "application/zip" -Headers $Headers

# Enable the progress bar
$ProgressPreference = 'Continue'
Prepare and run the deployment update
Make changes to your local project
To simulate the need for a deployment update, run your Dancing Goat project locally and make a few very simple changes:
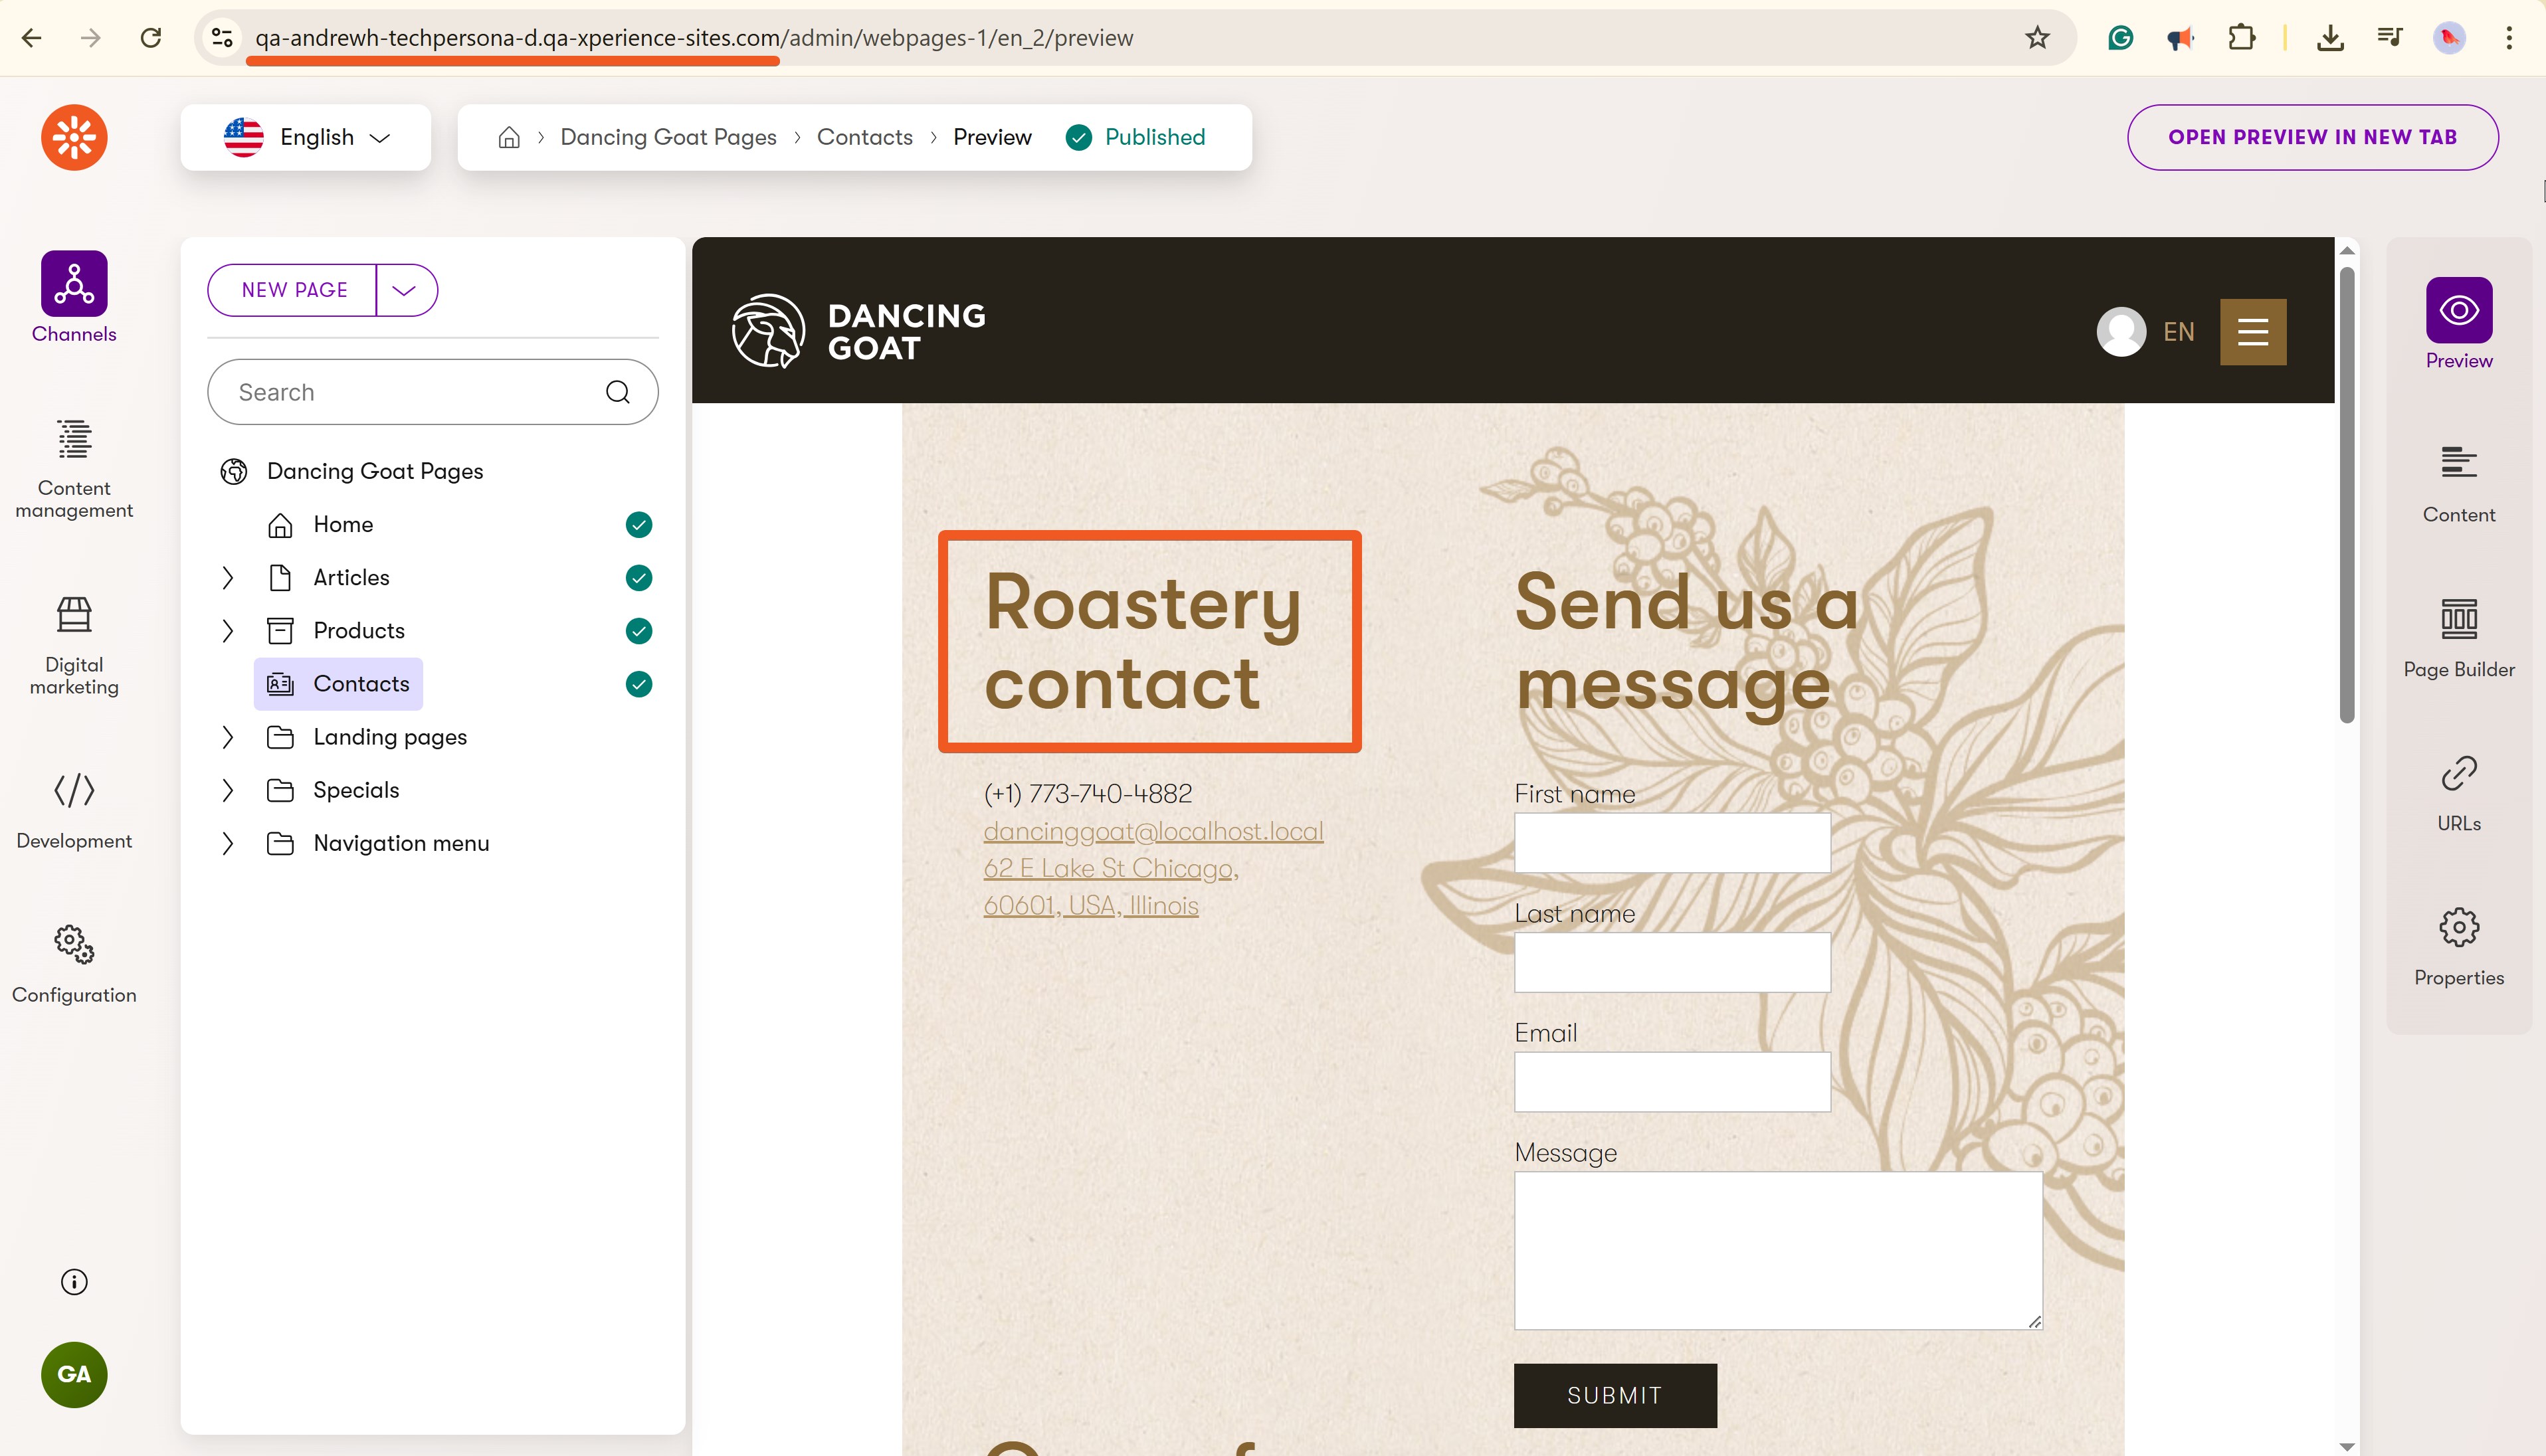
In the Dancing Goat Pages channel, change the Contacts page heading from “Roastery” to “Roastery contact. This is a code change in a view, representing project development:
cshtmlDancingGoat.Web/Views/DancingGoatContacts/Index.cshtml@model DancingGoat.Models.ContactsIndexViewModel <div class="contacts-page"> <div class="col-md-12"> <div class="col-md-6"> <h2 class="contact-title">@HtmlLocalizer["Roastery contact"]</h2> <ul class="contact-info"> ...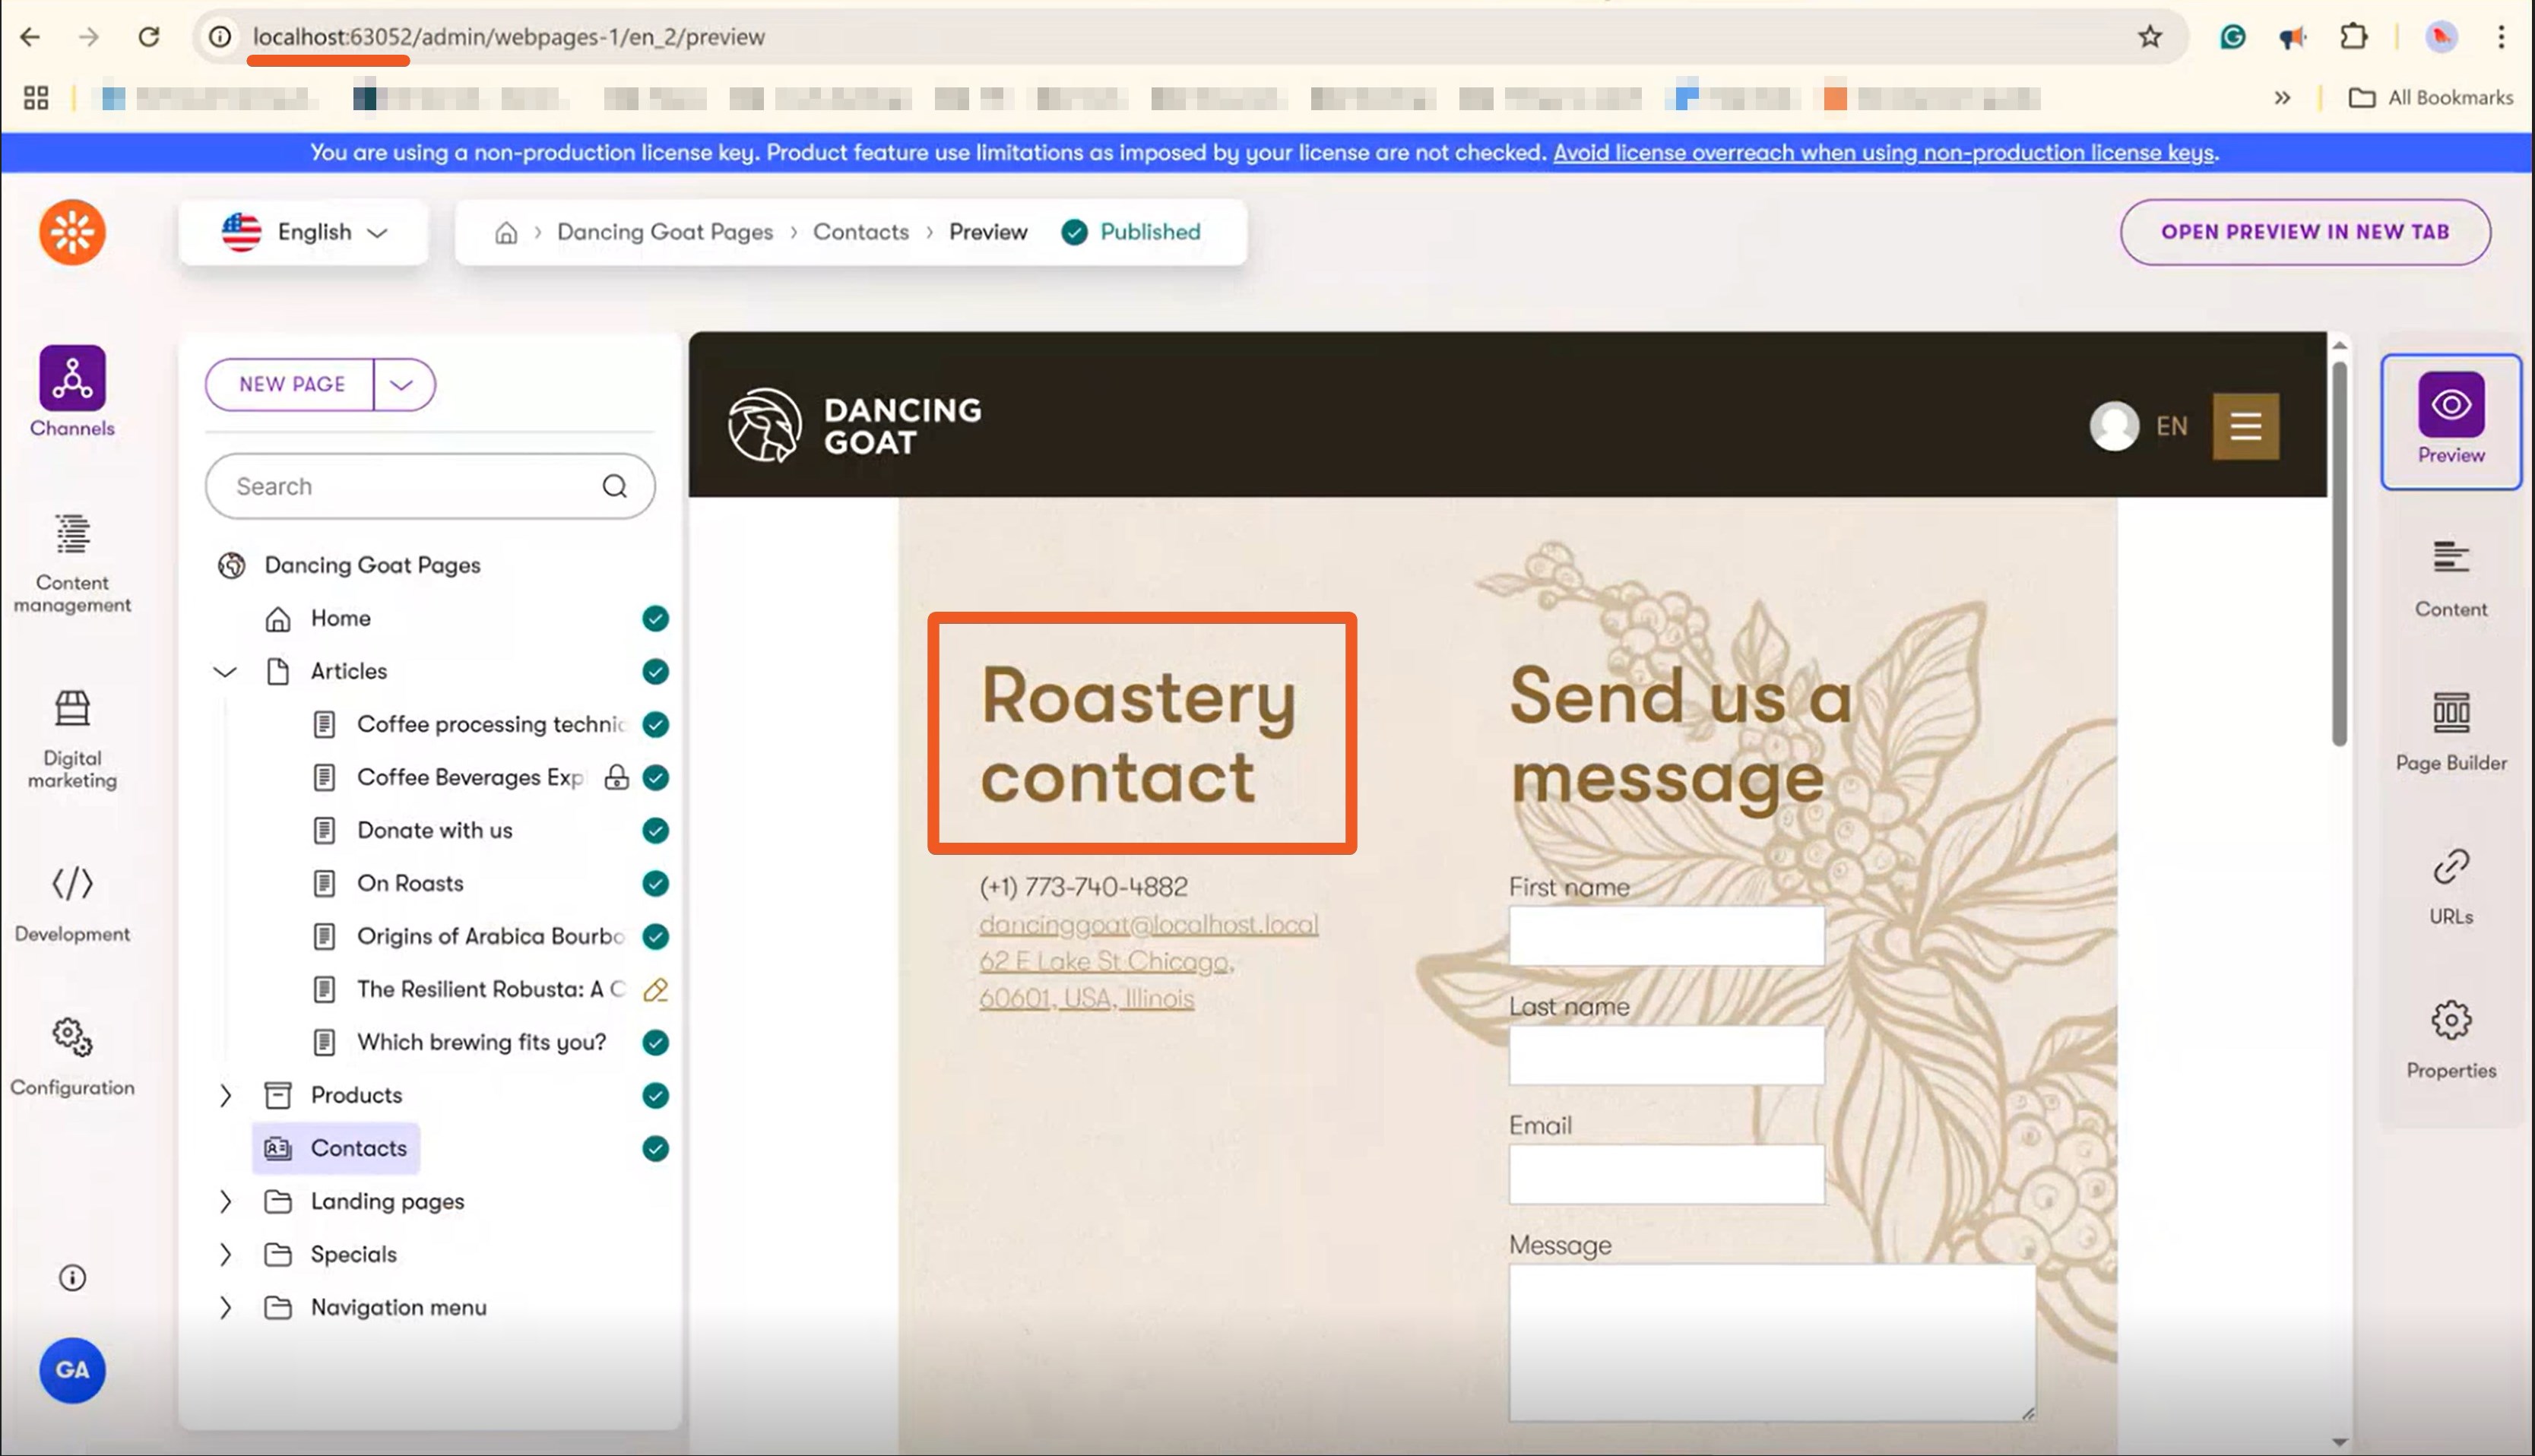
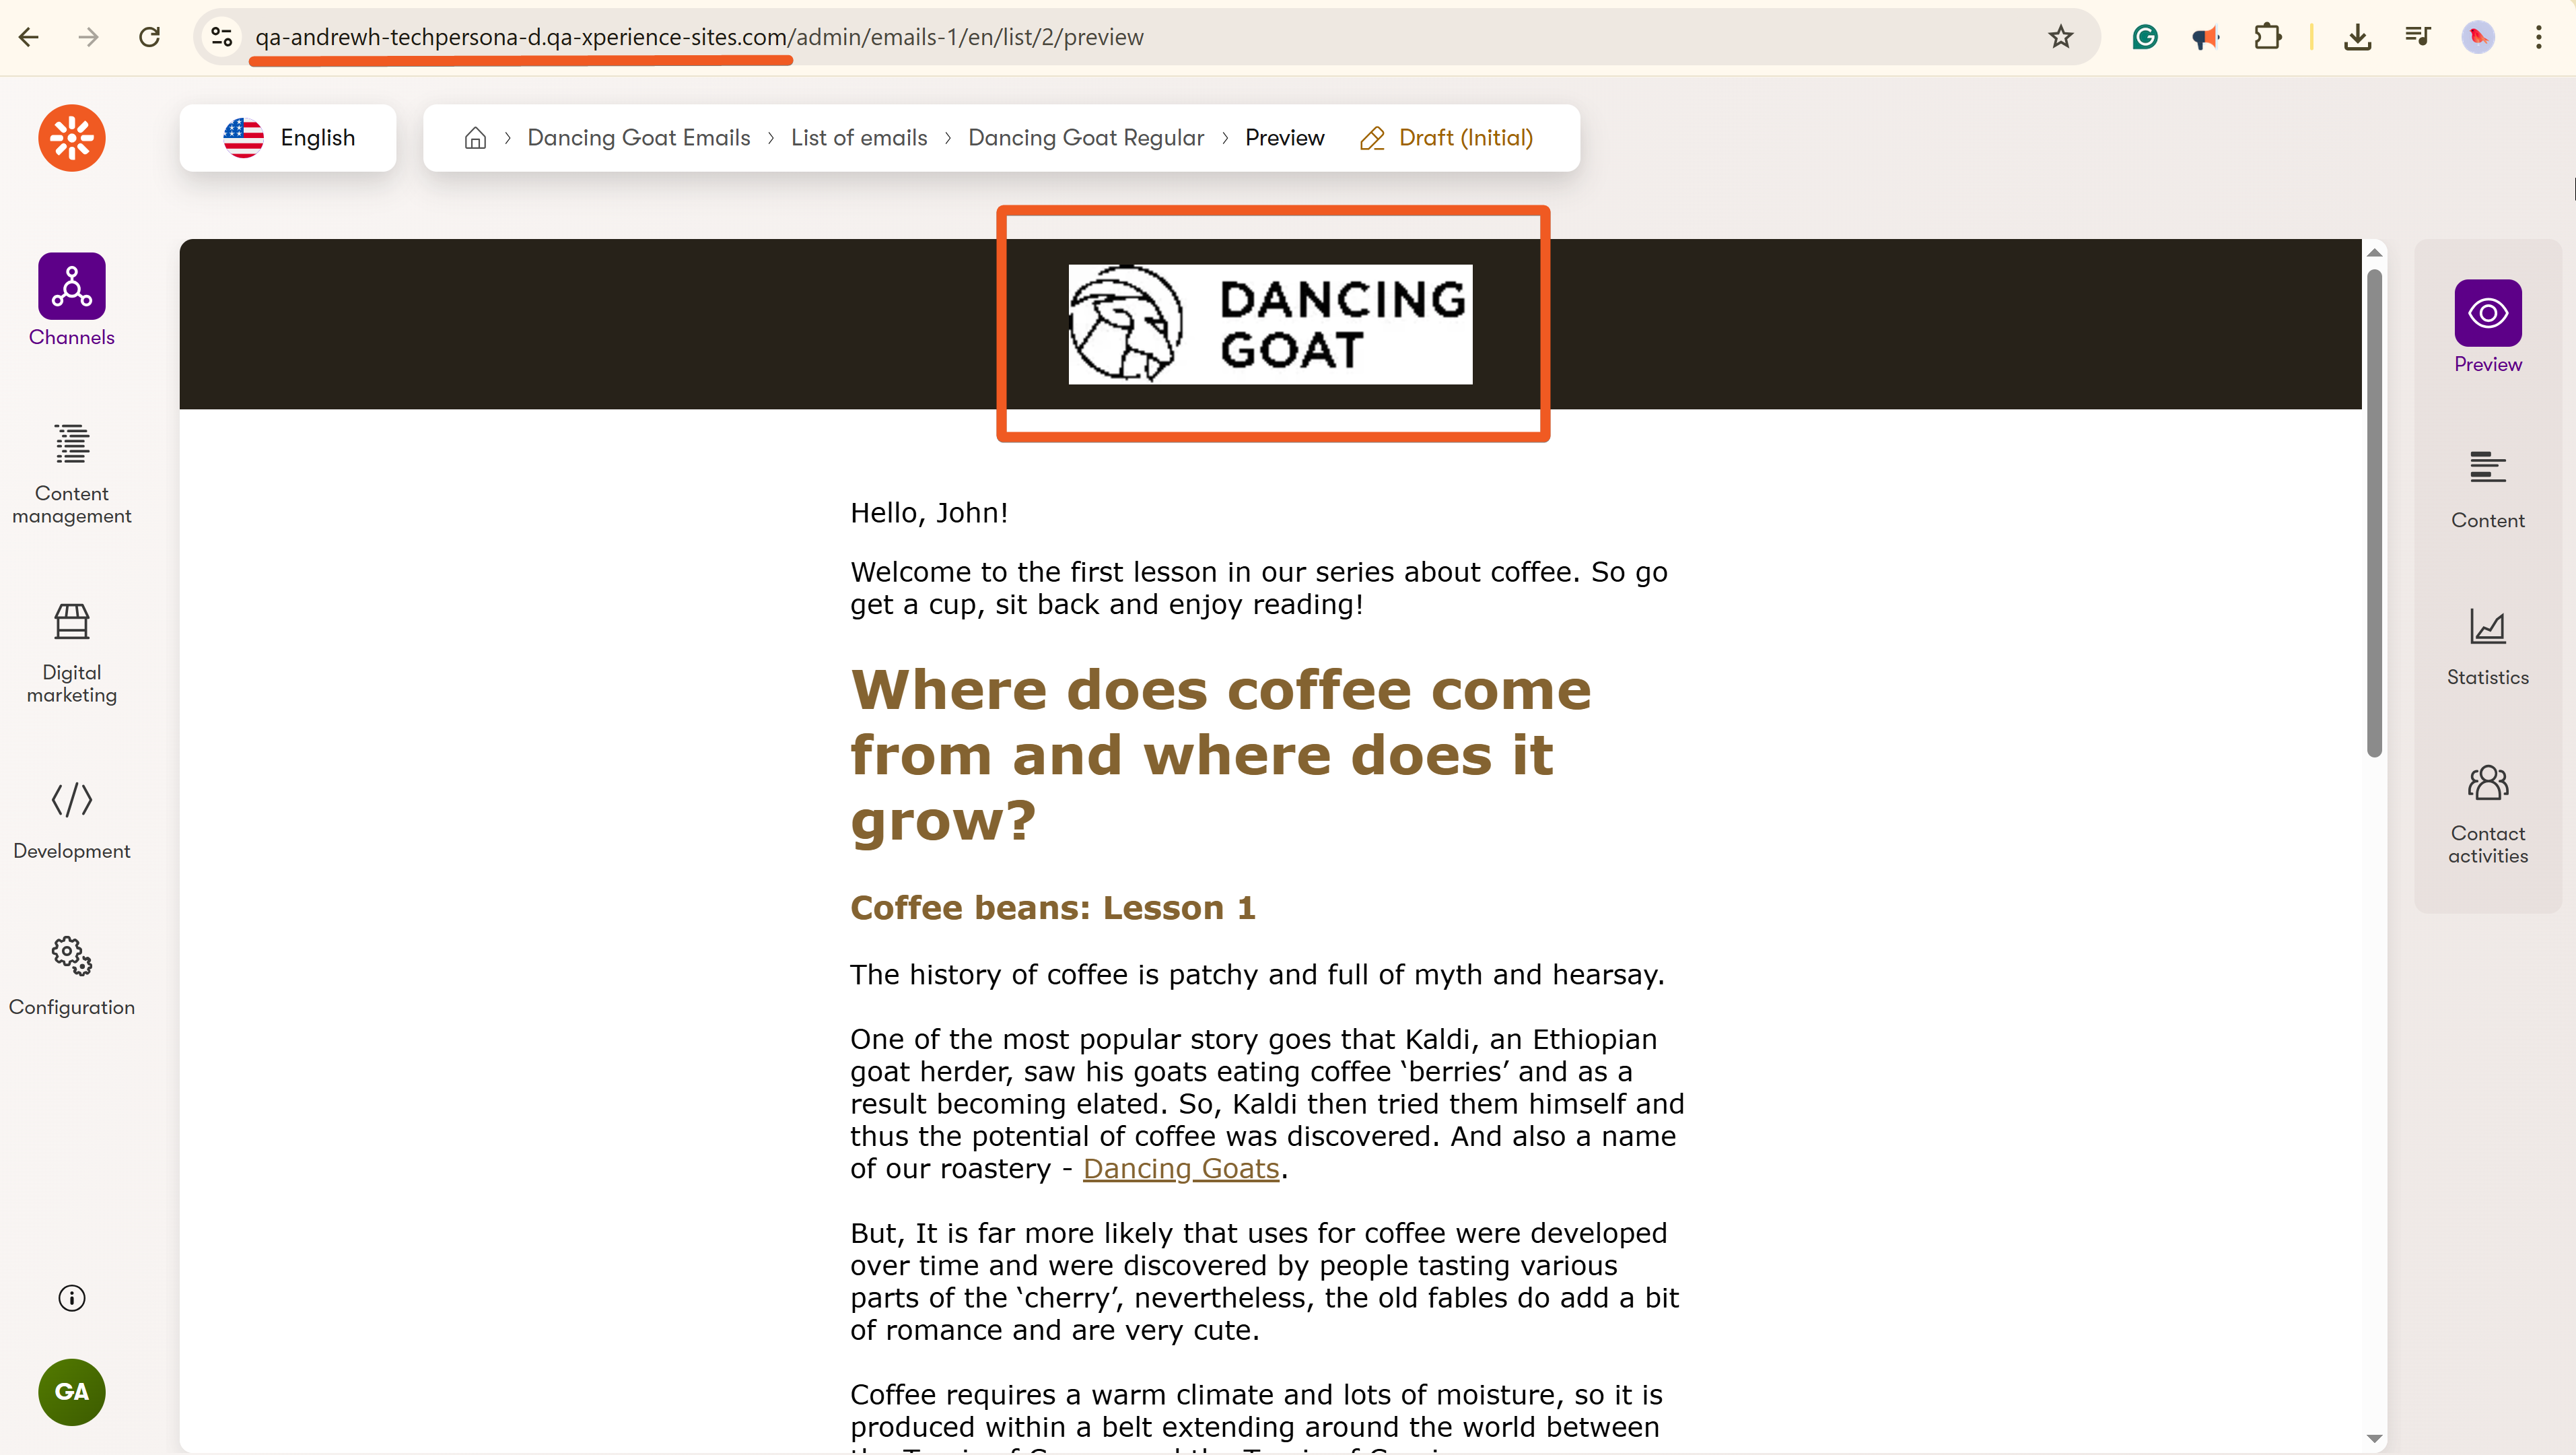
Replace a logo image that’s referenced by one of the emails - a media asset change.
Stop the local application run before moving on.
In cases where you have not made any code changes, and you have only updated supported types of content, you can deploy updates between environments with Xperience’s content sync feature (Advanced license required).
Re-evaluate the CD configuration
Before creating a new deployment package, you should reevaluate whether your CD configuration in repository.config is up-to-date. Are there any new data classes or modules that must be added to the config file to synchronize? Are there any objects you wish to exclude?
Feel free to experiment with excluding different objects and observe what effects it has on the deployed solution.
If you are following along, you can leave the CD configuration as is.
Prepare migration scripts
This step is optional. Our example does not require any database migrations.
If your project contains any database changes not covered by CD, such as creating new indexes, follow the guidance in our documentation to create the @migrations folder that holds any SQL migration scripts and the Before.txt and After.txt files referencing the SQL scripts in the order of execution.
You may have noticed that our deployment script does not mention or execute any migration scripts. This is because when deploying to Kentico SaaS, migrations are detected in the deployment package and applied automatically during the deployment process. All you have to do is prepare the migration files.
Back up your data before deployment update
The Xperience portal creates an automatic restore point for each service before deployment, but you can also create a manual restore point or manual export when you need to.
On top of this, Kentico creates daily restore points of the Staging and Production environments.
Run the deployment script
Now is the time to run our deploy.ps1 script. Make sure it’s located in the project folder; if you’re following along, it is DancingGoat.Web.
Prepare your Personal Access Token value from earlier.
Copy your project GUID from the Xperience Portal dashboard:
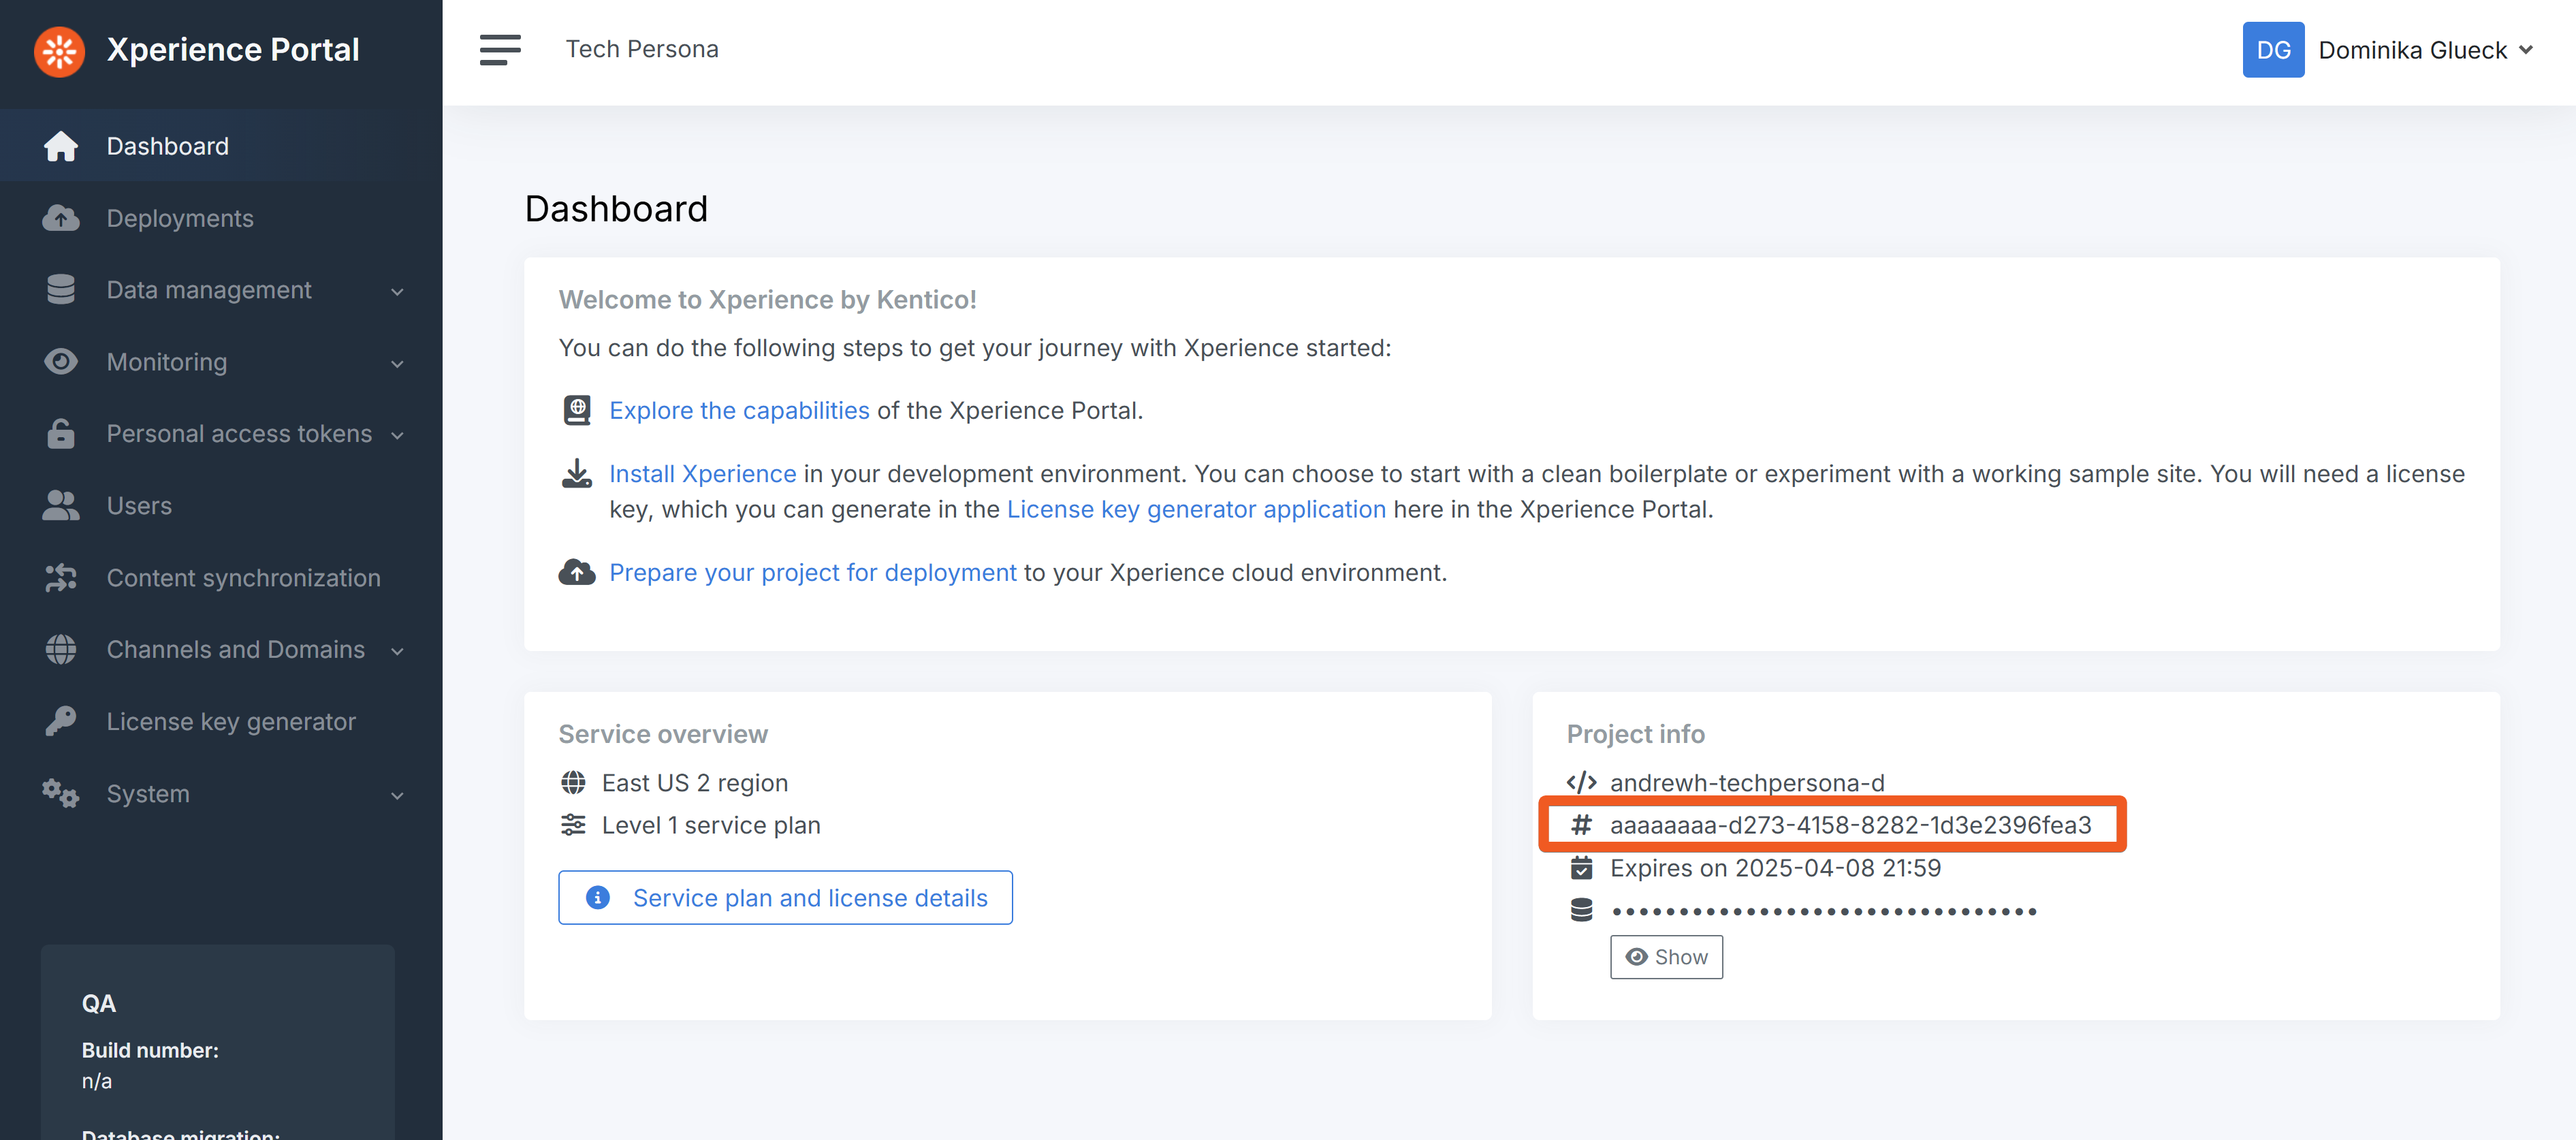
Open the project folder in PowerShell and call the script:
./deploy.ps1 -PersonalAccessToken "<YOUR_PAT>" -ProjectGuid "<YOUR_PROJECT_GUID>"
If you have disabled the progress bar in PowerShell, you will not see the upload progress when the script gets to that part.
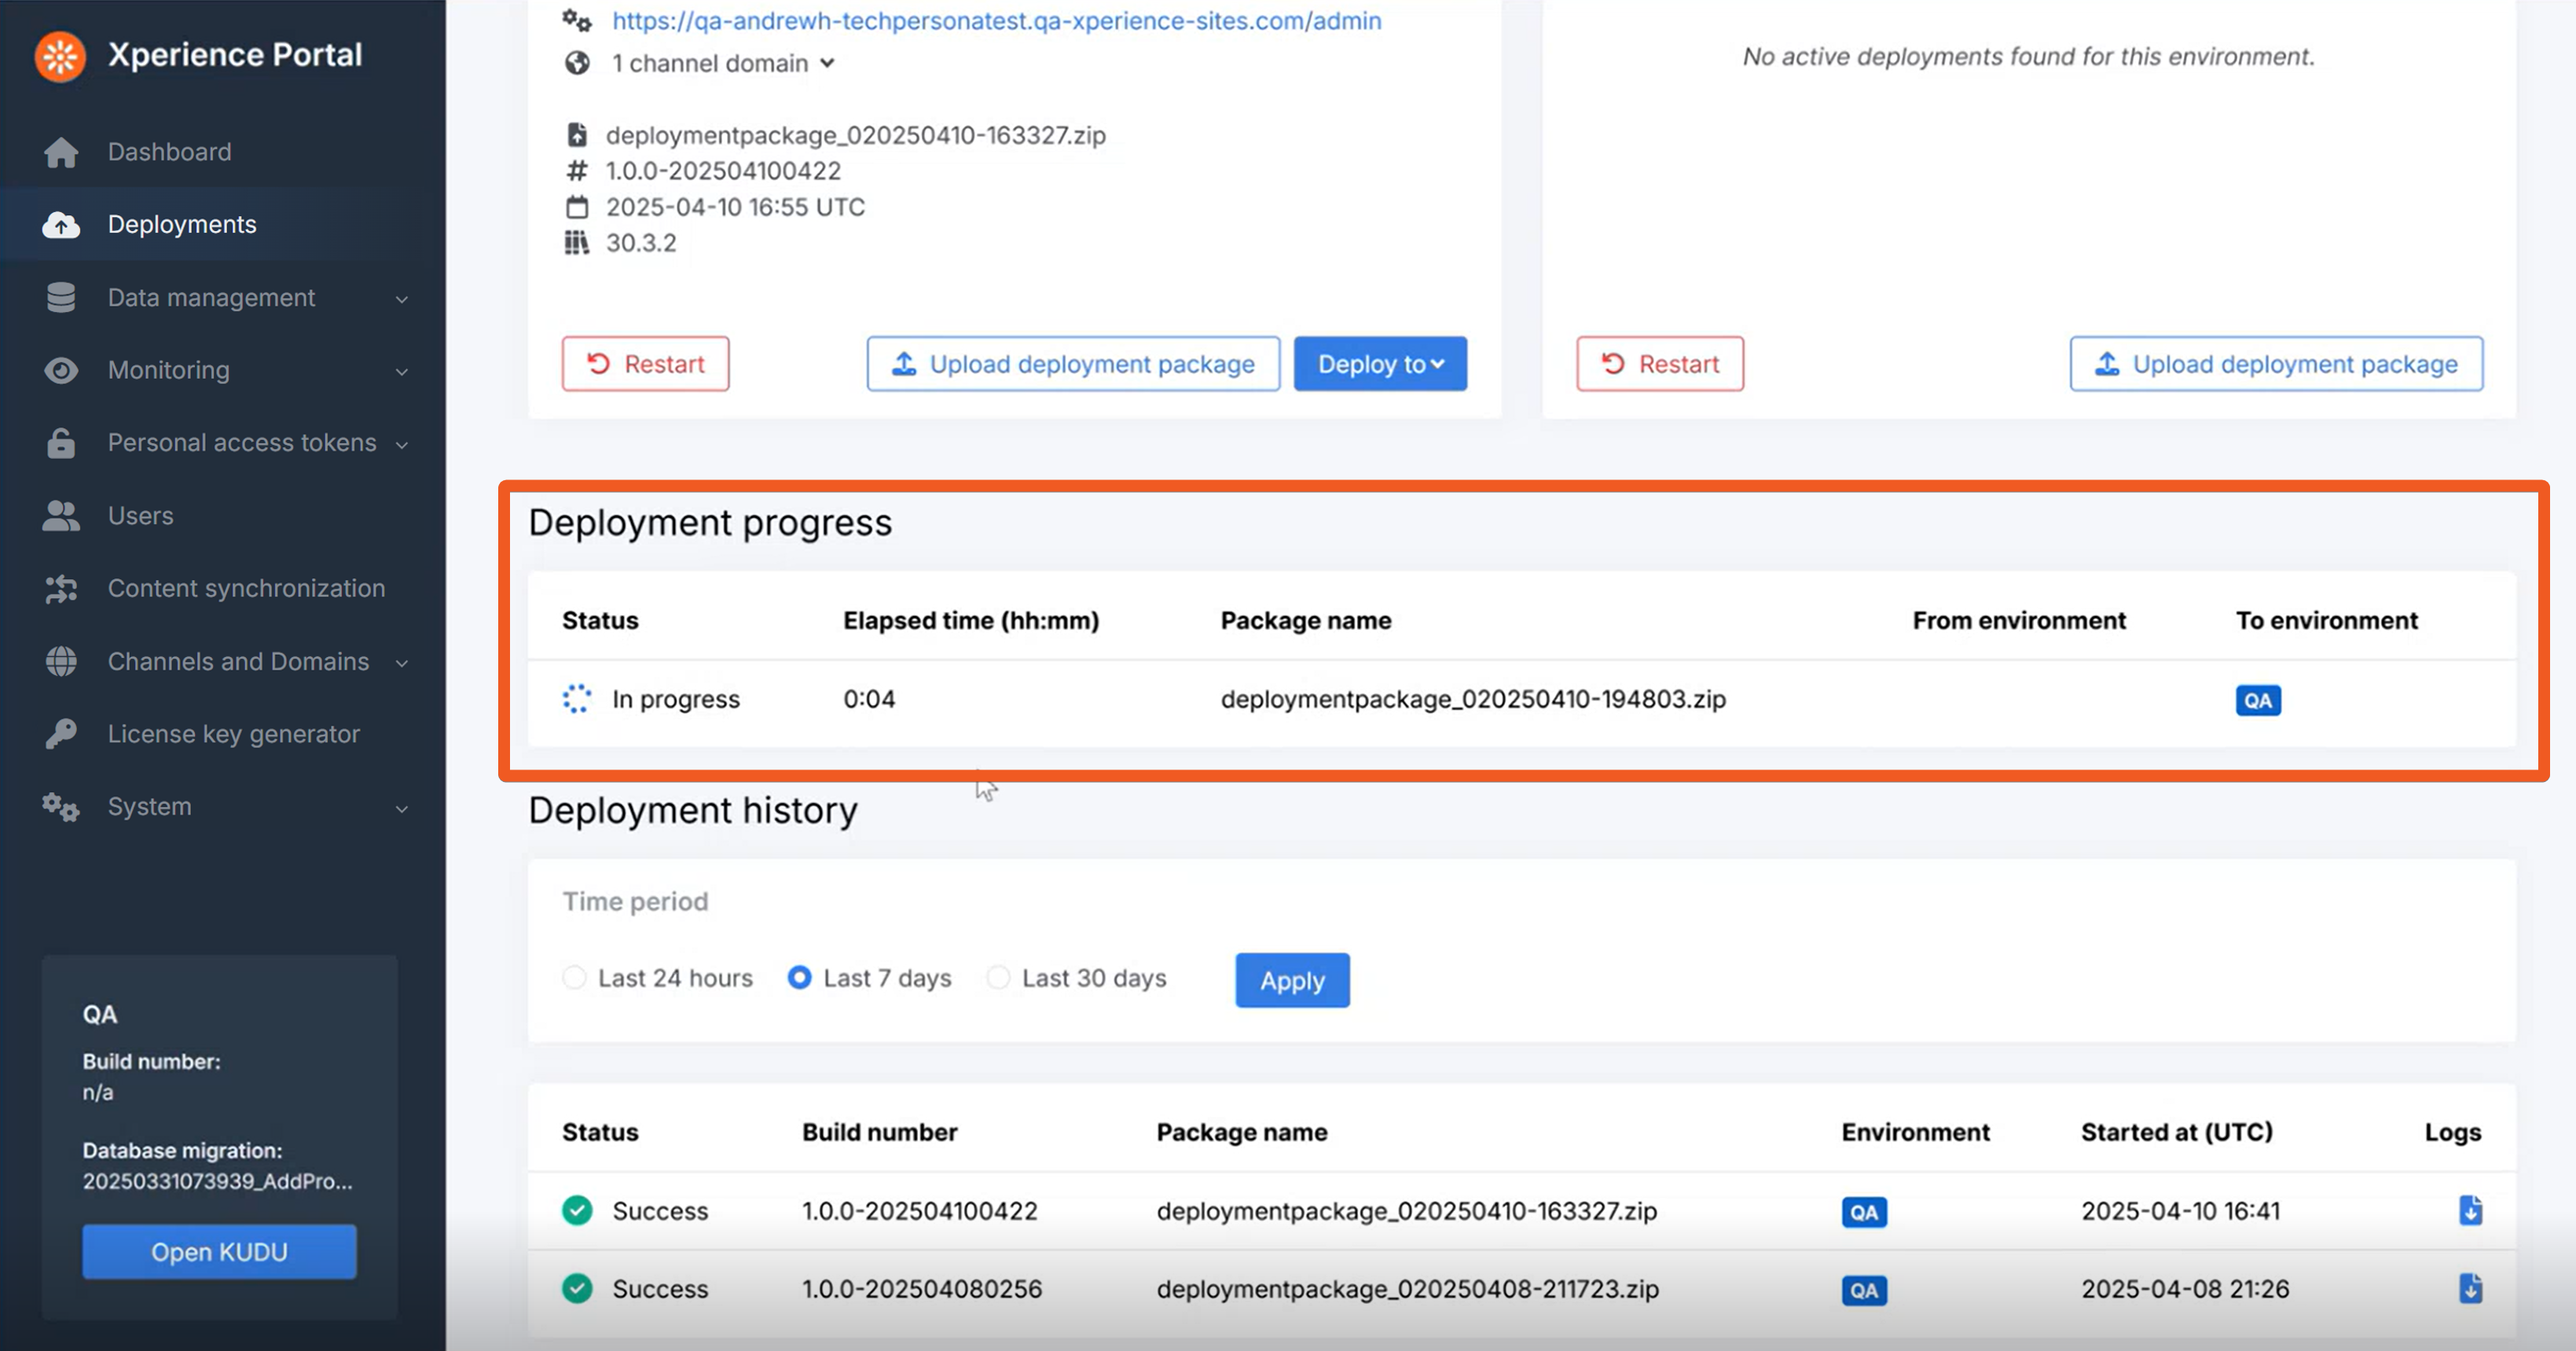
When the script finishes, after a few minutes, you should be able to observe the deployment in progress in the Xperience Portal Deployments screen:
Check your progress
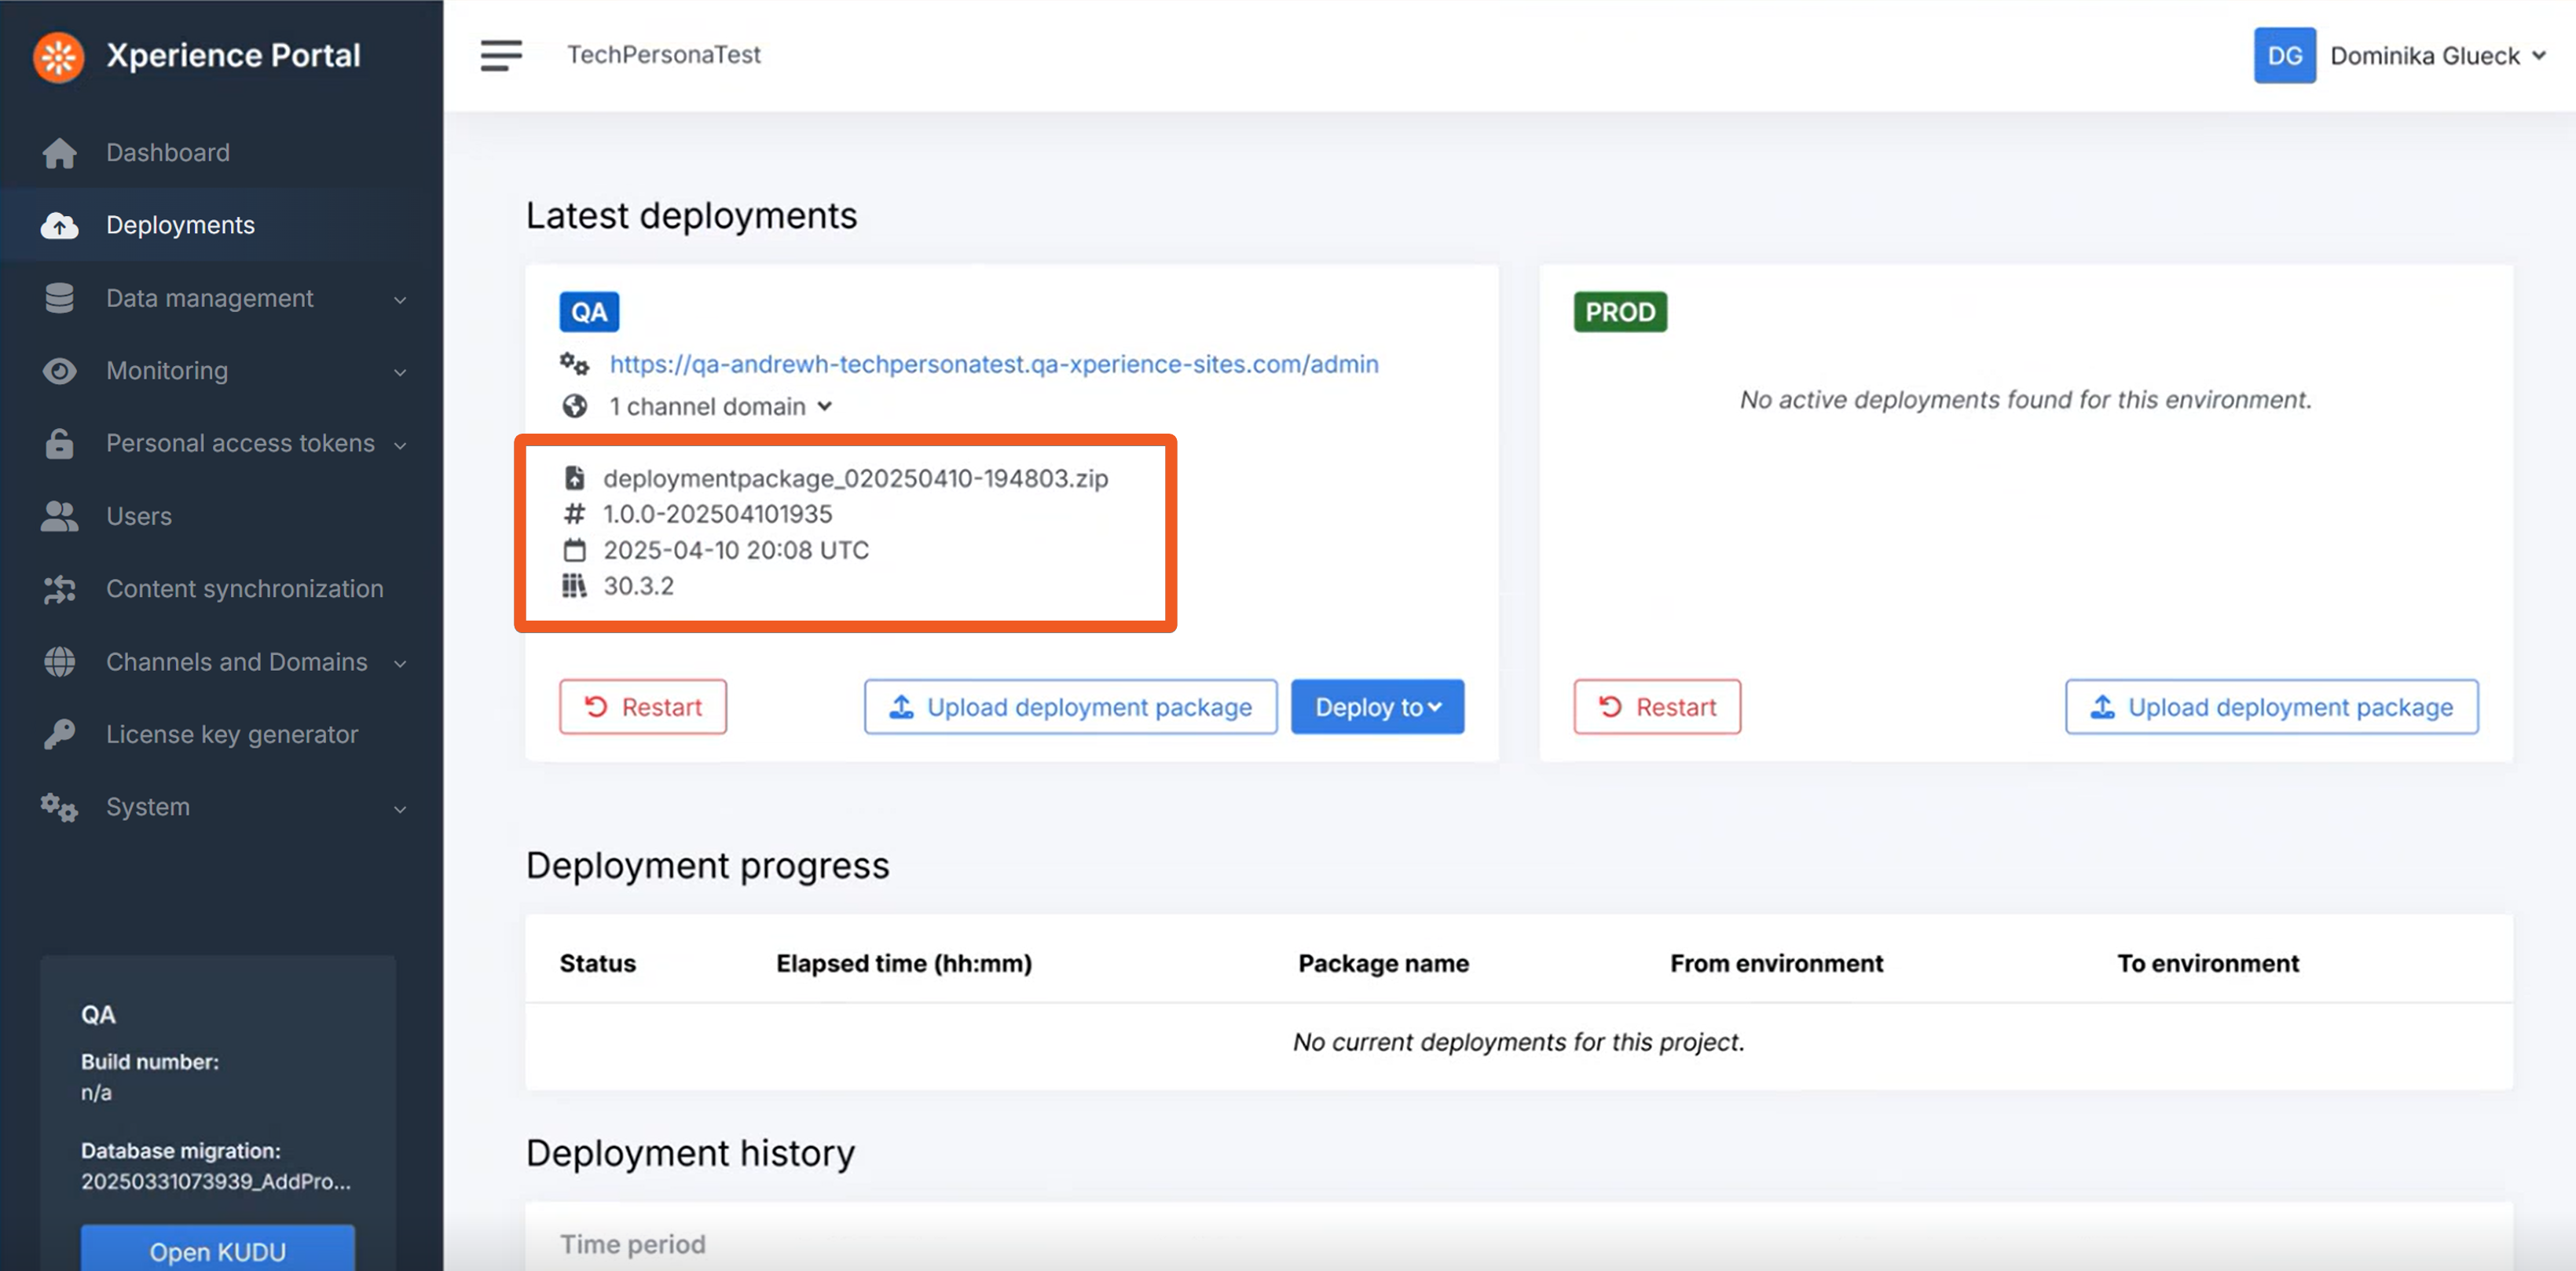
When your deployment has finished, you will see the deployment info in your Xperience Portal dashboard updated, including: the deployment package ZIP file, deployment finished date and time and the version of the deployed XbyK instance.
Now, navigate to your live site and check that the changes we made locally have been propagated to the QA environment: A changed heading on the Contacts page and an inverted logo in an email.
If your solution uses Lucene search integration and you run into an issue with the search index after deployment, you may find this blog by Milan Lund helpful.
Continue learning
When you’re ready, move on to the next page: Deploy to production