
Inserting files into media libraries
This page describes how to insert files into media libraries:
- To insert a file into a media library
- Adding a thumbnail to a file in a media library
- Uploading multiple files into media libraries
Media libraries are suited for storing any type of large files, not only of media character.
To insert a file into a media library
- Open the Media libraries application.
- Edit () the media library into which you want to upload the files.
The Media library opens.
Creating a folder (Optional step)
It’s a good practice to organize your files in folders.
- In the Media library, click New folder (). A New folder dialog box opens.
- Fill in the Folder name.
- Click Save.
Inserting a file to a media library
Select the folder into which you want to upload the file.
Click Upload. An Open dialog appears.

Choose the file that you want to upload and click Open. Note that you can select multiple files at once.
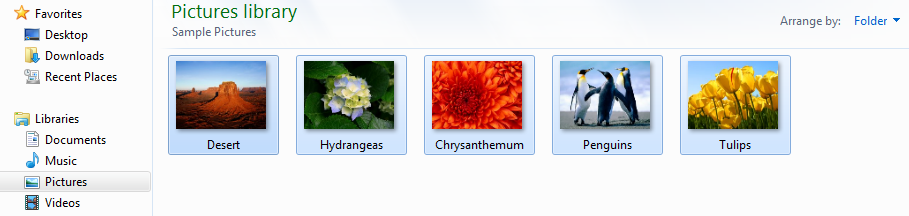
Once you upload the file, you can see it in the folder that you chose to upload it into. Note that you can preview audio, video and picture files of the supported format at the bottom of the window – under the File tab.
Filename case when using external storage providers
If your media library folder is located on an external storage provider, such as Azure storage or Amazon S3, Kentico converts all media file and folder names to lower case. This is necessary to ensure consistent behavior, because external storage systems are case-sensitive, unlike standard Windows file systems.
Moreover, if the mapped external storage contains some preexisting files, or receives data that you want to register in Kentico from other sources, you can automatically lowercase all unregistered files with the Prepare for import action. See Registering files from external storage accounts.
Working with unregistered files on web farms
Performing operations, such as copying or moving unregistered files is not supported when using web farms and non-sticky session load balancing. Before registering, the files aren’t synchronized to the other web farm servers. If you want to perform any of the operations on unregistered files in this scenario, you need copy the physical versions of the unregistered files to their respective media library folders on all the web farm servers.
Registering the files first ensures that the files are synchronized to all the web farm servers.
Adding a thumbnail to a file in a media library
The system creates thumbnails for image files in media library automatically when they are first viewed. You can also use your own thumbnails so that visitors can preview files in media libraries.
Open the Media libraries application.
Edit () the media library in which you want to change a file thumbnail. The Media library opens.
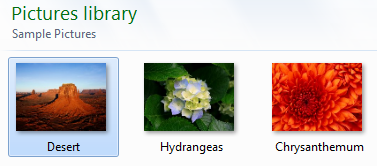
Navigate to the file for which you want to change the thumbnail.
Select the file.
At the bottom of the window, switch to the Thumbnail tab.
Click Upload file.
Select the picture that you want to use as a thumbnail.
Click Open.
You have added a thumbnail picture to a file in your media library.
Uploading multiple files into media libraries
If you have file access to your website, you can upload multiple files to media libraries at once. The following example uses FTP to upload files. However, you can upload multiple files into the media library in other ways as well.
Open Windows Explorer by pressing WinKey + E.
Click into the address (path) bar.
Fill in the address of your website.

Press ENTER.
Fill in your credentials.

Click Log on.
Navigate to <web project>\<site name>\media\<root library folder>.
Copy the files that you want in the media library to the folder or to a sub-folder.
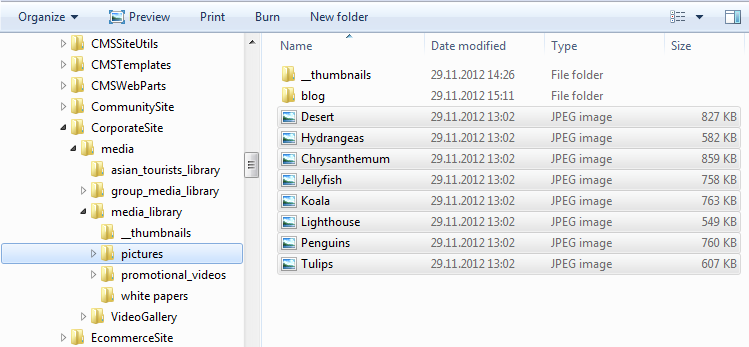
You can now see the files you uploaded when editing your media library in the Media libraries application. To be able to use these files, you need to register them in the system’s database as described below.
Registering files uploaded to media libraries
Now that you copied the files into the media library, you need to register them in the database.
Open the Media libraries application.
Edit () the media library in which you want to register the uploaded files. The Media library opens.
Choose the folder into which you copied the files.
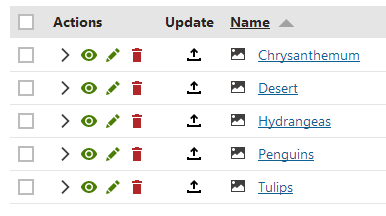
Unregistered files are marked with the warning () icon indicating that they have not yet been imported – registered in the system database. The files that you import are not physically copied into the database, they remain in the file system only and a record linking to the physical file is created in the database.
Select the files that you want to import.
You can also import the files one by one by clicking the warning () icon.
In the first drop-down list under the list of files, choose Selected files.
In the second drop-down list under the list of files, choose Import.
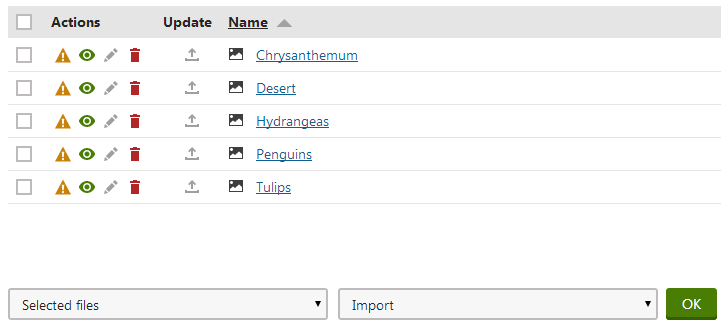
Click OK. The File import dialog opens.
Adjust the image properties before importing.
Click Import file.
Repeat the procedure for all the files you chose to import.
Now that you imported the files, you can manipulate them as you would any other files in the media library.
Registering files from external storage accounts
Most external storage systems (e.g., Azure storage or Amazon S3) are case-sensitive, unlike standard Windows file systems. If your media library folder is mapped to external storage that contains preexisting files or receives data from sources other than the Kentico application, you can use the Prepare for import button to automatically transform all filenames of unregistered files (marked with ) to lowercase. This ensures a normalized, consistent filename format across environments. Note that the button only appears if the media library is mapped to external storage.
After the filenames have been normalized, you can register the files using the standard process.