
Languages
Xperience by Kentico provides support for setting up multiple languages in your projects. Having localized content will not only provide a better user experience to your content consumers but also enable you to reach a broader audience. After you set up new languages in the Languages application, you will be able to create language variants of your content from within the Content hub and Channels applications, as well as consent texts in the Data protection application.
This page provides only a basic overview of the multilingual setup. To learn more about the technical side of multilingual implementation, refer to the following resources:
- For the implementation of multilingual data retrieval see Content retrieval.
- For multilingual setup of URLs and routing see Content tree-based routing.
Set up a new language
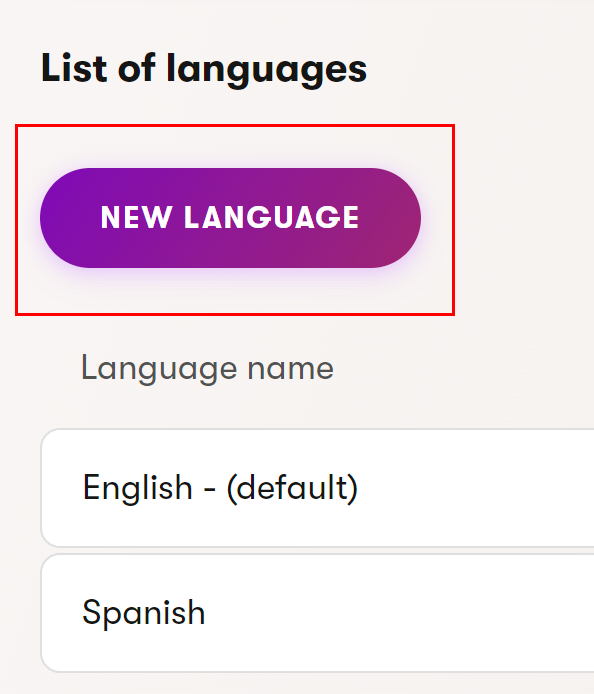
- Open the Languages application.
- Select the New language button.
- Enter information about the language:
Language name – name of the language that is displayed across the system.
Code name – language prefix used in the URLs.
Changing the Code name of an existing language has serious impact on page URLs. The language prefix in live URLs is changed for the corresponding language variants of pages.
Former URLs are not created for pages. Any existing former URLs are broken.
Formatting culture – culture that defines the format of calendar date, time, decimals and other culture-related conventions. It needs to adhere to the IETF or one of the ISO-639 standards.
Flag - the flag icon that visually represents the language. If a flag is not set for a language, the first two letters of the language’s name are used as its flag icon.
Default language – the language selected when a user opens the Content hub and channel applications for the first time. After that, the system remembers the last used language and opens the applications in it.
The default language is not the one in which the live website appears by default. That is determined by the primary language set for each website channel. For more info on the primary language see Website channel management.
Fallback language – existing language the new language will fallback into. More on fallbacks in Language fallbacks. You can set it up now or later.
- Save the new language.
The new language is now saved in the system. Next you can start translating your content or fine tune the language settings for specific channels from within the Channel management application. For quick references see the related pages.
Language fallbacks
When working with multilingual content, it is expected that not all content will be localized. However, this should not hinder you from creating multilingual pages and other more complicated content. Moreover, you may even want to keep some content untranslated in specific scenarios. To support these cases Xperience provides the functionality of language fallbacks.
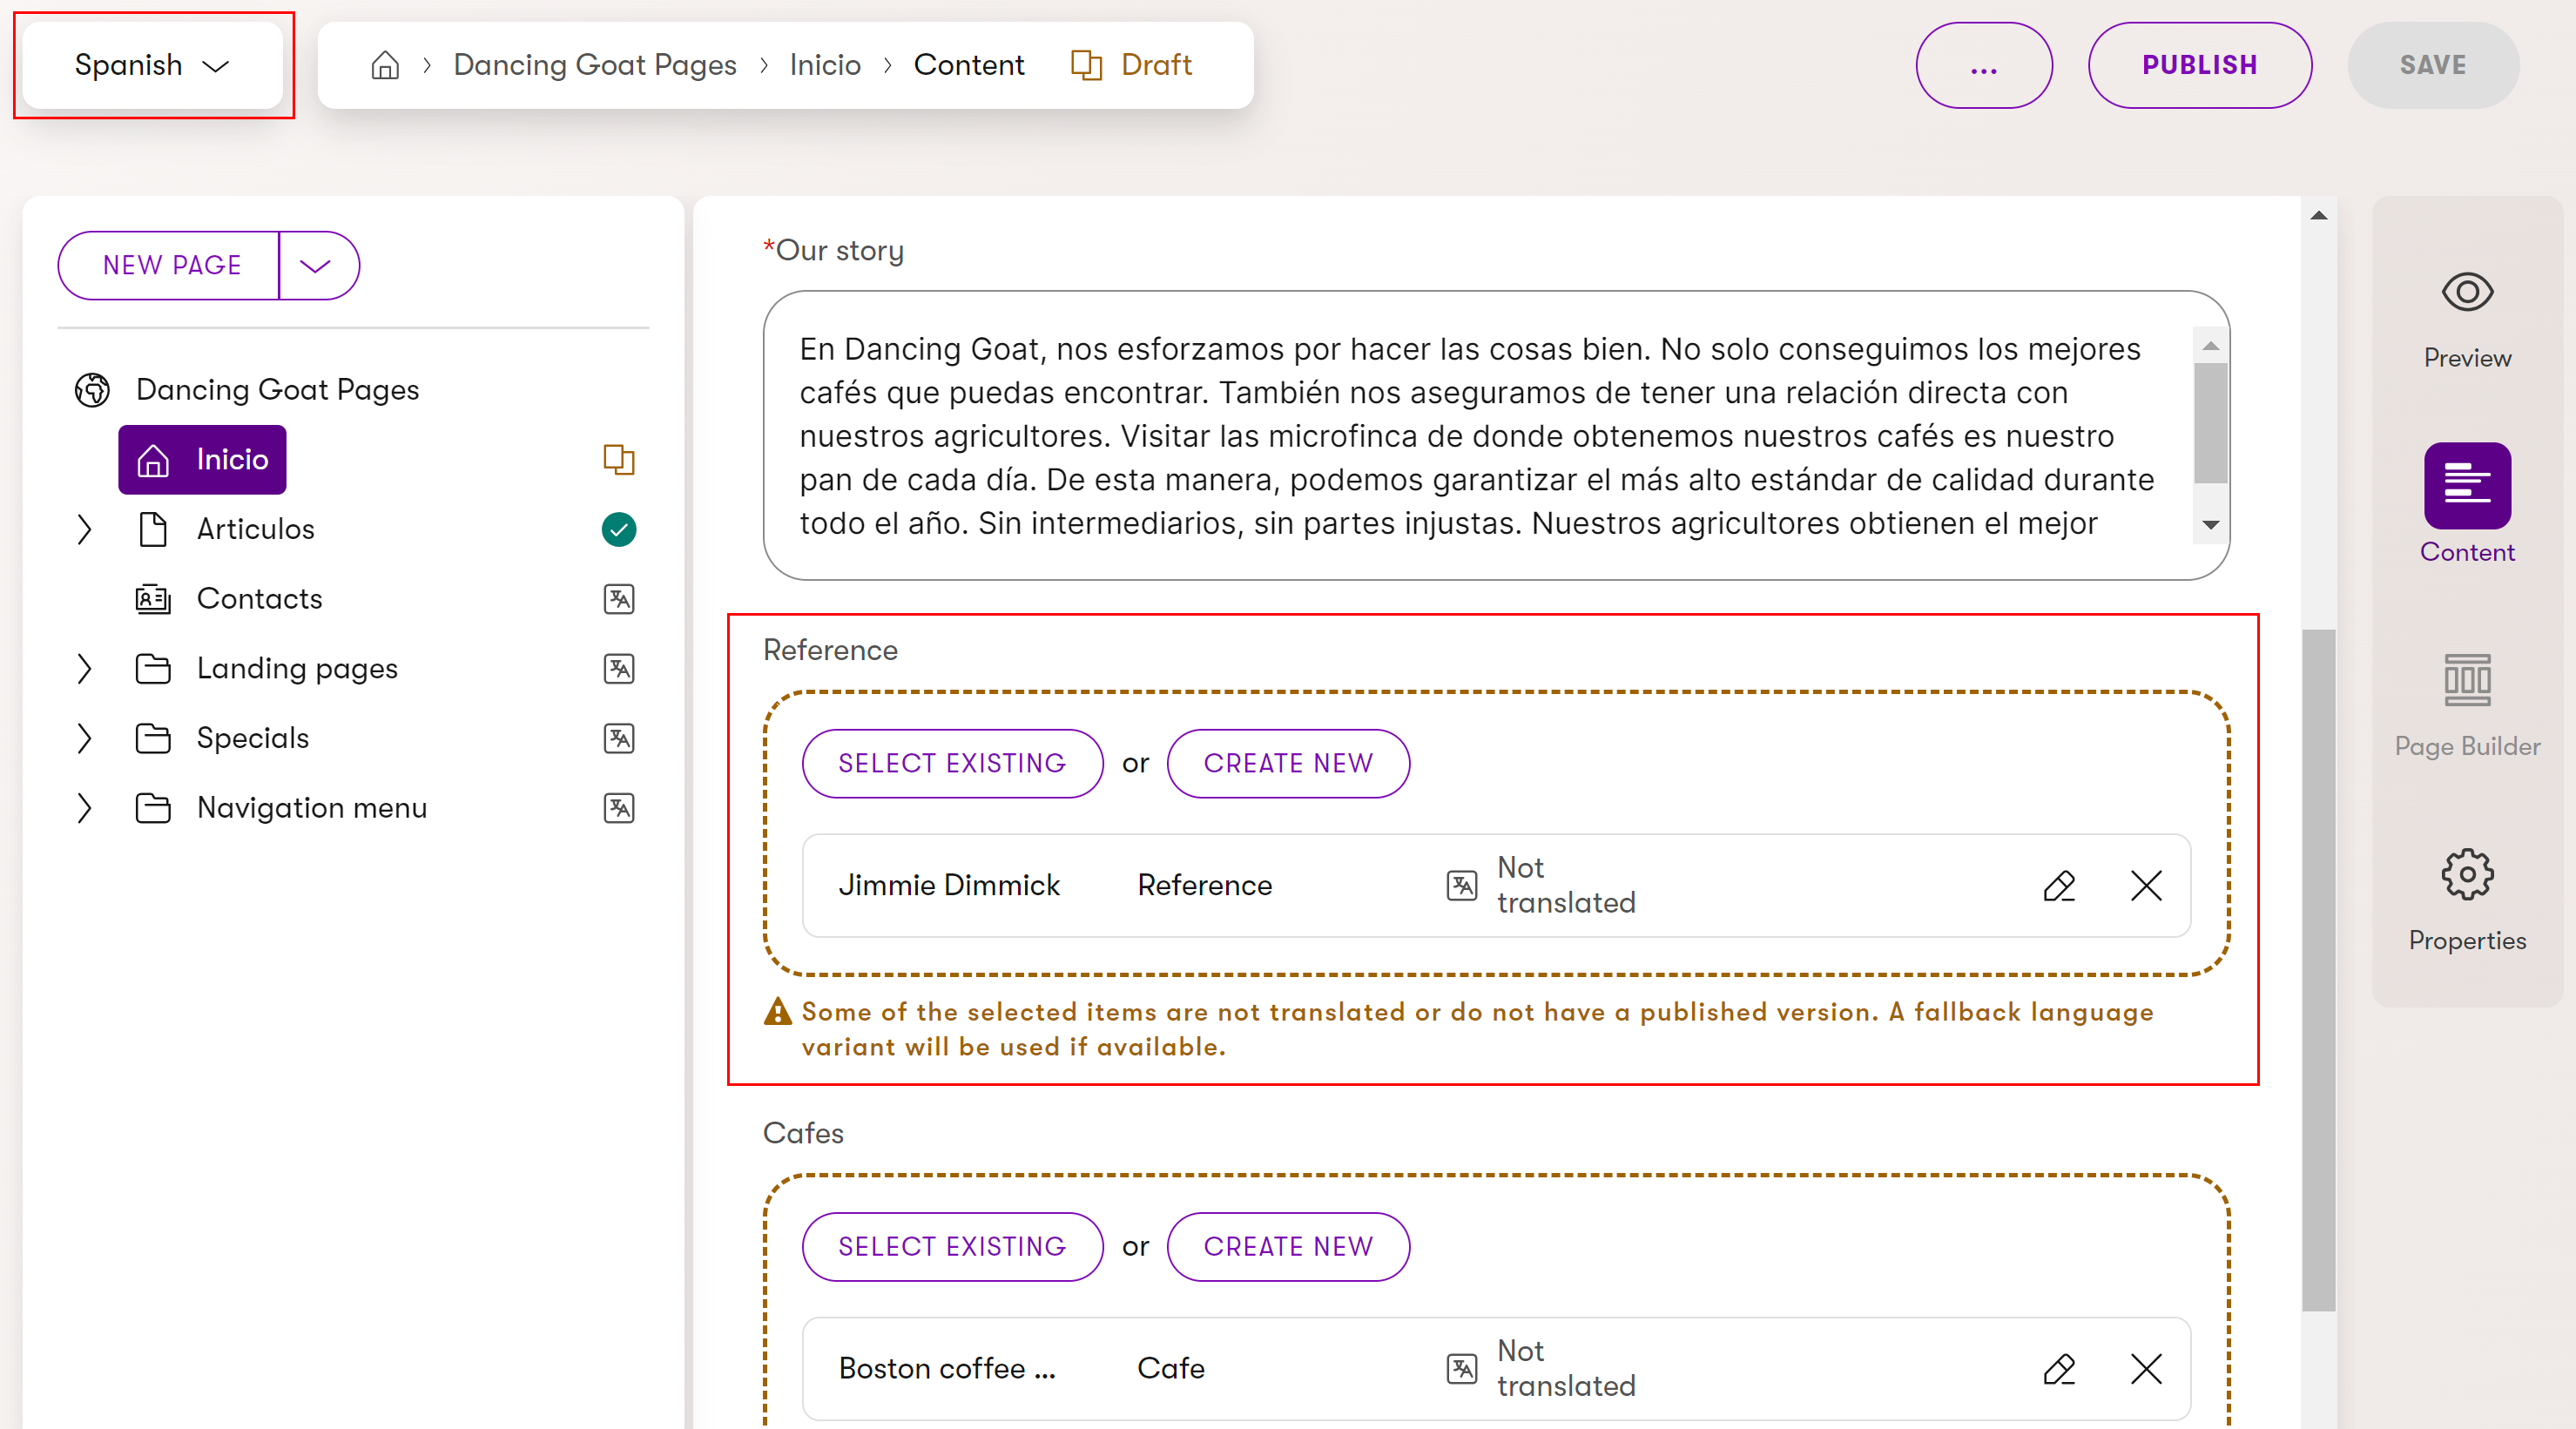
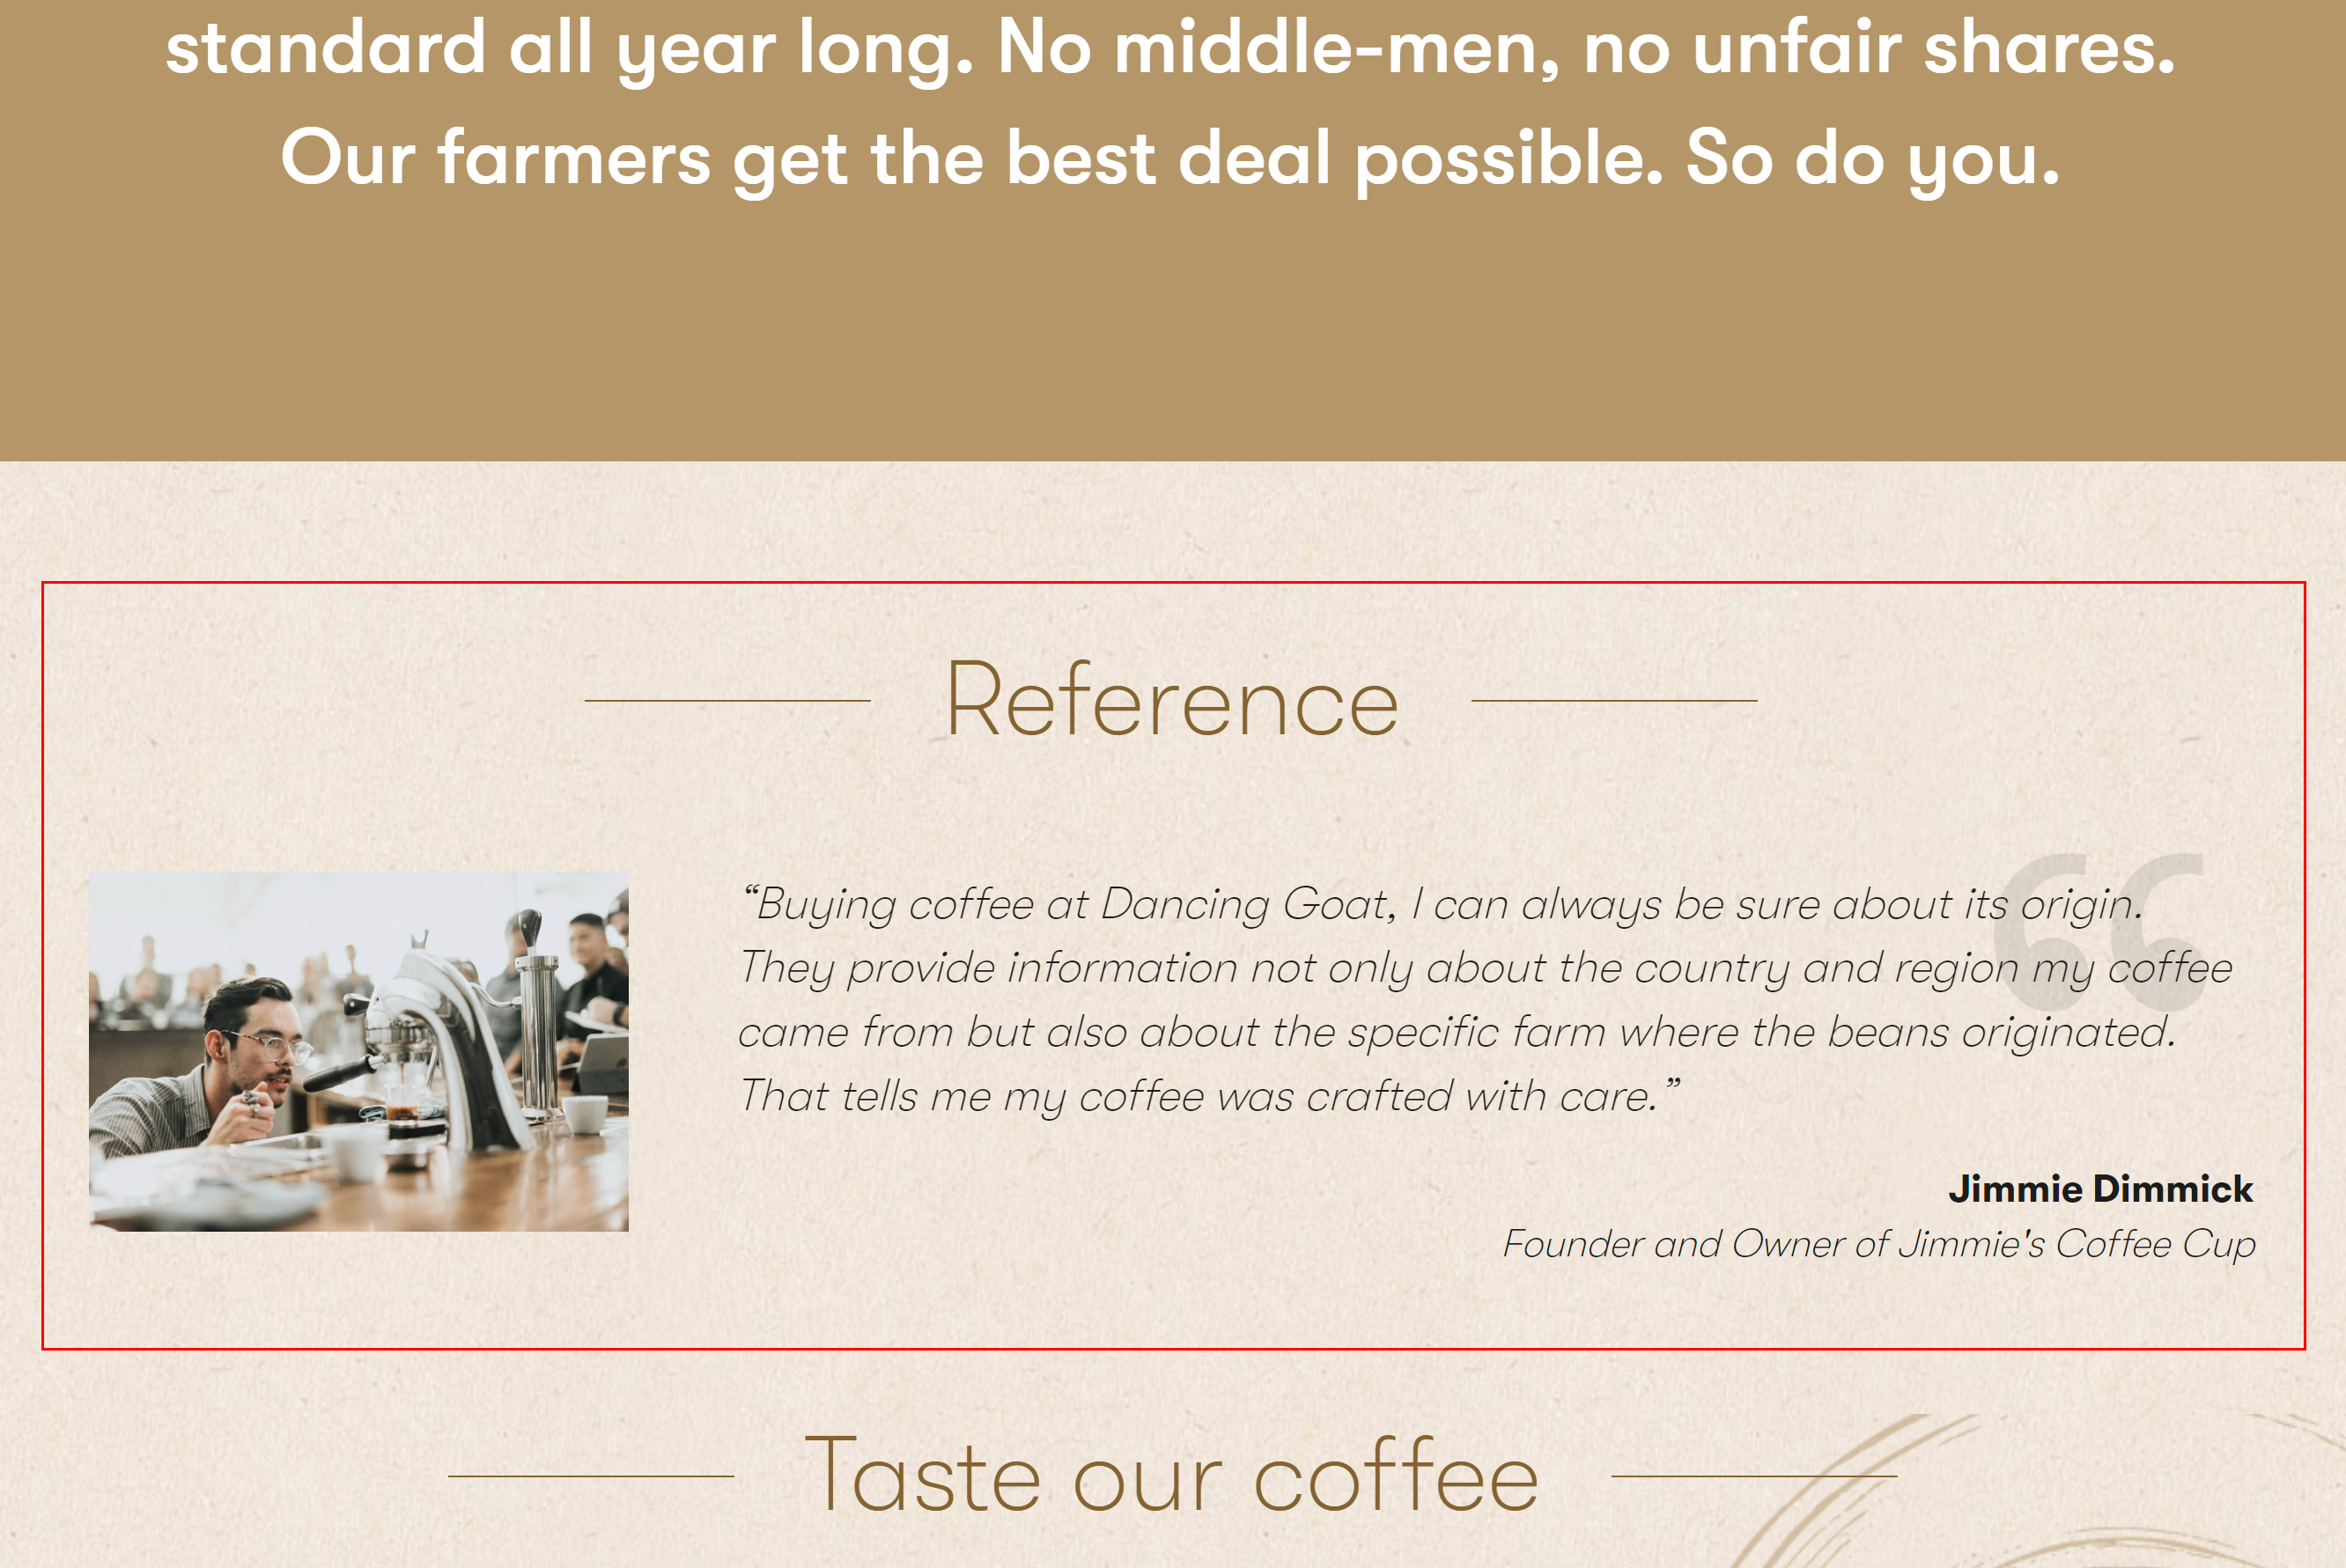
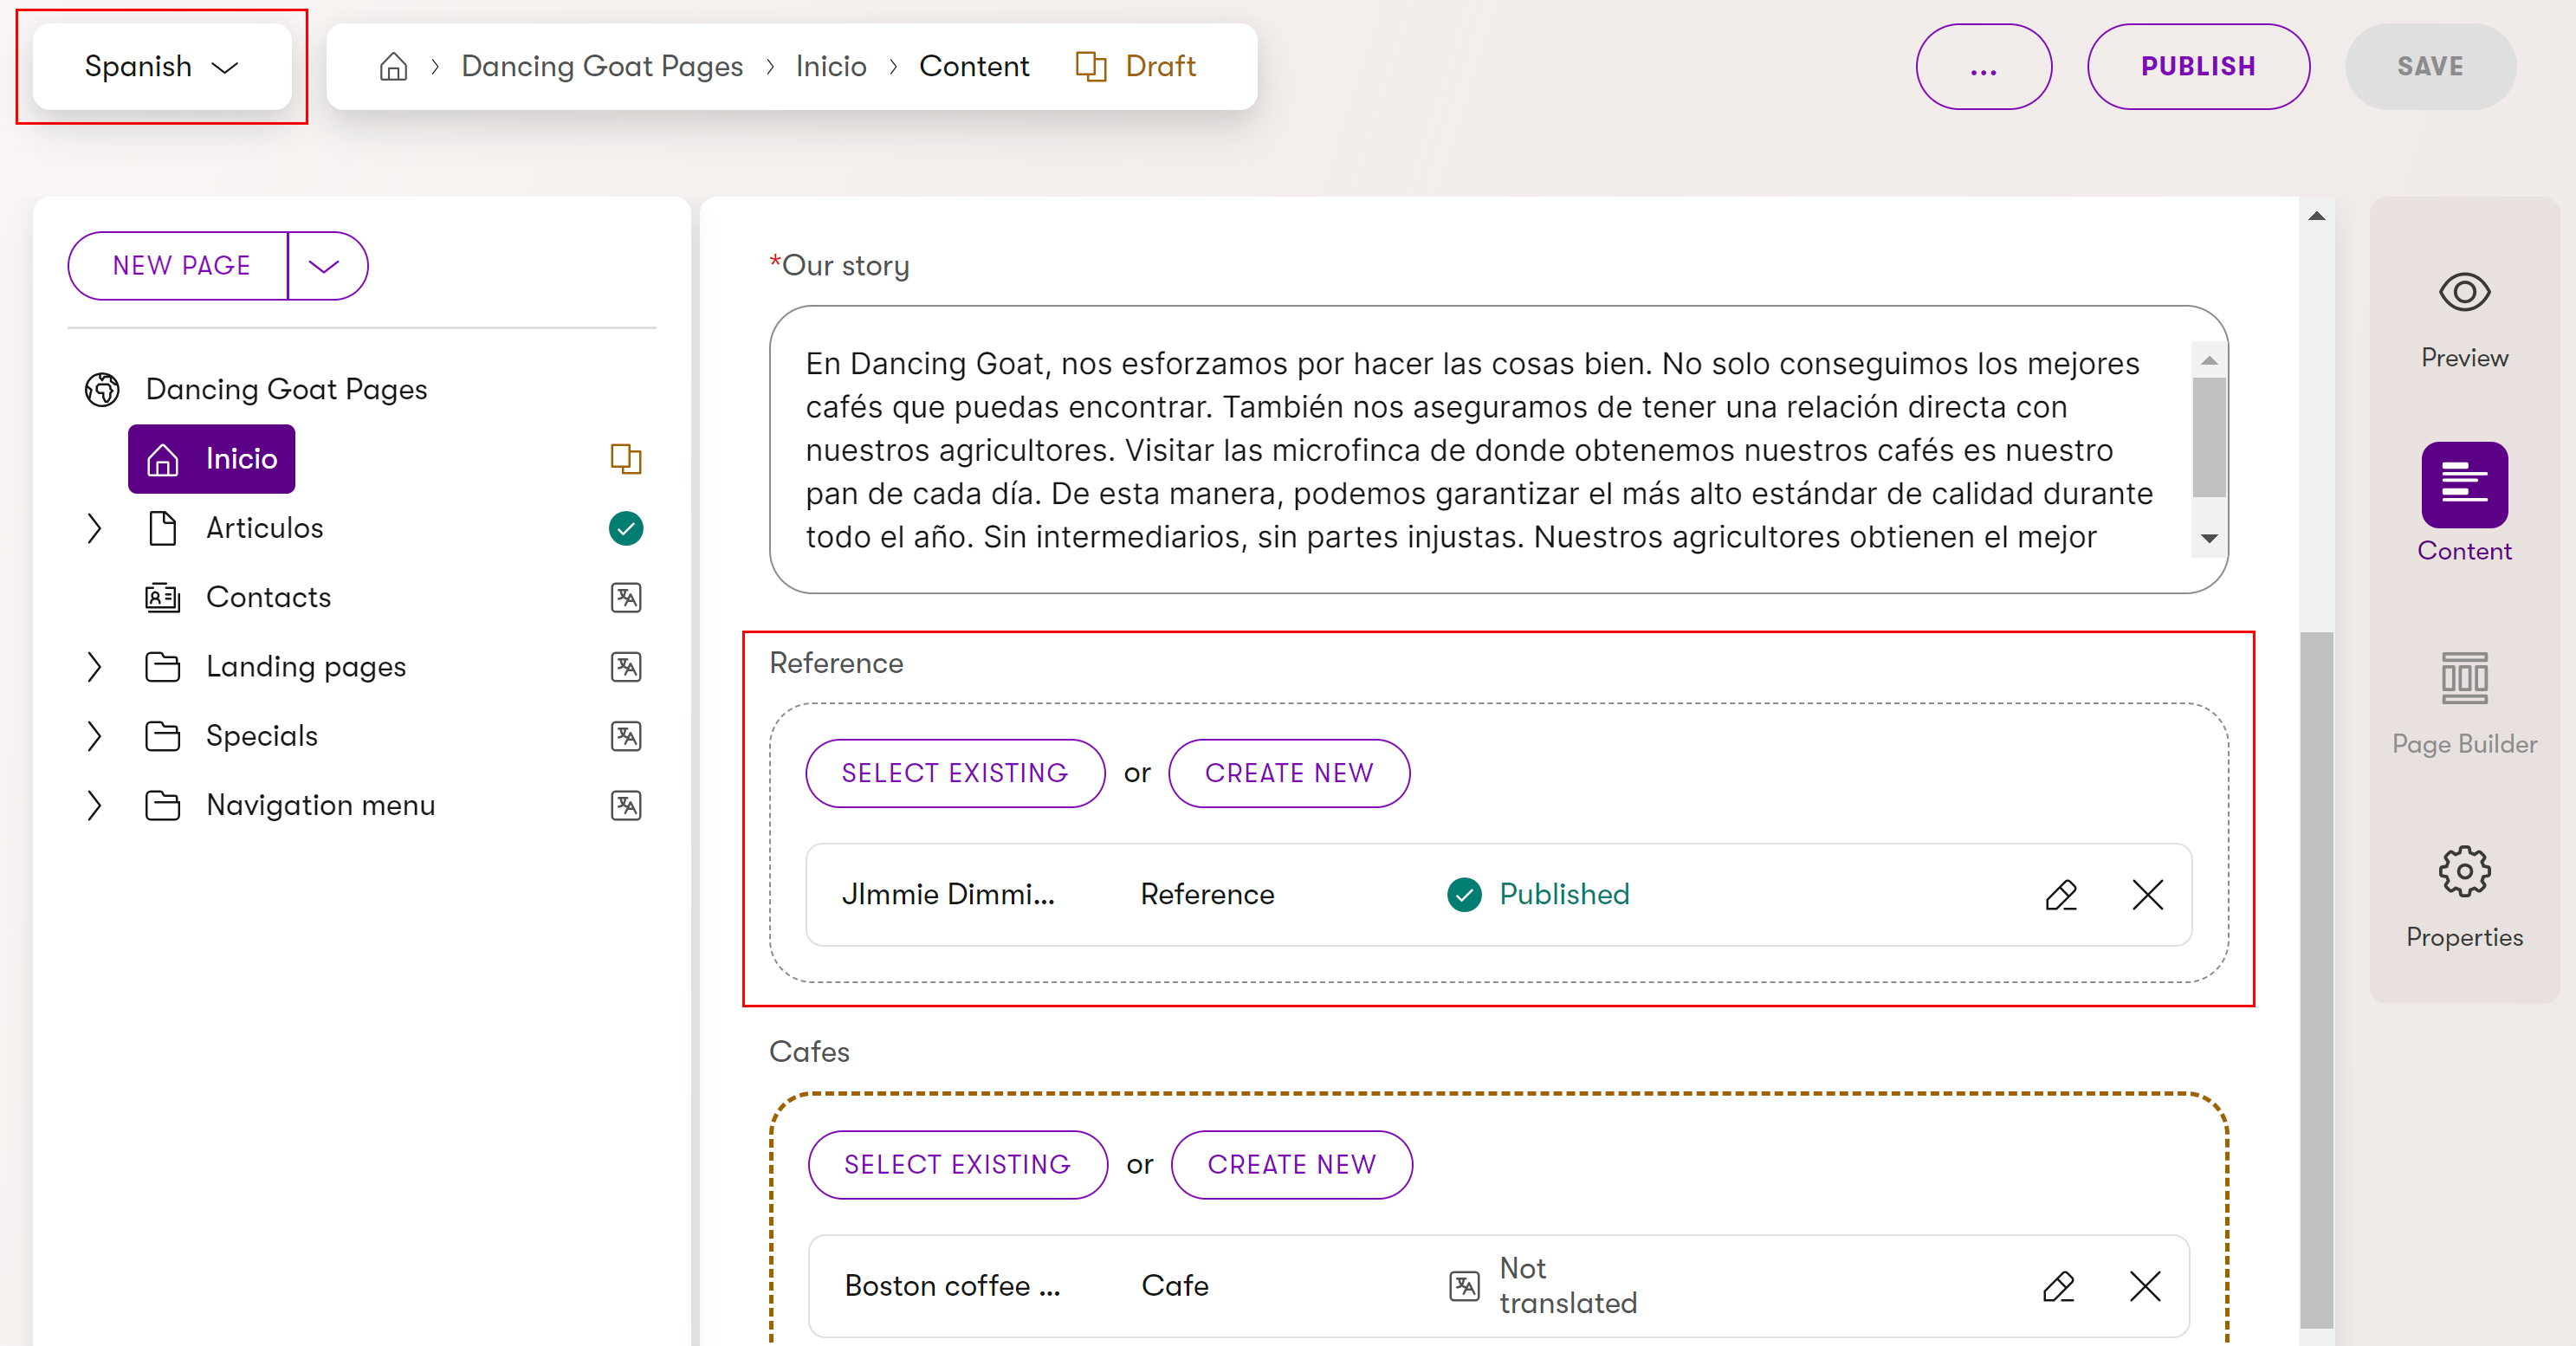
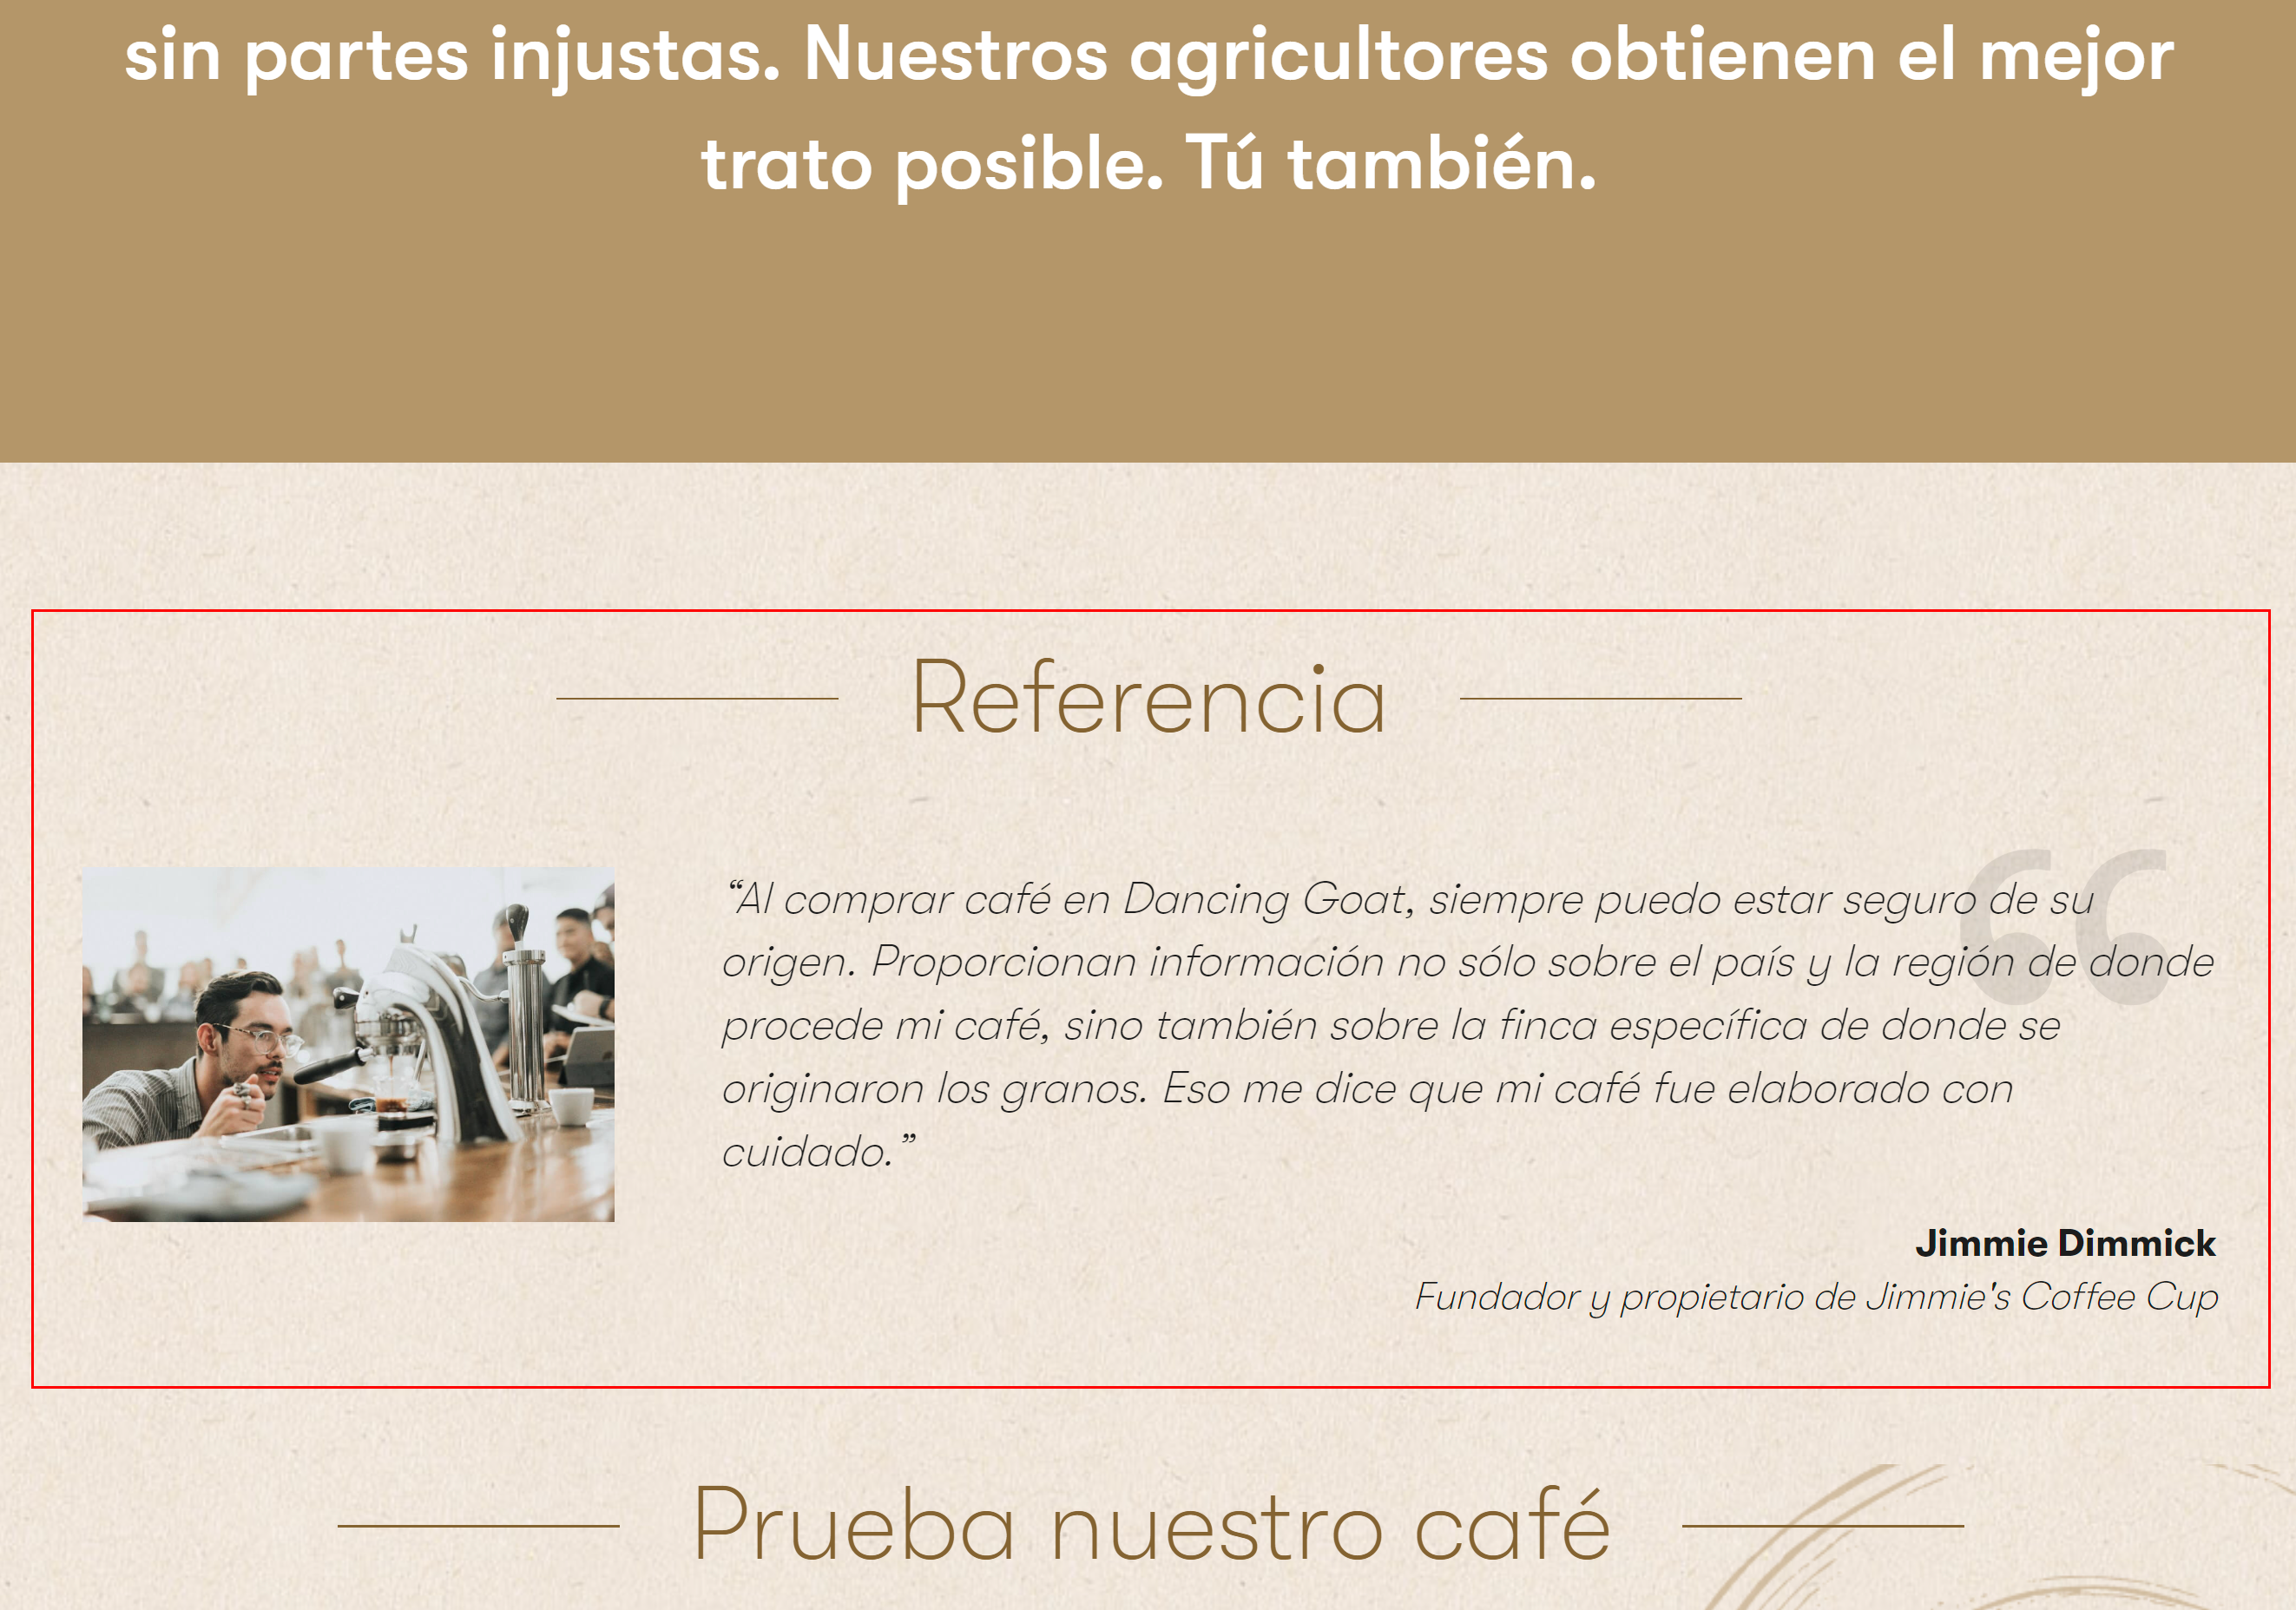
For example, let’s assume you use two languages for your project: you started up with English in which you already have all your content items and pages ready and now you added Spanish to reach a broader audience. When adding the language, you also set English as the fallback language for Spanish. Now you want to create a new page in Spanish and use a content item you haven’t translated yet from English on the page. This is where language fallbacks come into play. Since you previously set English as the fallback language for Spanish, you can easily link the untranslated content item as you usually would and its English variant will be used for the meantime. Once you translate the particular item to Spanish, the localized variant will replace the English one.
|
Untranslated reference
|
Translated reference
|
Fallback chaining
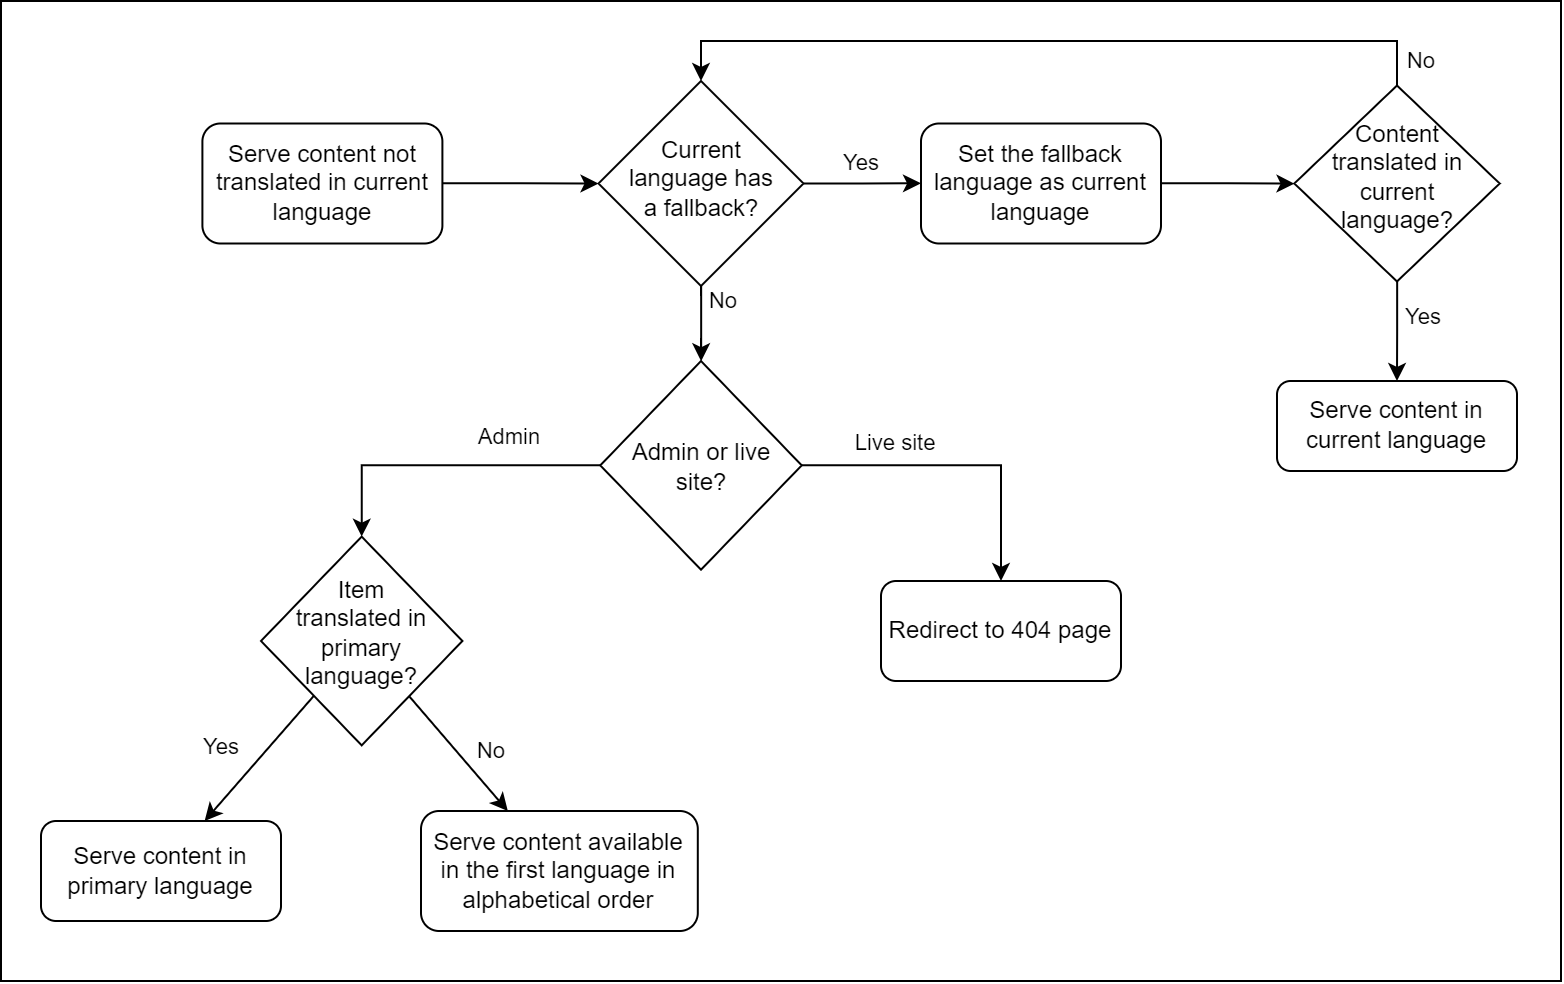
In case specific content isn’t available in the current language and neither in its fallback, the system provides the content in the language according to the fallback chain.
For a clearer picture of how fallback chaining works check out the following diagram:
Remove a language
To delete a language from the system, you need to first delete all content in the language and all system objects that use the language. It is not recommended to delete languages in the production environment.
When a language is deleted, any content in that language stored in the recycle bin is permanently deleted.
When deleting multilingual content, make sure to switch to the language you want to remove so you don’t accidentally delete content in another language.
Delete all content items in the specific language.
- Open the Content hub application.
- Delete every translated content item in any workflow state.
Delete all pages in the specific language for all Website channels.
- Open a specific website channel.
- Delete every translated page in any workflow state.
Delete all email channels using the specific language.
- Open the Channel management application.
- Delete every email channel using the specific language.
Remove the language from defaults.
- If the language to delete is marked as the default language in the language settings, make another language default.
- If the language to delete is used as the primary language for a channel, choose a different language as the primary one.
Delete the language.
- Open the Languages application.
- Delete the language.
Other translated objects
Deleting a language automatically removes all translated variants of consent texts, taxonomy names, and taxonomy tag titles in the given language.
For consents with existing agreements, the consent text variant in the deleted language is automatically archived, but can no longer be edited.