
Manage commerce stores
Features described on this page require the Xperience by Kentico Advanced license tier.
The digital commerce feature allows you to run online stores where you sell physical or digital products. As a business user, you manage the day-to-day operations of your store – viewing orders, working with customer records, and configuring promotions – through three dedicated applications in the Xperience administration:
- Customers – View customer details, addresses, and order history.
- Orders – View order details, track order progress, and update order statuses.
- Promotions – Create and manage discounts, schedule promotions, and configure coupon codes.
Your development team handles the initial store setup, including the product catalog structure, checkout flow, and payment integration. This page covers the tasks you perform after the store is set up.
Manage products
How you manage products depends on how your development team implemented the product catalog. Products are typically stored as content items – either in the content hub or as website pages. To add, edit, or remove products, use the same content editing tools you use for other content on your site.
Contact your development team if you’re unsure where your products are managed.
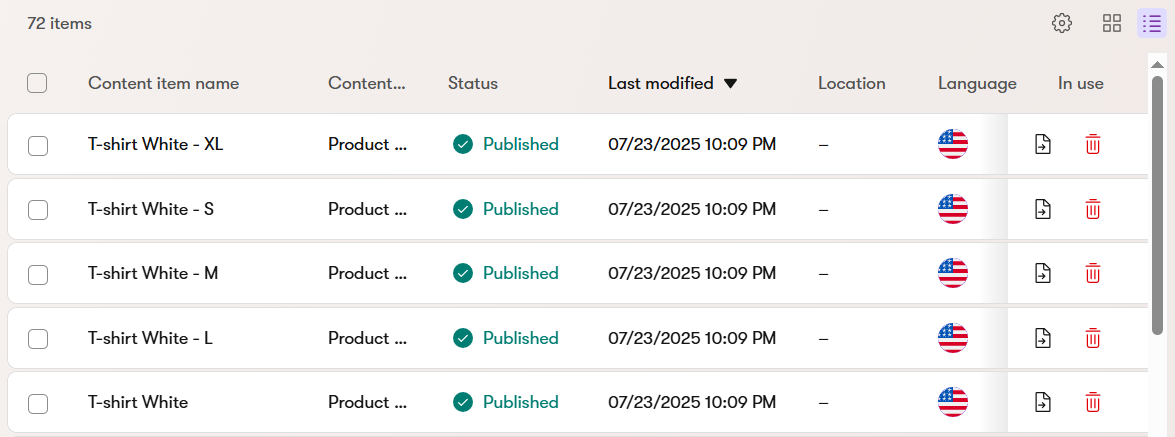
The following image shows a sample listing of products hosted in the content hub from the Dancing Goat sample site:
Manage customers
The Customers application allows you to view customer details and track orders made by customers. Customer records are created automatically when customers place orders in your store – you don’t need to create them manually.
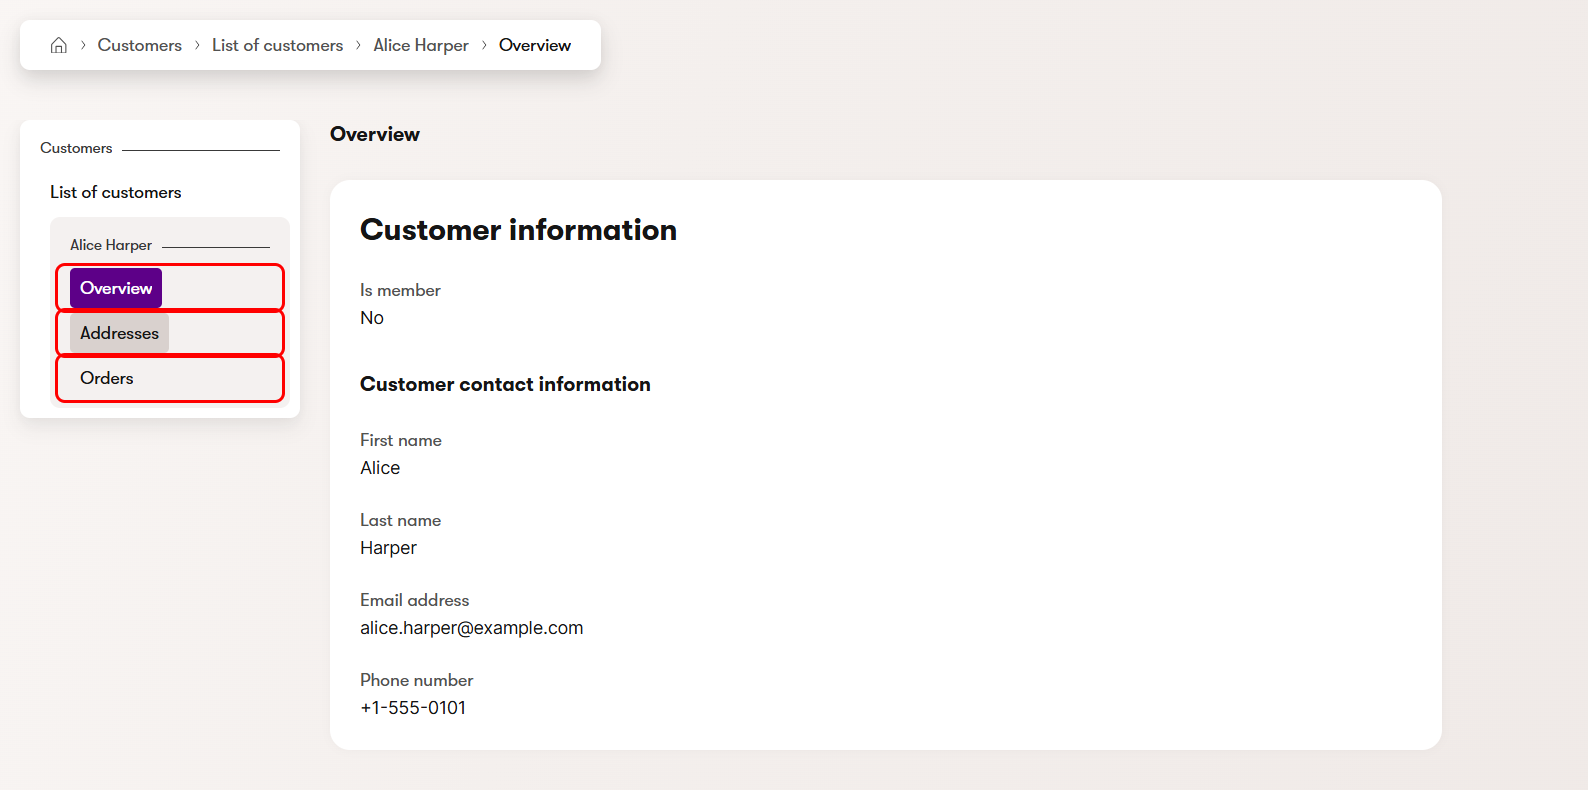
View customer details
- Open the Customers application.
- Select a customer from the list.
- View the customer’s information across the available tabs:
- Overview – Contact information (name, email, phone).
- Addresses – Saved customer addresses.
- Orders – List of orders placed by the customer.
Manage orders
The Orders application allows users to list orders, view order details, change order statuses, and finalize orders.
View order details
- Open the Orders application.
- Select the order you want to view. You can search by order number or sort orders by status.
- On the Overview tab, view the order summary and customer details.
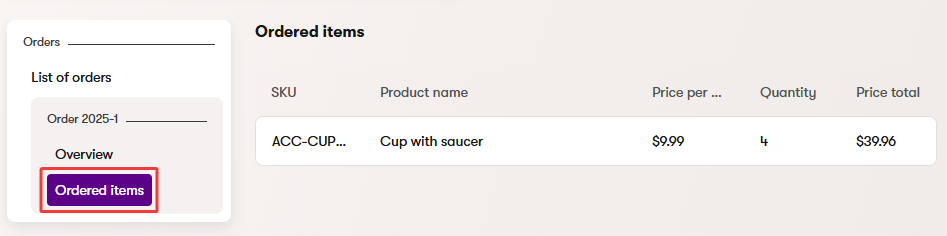
- Open the Ordered items tab to view the list of products in the order.
The order detail shows totals, applied discounts, shipping and payment methods, and the current order status.
View orders from a specific customer
- Open the Customers application.
- Select the customer whose orders you want to view.
- Open the Orders tab.

The tab displays all orders placed by the selected customer.
Change order status
- Open the Orders application.
- Select the order you want to update.
- Select Change order status.
- Select the new status and Confirm.
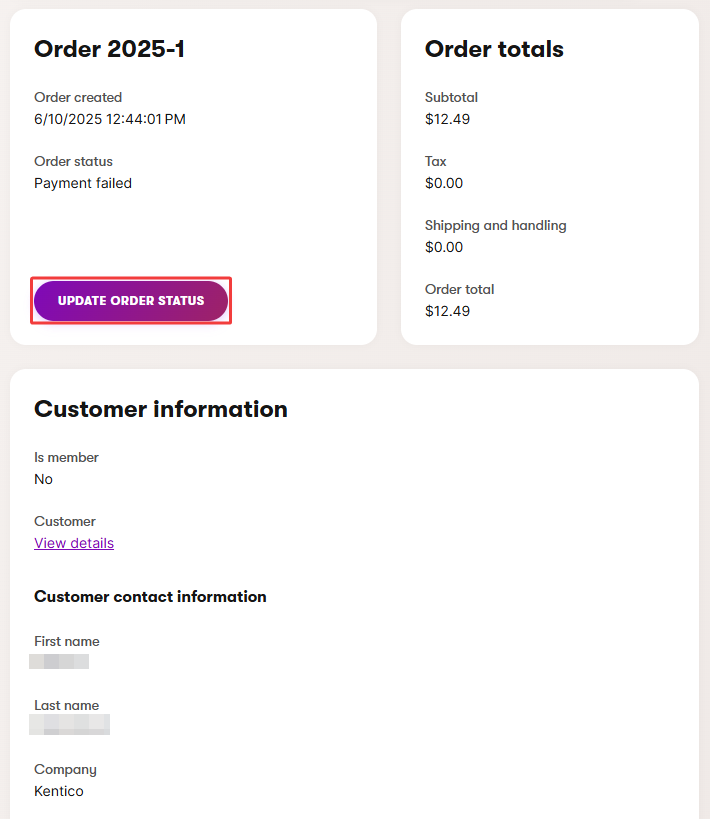
The order now displays the new status in the listing.
Depending on your notification configuration, configured recipients may receive a notification when the order moves to the new status. If you skip intermediate statuses (e.g., move an order directly from the initial to the final status), notifications are only sent for the status you select, not for the skipped statuses.
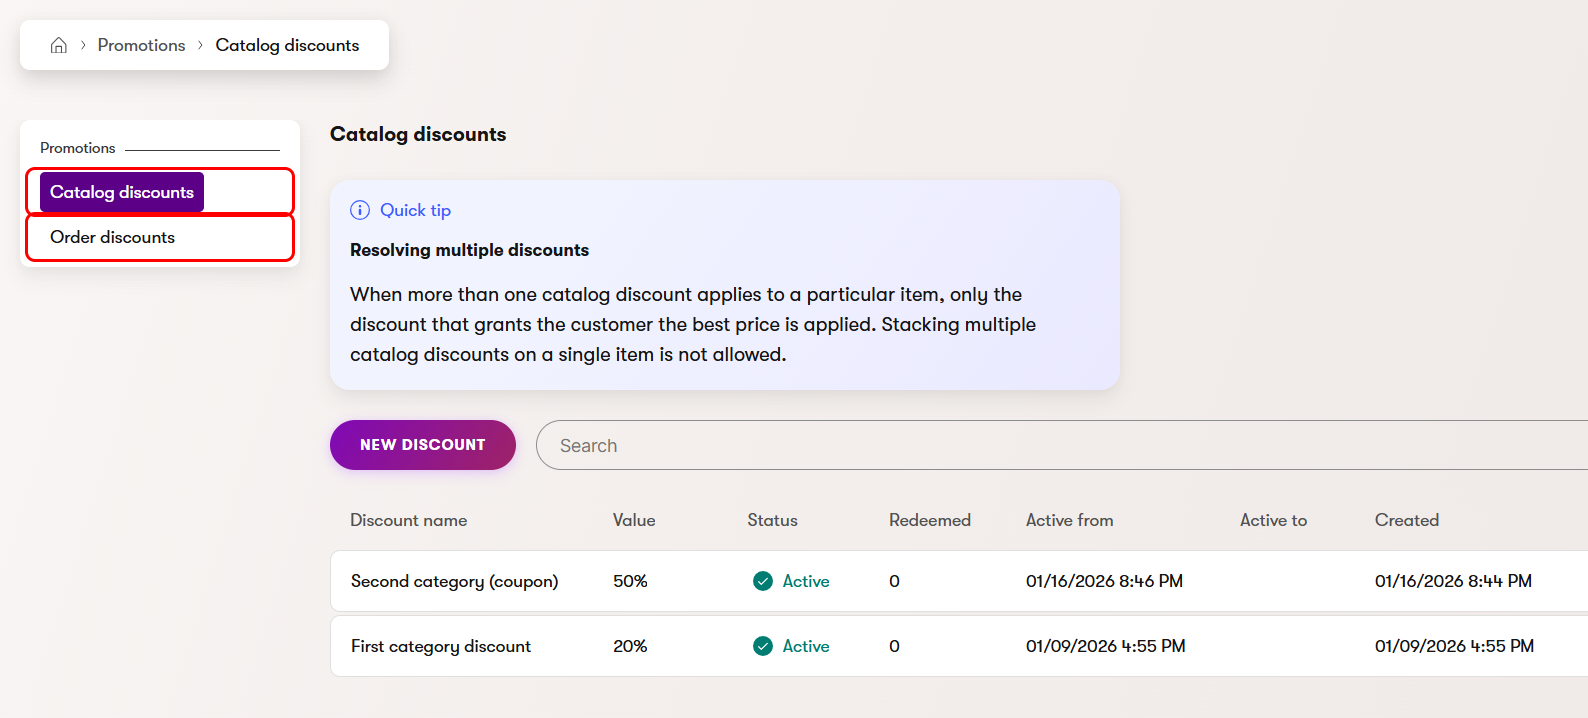
Manage promotions
The Promotions application allows you to create and manage discounts for your store. Promotions can apply discounts to individual products or entire orders.
Promotion types
Your development team configures the available promotion types for your store. Common types include:
- Catalog discounts – Apply discounts to individual products (e.g., 10% off all coffees, $5 off selected items)
- Order discounts – Apply discounts to the entire order (e.g., 15% off orders above $100)
When multiple promotions could apply to the same product or order, the system automatically selects the promotion that provides the best discount for the customer. For more details, see Discount applicability and priority.
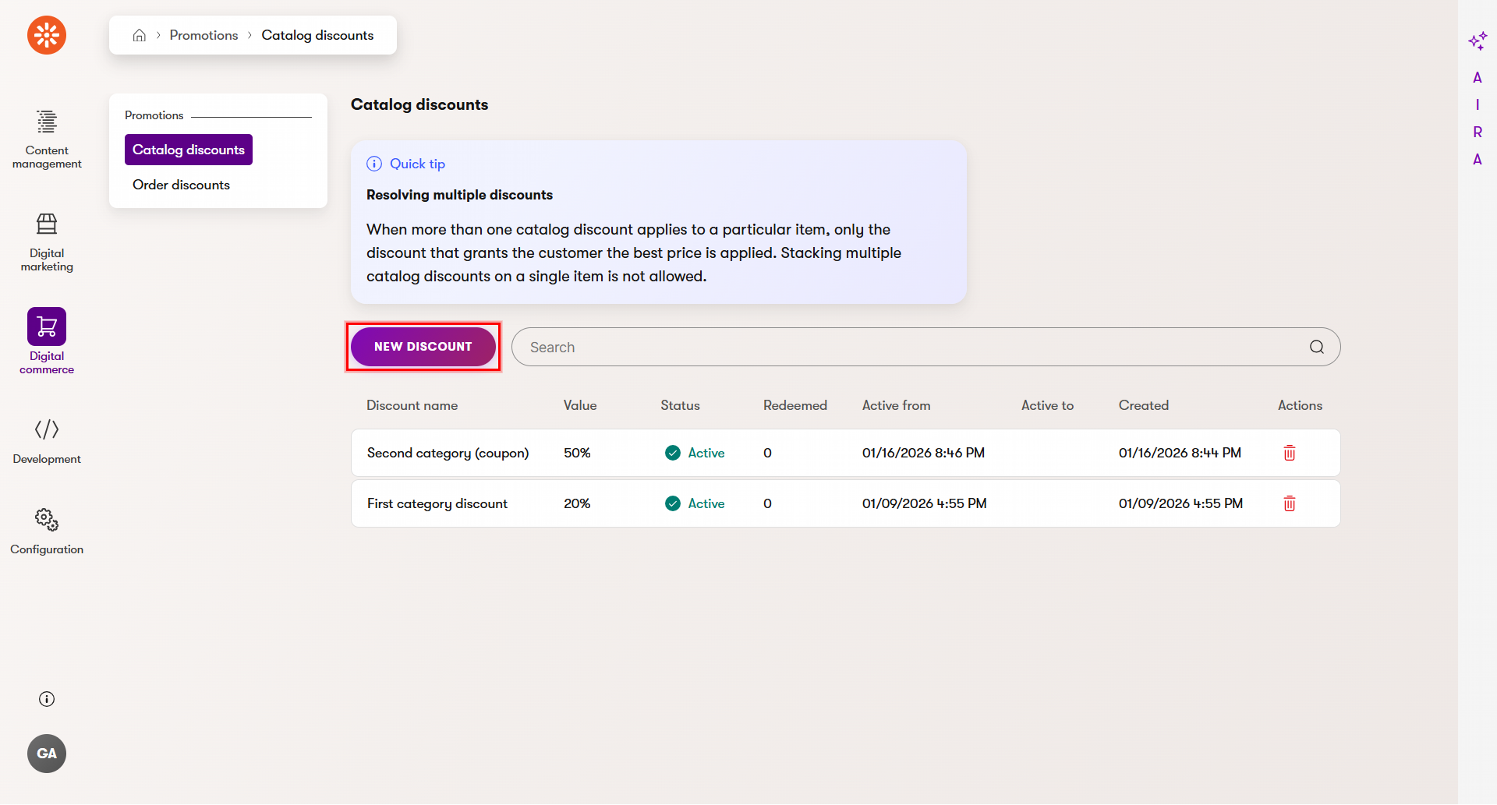
Create a promotion
- Open the Promotions application.
- Select the promotion type in the left tab.
- Select Create promotion.
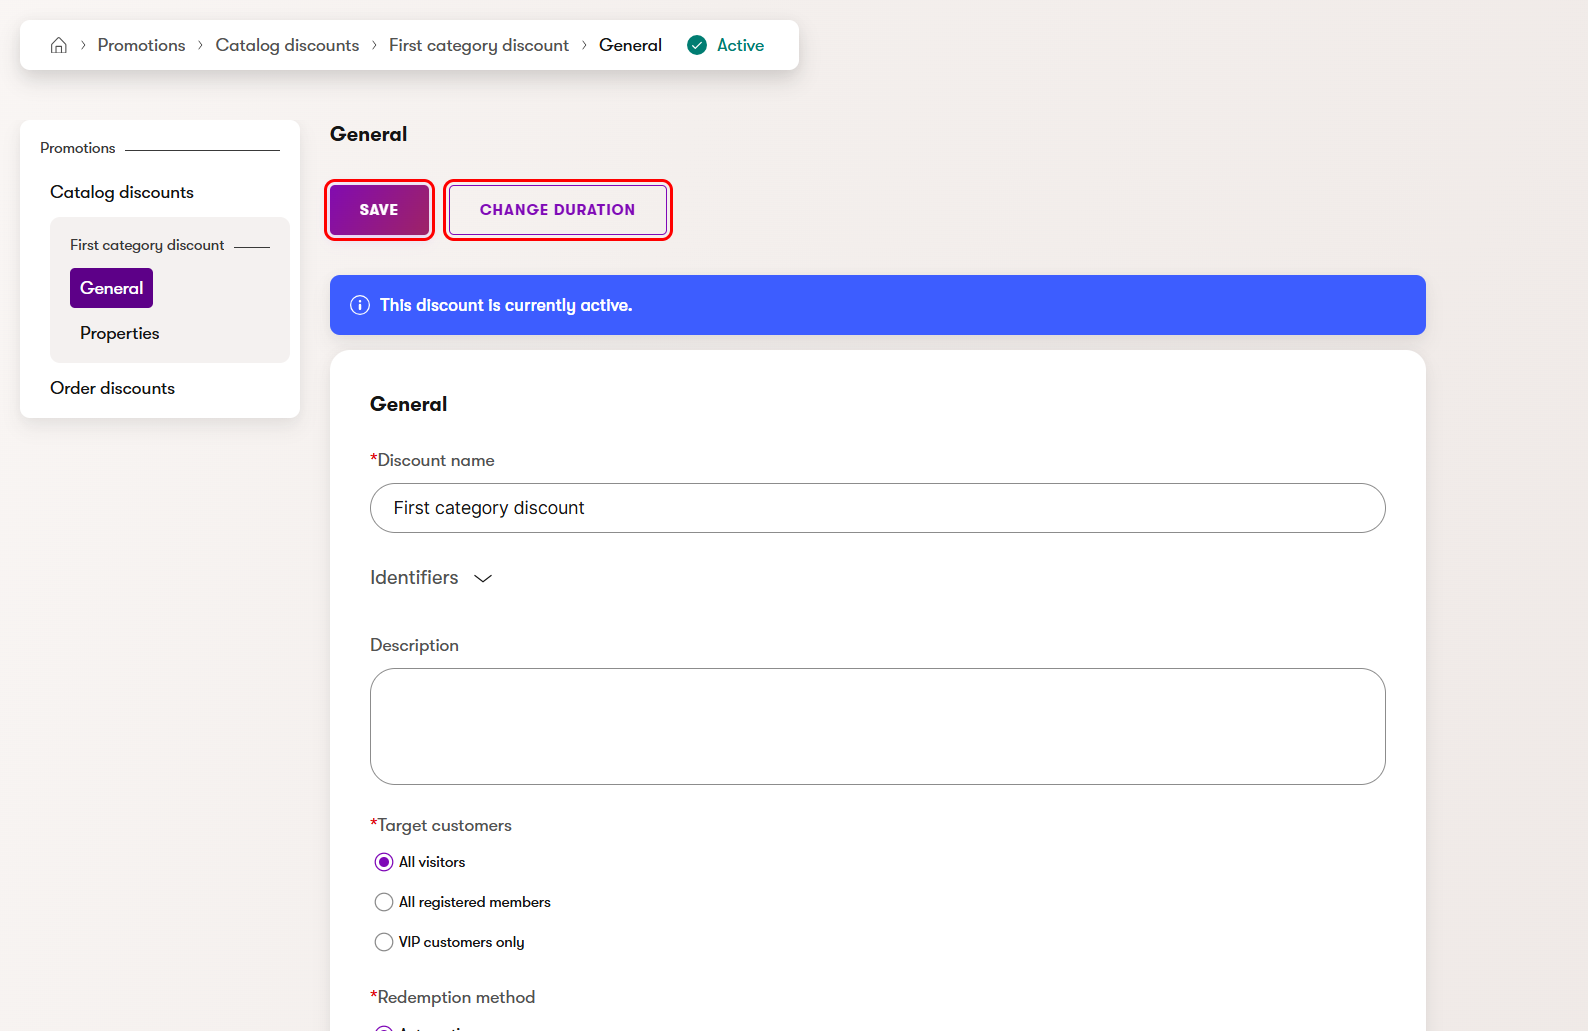
- Fill in the promotion details:
- Enter a Display name for the promotion.
- Select a Promotion type – choose from available promotion rules configured by your development team.
- Configure the promotion rule settings based on the selected type (e.g., discount percentage, target products, eligibility rules).
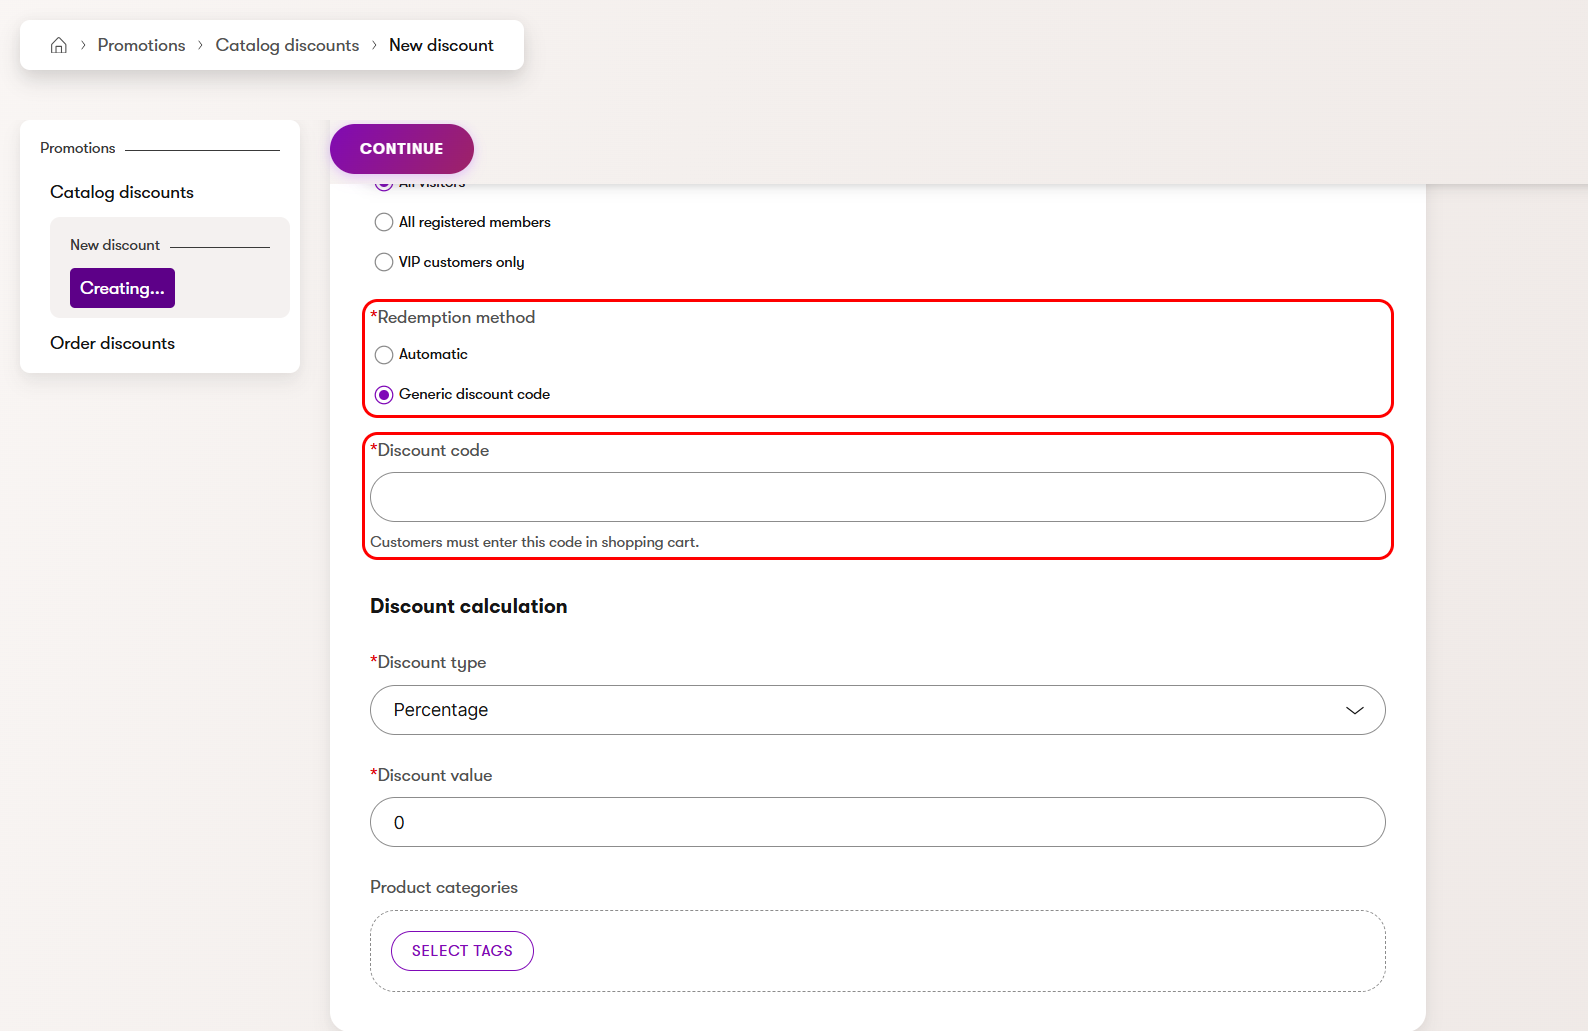
- In the Target customers field, select which customers are eligible for the promotion:
- All visitors (default) – the promotion applies to all customers, including anonymous visitors.
- All registered members – only authenticated members receive the discount.
- Select Continue to proceed with promotion creation, this step also saves your promotion.
- Select Schedule activation.
- Set the Active from and Active to dates to define when the promotion is available.
The screenshot also includes a custom VIP customers only target customers field. Promotion targets are an extensible part of the system that can be added by the developers to satisfy various requirements.
The promotion is automatically activated and deactivated based on the configured dates. Once active, the promotion applies to eligible products or orders during checkout.
Promotion statuses
After creating a promotion, a status indicator helps you track its state:
- Scheduled – The promotion is configured but not yet active. It automatically activates when the Active from date arrives.
- Active – The promotion is currently running and being applied to eligible products or orders.
- Deactivated – The promotion is no longer active. You can reactivate it by setting new activation dates.
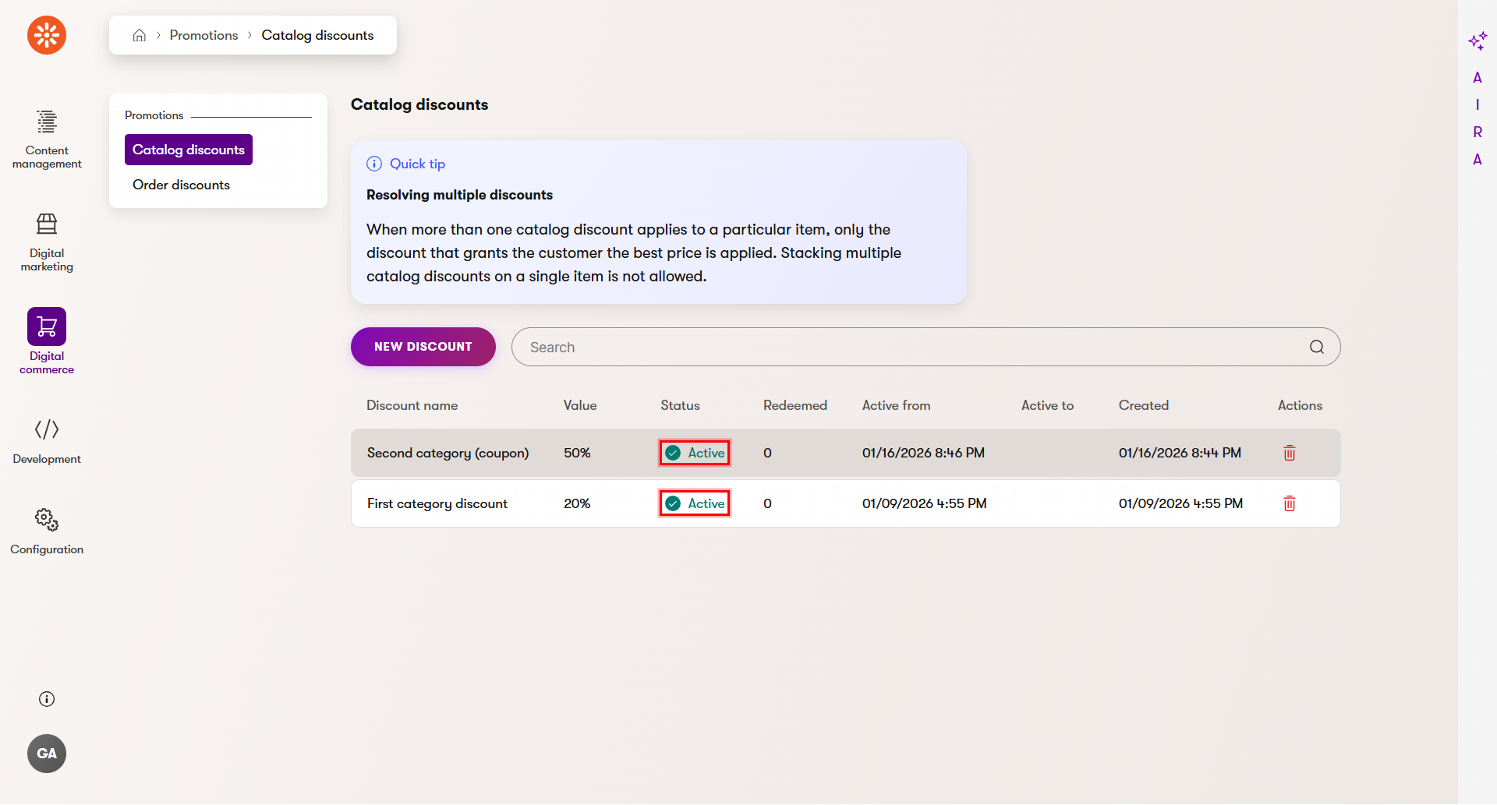
The status automatically updates based on the Active from and Active to dates you configure via Change duration when editing the promotion.
Edit a promotion
- Open the Promotions application.
- Select the promotion you want to edit.
- Update the promotion settings as needed.
- Save your changes.
Changes to promotions take effect immediately for new price calculations. Orders that have already been placed aren’t affected by promotion changes.
Use coupon codes with promotions
Coupon codes allow you to require customers to enter a specific code during checkout to receive a discount, instead of applying the promotion automatically.
Coupon codes are generic and multi-use – any customer who knows the code can use it any number of times during the promotion period. Single-use or customer-specific codes aren’t supported.
Add a coupon code to a promotion
When creating or editing a promotion:
- In the Redemption method field, select Generic discount code.
- Enter the code in the Discount code field (e.g., WELCOME20, SUMMER50).
- Configure the rest of the promotion as usual (discount amount, activation dates, rules).
- Save the promotion.
Customers now need to enter the matching discount code during checkout to receive the discount.
Discount codes are case-insensitive. Customers can enter welcome20, WELCOME20, or Welcome20 – all variations work.
Delete a promotion
- Open the Promotions application.
- Select the promotion you want to delete.
- Select the Delete icon () in the Actions column and confirm the action.
Deleting a promotion is permanent and can’t be undone. Orders that already received the promotion’s discount aren’t affected.