
Defining a new document type (ASPX)
Each document in Kentico is of a certain type, such as page, news, product, article, etc. Every document type has its own data fields. The document type describing computer products will have fields storing the computer name, processor type, RAM size, disk size and product image.
Open the Document types application.
Click New document type. This starts the New document type wizard.
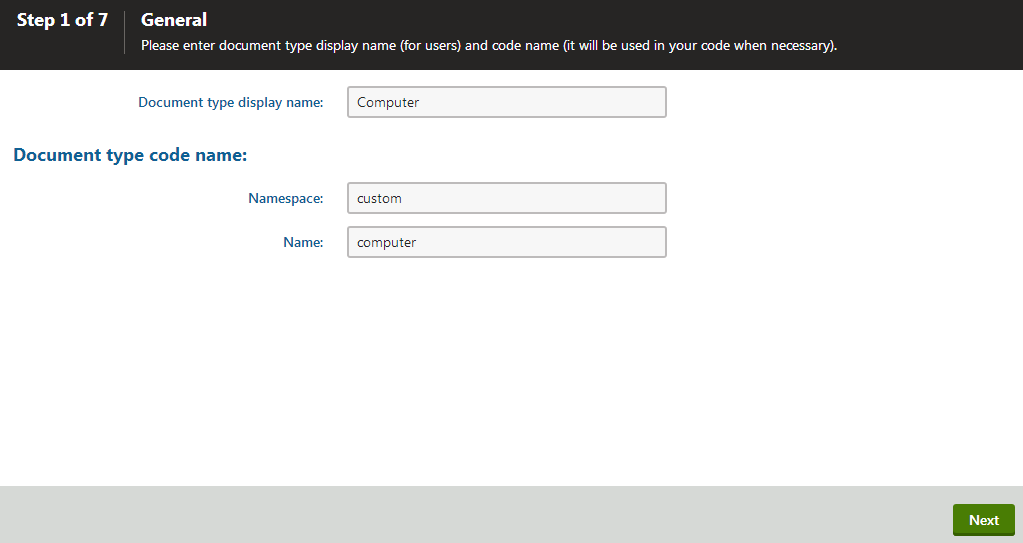
Enter the following values in Step 1:
Document type display name: Computer (the system displays this name to users in the administration interface)
Namespace: custom (namespace to distinguish your document types from the default system types that use the cms namespace)
Name:computer (the identifier of the document type)
Click Next.
In Step 2, specify the name of the database table where the system stores the data of computer documents. You also need to enter the name of the table’s primary key field. Leave the default values.
Click Next. The system creates a new database table for computer documents.
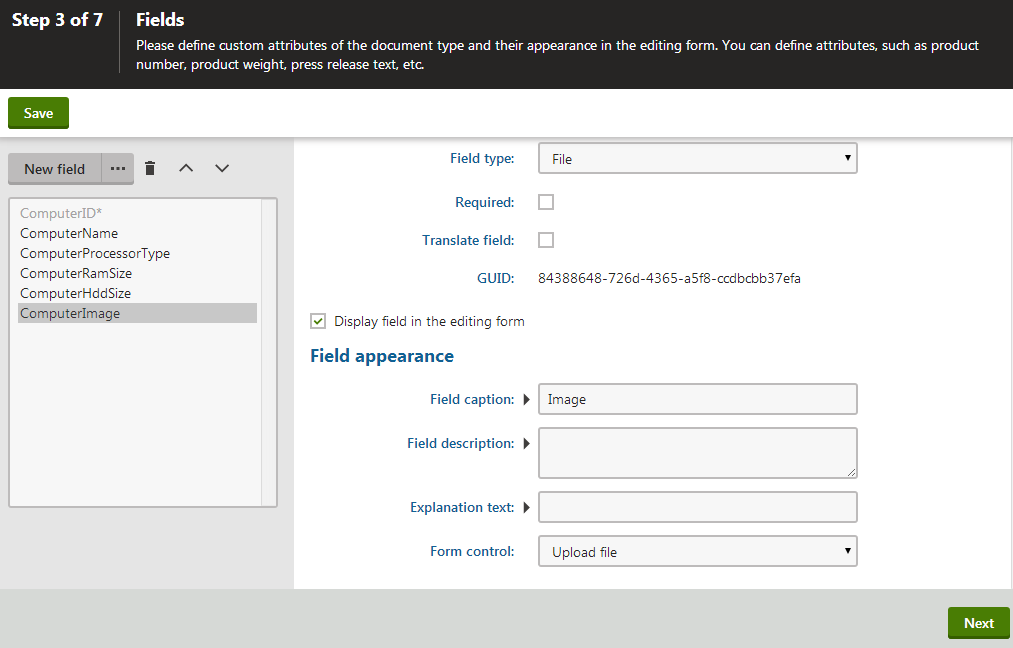
In Step 3, you need to define the fields of the document type (columns of the table). Click New field to create the following fields. For each field, enter the values, click Save and repeat the procedure until you have defined all the listed fields.
Field name: ComputerName
Field type: Text
Field size: 200
Required: yes (checked)
Field caption: Computer name
Form control: Text box
Field name: ComputerProcessorType
Field type: Text
Field size: 200
Field caption: Processor type
Form control: Drop-down list
Editing control settings -> Data source: select List of options and enter the following items into the text area, one per line:
  Athlon;Athlon
  Pentium XEON;Pentium XEON
  Pentium Core 2 Duo;Pentium Core 2 Duo
Field name: ComputerRamSize
Field type: Integer number
Field caption: RAM (MB)
Form control: Text box
Field name: ComputerHddSize
Field type: Integer number
Field caption: HDD (GB)
Form control: Text box
Field name: ComputerImage
Field type: File
Field caption: Image
Form control: Upload file
Click Next.
In Step 4, choose the ComputerName field as the Document name source.
This means that when a user creates a new computer document, the system automatically fills in the document name based on the ComputerName value. The document name appears in site navigation and in the content tree of the Pages application.
Click Next.
In Step 5, select the document types that will be supported as parents for computer documents in the content tree. Click Add document types, select the Page (menu item) document type and click Select. This means that users are only allowed to place computer documents under pages, not under articles, news items or other document types.
Click Next.
In Step 6, assign the document type to all websites where you wish to use it. Click Add sites, choose My website in the selection dialog and click Select.
Click Next.
Click Finish to complete the creation of the new document type.
The wizard automatically creates the database table and several default transformations.
How does the system store document content?
The system stores document content and all related data in three database tables:
- CMS_Tree (content tree structure)
- CMS_Document (general document properties, metadata and editable region content)
- A dedicated document type table - in this case CUSTOM_Computer (stores the values of the document type’s specific fields)