
Developing the News page (ASPX)
Create the News section of the website.
Preparing the ASPX source file
Edit your web project in Visual Studio.
Right-click the CMSTemplates/MySite folder in the Solution Explorer and click Add -> Add New Item.
Create a Web Form named NewsPage.aspx and check Select master page.
Click Add and choose the MyMaster.master page from the CMSTemplates/MySite folder.
Drag the following controls inside the <asp:Content> element of the news page:
- CMSBreadCrumbs
- CMSRepeater
Set the properties of the CMSRepeater control according to the table below (you can find them in the Behavior section of the Visual Studio Properties window):
Property
Value
Description
ClassNames
cms.news
Configures the repeater to display only documents of the cms.news type.
TransformationName
cms.news.preview
Assigns the transformation that the repeater uses to display the list of news items.
SelectedItemTransformationName
cms.news.default
When a user selects a specific news item on the website, the repeater displays the details according to the specified transformation.
ItemSeparator
<hr />
Defines the HTML code placed between individual news items in the list.
<cms:CMSRepeater ID="CMSRepeater1" runat="server" ClassNames="cms.news" TransformationName="cms.news.preview" SelectedItemTransformationName="cms.news.default" ItemSeparator="<hr />" />Add the following HTML code between the two controls:
<h1>News</h1>Switch to the code behind of the news page (NewsPage.aspx.cs) and add a reference to the CMS.UIControls namespace:
using CMS.UIControls;Change the class definition so that it inherits from the TemplatePage class:
public partial class CMSTemplates_MySite_NewsPage : TemplatePageSave the news page files.
Registering the page template
The source files of the news page are ready. Now you need to register the page template in Kentico.
- Switch to the Kentico administration interface in your browser.
- Open the Page templates application.
- Select the My website category.
- Click New template and type My news template into the Template display name field.
- Click Save.
- Set the following values on the General tab:
- Template type: ASPX page
- File name: ~/CMSTemplates/MySite/NewsPage.aspx
- Click Save.
- Switch to the Sites tab and assign the page template to My website.
Adding the news section
Open the Pages application.
Select the root of the content tree (My website).
Click New ().
Choose the Page (menu item) document type.
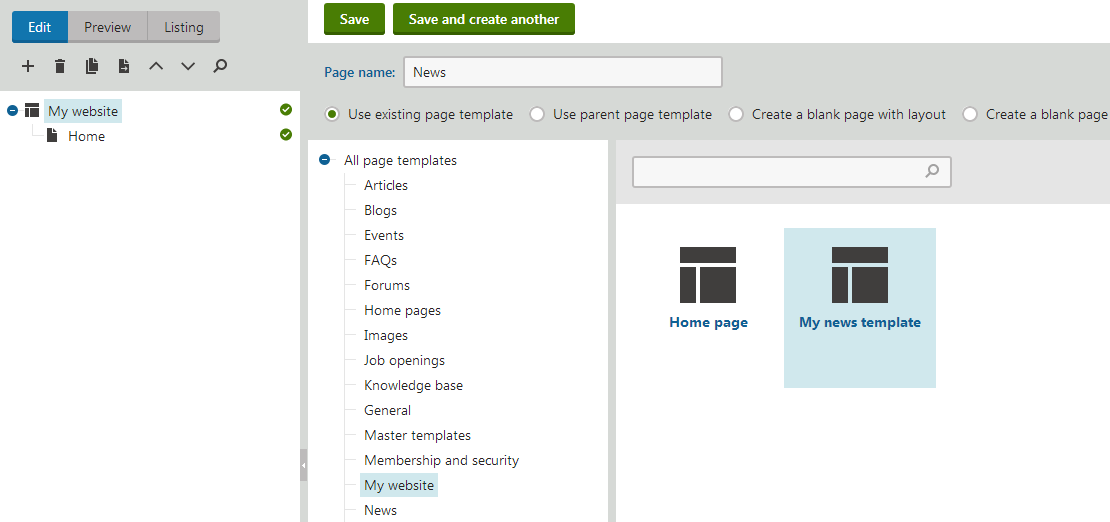
Type in News as the Page name and choose the Use existing page template option. Select the My website category and the My news template page template.
Click Save to create the page.
Select the News page in the content tree
Click New () and choose the News document type.
Fill in the news document fields with the following values:
- News Title: News 1
- Release Date: click Today
- News Summary: News 1 summary.
- News Text: News 1 text.
- Publish from/Publish to: leave the fields blank
Click Save and create another and enter the following values:
- News Title: News 2
- Release Date: click Today
- News Summary: News 2 summary.
- News Text: News 2 text.
- Publish from/Publish to: leave the fields blank
Click Save.
If you select the /News page and switch to Preview mode, you can see a list of all news documents placed under the News section.
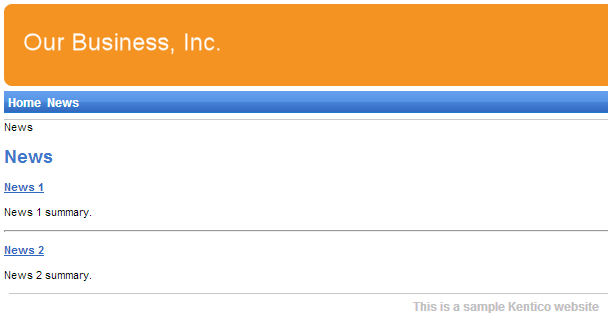
This is an example of how content is structured in Kentico. If you select a specific news item, the page displays the detail view.
The breadcrumbs at the top of the page show the current path on the website: News > News 1. The position is also reflected in the default page URLs:
- The URL of the News page is ~/news.aspx
- The URL of the News 1 page is ~/news/news-1.aspx
This makes the website accessible to both people and search engines.
How it works
- A visitor arrives on the /News page.
- The CMSRepeater control placed on the page template checks if a news document is currently selected (based on the value of the ClassNames property).
- The control finds out that the current document is a page (menu item), so it looks for all underlying news documents and displays them as a list using the cms.news.preview transformation.
- When the visitor selects a particular news item, such as /News/News 1, the repeater control uses the cms.news.default transformation instead to display the details.
Path expressions
Listing web parts and controls have the Path property that specifies which content the component loads and displays. The following expressions are examples that you can use to select documents:
|
Path expression |
Meaning |
|
/% |
All documents on the website. |
|
/news/% |
All documents under /News. |
|
/news/news1 |
The News1 document. |
|
./% |
All items under the current document. |
|
./logo |
The Logo document under the current document. |
|
./images/% |
All documents under the Images document, which is a child of the current document. |
|
../contacts/% |
All documents under the Contacts document on the same content level as the current document. |
|
/{0}/% |
All documents under the document located on the first level of the current path. Example: If the currently selected document is: /news/news1 the system evaluates the expression as: /news/% |