
Creating a CSS stylesheet
Before you start editing your new website, prepare a new CSS stylesheet based on the styles and images of the sample website template.
Open the CSS stylesheets application.
Click New CSS stylesheet.
Enter the following values:
- Display name: My site stylesheet
- Code name: MySite
- Code: copy and paste all CSS code from the sample web template - SampleWebTemplate\Styles\main.css
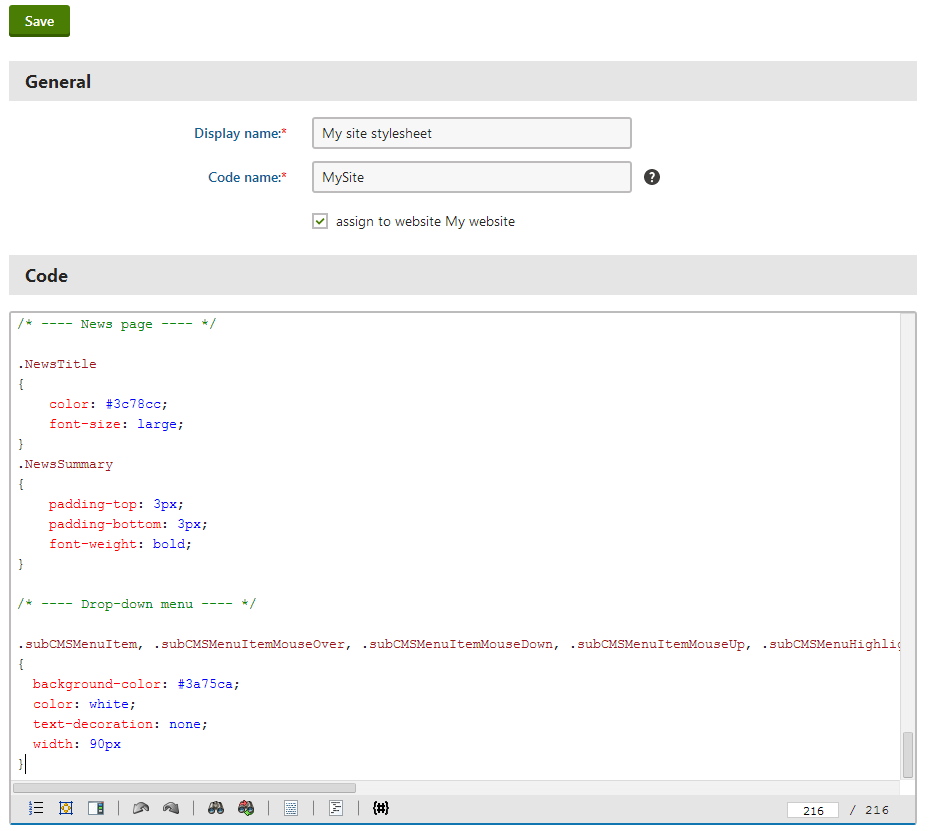
Click Save.
Switch to the Sites tab and make sure the stylesheet is assigned to My website.
Open the Sites application and edit () My website.
Select My site stylesheet as the Site CSS stylesheet (in the Style sheets field category on the General tab).
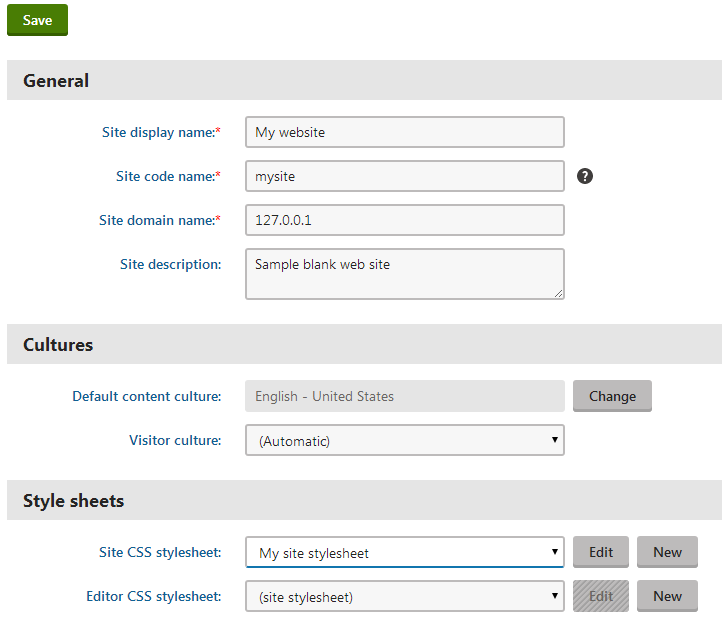
Click Save. This ensures that all pages of your new website load the appropriate stylesheet.
Copy the SampleWebTemplate\app_themes\MySite folder to the CMS\App_Themes folder in your web project (c:\inetpub\wwwroot\Kentico by default).
The folder contains graphics for the website template. The App_Themes location ensures that the images are exported as part of the website if you decide to move the website in the future. The folder under App_Themes must have the same name as the code name of the CSS stylesheet: MySite.
CSS stylesheet URL and relative paths
The image paths in the sample CSS stylesheet already match the target folders in your new website. In real-world scenarios, you will need to adjust the paths manually. The URLs of images in the CSS stylesheets are always relative to the location of the web project.
The URL of the CSS stylesheet is:
<web project>/CMSPages/GetResource.ashx?stylesheetname=MySite
which means that you need to link to files in the App_Themes folder like in the example below:
/app_themes/mysite/images/imagename.gif