Inserting an image
Now upload and insert an image onto the System integration page created in the previous section.
In the Pages application, return to Edit mode.
Select Services -> System integration in the content tree.
On the Page tab, place the cursor into the main editable region, just below the text, and click Quickly insert media on the text editor toolbar.

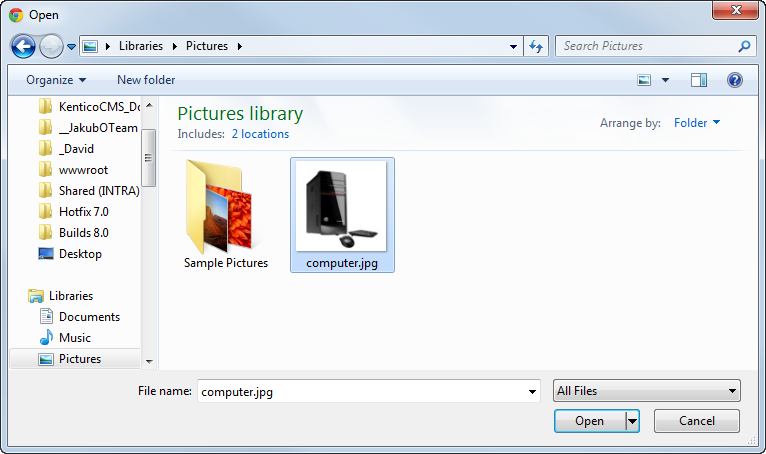
Your browser’s Choose file dialog opens. Locate a suitable image file and click Open.
Allowing pop-ups for the website
If you are using a pop-up blocker, you may need to allow pop-up windows in your browser to see the file selection dialog. This applies only to the administration interface (site visitors are not affected).
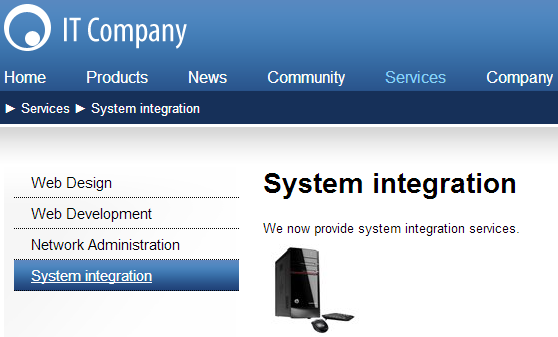
Click Save.
The image is now saved in the editable region and appears on the page. Switch to Preview mode to view the modified appearance of the page.