
Module: Work with emails
4 of 24 Pages
Personalize emails
Emails allow you to include personalized pieces of text based on information known about the recipient or data relevant to the email’s context.
You can add dynamic text while editing emails in an email channel application. Dynamic text is supported for text fields in Content view mode (fields that use a Text input, Text area or Rich text editor form component in the content type configuration), and also in the Plain text dialog.
Dynamic text not supported in Email Builder
Dynamic text is not supported for the content of rich text editors or component properties in Email Builder view mode.
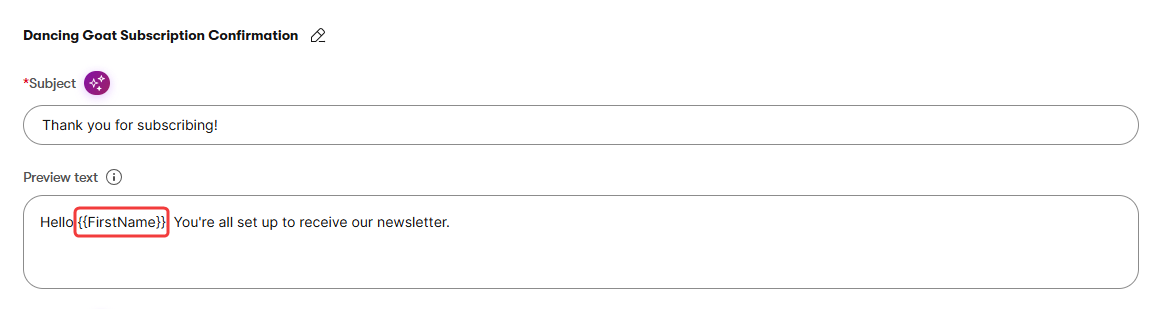
Add dynamic text by entering or copying placeholders into the appropriate location within email fields:
- For most email purposes, the following placeholders are available:
- {{FirstName}} – the recipient’s first name
- {{LastName}} – the recipient’s last name
- {{Email}} – the recipient’s email address
- For Order status change emails, the available placeholders are different, and instead allow you to access the data of the given customer’s order.
Optionally, you can add a backup text to any placeholder in the following format: {{FirstName, backup}}. The backup text is displayed when the system doesn’t have the given value available for the recipient.
For Rich text editor fields, you can alternatively add dynamic text via the editor toolbar:
- Place the cursor to the desired location within a rich text field and select Insert Dynamic Text () on the editor toolbar.
- Fill in the dialog:
- Recipient attribute – select the recipient attribute or order value that will be displayed.
- Backup text – text displayed to recipients who do not have a value available for the selected attribute.
- Select Insert.
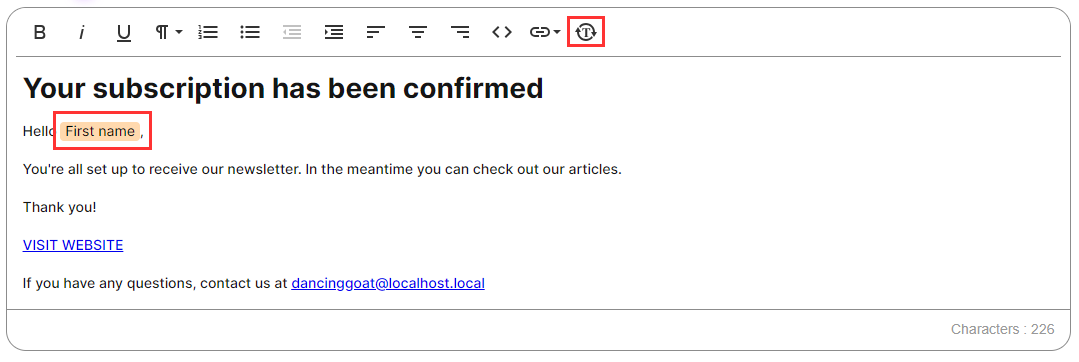
The rich text field now contains a highlighted piece of dynamic text, showing the selected recipient attribute. You cannot modify dynamic text after it has been added. If you need to make adjustments, delete the text and add it again with the required values.
When sending emails to specific recipients, the system replaces dynamic text with information available for the recipient.
Sources for dynamic text values
When replacing dynamic text values for individual recipients, the system loads the information based on the email’s purpose:
- For Regular and Confirmation emails, the email attempts to get the values from the contact representing the recipient.
- For Form autoresponder emails, the values are loaded from the matching fields of the submitted form. If fields are not available for the First or Last name, the email attempts to get the values from the contact representing the recipient.
- For Automation emails, the values are loaded from the matching fields of the form whose submission triggered the automation process. If the process isn’t triggered by a form submission or such fields are not available, the email attempts to get the values from the processed contact.
- For Order status change emails, the placeholders values are always loaded from the data of the related commerce order.
Send draft emails
You can preview and test your emails by sending a draft version to any address.
Select the email in an email channel application.
Make sure there are no unintended changes in the email’s content. The system automatically saves the email when sending a draft.
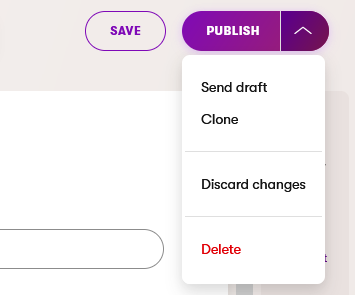
In the Content view mode, select Send draft from the drop-down list in the upper right corner of the view.
Enter the email addresses where you want to send the draft.
- By default, the To field is prefilled with the email address of your user account.
- You can enter multiple email addresses separated by semicolons (;).
Select Send.
Draft emails differ from normally sent emails in the following ways:
- The email content is sent based on the latest edited status of the email, even if the changes are not published. Normally sent emails always contain the published version of the email content.
- Email statistics are not tracked for drafts.
- Because the recipients are not linked to contacts in the system, any personalized dynamic text in the email appears as it would for a fake recipient named John Doe.
- Certain features, such as unsubscription links, are not functional in draft emails.
Clone emails
When creating new emails, you can save time by reusing the content and settings of an existing email.
- In an email channel application, view the list of emails.
- Select the Clone () action next to the email that you want to reuse.
- Enter the name of the new email. The default name is (Clone) {original name}.
- Select Clone to confirm the action.
You can also Clone an email by using the drop-down list in the upper right corner in the Content view mode of the email you’d like to reuse.
The application creates a new email with the same content and properties as the original. Adjust the new email’s subject, content, sender, and any other properties as required.