Content personalization
Personalization allows you to custom-tailor the content for your website visitors. You can personalize what your visitors see based on their previous interactions. You can vary the content of emails that recipients receive in their inboxes based on their preferences. You can also save tedious work and define who receives which content with marketing automation or using 3rd party Artificial Intelligence or Machine Learning services.
Personalization in Kentico Xperience
Marketing communication should never be a “one-size-fits-all” interaction. With the correct content served at the right time, you can turn your visitors into loyal followers of your brands.
Kentico Xperience helps you collect customer data, analyze it, and custom-fit the user experience across all future interactions. You can offer different website content to new users and to your existing customers. You can send alternative emails to different customers, all within one email marketing campaign. Or you can personalize any message using information about your customers’ purchases.
Here are a few ideas how to use personalization:
- Change the content of the homepage based on the visitor’s status using personalized widgets.
- Include your customer’s details, such as their first name, in email, or on the website via dynamic macros.
- Show content related to what customers search on your website.
- Send different messages based on the sales readiness of your customers using scoring.
- Personalize after-purchase messages with information about related products.
- Send different educational content based on your customer purchases or their buyer persona.
- Adjust the frequency of messages based on how customers interact with previous messages.
- And many more.
How does website content personalization work?
With built-in Kentico Xperience features, you can adjust website content based on who’s interacting with your website. You can personalize the content using the contact groups feature or personas. To personalize any text on the website, you can use the built-in dynamic text feature in the rich text editor.
When a visitor arrives on a page (i.e., their browser requests the page), the system evaluates all the information. Is it a new contact? Does the browser contain their contact-specific cookie? And if it’s a returning visitor, does it belong to a contact group for which there’s a personalized variant in the system? If yes, Kentico Xperience dynamically displays the tailored content to the visitor.
You don’t need to handle all the personalization by yourself. Your developers can prepare the website’s code in a way that dynamically resolves different content variants for contact groups or personas.
Besides the content of your website, you can also personalize your emails based on personas or contact groups in the Email marketing application. The system then creates an email with the right content for each contact.
Try out content personalization
Get the hosted trial
You will work on the Xperience Dancing Goat Core website hosted on Kentico Xperience servers. If you haven’t got it yet, request the Kentico Xperience 13 - Xperience for Marketers and Editors demo site.
First, let’s create a personalization variant of a widget.
- In the Pages application, navigate to the Landing pages -> Coffee samples page.
- Click the Personalize () icon in the header of the Hero image widget.
- Select the Is in contact group condition type to create a new personalization variant of the widget.
- From the list of contact groups, select the Interested in coffee samples.
- Enter a variant name, e.g., Variant for Interested in coffee samples and click the Add variant button.
Let’s edit the content of the personalized widget variant and change the background image.
- Hover your mouse over the Hero image widget to display widget’s inline properties.
- In the media dialog, click the Browse button and select the banner2.png media file to change the widget’s background.
- Click Save to include your changes.
Test how the personalization works for a website visitor using the incognito window in your browser.
- Visit the Home page of your website.
- Agree with tracking on the website.
- Switch to the Coffee samples page (yourtrialwebsitedomain/coffee-samples) and submit the Coffee samples form.
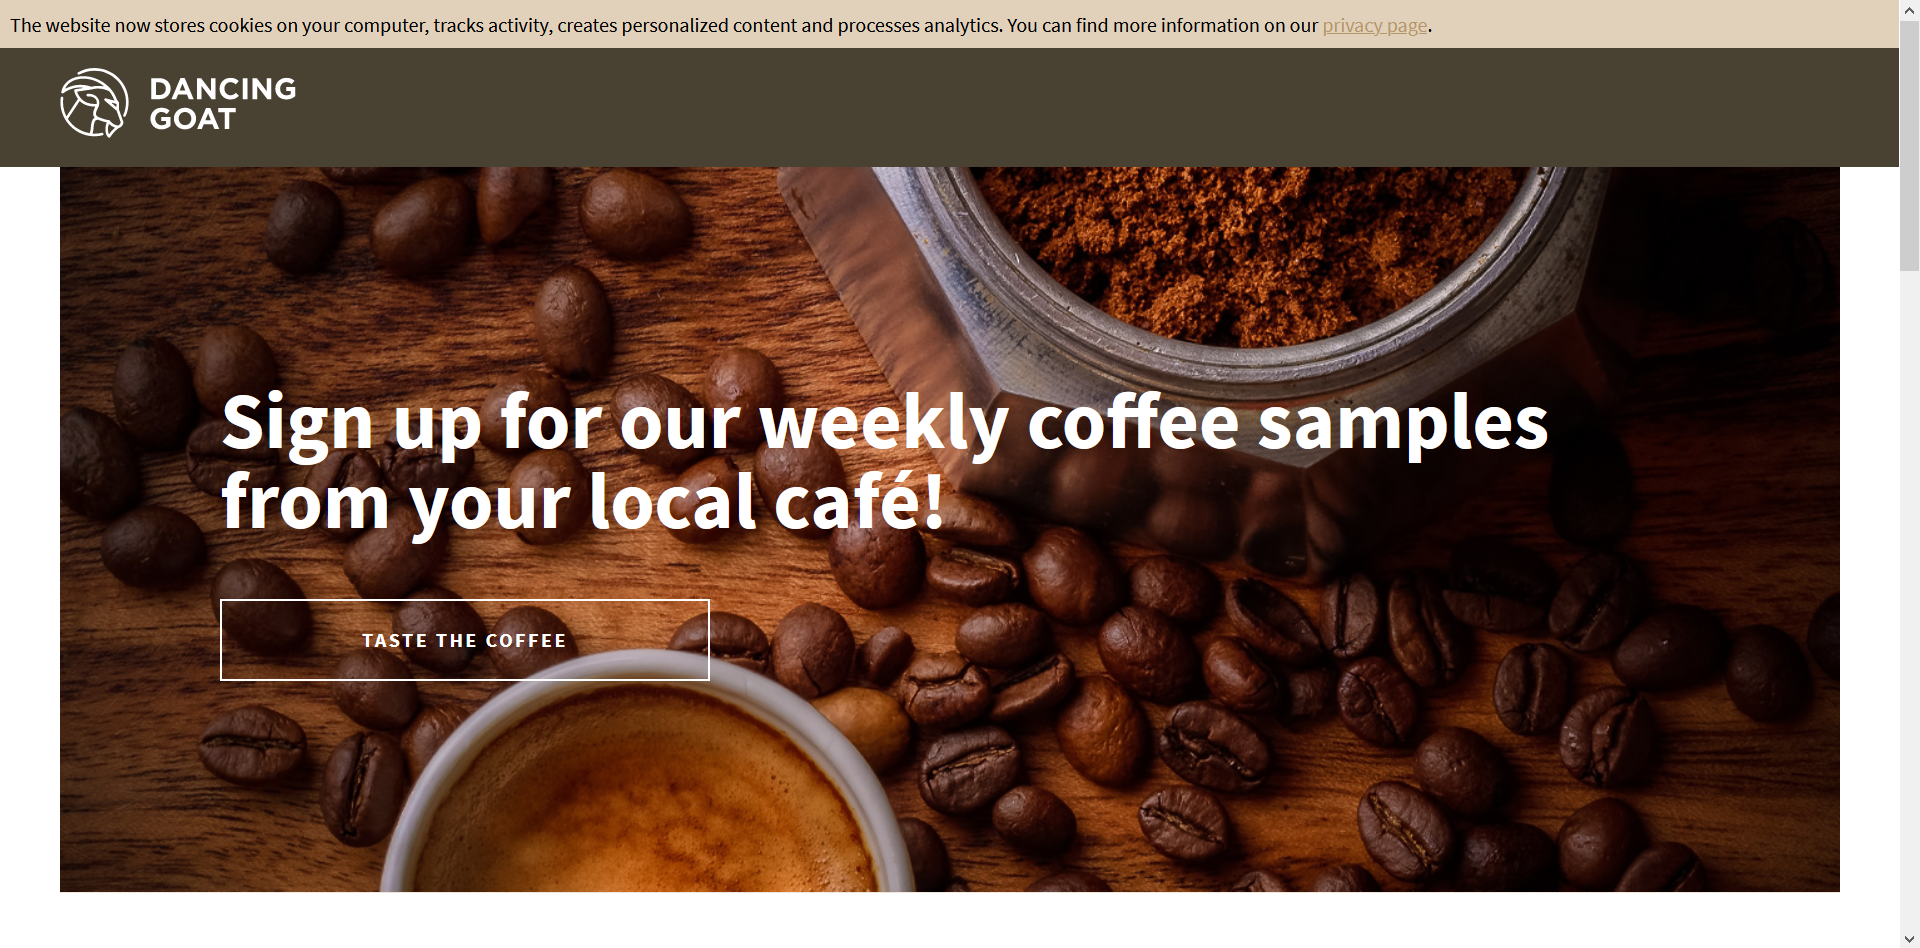
- Wait for 20 seconds, then refresh the page. You should see the image personalized, e.g.:

Conclusion
You’ve learned how to personalize the content of your website and your emails using insights from customer data. Find out about other options for customizing your website content, personalizing email sequences using marketing automation, and other digital marketing scenarios in our training course for editors and marketers, or continue with the Business tutorial.
If you’ve seen all pages of the Business tutorial, see what Next steps you can take in mastering Kentico Xperience.