Manage website content
Xperience by Kentico considers a website as one of the communication channels marketing teams use today to reach their target audience.
Channels include various platforms, such as the main website, regional sites, brand-specific sites, campaign microsites or landing pages, social media platforms, emails, and distributed content like content snippets on third-party partner websites.
In Xperience, you will manage your website content through dedicated website channels. The website channels vary from a single channel for smaller businesses to multiple websites and campaign-specific microsites for companies with more extensive website presence.
The Kbank demo site contains three website channels:
- Personal Banking for consumers.
- Business Banking website for businesses.
- Mortgages Microsite.
Kbank demo site contains other digital marketing channels that we’ll discuss later in the tutorial.
Content tree represents the hierarchy of website pages
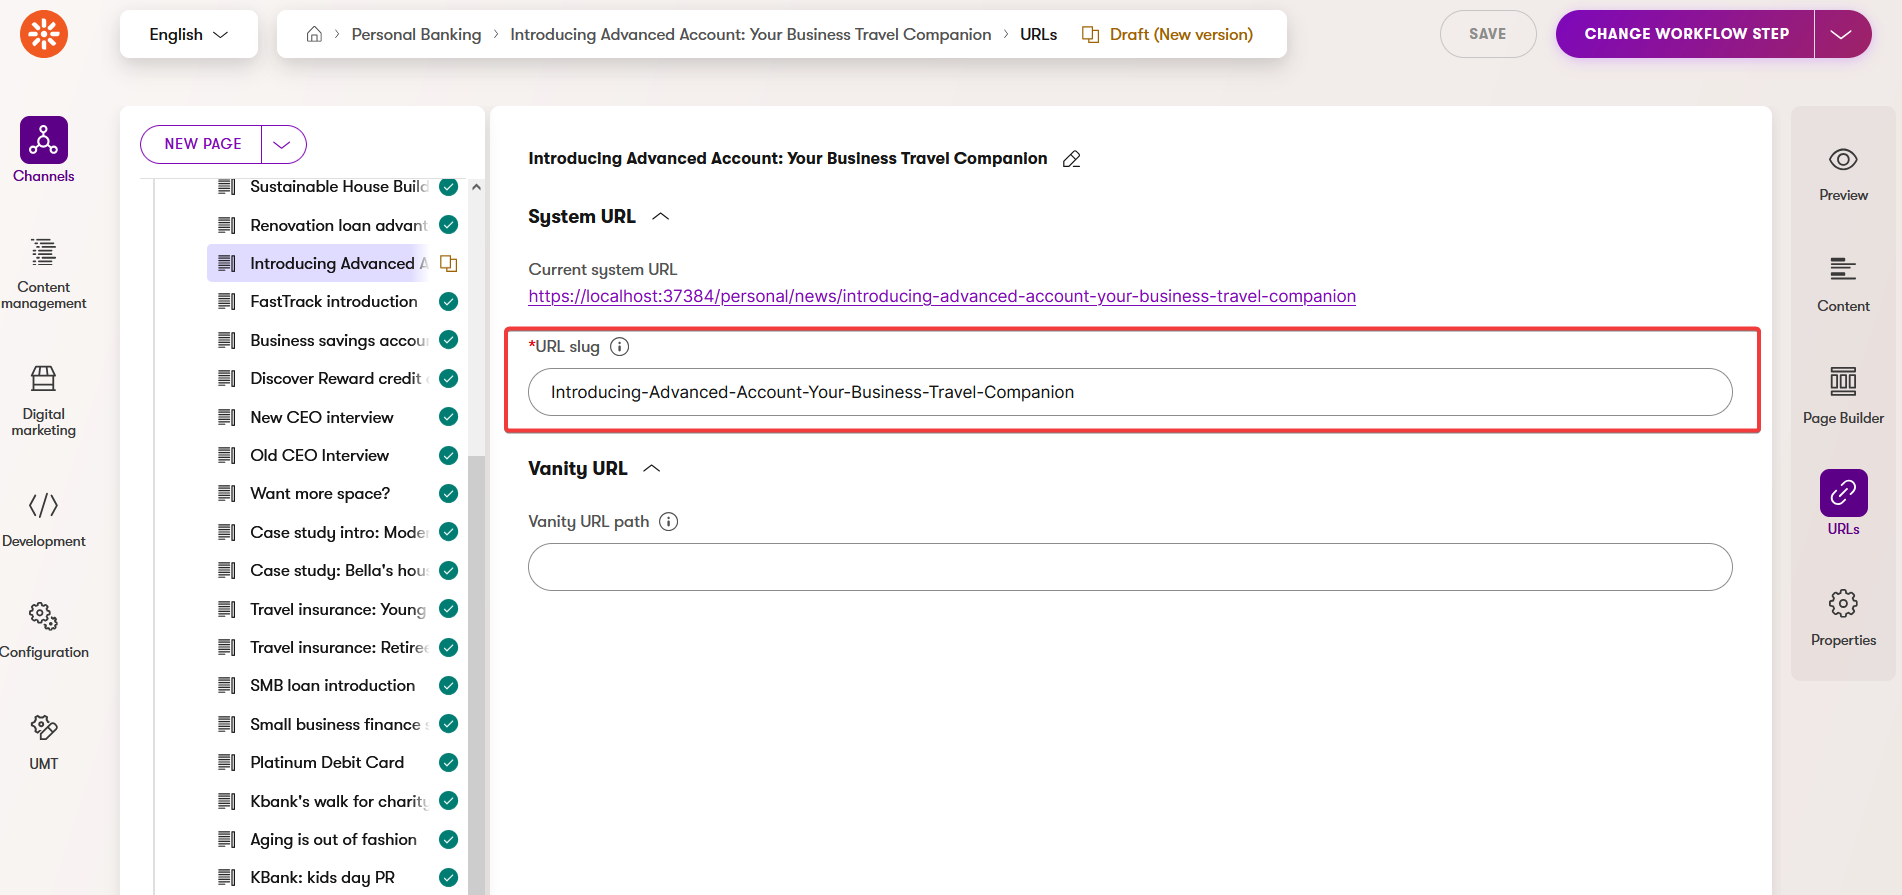
Most items in the content tree represent pages visitors access on a live site. They navigate to the page’s URL addresses, which Xperience has created. Xperience uses the page’s position of the page in the tree and dynamically generates URLs depending on the hierarchy. You can customize URL slugs or create vanity URLs through the Content view mode.
Content authoring in the website channel
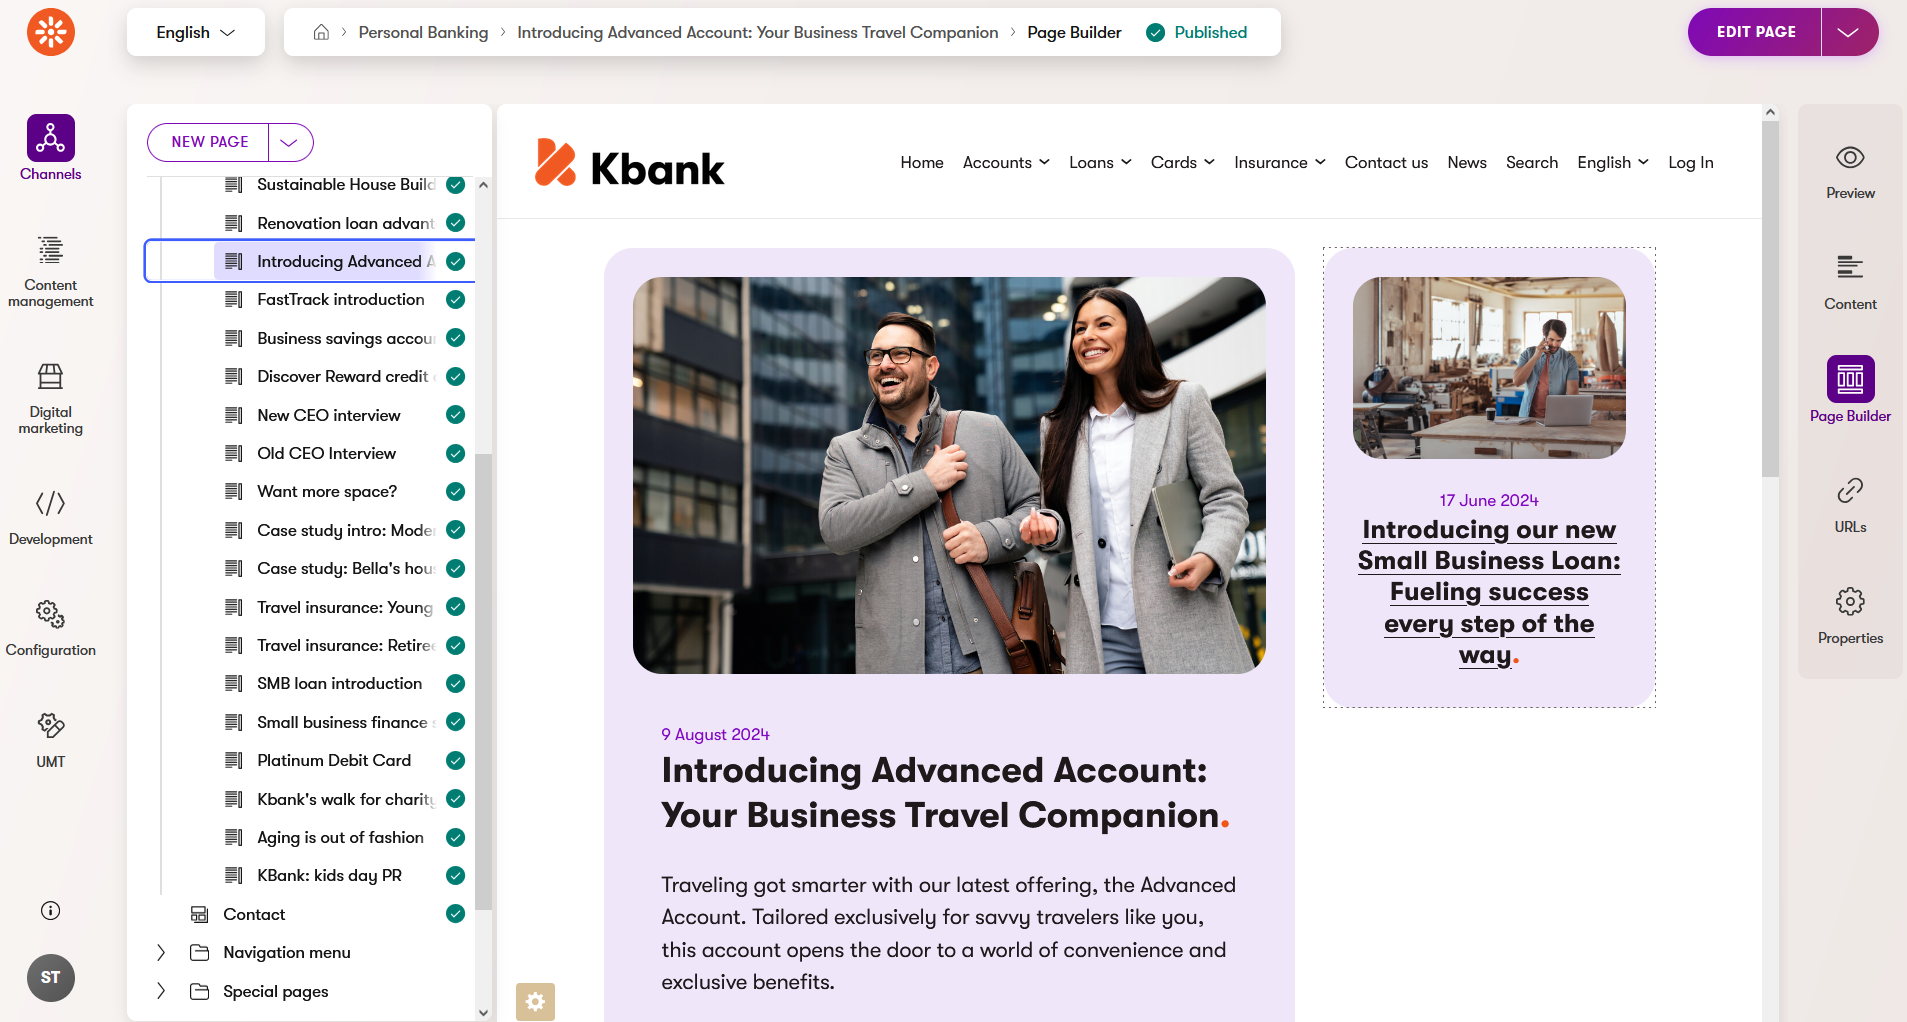
You can create the pages, edit their content, or manage their properties in your website channel. Xperience organizes the pages in a visual hierarchy called the content tree, which you can see in the following screenshot below.
Structured content in the website channel
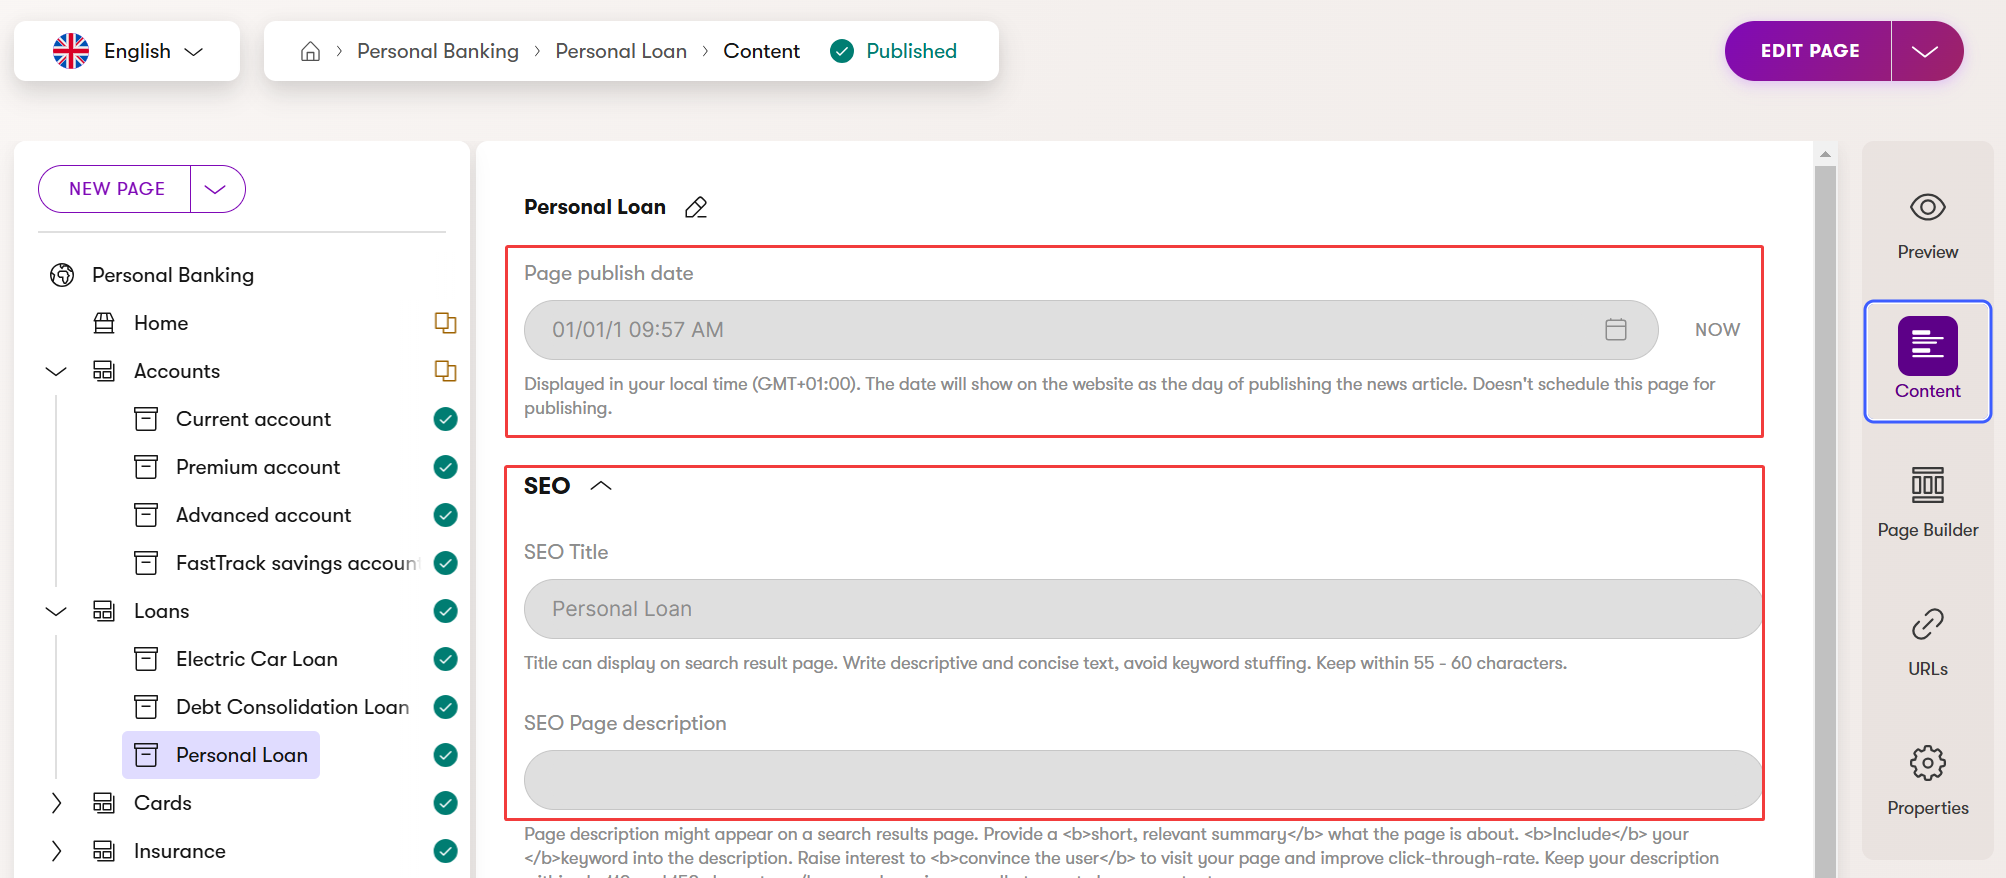
Structured content stores data without any presentation information. The website’s structured content is in the Content view mode. It is still possible to reuse this data. However, it’s not fully reusable across the system as the reusable content stored in the Content hub.
For example, the data on the Content view is specifically tied to a website page in the Kbank demo site.
Similarly, you can preview a webpage’s URL using the URLs view.
Page Builder in the website channel
Xperience Page Builder provides a user-friendly interface for creating website pages using components that you can drag and drop.
The components include page templates, page sections, and widgets.
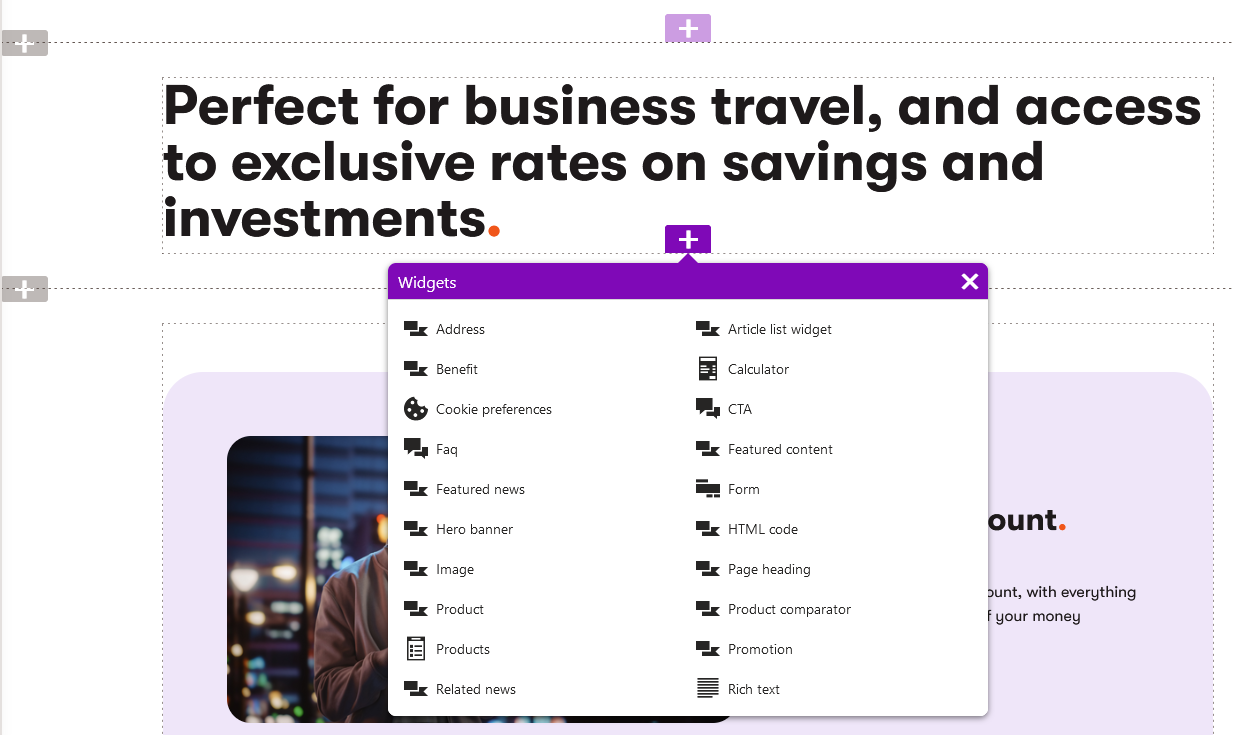
The following screenshot shows custom widgets that you can see on the Kbank demo site.
Out-of-the-box, Xperience comes with two widgets - Rich text and Form. Based on your project requirements, developers prepare other widgets and define areas on the page where they are available.
Build custom pages with Page Builder
Pages in Xperience website channels are based on page templates. Some page templates display only structured data and don’t allow editors to adjust their layout. More commonly, page templates contain Xperience Page Builder and enable editors to design pages to fit their needs.
Page Builder allows editors to create good-looking pages and experiment with your page’s layout and design. You edit pages with Page Builder using one or a combination of these components:
- Page templates - Layout of individual website pages.
- Sections - Layout what different page sections will look like.
- Widgets - Display website content.
In this video, you can see how you can work with page sections.
In this video, you can see how you can work with widgets.
Exercise 1 - Adding a new article
In this exercise, you’ll work with structured content in the Content mode. You’ll create a new article and use the Related articles widget using the Page Builder mode.
Task:
A Content editor prepared a new article called Travel insurance for family with kids and sent you the resources. You need to publish this article in the News section of the Personal Banking channel. (You can find the article-related materials in the Adding a new article folder in the manage Content hub content.)
Create a new page
- Open the Personal Banking application.
- Select the News section in the content tree.
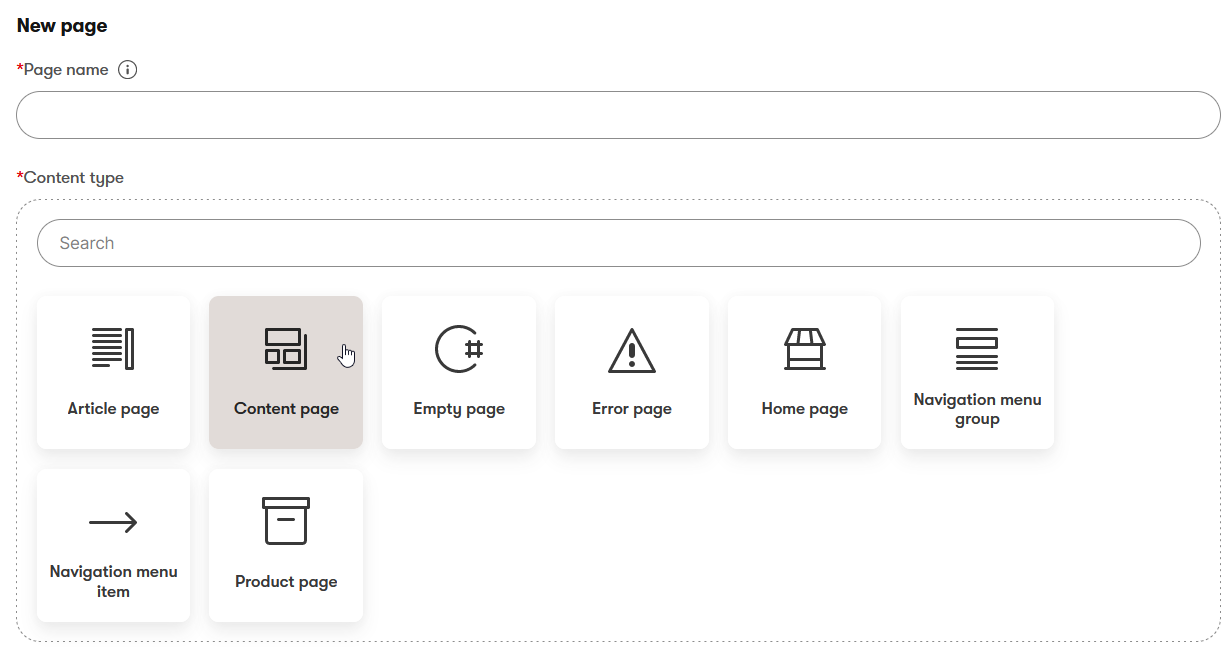
- Use the New page button.
- Fill in the Page name: Travel insurance for family with kids.
- Select the Article page content item.
- Confirm your choice with the Continue button.
Add content to your new page
In the following steps, use the Travel-insurance-for-family-with-kids.docx (or TravelInsuranceForFamilyWithKids.txt) from the Adding a new article folder.
- Select article to display: Create new.
- Enter the Content item name: Travel insurance family - article.
- Location selector: Select a location for the content item. You can select Uncategorized (no folder) or a specific location within the Content hub folders.
- Select Content type: Article.
- Confirm by selecting the Continue button.
- Add the Title: Travel insurance for family with kids.
- Add teaser image:
- Select Create new, and the Create new item dialog opens.
- Fill in the Content item name: Family on vacation.
- Keep the Asset content type and select Continue.
- Add the Alt text: A family with two kids is standing on the beach before a sunset.
- Upload the File named family-on-vacation.jpg.
- Publish the image to see it on the live site.
- Paste the Summary from the Travel-insurance-for-family-with-kids.docx or TravelInsuranceForFamilyWithKids.txt file.
- Paste the main News Text of the article, use the Rich text field editor, and style your text.
- Add an image to the article:
- Find the place in the News Text where you should add the image (in our case, before the insurance benefits).
- Insert image via the button that you find in the Rich text editor.
- In the Content hub, search for the Family premium account image.
- Insert the image.
- Use the built-in image editor in the Rich text and Change size to 100%. The image will adjust to 100% of the width of the article column.
- In Select article type, use Select tags and add News tag to categorize the article.
- Select related articles:
- Use Select existing.
- Pick Platinum Debit Card, Travel insurance: Young adventurers, and Travel insurance: Retirees articles.
- Confirm with the Select button.
- Add SEO title: Travel safely as a family with kids with Kbank family travel insurance.
- SEO description: Learn how the travel insurance for family with kids can help you in the time of need. Whether you need to buy new clothes because of lost luggage, or need to cover unexpected health expenses.
- Use the Save button after you complete your updates.
- Use Change workflow step to process the article through the workflow steps:
- Select Ready for approval step and Confirm.
- Select Ready for publishing step and Confirm.
- Select Schedule/Publish the article and Publish now.
Reload the News page to show the newest articles
If you visit the News page on the live website, you’ll see that your article is at the bottom of the widget. If you don’t see the Teaser image, go to the Content hub and publish the image.
Preset page templates
In the previous exercise, you’ve used an existing a page template. What are page templates?
Page templates are a game-changer when you anticipate creating multiple pages with identical layouts. They become invaluable when editors collaborate on various pages. When editors create their pages, they can build them using existing templates containing a preset configuration of where and how the data is displayed. And your editors can focus on adding engaging content.
Xperience supports two types of page templates:
- Default page templates are created by developers for every Xperience website. You’ve used it in the previous exercise previous exercise to create the article about travel insurance.
- Preset page templates are saved by editors using pages created from default page templates.
Let’s see how you can create custom preset page templates.
The following examples use Kentico’s Kbank demo website. The available widgets, page types, and visuals will depend on your company’s implementation of Xperience by Kentico.
Save an existing page as a preset
Editors can save an existing page configuration as a template, whether it is already published on the live site or in a draft stage. Saving a page as a template doesn’t influence the original page configuration.
If you want to make adjustments to the template layout, first save the original page as a template and then work with the new template itself:
- Create a new page using the template.
- Update the page’s configuration (add or remove widgets, change the number of columns in sections, or change the section’s background color).
- Save this new configuration into a new template.
Xperience will not change the pages you created using the old template.
Exercise 2 - Save page as preset page template
In this exercise, you’ll see what it’s like to save existing pages as page templates that you’ll use to create new pages.
Task:
Let’s pretend you created a successful campaign page and want to save it as a template for similar future campaigns.
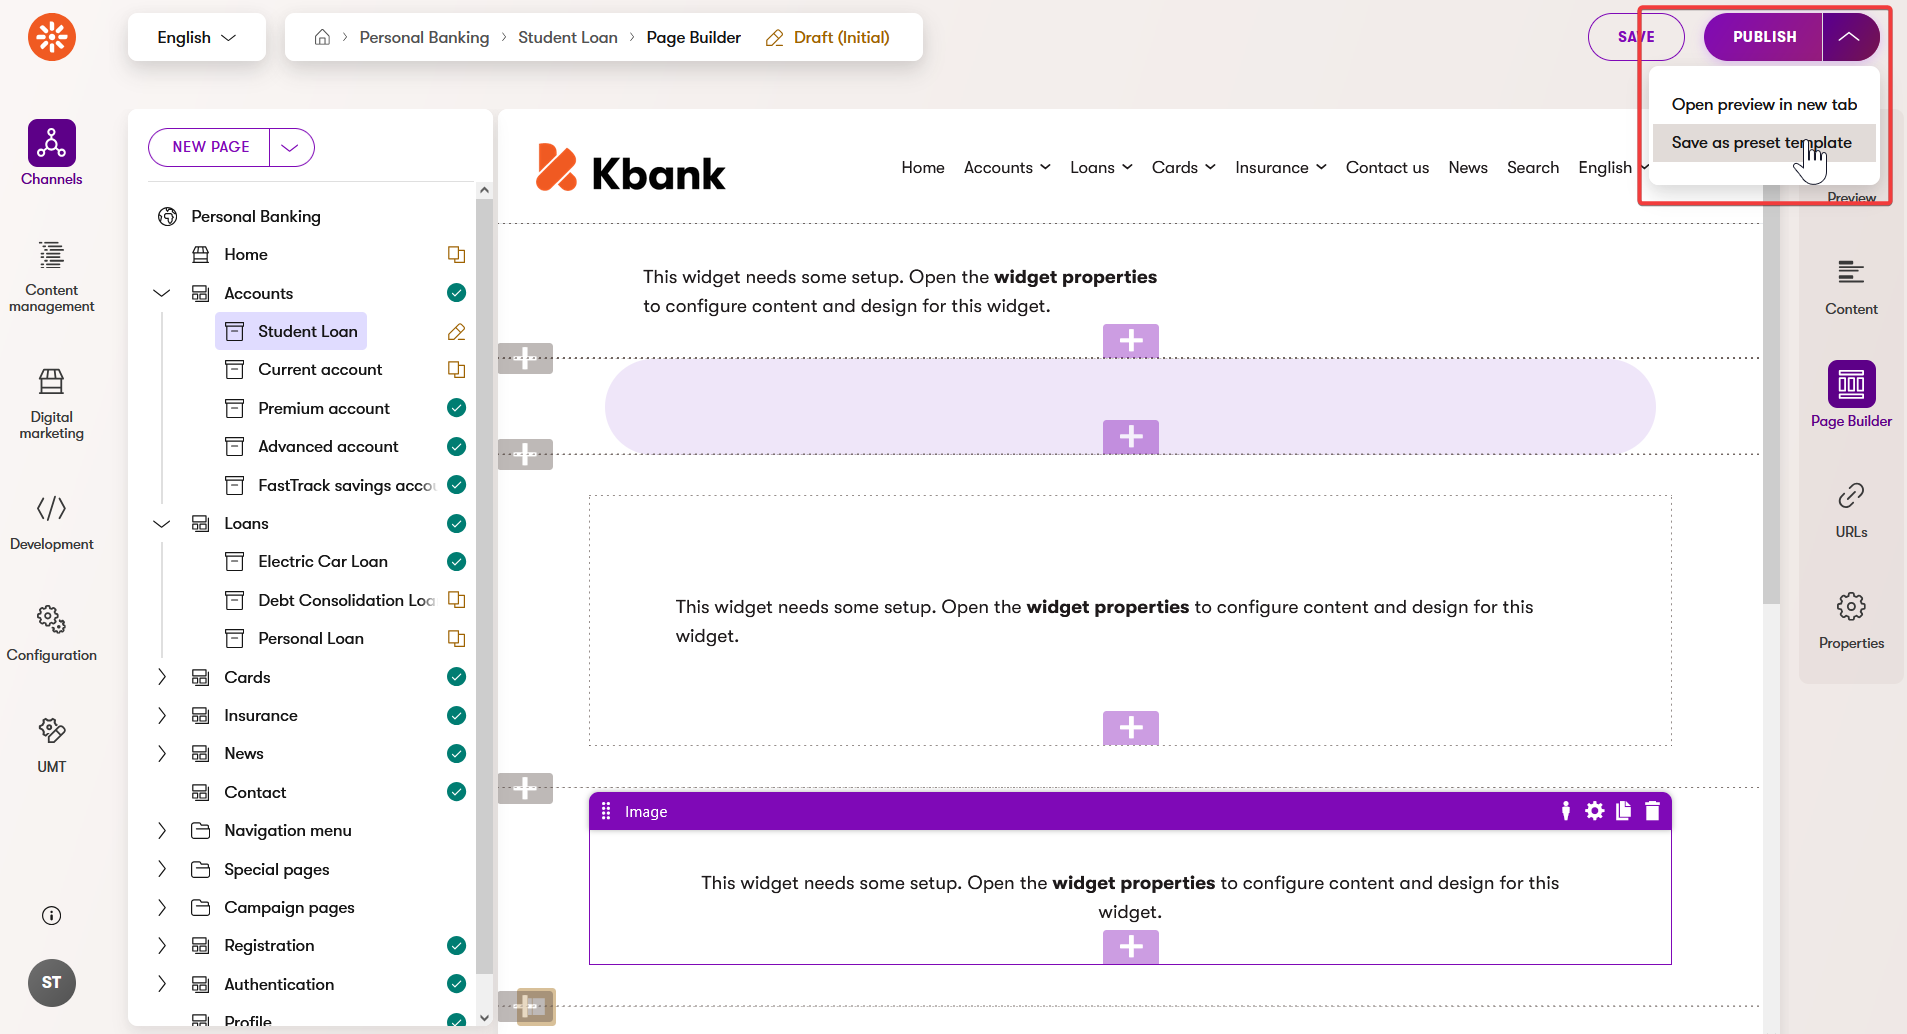
- Select the page in the content tree, switch to the Page Builder mode if necessary, open the additional page actions, and save your page as a preset template.
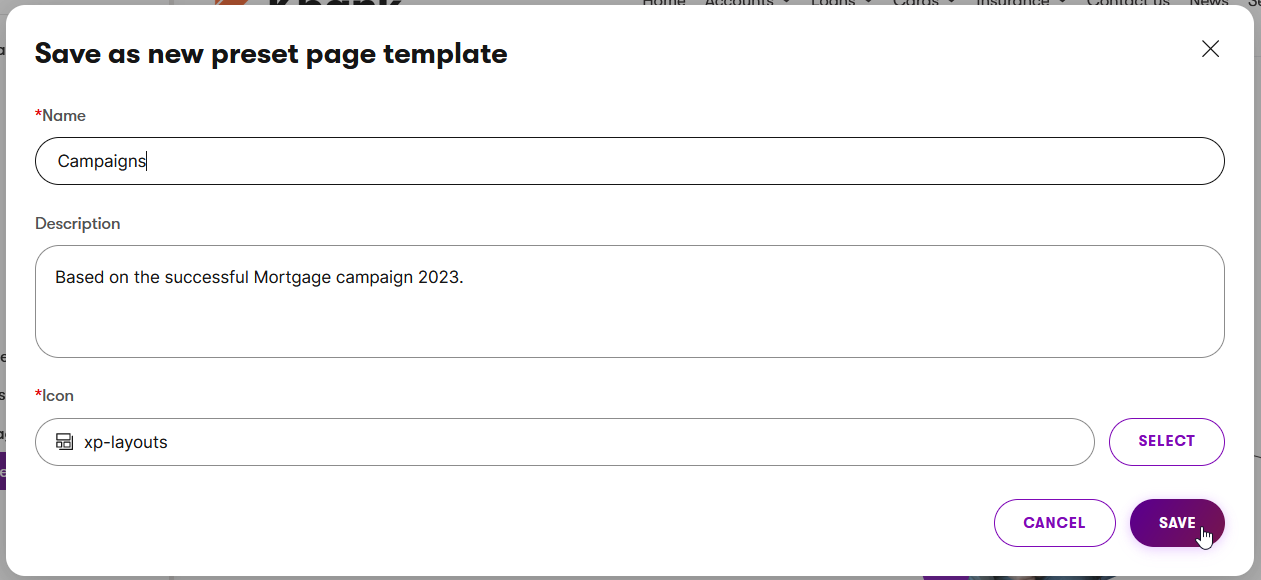
- Fill in the preset Name, add Description, and adjust the Icon.
Depending on the widget configuration, the page template will contain different data. For example, the Hero banner on the Kbank website:
- Current product page: the widget will be empty. Why? When you save the configuration as a page template, the reference to the reusable product item that contains the data is removed.
- Select product page: links content from another product page.
- Select hero content item: uses the custom hero content item and shows it in the widget.
This previous list only sums up how complex widgets, such as the hero banner, influence what data is saved into the page template. You can run into different options depending on the widget’s properties you use. For example, if the hero banner displays data from the Current product page and contains a CTA label with a link, Xperience will save both the CTA label and the link to the template.
Once you learn how to create page templates in Xperience, experiment with the Kbank demo site to test different configuration options. And you can also find out more about reusing content through the Hero widget.
Preset page templates application
The template is of the same webpage content type that you created the template from. In this example, the Car loan page is a Content page type, so the template shows under the Content page.
Build a page template from scratch
The second option for creating preset page templates is to start with a blank canvas and save the template for future use with an empty configuration. This means the template will keep all the widgets you added, but the widgets will be empty content-wise.
Exercise 3 - Create a new preset page template
In this exercise, you’ll see what working with structured content in the Content mode is like. You’ll create a new article and add widgets to the page using the Page Builder mode.
Task:
The following example will teach you how to create a template for product pages on Personal Banking website.
- Create a New page, fill in a name, and select the page type you want to use for this template, in this case, a Product page.
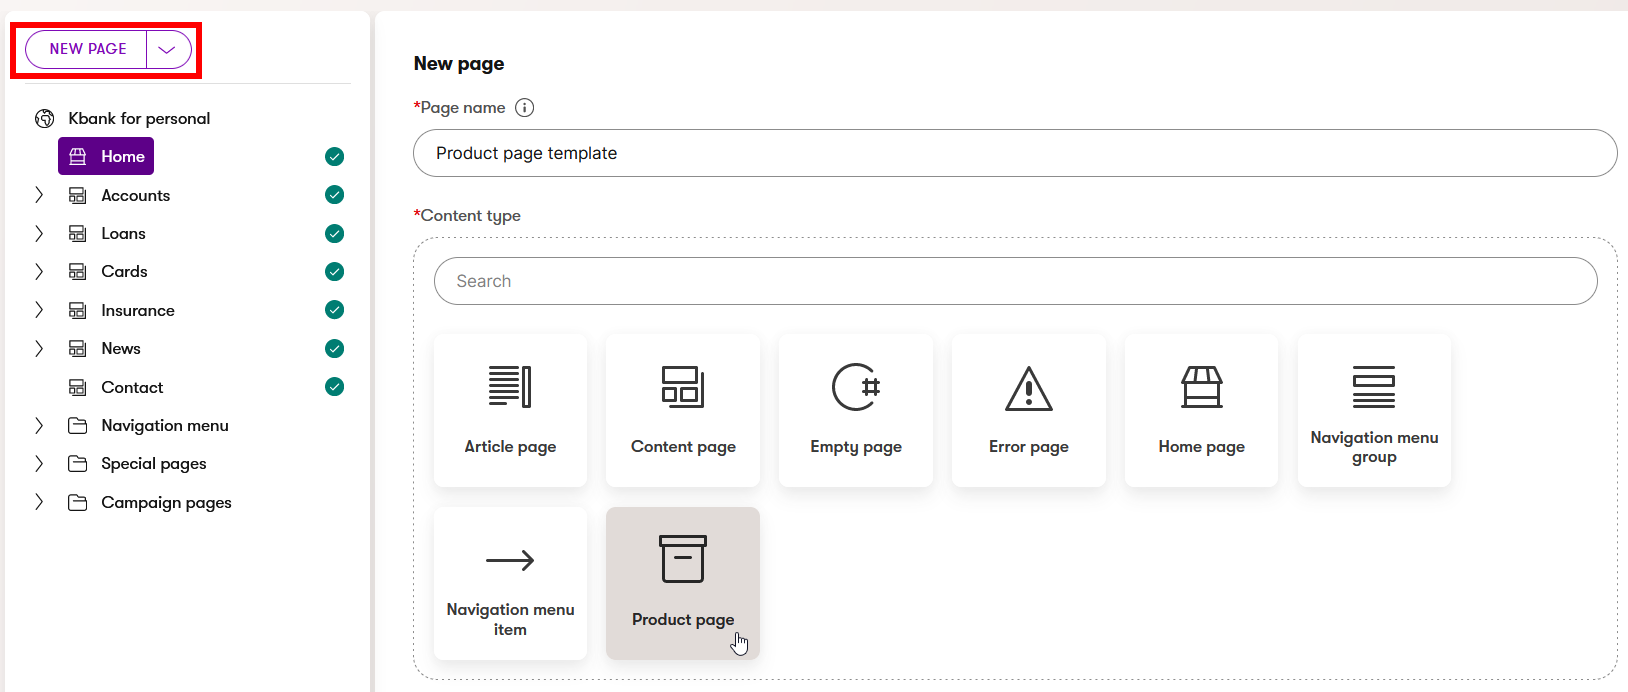
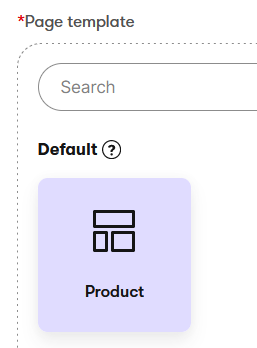
- Select the Default page template. You will see only the default options if this is your first product page template. In Kbank, developers prepared the Product page template.
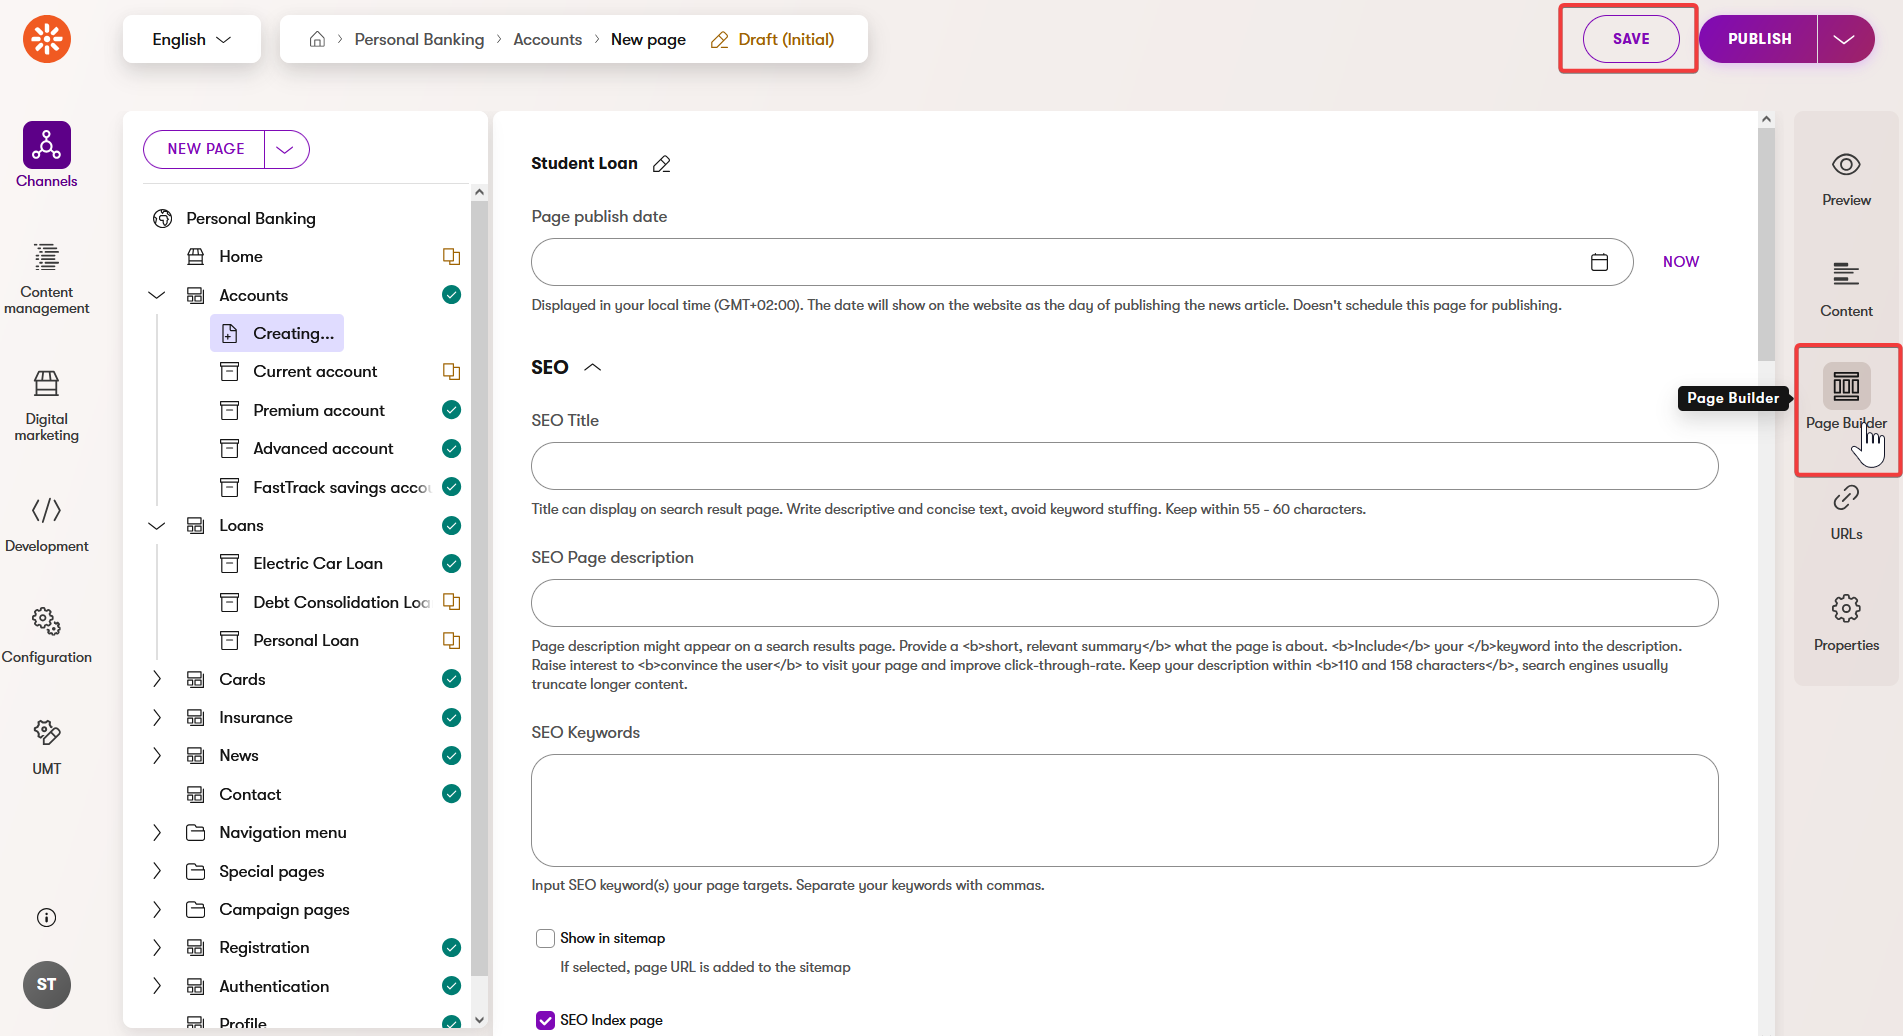
- Save your new page and go to the Page Builder tab, where you’ll prepare the layout using the widgets you see fit for the page.
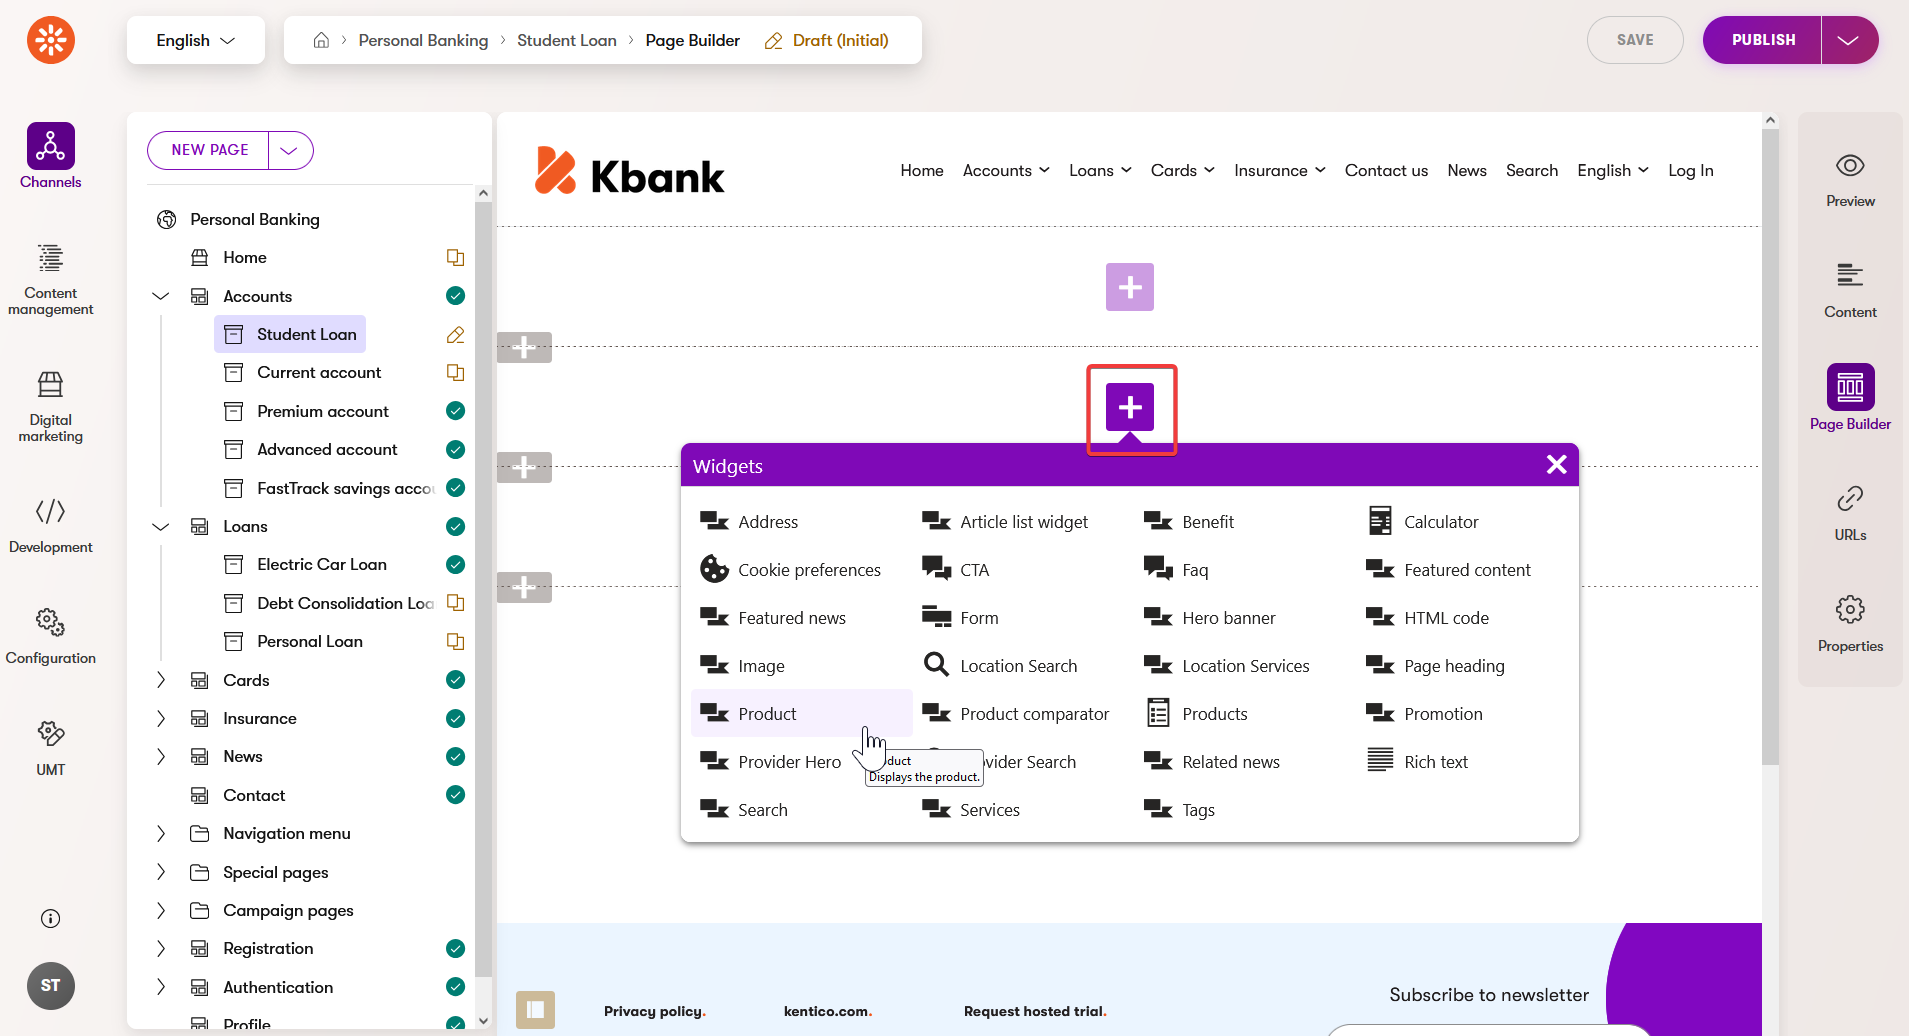
- Let’s add some widgets to our Kbank example page, like a hero banner, product, or benefits widget. To add a widget, select the plus button in the middle of the section and choose the desired widget.
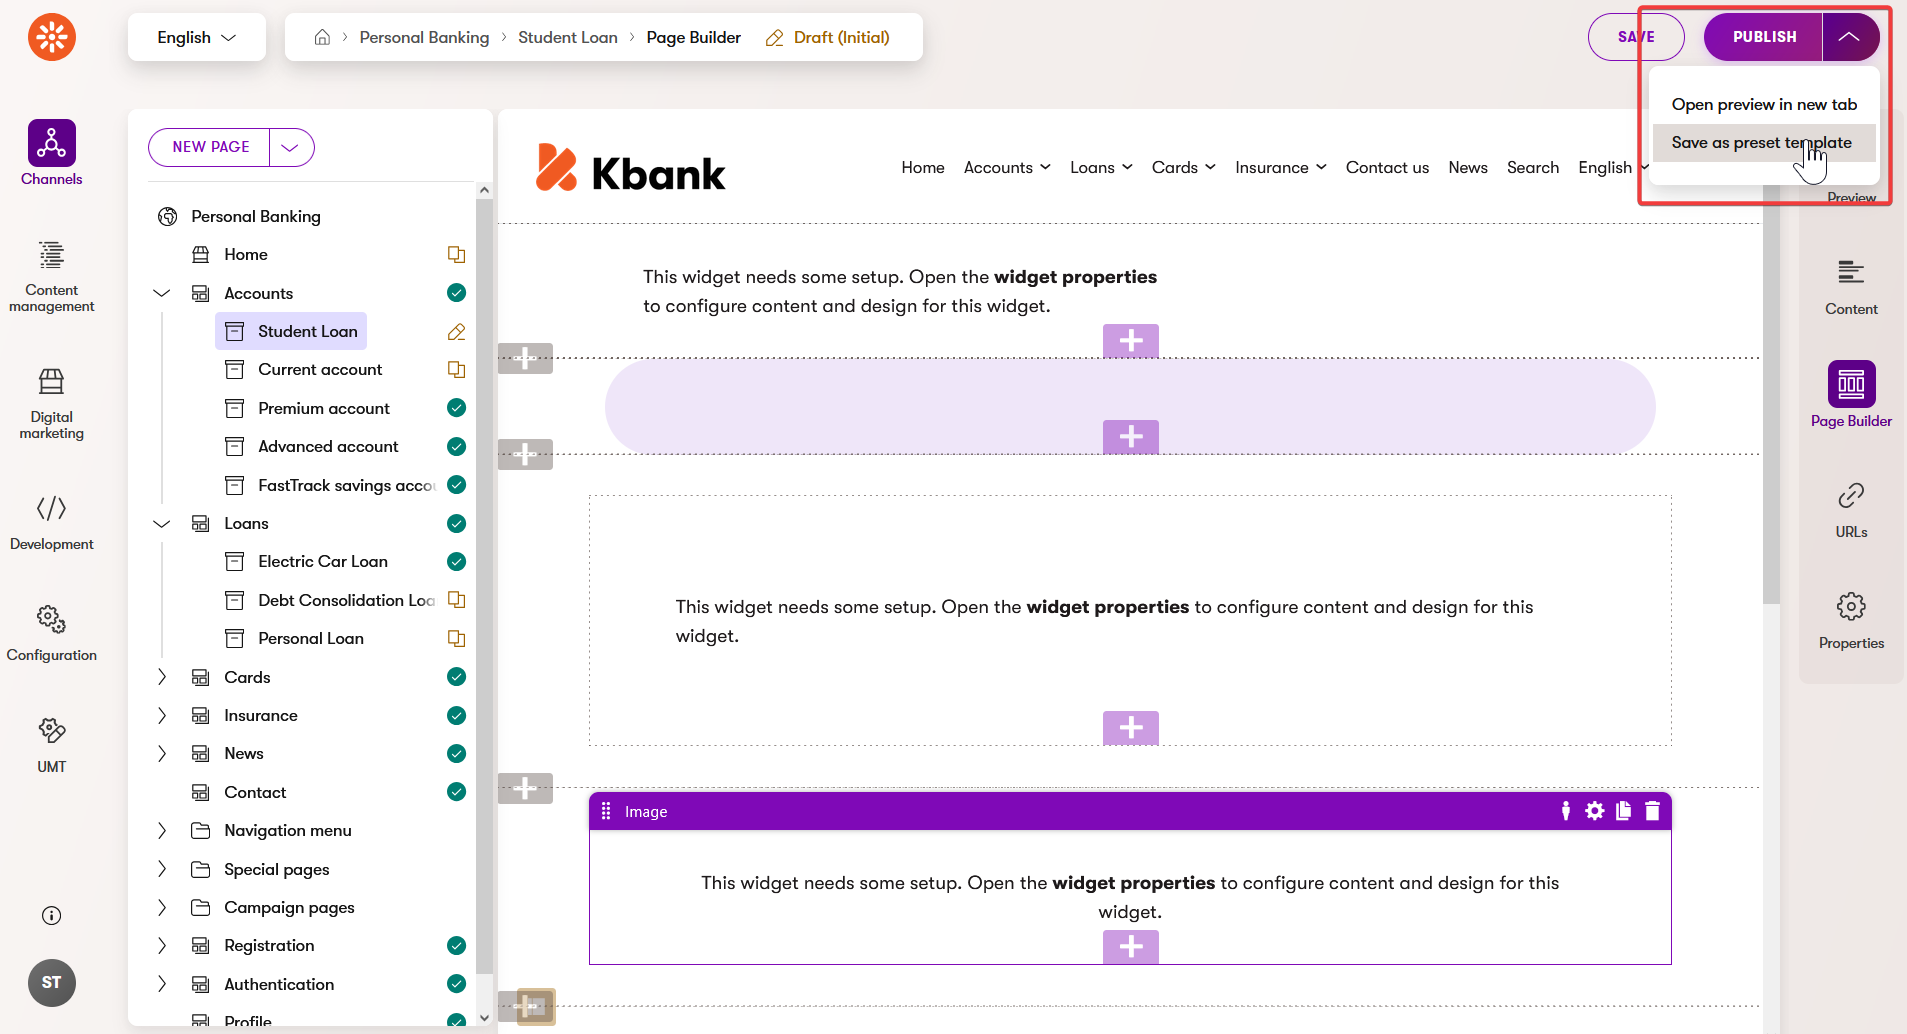
- Once the widgets are set up, save the changes made to the layout and save it as a preset template.
- Name the template, add a Description to help content creators pick the right template, and select an Icon to distinguish between templates visually.
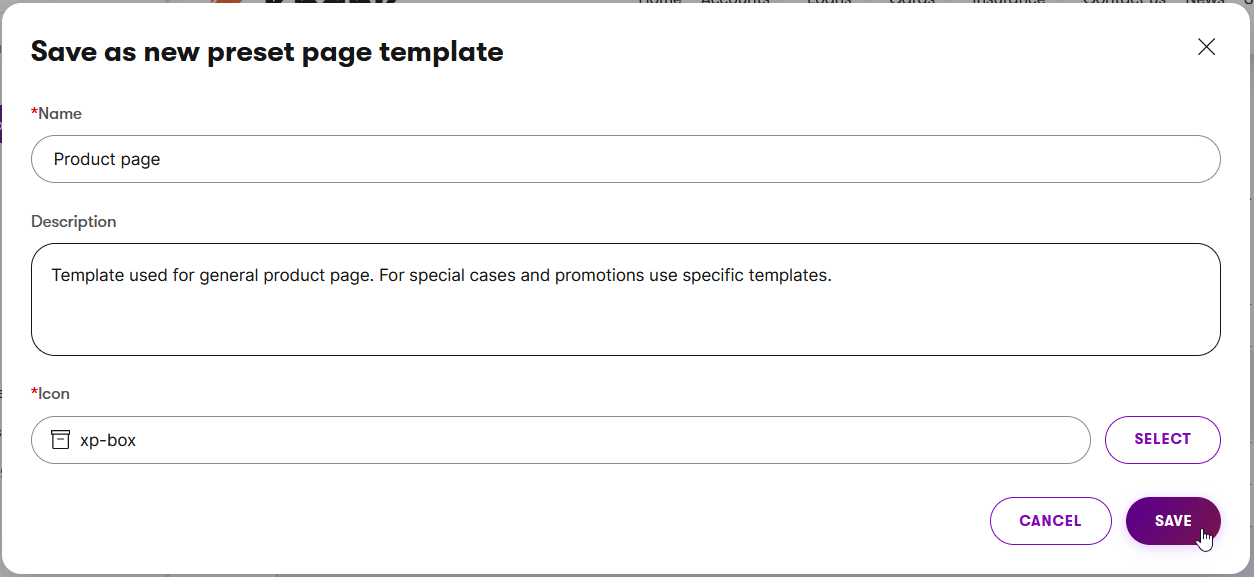
- The new template will be available immediately.
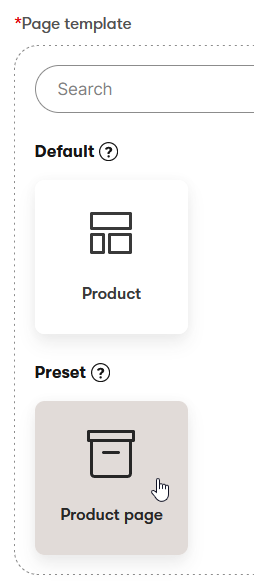
You can now use your new page template to create a new page. To test what’s creating new pages using templates is like, you can follow steps in the Create a new product page guide.
Next step
You’ve learned how to create and adjust pages using Xperience Page Builder. You now know the main Page Builder components, such as widgets, sections, and page templates, are and you’ve used a preset page template to add a new article to the Personal Banking website. Learn the basics of how you manage files in Xperience.
