Module: Work with assets
11 of 24 Pages
Exercise 2 -- Add an image to the Premier credit card image widget
Now that you know the basics of working with assets in Xperience, let’s add an image to a page that only your editor team will be able to manage. Follow these steps to add an image to the empty image widget on the website channel’s Premier credit card page.
To follow along with the exercise, download a sample image file we prepared for you.
Open the page for editing
- In the Personal Banking channel, navigate to the Cards section.
- Open the Premier credit card page and Edit page.
Select the empty Image widget
- The empty image widget needs setup.
- Open the widget properties to insert the sample image you downloaded.
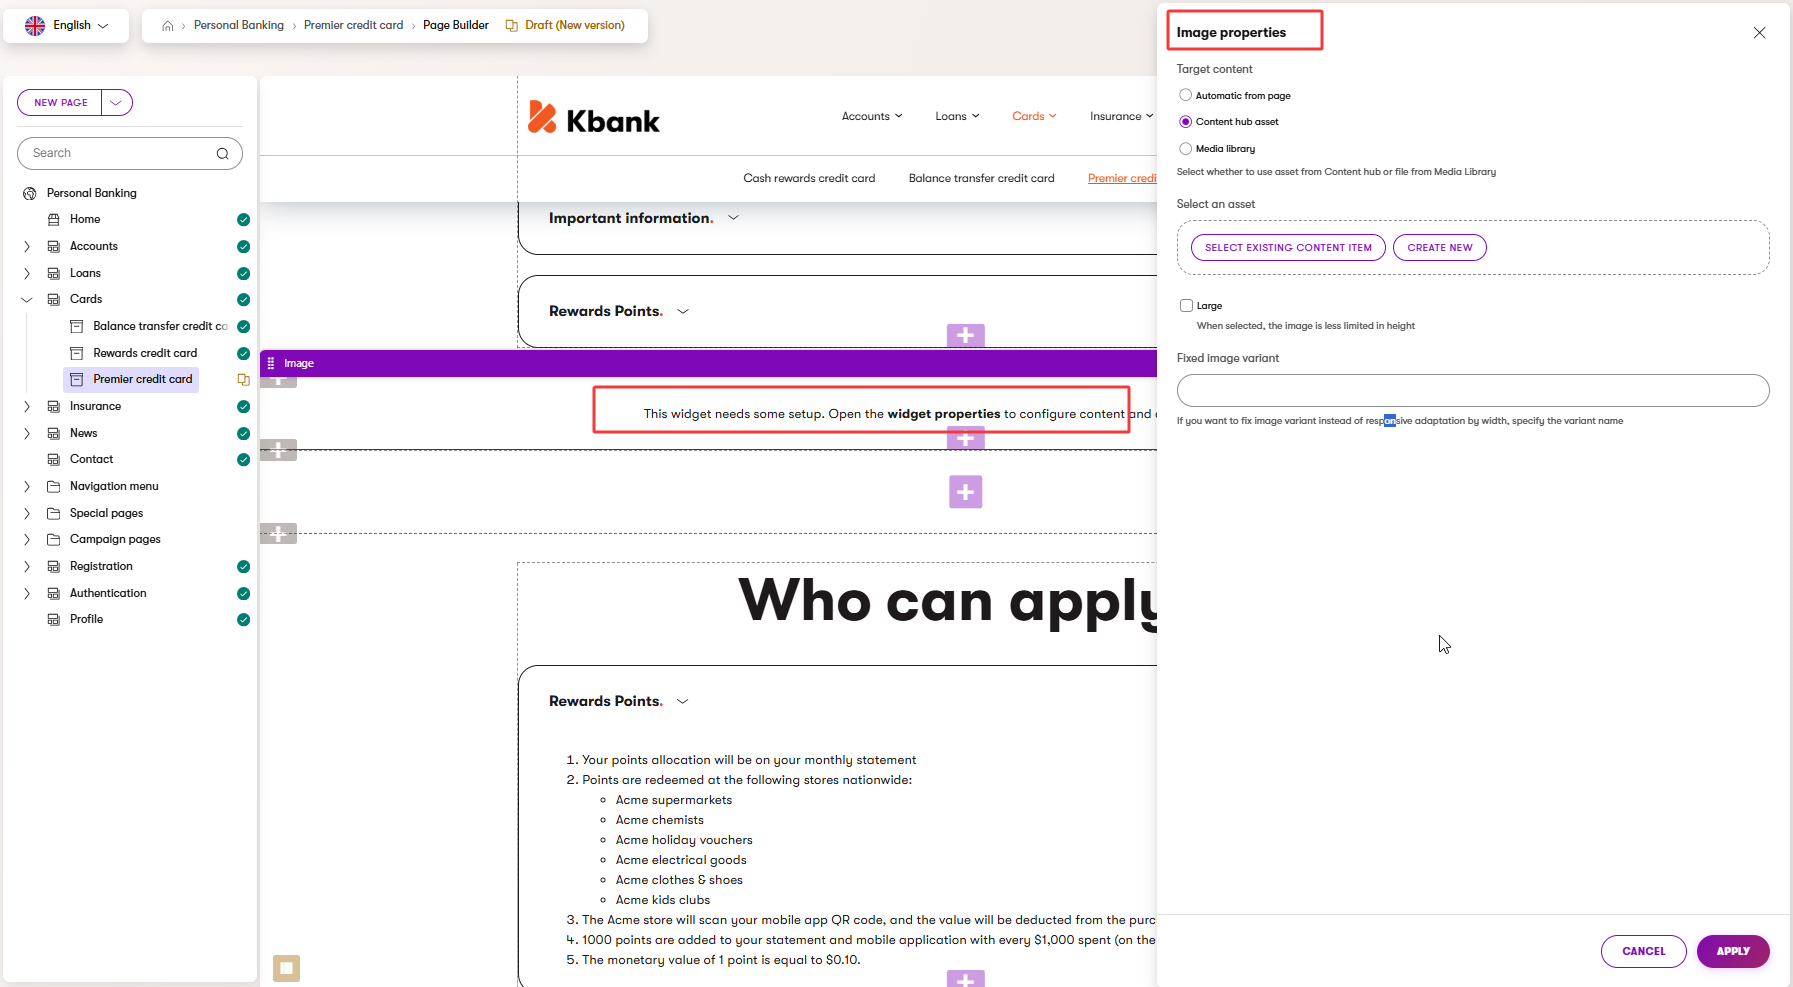
Create a new image
- In the image properties dialogue, choose Content hub asset.
- To add a new picture, you can select Create new, and choose the following in the Create new item dialogue:
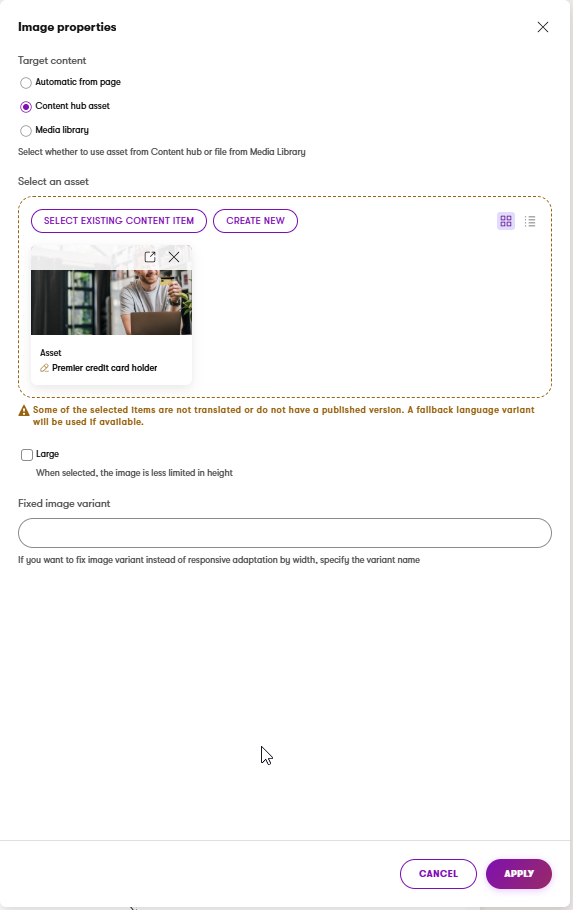
- Content item name – Enter a clear, descriptive name, like Premier credit card holder.
- Workspace – Select the Personal Banking workspace.
- Location – Leave the default Uncategorized (no folder).
- Content type – Select Asset and Continue.
- Description – Add a meaningful description to help your team understand where and how to use the picture. Like: Image of a young man holding a credit card, to be used as a Premier credit card product image.
- Alt text – description of image content to enhance usability. In this case: Smiling man holding a credit card.
- File – Upload the exercise-sample-manage-files-man-holding-credit-card.png file.
- Tags – Select one or more tags that best describes what’s in the image, like Young people. Consistent tagging helps with search and asset reuse later.
- If you’re in a rush, you can also drag the exercise-sample-manage-files-man-holding-credit-card.png file from your computer and drop it into the widget upload zone, instead of creating the asset through the standard dialog shown above.
- Xperience then starts the upload automatically and creates a new content item asset in the Content hub.
- Save and Close your newly created content item. This step will return you to the Image properties dialogue, where you can finish setting up your image widget.
Adjust widget display settings
After inserting the image, you can adjust how it appears on the page before you save the image properties.
You can, for example, display the image as Large to make it less limited in height.
The available options depend on your project’s configuration, so the options in your project may differ from our example.
- Save your changes
- Apply the changes you just made, and Save the page to Preview your updates.
- If you’re happy with the newly created image, return to the Page Builder view and Publish the new version of the Premier credit card page.
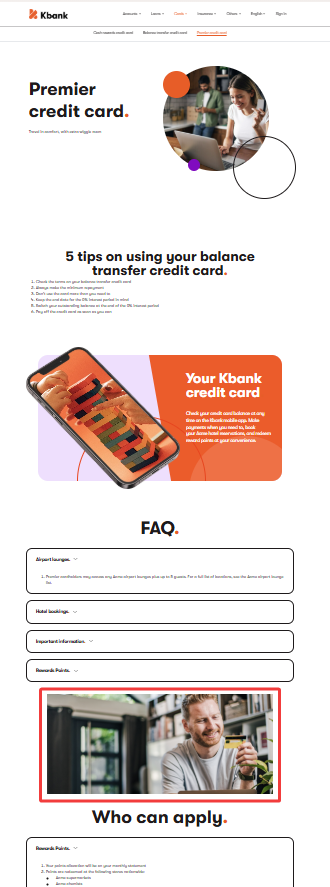
The page should look something like the following image: