
Module: Work with assets
3 of 24 Pages
Work with content folder hierarchy
A good folder hierarchy helps editors find and reuse assets. It doesn’t change where assets are stored in Content hub; they always remain in the same flat workspace. Content folders help you create a logical way for your team to navigate to them.
You can create as many folders and nest them as deeply as you need.
To create folders:
- Open Content hub within the workspace where you want to organize assets.
- Create a parent folder for a major category of your assets.
- If needed, select this parent folder and create subfolders for more specific groupings.
- Repeat this process until you have a clear and simple structure.
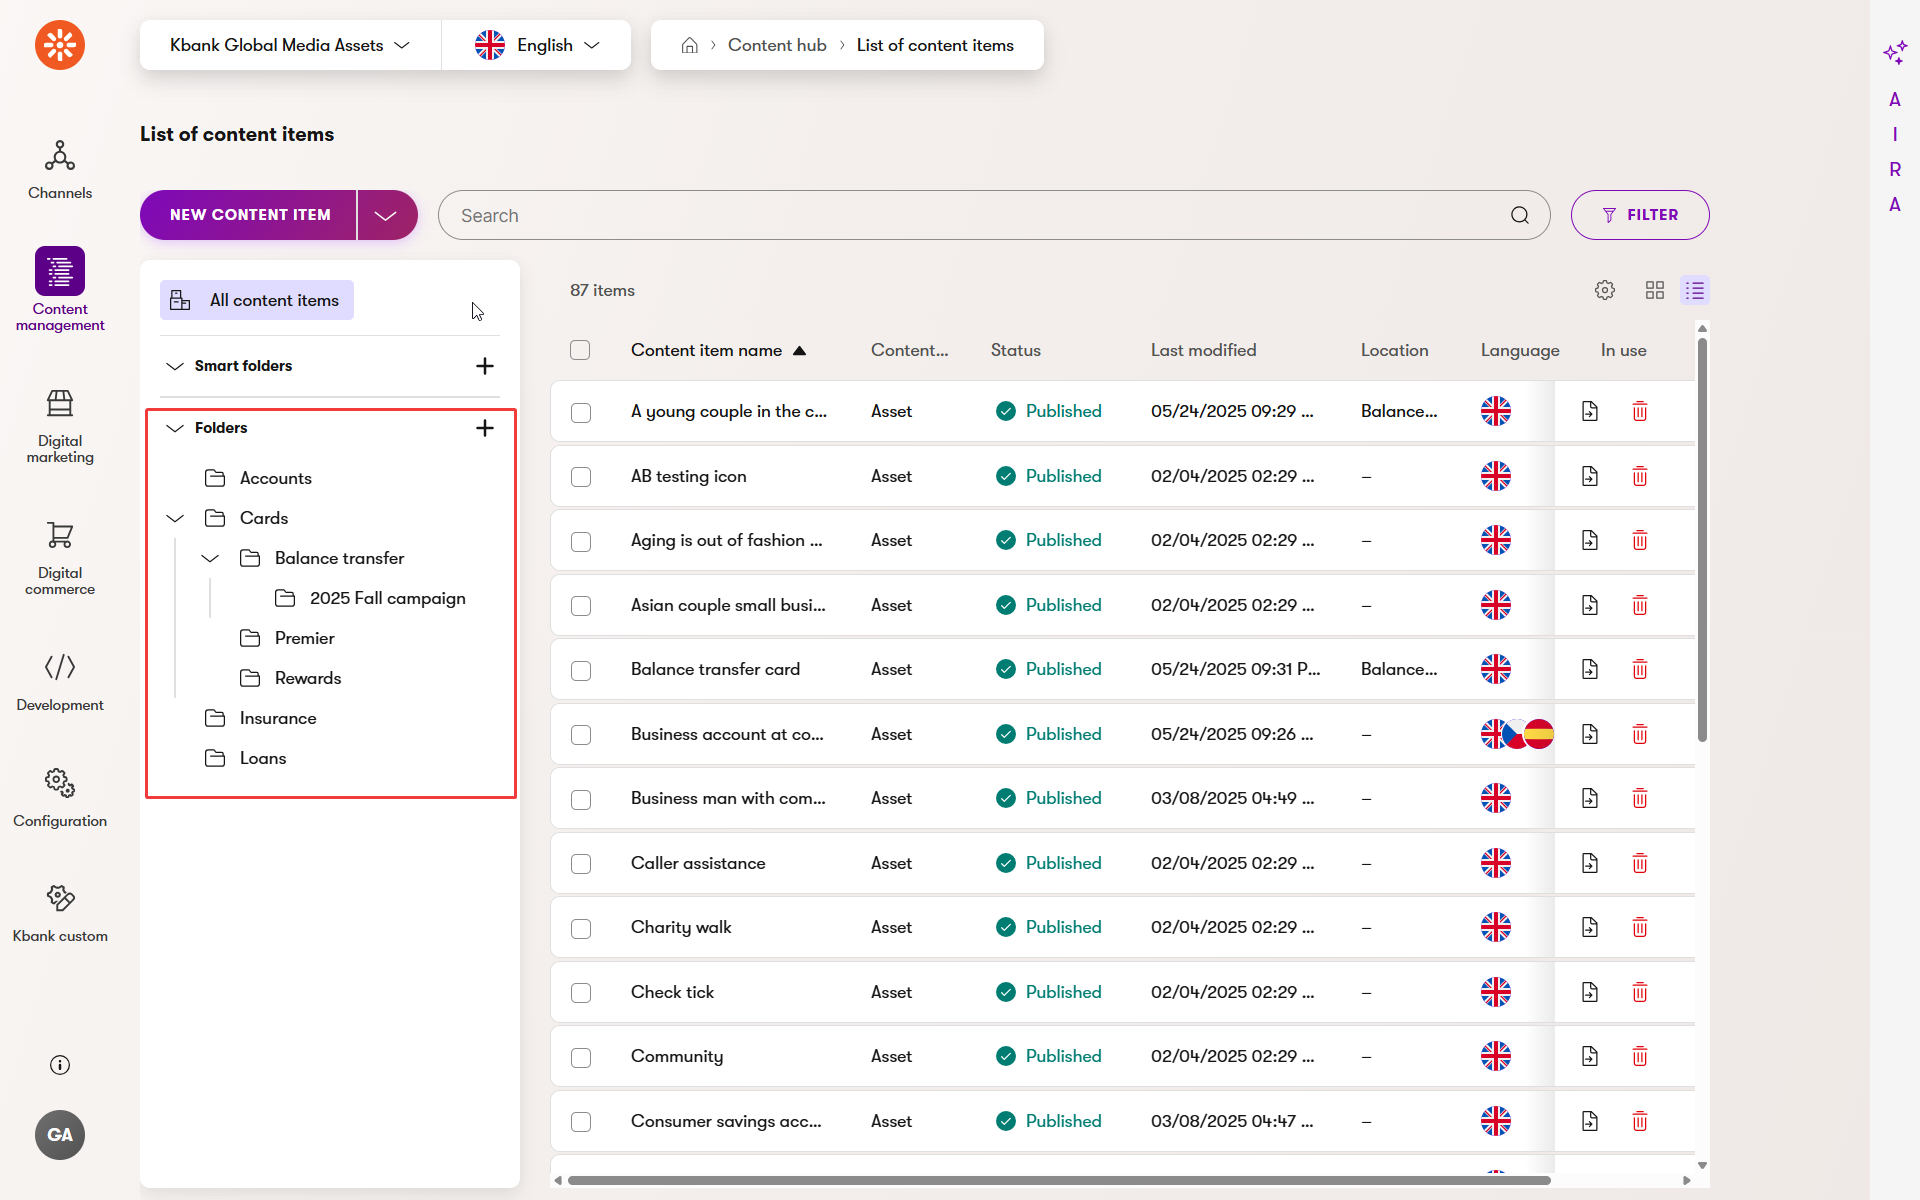
Let’s test it out in the Kbank demo site. Kbank runs personal and business banking websites. Editors need to manage product images for both sites, as well as campaign graphics. They want to create the following structure inside their Kbank Global Media Assets workspace:
- Top-level folders:
- Accounts
- Cards
- Insurance
- Loans
- Subfolders under Cards:
- Balance transfer
- Rewards
- Premier
- Temporary subfolders for campaigns:
- Under Balance transfer, a Fall 2025 campaign subfolder to store campaign-specific banners and promotional graphics.
This structure helps editors find the right asset quickly without scrolling through unrelated files. The breadcrumb navigation shows them exactly where they are in the folder tree. Campaign teams know where to upload temporary images and can easily clean up the campaign subfolders once the promotion ends.
Keep your folder structure simple. Two to three levels of folders will suffice for most projects that keep assets alongside other content within the Content hub. Editors find complex hierarchies harder to navigate and maintain.
Move items into content folders
Once you have a folder structure, you can organize your assets into the right folders. Remember, moving items doesn’t mean creating copies of files; moving just assigns these content items to a folder so they are easier to find.
Let’s continue within the Kbank demo site.
- Ensure you are in the Kbank Global Media Assets repository.
- Select the items you want to organize: Balance transfer card and Female with credit card.
- Use the Move action above the content items and choose the Cards > Balance transfer subfolder in the folder tree.
- Use Move to confirm.
Select the Balance transfer folder to confirm that your items appear correctly. Then, open the All items view to verify that the Balance transfer card asset is still available in the workspace in Content hub and its Location has been updated.