
Module: Page Builder
8 of 18 Pages
Enable widgets in the template
So far, we have walked through the steps of creating a page template that displays structured service data with different styling options.
Next, let’s make the template truly flexible by adding the option to dynamically add Editable areas to the template based on configurable properties.
Enable widgets on the template
Let’s start by adding a single conditional editable area to the template. This will allow editors to put widgets on the page if a certain checkbox is enabled. Afterward, we can expand the functionality for more flexibility.
Add a new checkbox to the template properties
- Add a new boolean property called
UsePageBuilderto theServicePagePageTemplatePropertiesclass found in the ~/Features/FinancialServices folder. - Make it default to
falseso that the template automatically uses the standard service layout. - Apply the
CheckBoxComponentattribute to assign a check box control to the field in the template properties dialog, and set itsOrderto 10 so it appears before the other properties.C#ServicePagePageTemplateProperties.cs... namespace TrainingGuides.Web.Features.FinancialServices; public class ServicePagePageTemplateProperties : IPageTemplateProperties { [CheckBoxComponent( Label = "Use Page Builder", ExplanationText = "Check to configure an advanced page builder. Un-check to use the standard service layout.", Order = 10)] public bool UsePageBuilder { get; set; } = false; ...
Include an editable area in the template view
- Open the ServicePagePageTemplate.cs file in the same folder.
- Cut all of the code within the scope of the first
tg-component-styletag, and paste it in a text file for later copying. - After the first
tg-component-styletag, add anifstatement. - Check the value of the new
UsePageBuilderproperty. If it is true, render an editable area with the identifierareaMain.TheareaMainidentifier matches other templates used on this site. Using consistent identifiers makes switching templates on a page and transferring Page Builder data easier.cshtmlServicePagePageTemplate.cshtml... <tg-component-style color-scheme="@Model.Properties.ColorScheme" corner-style="@Model.Properties.CornerStyle"> @if(Model.Properties.UsePageBuilder) { <editable-area area-identifier="areaMain" /> } </tg-component-style> ... - Add an
elsestatement, and paste the code from the text file within its scope.cshtmlServicePagePageTemplate.cshtml... else { <div> <div> <h3>@templateModel.NameHtml</h3> <p>@templateModel.ShortDescriptionHtml</p> </div> @foreach (var asset in templateModel.Media) { <tg-styled-image src="@asset.FilePath" alt="@asset.Description" corner-style="@Model.Properties.CornerStyle" class="c-product-img object-fit-cover" /> } <tg-component-style color-scheme="@ColorSchemeOption.Light1" corner-style="@Model.Properties.CornerStyle" class="c-table"> @foreach (var feature in templateModel.Features) { <div> <div>@feature.LabelHtml</div> <div> <tg-service-feature-value feature="@feature"/> </div> </div> } </tg-component-style> </div> } ...
@using Microsoft.AspNetCore.Html
@using System.Globalization
@using TrainingGuides.Web.Features.FinancialServices
@using TrainingGuides.Web.Features.FinancialServices.Models
@using TrainingGuides.Web.Features.Shared.OptionProviders.ColorScheme

@model TemplateViewModel<ServicePagePageTemplateProperties>

@{
    var templateModel = Model.GetTemplateModel<ServicePageViewModel>();
}
<tg-component-style color-scheme="@Model.Properties.ColorScheme" corner-style="@Model.Properties.CornerStyle">
    @if(Model.Properties.UsePageBuilder)
    {
        <editable-area area-identifier="areaMain" />
    }
    else
    {
        <div>
            <div>
                <h3>@templateModel.NameHtml</h3>
                <p>@templateModel.ShortDescriptionHtml</p>
            </div>

            @foreach (var asset in templateModel.Media)
            {
                <tg-styled-image src="@asset.FilePath"
                    alt="@asset.Description"
                    corner-style="@Model.Properties.CornerStyle"
                    class="c-product-img object-fit-cover" />
            }

            <tg-component-style color-scheme="@ColorSchemeOption.Light1" corner-style="@Model.Properties.CornerStyle"  class="c-table">
                @foreach (var feature in templateModel.Features)
                {
                    <div>
                        <div>@feature.LabelHtml</div>
                        <div>
                            <tg-service-feature-value feature="@feature"/>
                        </div>
                    </div>
                }
            </tg-component-style>
        </div>
    }
</tg-component-style>
Check your progress
Now, if you sign in to the Xperience admin and apply this template to one of the pages under Store in the Training guides pages channel, you’ll see a new checkbox in the properties.
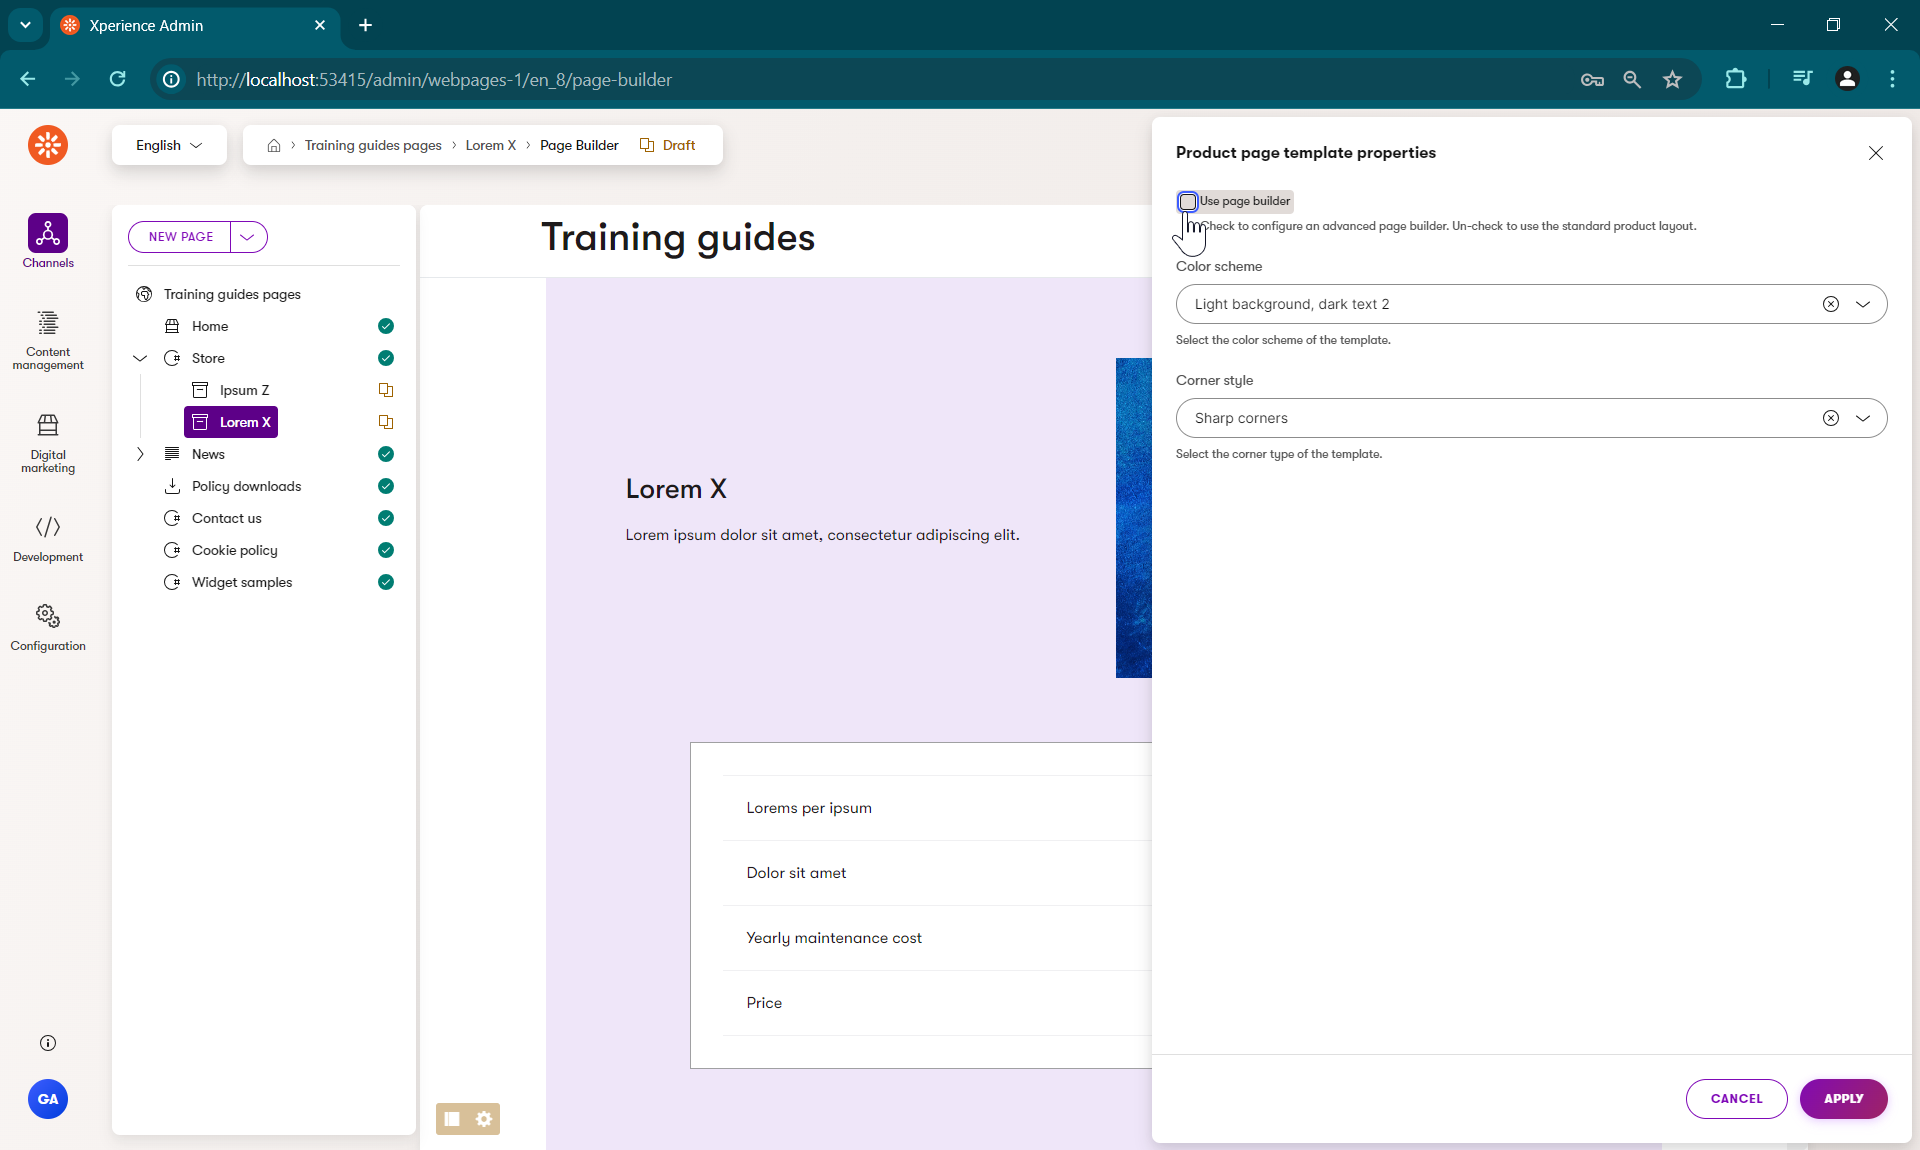
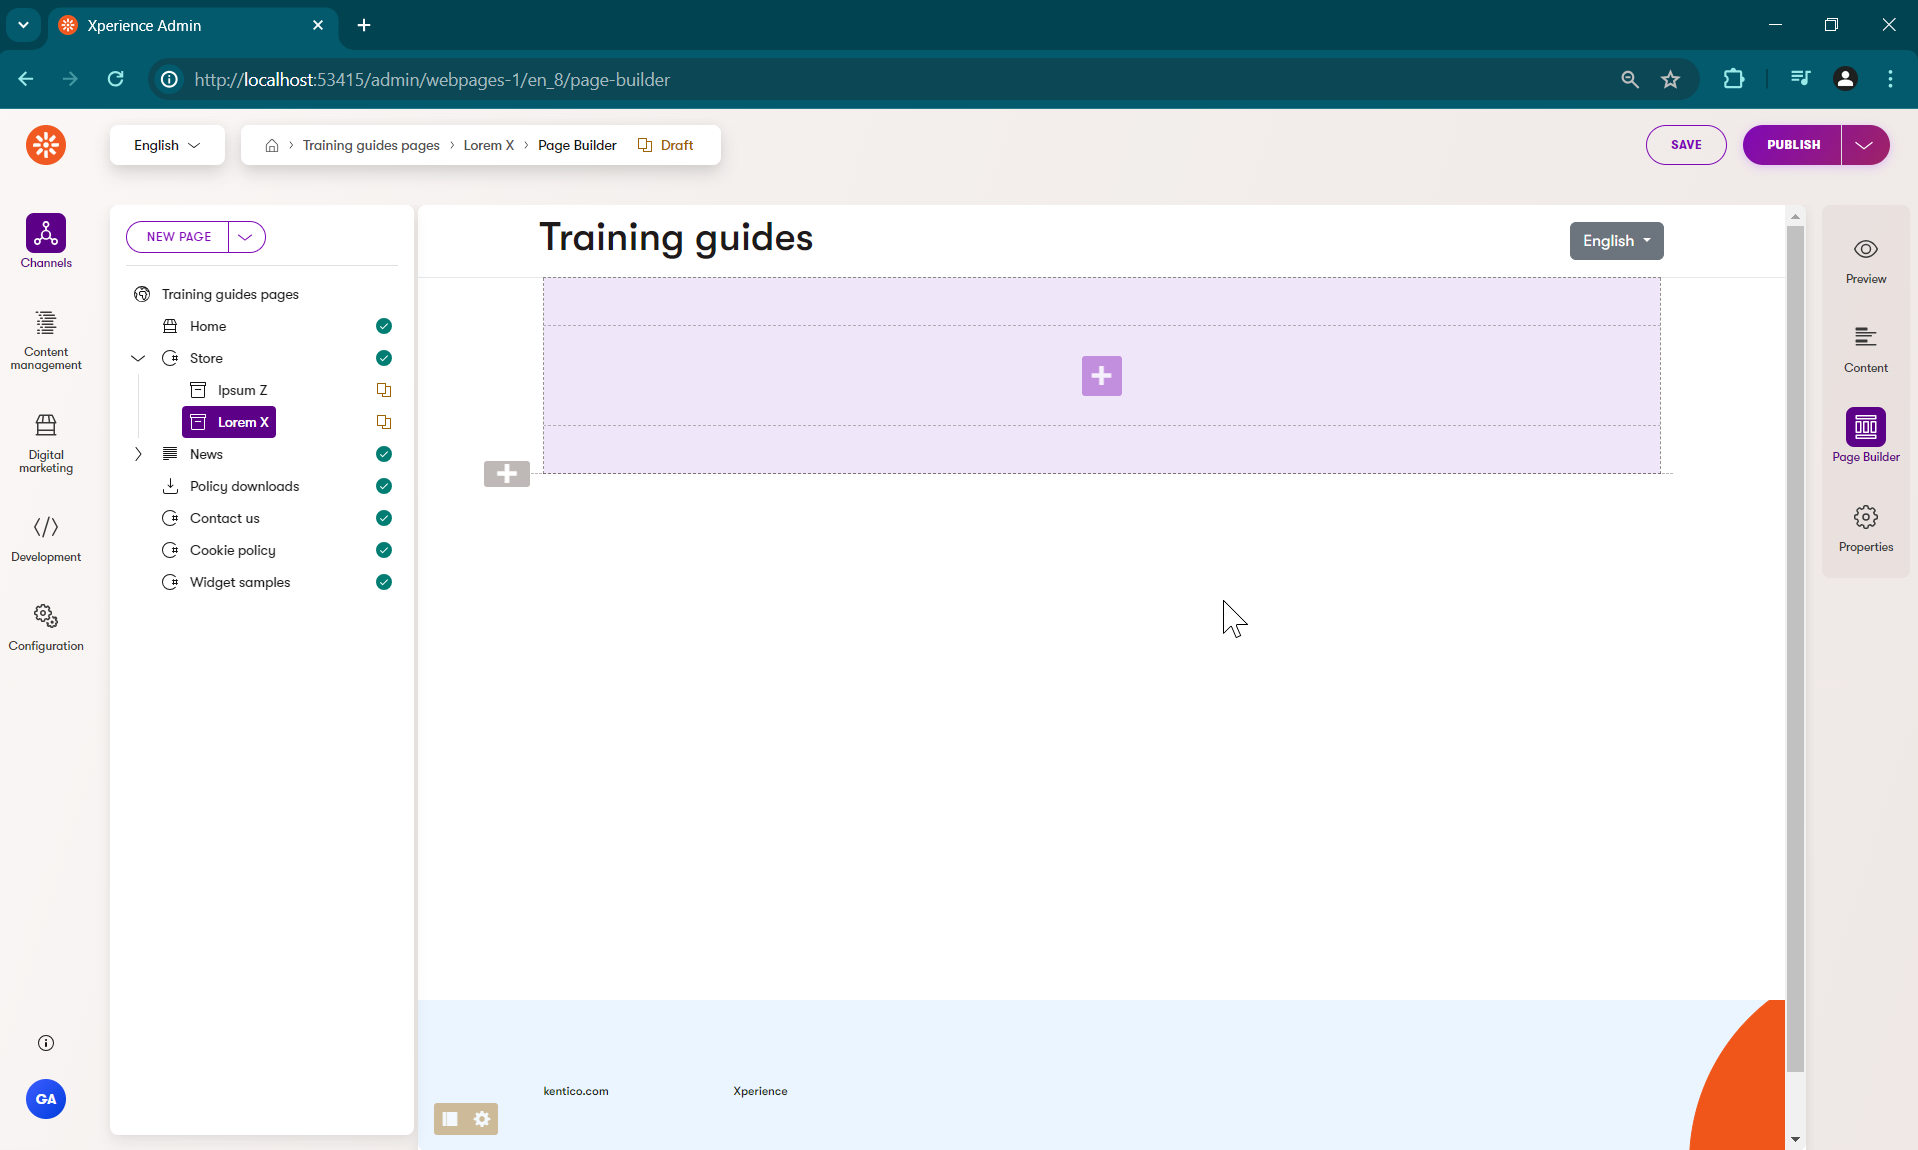
If you tick the box and click apply, the standard service content should disappear. It will be replaced with an editable area, where you can add and drag widgets.
If you un-tick the property, you may see a warning telling you that any content in the removed editable area will be lost upon saving.