
Developing the Search page (ASPX)
Kentico allows users to perform index-based searches through all page content, as well as other types of data. The following instructions describe how to add a basic search page to your website.
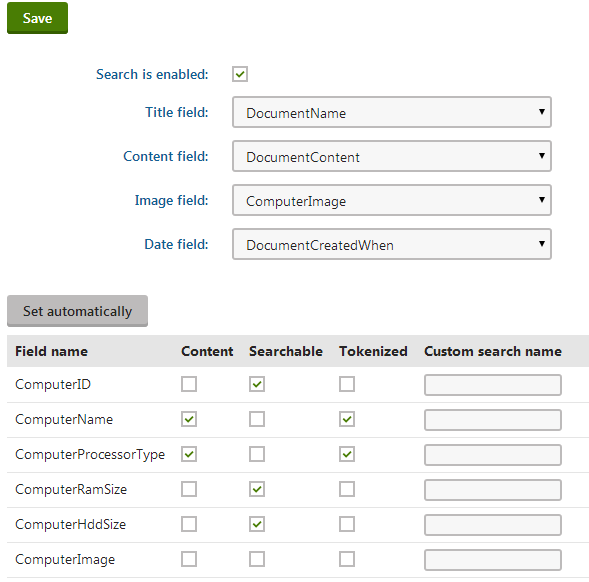
Configuring search fields for the Computer page type
First, set up the search options for the Computer page type that you created for the Products section.
- Open the Page types application.
- Edit () the Computer page type.
- Switch to the Search fields tab.
- Select the Search is enabled check box.
- Set the Image field to ComputerImage.
- Click Save.
Product pages are now searchable.
Creating a smart search index
Before you can use the search, you need to add a smart search index covering the website’s pages.
- Open the Smart search application.
- Click New index.
- Fill in the following details for the search index:
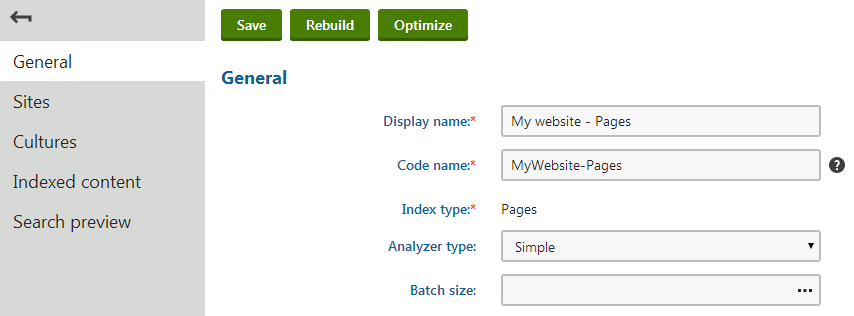
- Display name: My website - Pages
- Index type: Pages
- Analyzer type: Standard
- Stop words: (default)
- Click Save. The index’s editing interface opens.
- Open the Indexed content tab and click Add allowed content.
- Type /% into the Path field and click Save. This ensures that the index includes all pages on the website.
- Switch to the Sites tab and assign the index to My website.
- Switch to the Cultures tab and choose the default culture of your site (typically English - United States).
- Open the General tab and click Rebuild.
Once the system rebuilds the index, you can start using it on the website. The Index info section displays the current status of the index and other relevant information.
Preparing the ASPX source files for the search page
Edit your web project in Visual Studio
Right-click the CMSTemplates/MySite folder in the Solution Explorer and click Add -> Add New Item.
Create a Web Form named SearchPage.aspx and check Select master page.
Click Add and choose the MyMaster.master page from the CMSTemplates/MySite folder.
Add the following directive to the beginning of the page code:
<%@ Register src="~/CMSWebParts/SmartSearch/SearchDialogWithResults.ascx" tagname="SearchDialogWithResults" tagprefix="cms" %>This registers the Smart search dialog with results web part as a user control for use on the ASPX template.
Copy the following code inside the <asp:content> element of the page:
 <h1>Search</h1>

 <cms:SearchDialogWithResults ID="SearchDialogWithResults1" runat="server" TransformationName="cms.root.smartsearchresultswithimages" Indexes="MyWebsite-Documents" />
This adds a heading and the user control (web part) that provides search functionality and displays the results. The control uses the My website - Pages search index created in the previous section, which is assigned through the Indexes property (identified by the index code name).
Switch to the code behind of the search page (SearchPage.aspx.cs) and add a reference to the CMS.UIControls namespace:
using CMS.UIControls;Change the class definition so that it inherits from the TemplatePage class:
public partial class CMSTemplates_MySite_SearchPage : TemplatePageSave the search page files.
Registering the page template
The source files of the search page are ready. Now you need to register the page template in Kentico.
- Switch to the Kentico administration interface in your browser.
- Open the Page templates application.
- Select the My website category.
- Click New template and type Search page into the Template display name field.
- Click Save.
- Set the following values on the General tab:
- Template type: ASPX page
- File name: ~/CMSTemplates/MySite/SearchPage.aspx
- Click Save.
- Switch to the Sites tab and assign the page template to My website.
Adding the search page
- Open the Pages application.
- Select the root of the content tree (My website).
- Click New ().
- Choose the Page (menu item) page type.
- Type in Search as the Page name and choose the Use existing page template option. Select the My website category and the Search page template.
- Click Save to create the page.
- Drag the Search page to the end of the content tree.
To try out the search functionality, view the /Search page in Preview mode. Type PC into the Search for box and click Search.
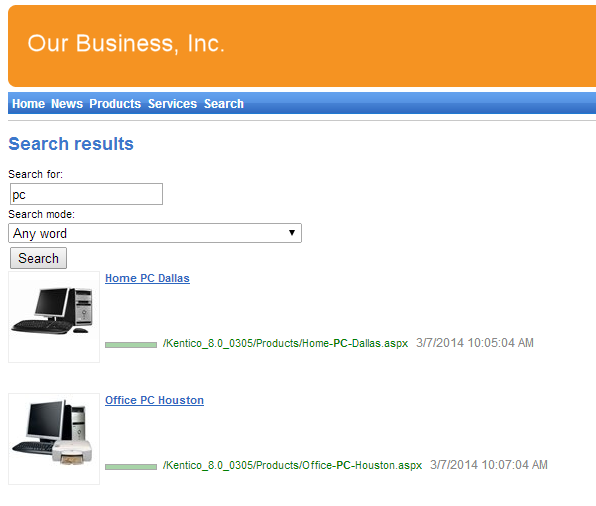
When you click a search result, the system redirects you to the corresponding page.
Modifying the format of the search results
If you prefer a different design of the search results, you can modify the format by editing the SmartSearchResults (or SmartSearchResultsWithImages) transformation in Page types -> Root -> Transformations.