
Module: Members
8 of 11 Pages
Create the profile page
Now that we have the view component and the controller action it posts to, we need to use the view component somewhere to test this functionality.
Let’s create a bare-bones page template so that editors can see the profile page in the content tree.
Start with a content type
While we could make a template that applies to an existing content type, let’s create a dedicated Profile page content type and make sure the template only works for this type. This way, we can avoid cluttering the template options when editors are creating landing pages.
Create a new content type with the following properties:
- Content type name: Profile page
- Namespace: TrainingGuides
- Name: ProfilePage
- Icon: xp-personalisation
- Use for: Pages
- Include in routing: True (enabled)
- Short code name: TrainingGuidesProfilePage
You don’t need to add anything on the Fields tab, since we haven’t defined ways for editors to configure the profile page.
Now run the Code generation tool to generate a C# class for this content type in your project:
dotnet run -- --kxp-codegen --type "PageContentTypes" --include "TrainingGuides.ProfilePage"
Define and register the template
In your project, add a new ProfilePage folder within the Profile directory, for files related to our new content type and its template.
Since we already created a reusable view component for the profile functionality, defining the template’s display will be simple:
@using TrainingGuides.Web.Features.Membership.Profile

<vc:update-profile />
Then, you can use the RegisterPageTemplate attribute in a new .cs file to tell Xperience about the template:
using Kentico.PageBuilder.Web.Mvc.PageTemplates;
using TrainingGuides;
using TrainingGuides.Web.Features.Membership.Profile;

[assembly: RegisterPageTemplate(
    identifier: ProfilePagePageTemplate.IDENTIFIER,
    name: "Profile page content type template",
    customViewName: "~/Features/Membership/Profile/ProfilePage/ProfilePagePageTemplate.cshtml",
    ContentTypeNames = [ProfilePage.CONTENT_TYPE_NAME],
    IconClass = "xp-personalisation")]

namespace TrainingGuides.Web.Features.Membership.Profile;
public static class ProfilePagePageTemplate
{
    public const string IDENTIFIER = "TrainingGuides.ProfilePagePageTemplate";
}
Use the ContentTypeNames parameter to make sure only pages of the Profile page type can use the template.
Serve the template from a controller
Now we need to tell Xperience’s Content tree-based router to use a template for the Profile page content type.
Create a controller that returns a TemplateResult from its Index action and register it with the router.
using Kentico.Content.Web.Mvc.Routing;
using Kentico.PageBuilder.Web.Mvc.PageTemplates;
using Microsoft.AspNetCore.Mvc;
using TrainingGuides;

[assembly: RegisterWebPageRoute(
    contentTypeName: ProfilePage.CONTENT_TYPE_NAME,
    controllerType: typeof(TrainingGuides.Web.Features.Membership.Profile.ProfilePageController))]

namespace TrainingGuides.Web.Features.Membership.Profile;
public class ProfilePageController : Controller
{
    public IActionResult Index() => new TemplateResult();
}
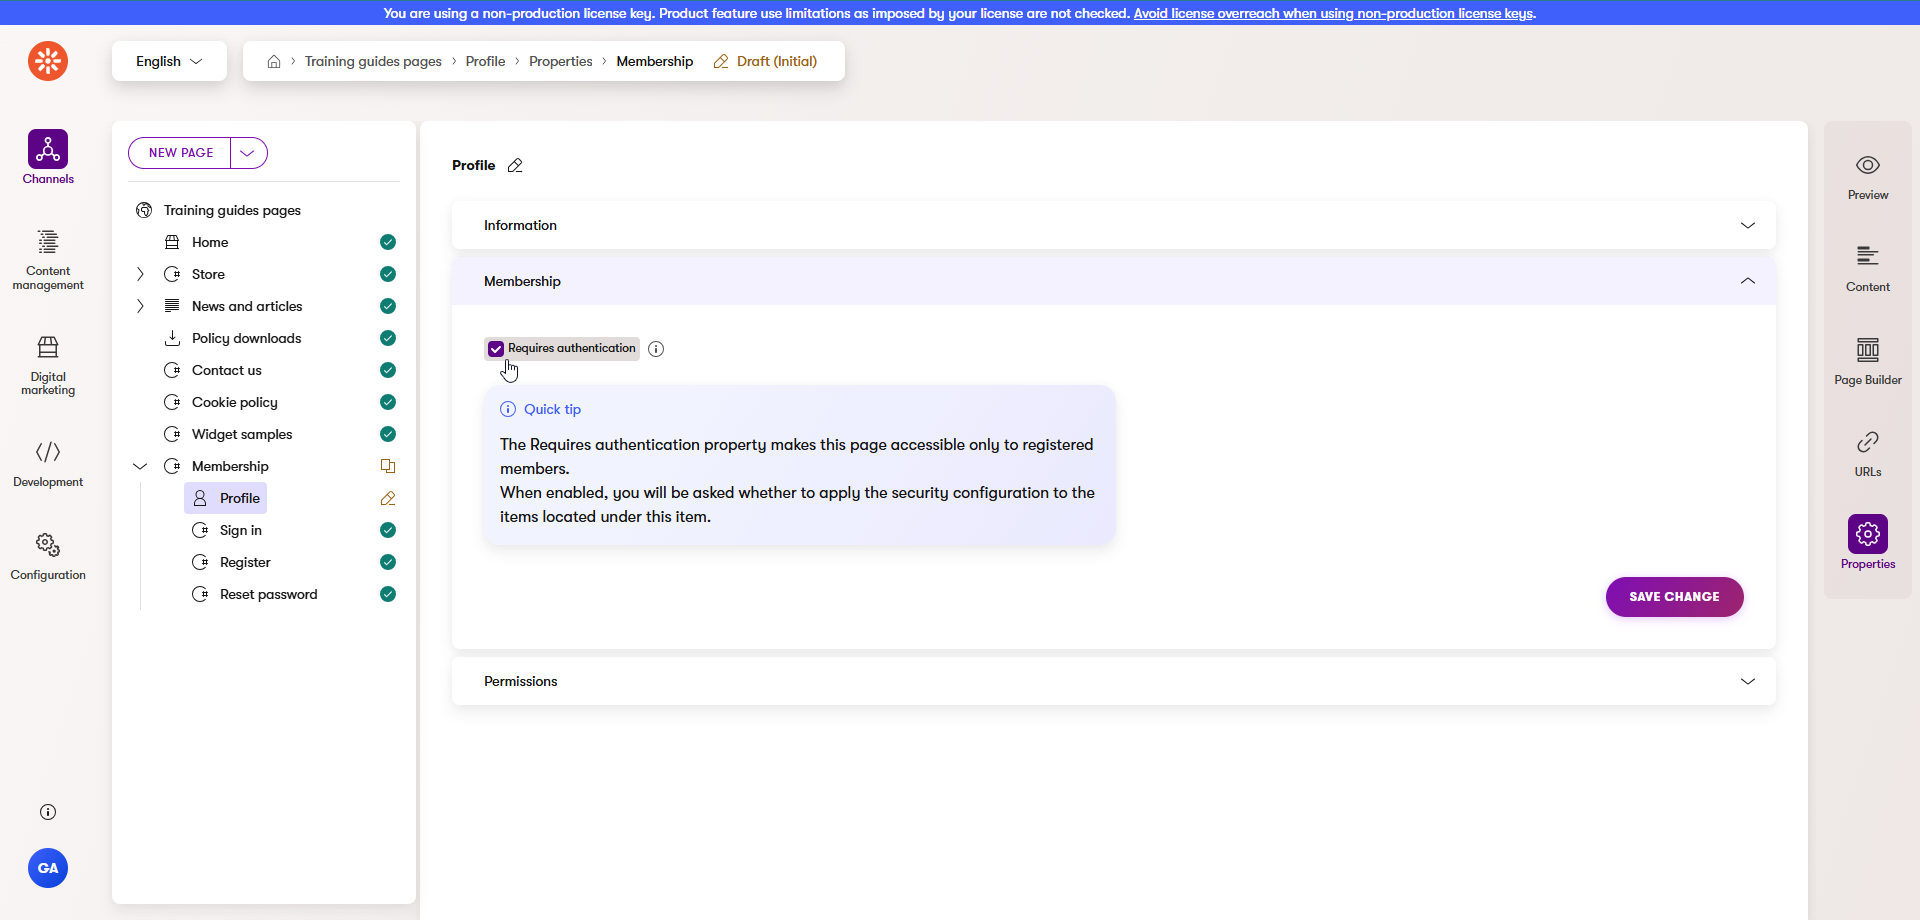
Add a page that uses the template
With the template now bound to the content type, you can create a new Profile page in Xperience and assign the new template.
Make sure to secure the page by enabling the Requires authentication checkbox in the Membership section of its Properties tab.
On the live site, the new profile page also displays the member’s role badge and its associated benefits. 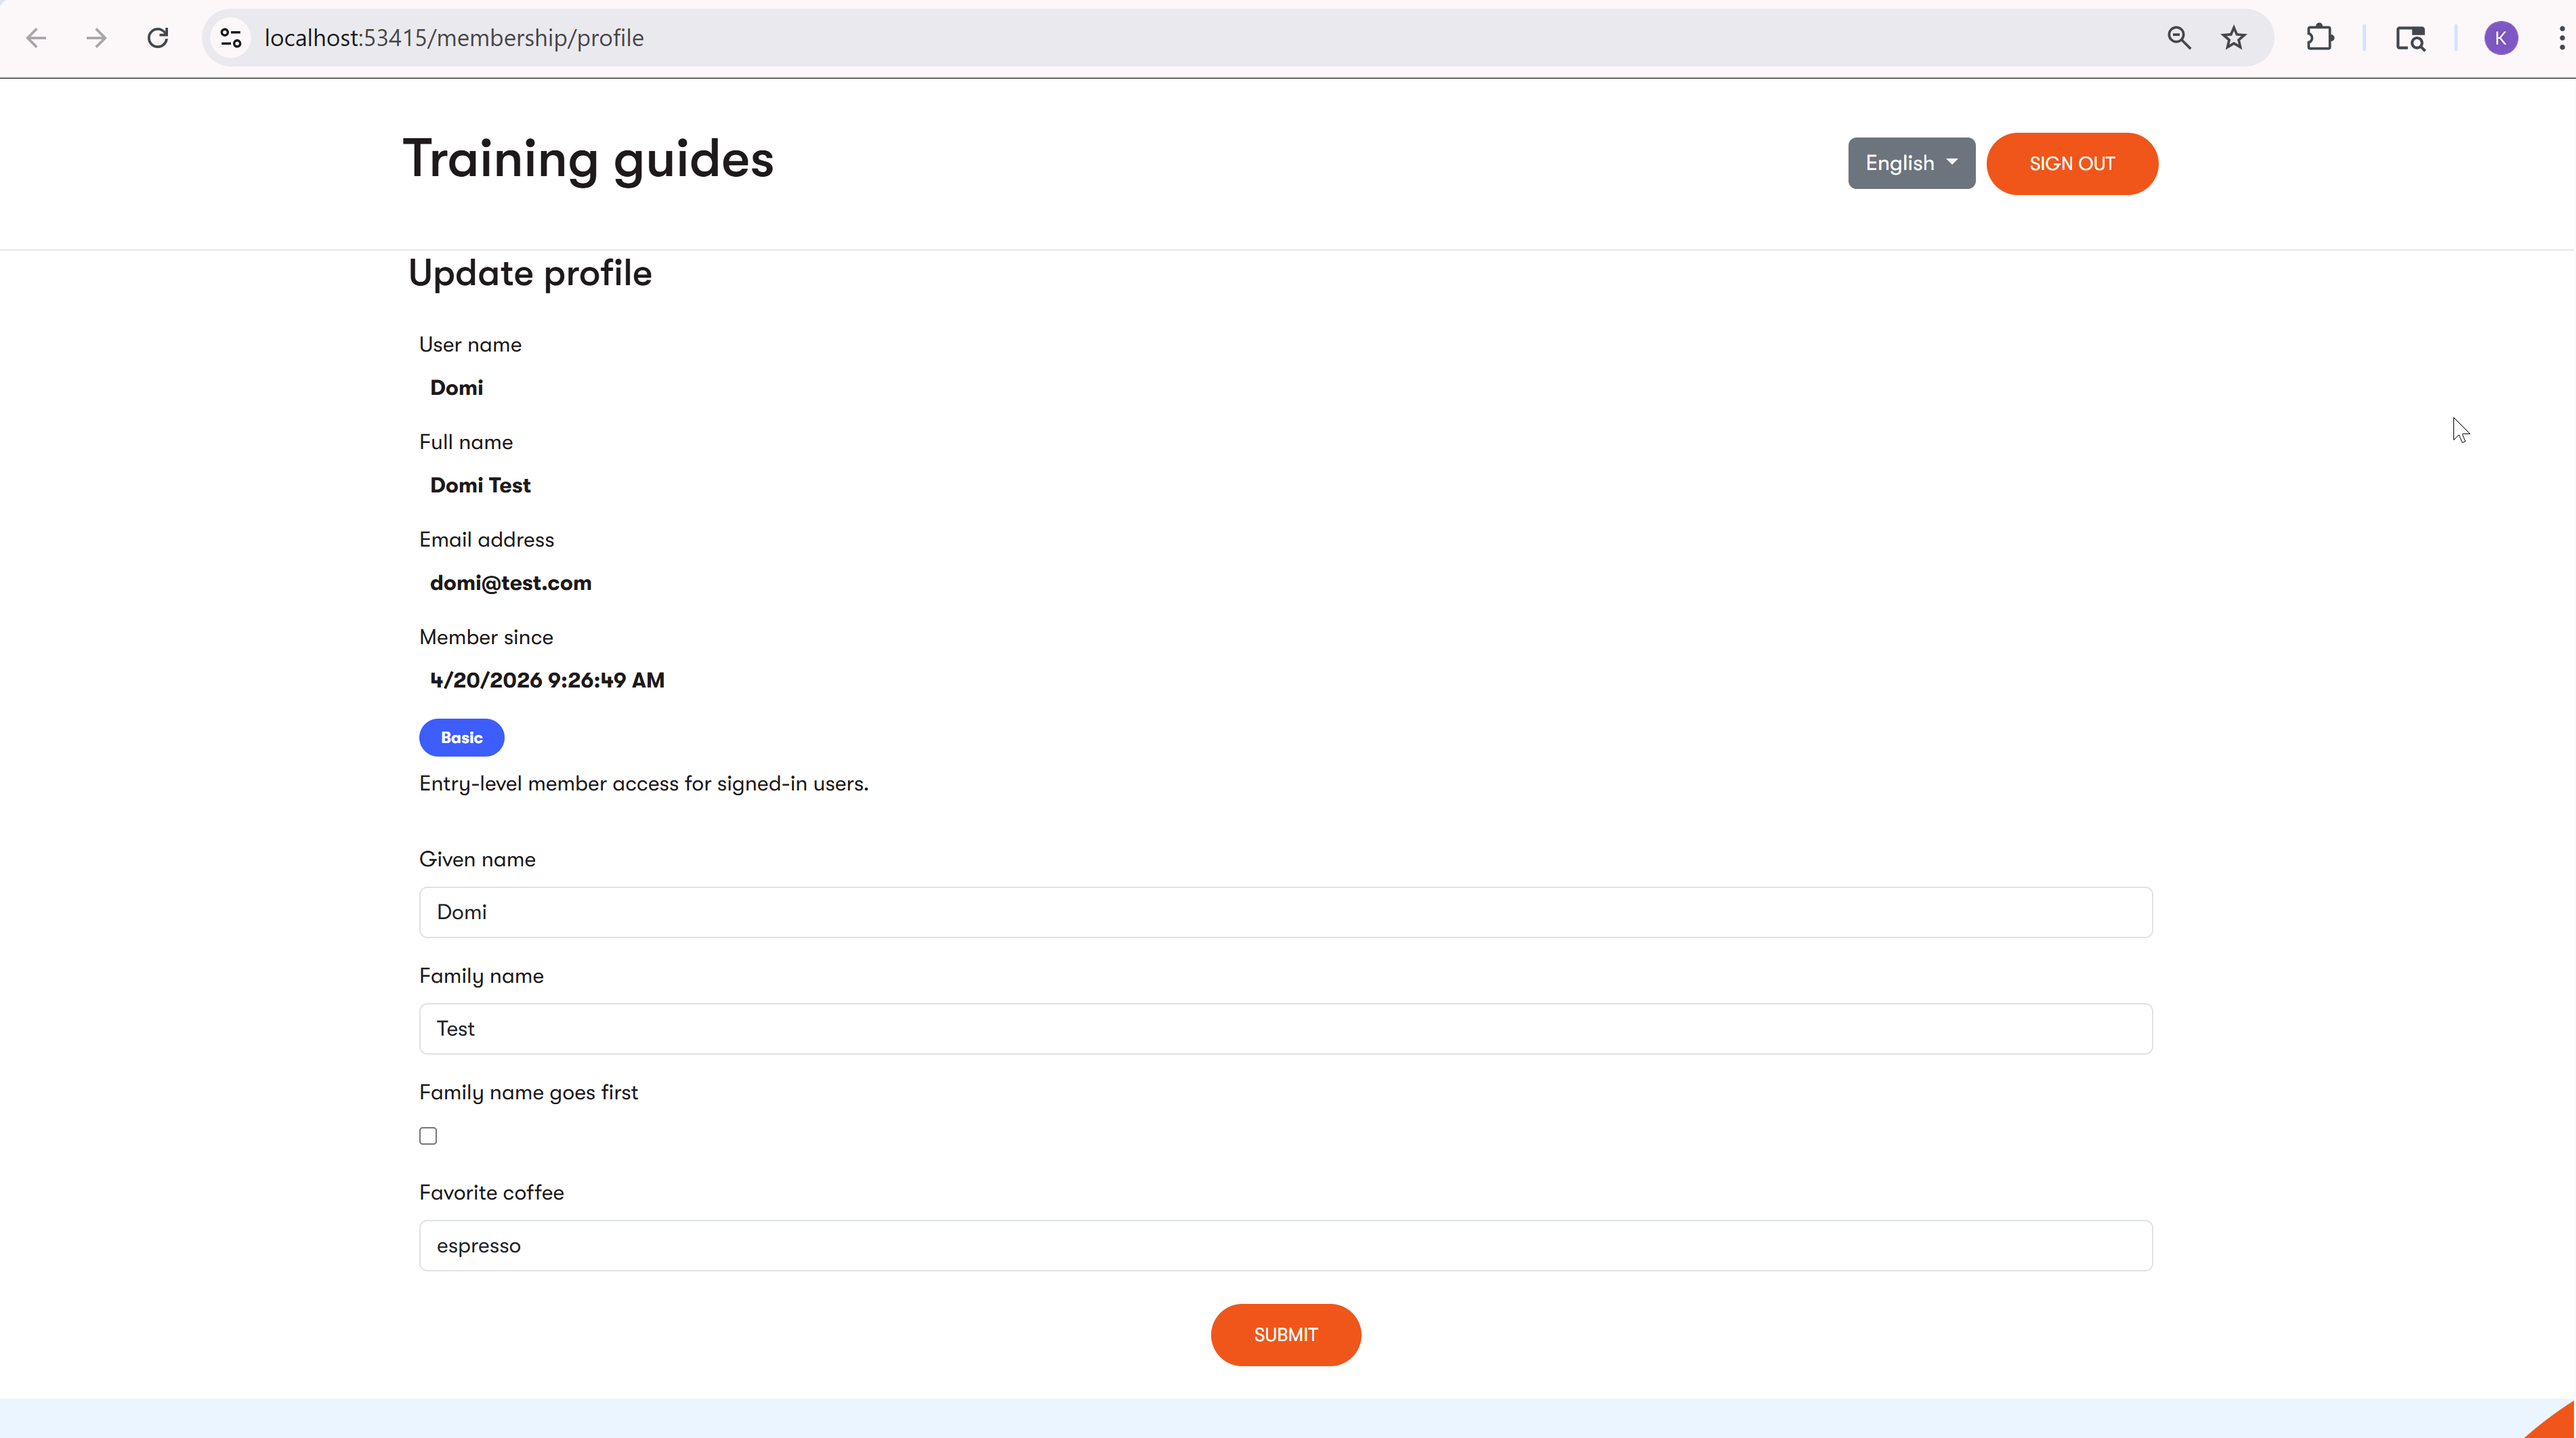
Consider the possibilities
If you want to expand this functionality, you can allow members to change their email address and tie that flow to a button on the profile page.
You can create new methods in your membership service that use the UserManager<T>’s GenerateChangeEmailTokenAsync and ChangeEmailAsync methods in a flow similar to the existing password reset process in the finished branch of the Training guides repository. Send an email with a link that contains the token.
You can further expand the functionality by allowing members to define a recovery email address, or a phone number to use in case their primary email is no longer accessible.