
Module: Contact management
26 of 44 Pages
Set up what happens after form submission
Learn how you can automatically respond when someone submits an online form on your website, or how to show a thank-you page to your visitors.
This guide uses our hosted demo website – Kbank. You can request a demo instance using the form at kentico.com.
Select Xperience by Kentico – Business Tutorial Kbank demo site as your option. You’ll get access to a sandbox environment where you can explore features and test your ideas freely.
Set up an automated response
Follow the steps below to see which automatic responses you can set up in Xperience:
- Locate your form on a page in a website channel. In our case, we’ll be working in the Personal Banking channel on Kbank.
- Open the page for edits with the Edit page button and navigate to the widget that contains your form.
- Use the Configure section button () to open the form properties.
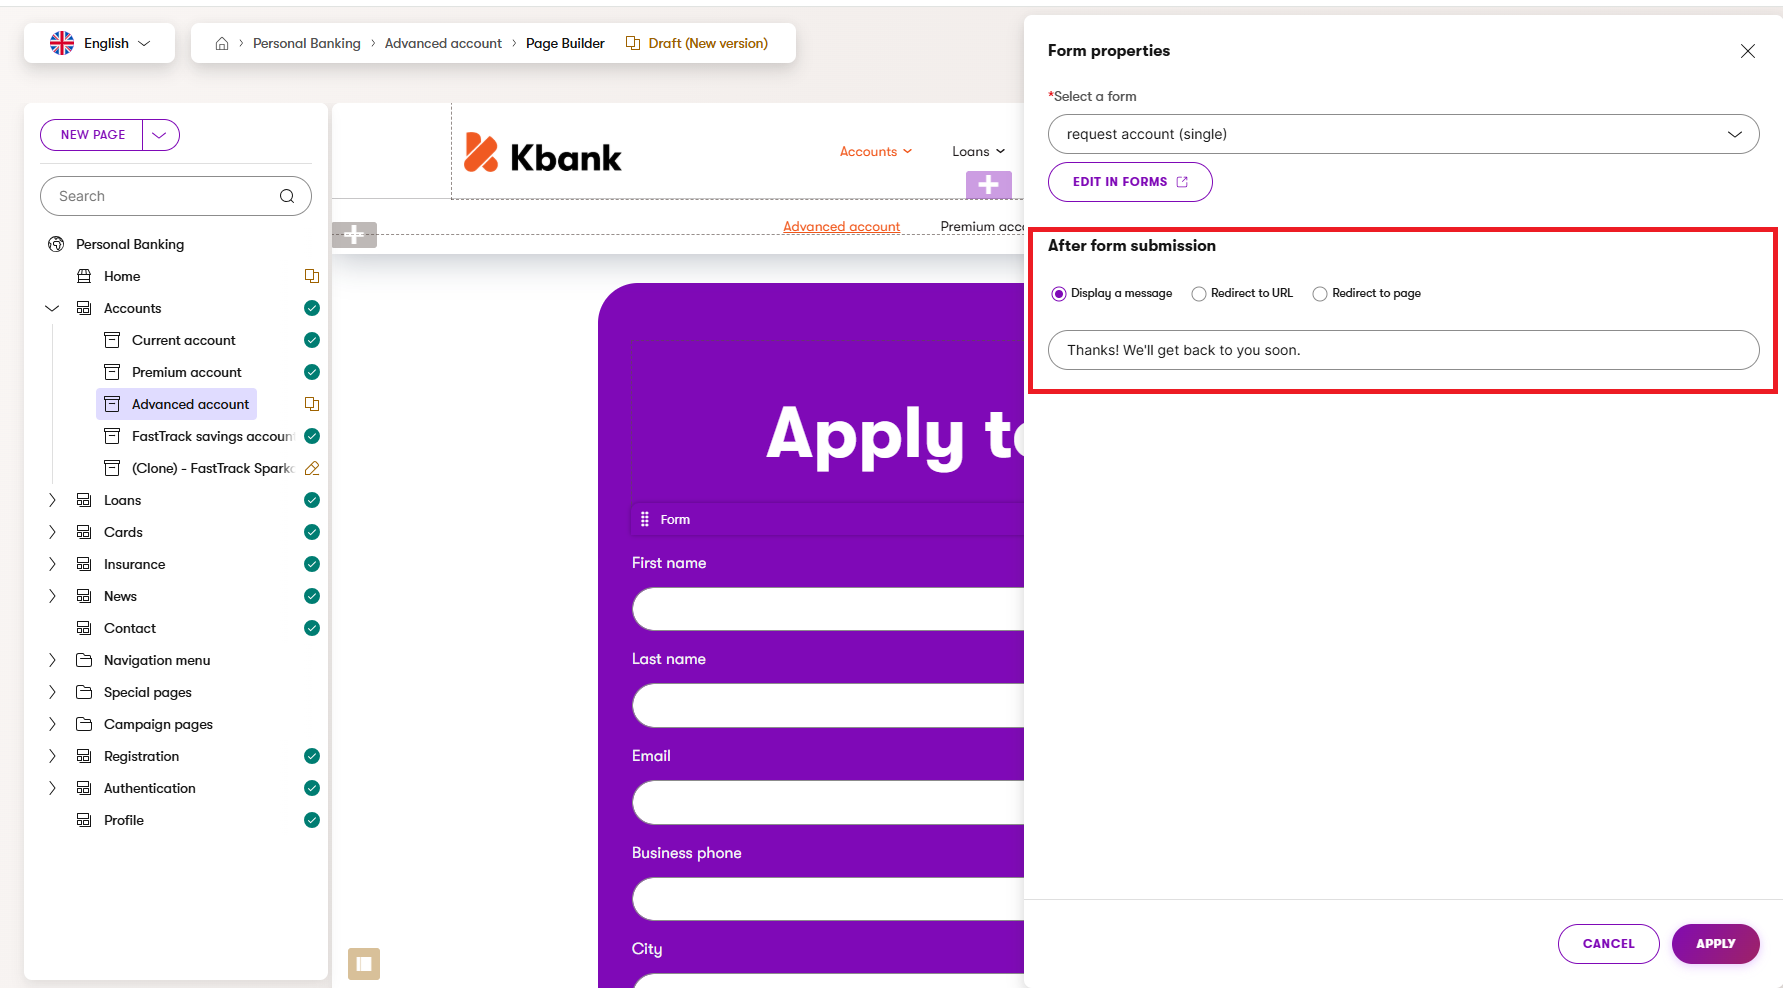
- In the After form submission section, choose what should happen after someone submits the form:
Display a message - displays this message directly on the page after the visitor has submitted a form.
Redirect to URL - redirects the contact to a specific URL.
Redirect to page - redirects the contact to a selected Xperience page.
- Save and publish your changes.
- If you also wish to set up an automated email (Autoresponder) the visitor receives after the form submission, switch to the Forms app.
- Go to your form and open the Autoresponder view on the right side of the form editor window.
- Select an existing autoresponder email in the dropdown menu, or add a custom email prepared by your developers.
Configure redirect to a thank you page
By sending your users to a Thank you page, you can confirm their submission, share additional information, or guide them to relevant next steps.
Check out our interactive demo to configure a thank-you page that your users see after they submit a form.