
Adding a new page
This page is a part of a tutorial, which you should follow sequentially, from the beginning to the end. Go to the first page: Getting started with Kentico.
You will learn about:
Important note
Dancing Goat is a specific sample website used for the purposes of the tutorial. Your company’s website will be different, and some functionalities may also be changed.
Pages
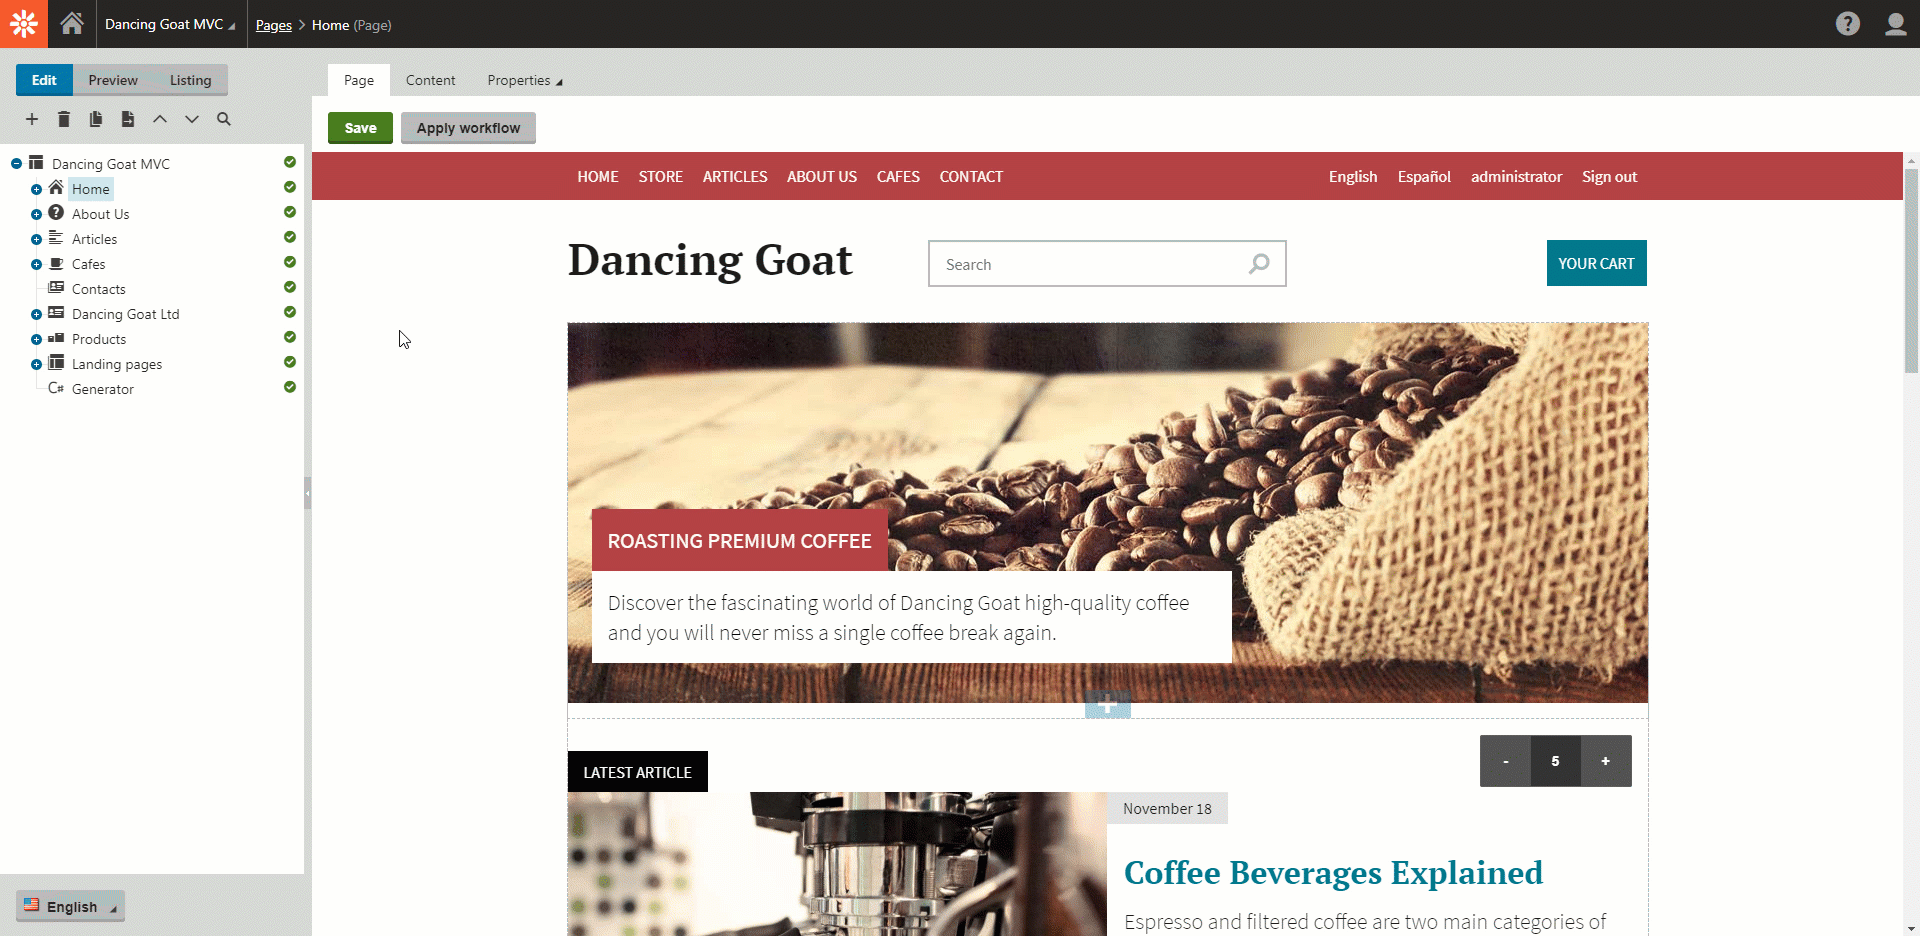
As you already know, the Pages application allows you to manage, update, and delete your existing pages. You also know that pages store the content of the website in the database and that they may not necessarily be presented on the live site. And you also know there are two ways of working with your website’s content – via the Content tab, and the Page tab.
|
The Content tab |
The Page tab |
|
|
Page types
Each content-only page in the admin application’s content tree is of a specific type – a content-only page type. The pages on the Dancing Goat MVC website are built using different pages types, such as Contacts, Landing Page, Products, etc.
The page types define the underlying data structure of pages. Your developers create the page types and determine their structure by adding fields in which you add or edit the content or upload files. They also decide if you are able to view pages based on this page type on the Page tab. By setting up a hierarchy of allowed page types, they help you build the structure of pages in the content tree. These limitations ensure that the data is correctly stored in the database and properly displayed on the live site.
What exactly does it mean? For example, in the Dancing Goat, you can only add new pages with certain page types under their tree. If you add a new page under Articles, you can only add a page of the Article page type or of the Article section page type.
Adding new pages
You can add new pages to your website in the Pages application. To create a new page:
- Select the content tree item under which you want to add a new page.
- Click the New () button in the action buttons.
- Click the page type which you want to use for your new page.
Depending on the page type you selected, your new pages open either the Page tab or the Content tab. In case there is only one allowed page type that can be used for the child page, clicking the New button creates the page and takes you to the respective tab automatically.
If you find out you need new page types with a new set of rules, turn to your developers and they will prepare it for you.
Task:
Your copywriter prepared a new article Local coffee shops on the rise and sent you all the resources. You are responsible for publishing the article in two days time on the new page in your Articles section. (You can find the article materials in the Adding a new page folder in the tutorial resources.)
Need help?
You can always look at our step-by-step guide:
- Open the Pages application.
- Select the Articles section in the content tree.
- Click the New () button.
- Select the Article page type.
- Name your article Local coffee shops on the rise.
- Upload the teaser image.
- Paste the summary.
- Paste the text of the copy.
- In the Publish from field select the publish date and time.
- Click the Save button to save your article.
- To see how your article will look you can click the Live site button at the bottom of the application list.
Here you can find the visual representation of the guide:
Previous page: Working with files — Next page: Next steps with Kentico websites
Completed pages: 5 of 6