
Creating website pages
This page is a part of a tutorial, which you should follow sequentially, from the beginning to the end. Go to the first page: Getting started with Kentico.
When the master page is finished, it is time to create the first page that will display content. This is usually the home page.
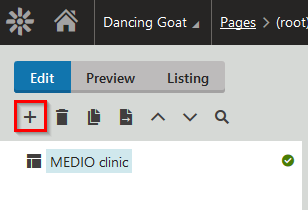
In the Pages application while in Edit mode, click New (+) above the content tree.
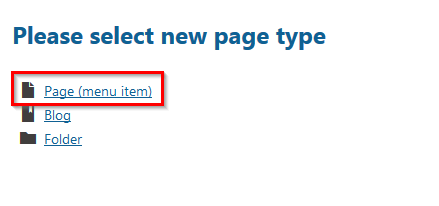
Select the Page (menu item) page type.
TypeHome as the Page name and select the Create a blank page option.
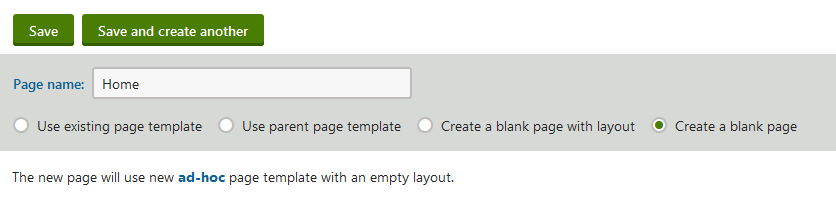
Click Save to create the page.
- The system creates the Home page under the root of the website.
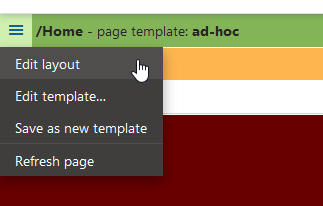
On the Design tab, click the page template menu and select Edit layout.
Delete the original layout and replace it with the two <section> elements from the index.html file.
Sections HTML code<section class="teaser"> <div class="col-sm-offset-3 col-sm-4"> <p>The goal of our clinic is to provide the best medical care. To make your life healthy at all times it is also necessary to keep up with healthy way of living. </p> </div> <div class="clearfix"></div> </section> <section class="content"> <div class="col-sm-offset-3 col-sm-5"> <h1>Welcome to MEDIO clinic</h1> <p>Our clinic based in Bedford, NH, is federally qualified health center offering high-quality, comprehensive, and family-oriented primary health care and support services since 7th March 1935. We are recognized by the National Committee on Quality Assurance as a Patient-Centered Medical Home. Providing health care for a stronger community, we serve nearly 20,000 patients annually.</p> </div> <div class="clearfix"></div> </section>Replace the two <p> elements with web part zones. Rename the second web part zone so that the ZoneID values are unique.
Final code with 2 web part zones<section class="teaser"> <div class="col-sm-offset-3 col-sm-4"> <cms:CMSWebPartZone ZoneID="ZoneA" runat="server" /> </div> <div class="clearfix"></div> </section> <section class="content"> <div class="col-sm-offset-3 col-sm-5"> <cms:CMSWebPartZone ZoneID="ZoneB" runat="server" /> </div> <div class="clearfix"></div> </section>
Click Save & Close.
The system displays two web part zones and applies styles around them as defined by the HTML code and CSS code from the stylesheet. As you can see, the master page design envelops the green page template area that is unique for the Home page.
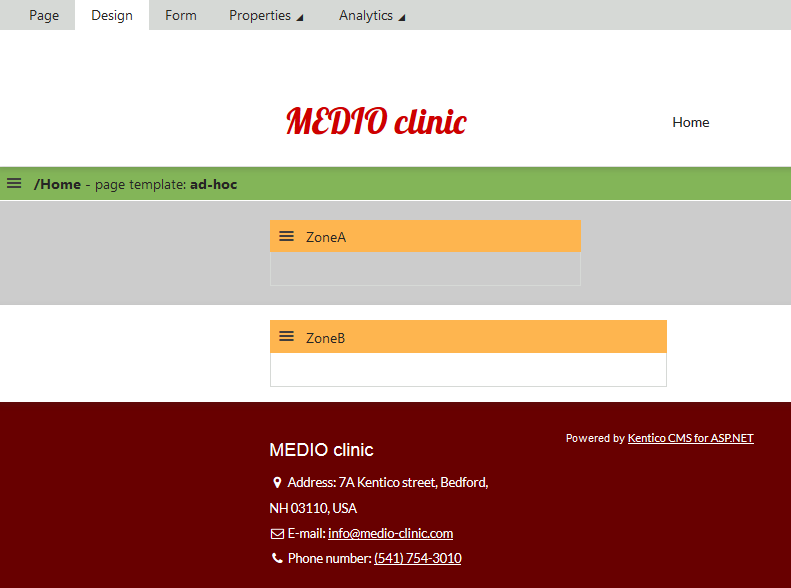
You can now add web parts to the created web part zones to create some website content.
Add a text web part
In this example, we will add textual web parts to prepare editable text regions for content editors.
Make sure you are on the Design tab.
Find the Editable text web part in the right toolbar and drag it to the ZoneA zone.
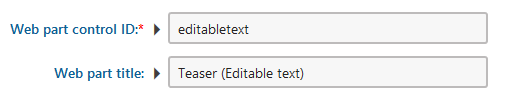
Configure (double-click) the web part and set the following properties:
Web part title: Teaser (Editable text)
Editable region type: HTML Editor
Click Save & Close.
Drag another Editable text web part into the ZoneB zone.
Configure (double-click) the web part and set the following properties:
- Web part title: Description (Editable text)
- Editable region type: HTML Editor
Click Save & Close.
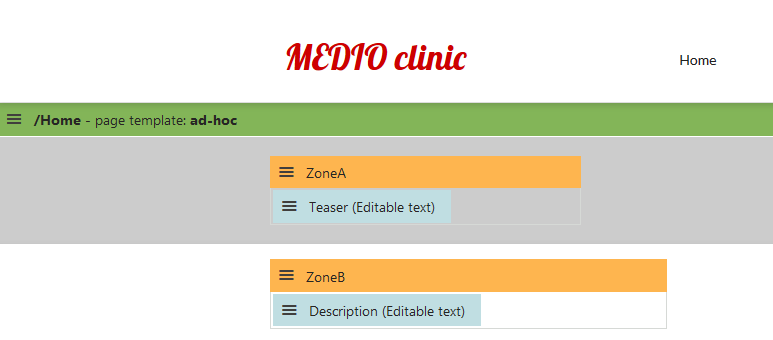
You have configured two editable text web parts, which represent the text on the home page.
Editing the text of the web parts
If you switch to the Page tab, you can see that it is now possible to add text on the page.
Type some text into the fields or use the sample text.
Sample textThe goal of our clinic is to provide the best medical care. To make your life healthy at all times it is also necessary to keep up with healthy way of living. Our clinic based in Bedford, NH, is federally qualified health center offering high-quality, comprehensive, and family-oriented primary health care and support services since 7th March 1935. We are recognized by the National Committee on Quality Assurance as a Patient-Centered Medical Home. Providing health care for a stronger community, we serve nearly 20,000 patients annually.Try out some functionality of the text editor.

Click Save.
Switch to the Preview mode to see what the page will look like on the live site.
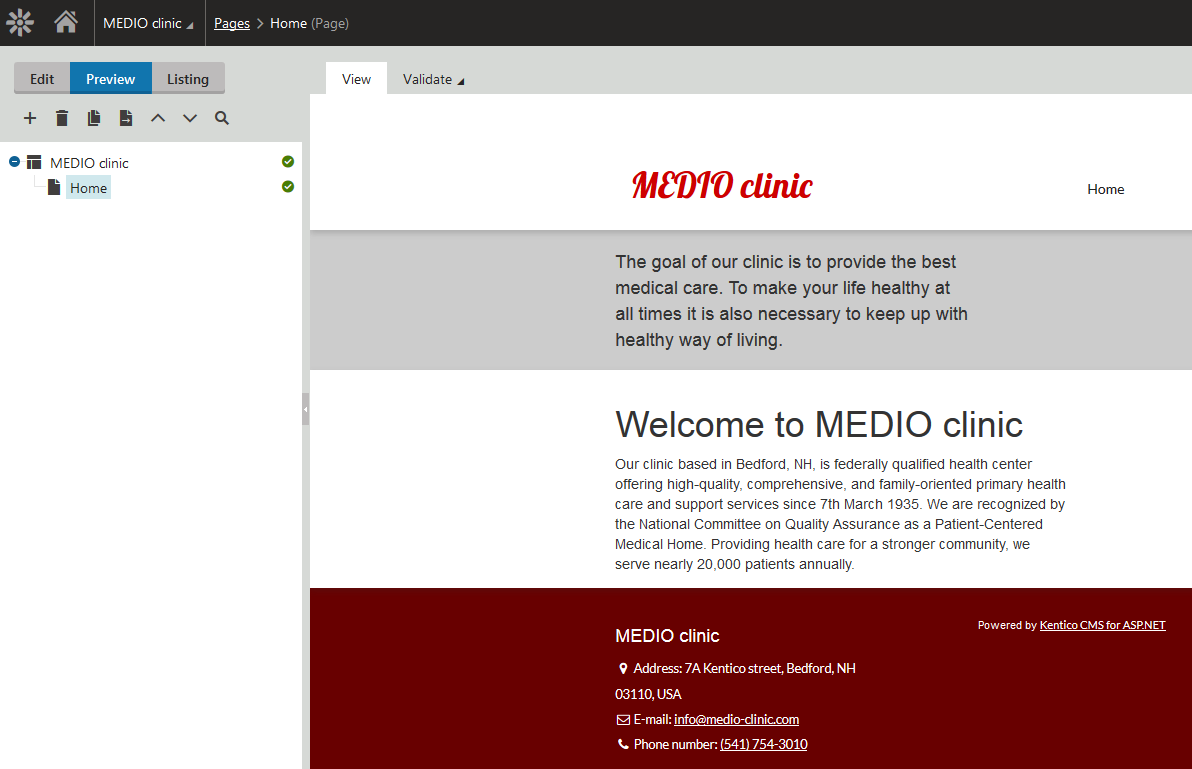
You have created the Home page with two text areas that can be modified by content administrators.
Previous page: Creating the master page — Next page: Creating page templates
Completed pages: 7 of 9
ΟΟΟΟΟΟΟΟΟ