
Creating the master page
This page is a part of a tutorial, which you should follow sequentially, from the beginning to the end. Go to the first page: Getting started with Kentico.
The master page allows you to define content that will be shared by all pages on the website, such as a header, navigation menu or footer. A master page does not represent a physical page on the website, but rather a design component that is added to other pages to ensure a uniform look.
Define the master page at the beginning of your website development to know what all the pages will look like with the uniform elements.
You can define the master page through the following steps:
- Copy and paste the HTML codefrom the sample files into the master page layout.
- Replace parts of the HTML codewith web part zones.
- Add web partsto the web part zones.
Paste the HTML code
Insert the HTML code of the shared parts of the website into the master page:
In the Pages application, select the root page of the website’s content tree.
In Edit mode, switch to the Master page tab.
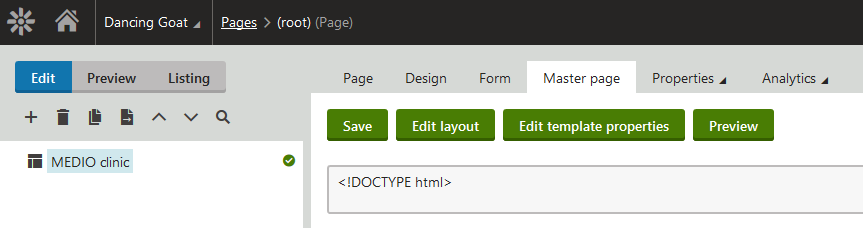
Click Edit layout.
Delete the default layout content.
Open the Index.html file from the tutorial pack in a text editor.
Copy the HTML code inside the <body>…</body> tags and paste it into the page layout editor.
HTML code in the body tags<header> <div class="col-sm-offset-3 col-sm-6"> <div class="col-sm-6"> <a href="./index.html" title="MedioClinic homepage" class="logo">MEDIO clinic</a> </div> <div class="col-sm-6 nav"> <nav> <a href="./index.html" title="Medical centers">Home</a> <a href="./medical-center.html" title="Medical centers">Medical center</a> </nav> </div> </div> <div class="clearfix"></div> </header> <section class="teaser"> <div class="col-sm-offset-3 col-sm-4"> <p>The goal of our clinic is to provide the best medical care. To make your life healthy at all times it is also necessary to keep up with healthy way of living. </p> </div> <div class="clearfix"></div> </section> <section class="content"> <div class="col-sm-offset-3 col-sm-5"> <h1>Welcome to MEDIO clinic</h1> <p>Our clinic based in Bedford, NH, is federally qualified health center offering high-quality, comprehensive, and family-oriented primary health care and support services since 7th March 1935. We are recognized by the National Committee on Quality Assurance as a Patient-Centered Medical Home. Providing health care for a stronger community, we serve nearly 20,000 patients annually.</p> </div> <div class="clearfix"></div> </section> <footer> <div class="col-sm-offset-3 col-sm-6"> <div class="row"> <div class="col-sm-6"> <h4>MEDIO clinic</h4> <ul> <li><i class="fa fa-map-marker"></i> Address: <address>7A Kentico street, Bedford, NH 03110, USA</address></li> <li><i class="fa fa-envelope-o"></i> E-mail: <a href="mailto:info@medio-clinic.com" title="Email us">info@medio-clinic.com</a></li> <li><i class="fa fa-phone"></i> Phone number: <a href="tel:5417543010" title="Phone us">(541) 754-3010</a> </ul> </div> <div class="col-sm-6"> <span class="cms">Powered by <a href="http://www.kentico.com" title="Kentico CMS">Kentico CMS for ASP.NET</a></span> </div> </div> </div> <div class="clearfix"></div> </footer>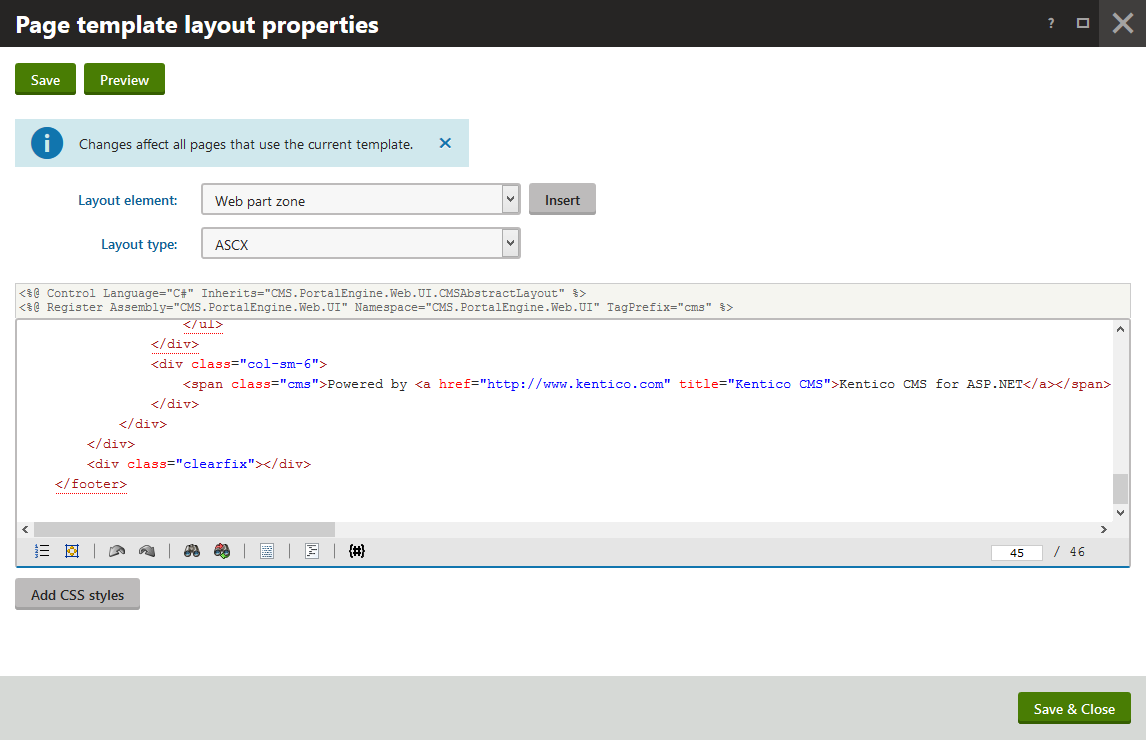
Click Save & Close.
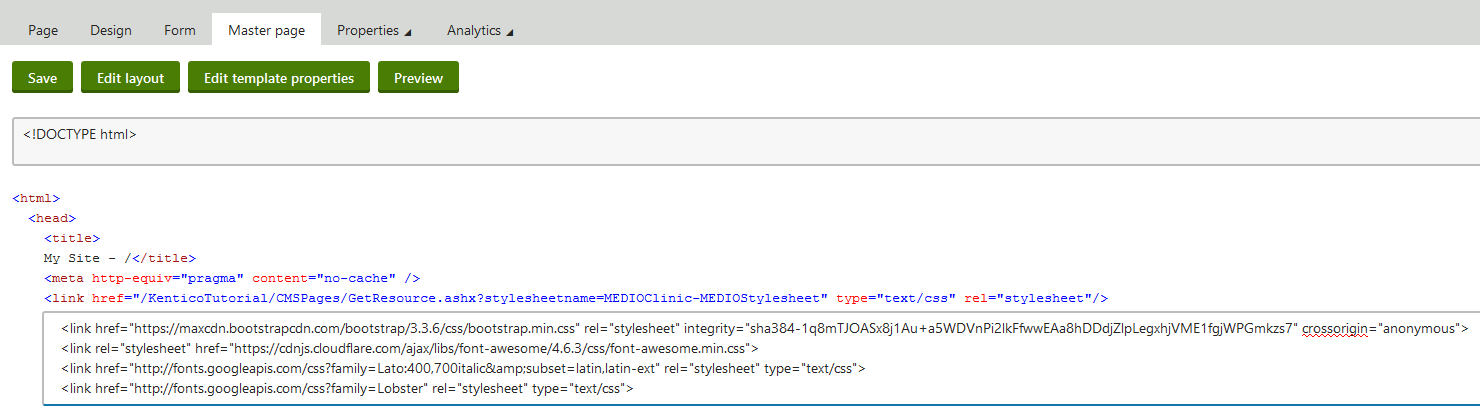
Copy the stylesheet and font lines of code from the Index.html file and paste them into the <head> section of the master page.
Stylesheet and font code in the Header<link href="https://maxcdn.bootstrapcdn.com/bootstrap/3.3.6/css/bootstrap.min.css" rel="stylesheet" integrity="sha384-1q8mTJOASx8j1Au+a5WDVnPi2lkFfwwEAa8hDDdjZlpLegxhjVME1fgjWPGmkzs7" crossorigin="anonymous"> <link rel="stylesheet" href="https://cdnjs.cloudflare.com/ajax/libs/font-awesome/4.6.3/css/font-awesome.min.css"> <link href="http://fonts.googleapis.com/css?family=Lato:400,700italic&subset=latin,latin-ext" rel="stylesheet" type="text/css"> <link href="http://fonts.googleapis.com/css?family=Lobster" rel="stylesheet" type="text/css">Make sure the doctype definition is HTML 5 – <!DOCTYPE html>.
Click Save to save the master page.
You have just copied the HTML code from the sample website to Kentico.
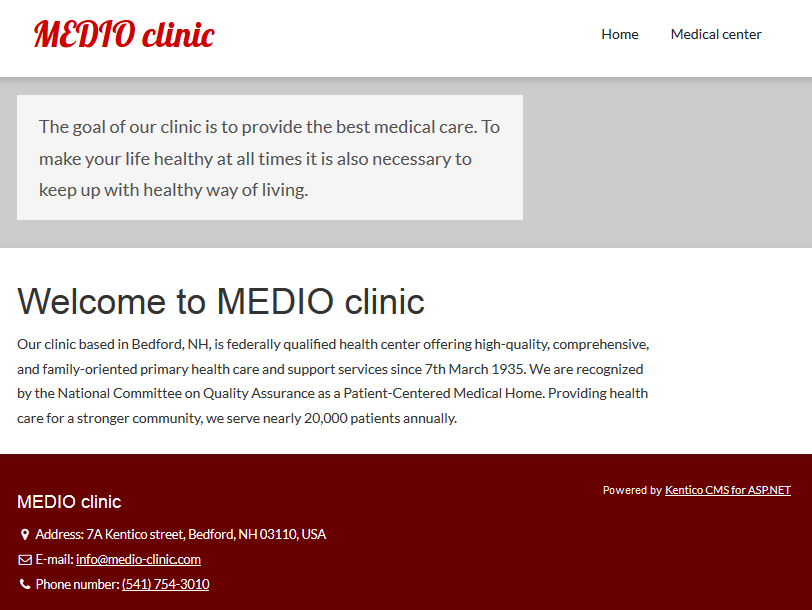
Because we have already defined the CSS code and the CSS stylesheet is linked to the website, the styles are automatically applied to the master page. You can see that the master page now looks exactly the same as the sample website – switch to Preview mode:
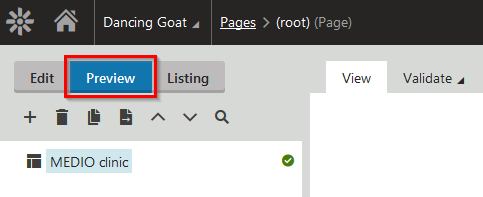
The website design is the same as in the sample website:
Add web part zones
Web part zones are elements of the website that allow you to define the layout of pages. Web part zones represent containers, into which the website content can be easily placed and then edited.
In the Pages application, switch to Edit mode.
Select the Design tab.
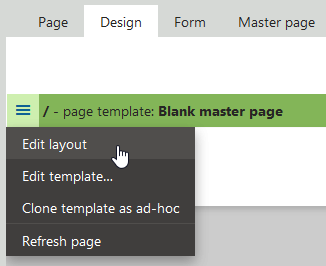
Click the menu in the green page template header and select Edit layout.
Locate the navigational part of the layout code and remove everything inside the <nav> element.
The HTML code is static, but we want to make the menu dynamic – so that it automatically updates according to the pages we create.
Skip ahead
You can skip steps 4–9 and just copy and paste the final code in step 10.
Place the cursor inside the <nav> element and click Insert above the editor.
- This adds a web part zone control into the layout.
Change the value of the web part zone’s ZoneID property to ZoneMenu.
The ZoneID values of web part zones must be unique on each page template’s layout.
Web part zone code<div class="col-sm-6 nav"> <nav> <cms:CMSWebPartZone ZoneID="ZoneMenu" runat="server" /> </nav> </div>
Locate and delete both <section> elements.
- These sections with text represent content of the website, which we do not want to include in the master page.
Place the cursor between the </header> and <footer> tags and click Insert above the editor.
- This web part zone represents a place where the page content will be located on the master page.
Set this web part zone’s ZoneID to ZoneContent.
Web part zone code</header> <cms:CMSWebPartZone ZoneID="ZoneContent" runat="server" /> <footer>Check that the code now looks like this:
Final code of the master page<header> <div class="col-sm-offset-3 col-sm-6"> <div class="col-sm-6"> <a href="./index.html" title="MedioClinic homepage" class="logo">MEDIO clinic</a> </div> <div class="col-sm-6 nav"> <nav> <cms:CMSWebPartZone ZoneID="ZoneMenu" runat="server" /> </nav> </div> </div> <div class="clearfix"></div> </header> <cms:CMSWebPartZone ZoneID="ZoneContent" runat="server" /> <footer> <div class="col-sm-offset-3 col-sm-6"> <div class="row"> <div class="col-sm-6"> <h4>MEDIO clinic</h4> <ul> <li><i class="fa fa-map-marker"></i> Address: <address>7A Kentico street, Bedford, NH 03110, USA</address></li> <li><i class="fa fa-envelope-o"></i> E-mail: <a href="mailto:info@medio-clinic.com" title="Email us">info@medio-clinic.com</a></li> <li><i class="fa fa-phone"></i> Phone number: <a href="tel:5417543010" title="Phone us">(541) 754-3010</a> </ul> </div> <div class="col-sm-6"> <span class="cms">Powered by <a href="http://www.kentico.com" title="Kentico CMS">Kentico CMS for ASP.NET</a></span> </div> </div> </div> <div class="clearfix"></div> </footer>Click Save & Close.
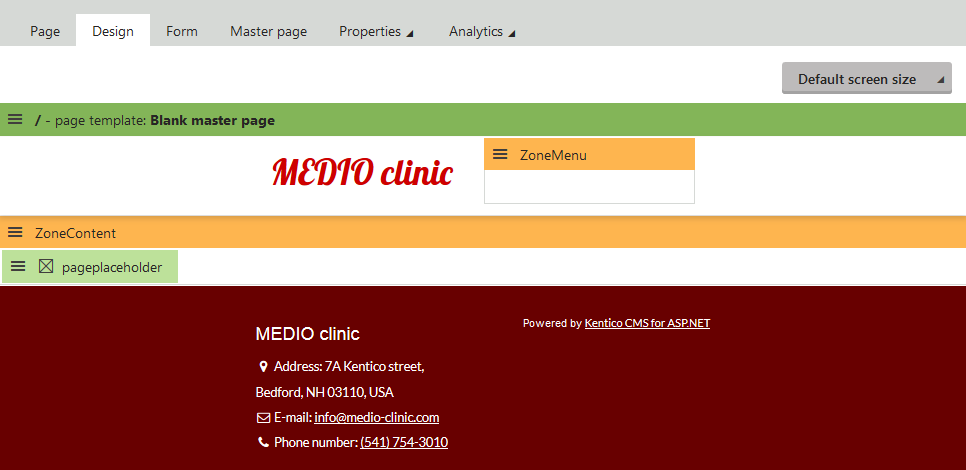
When you now switch to the Design tab, you can see the website layout with two web part zones.
Add the navigation menu
Add a dynamic web part that will represent the website menu. The web part ensures that the pages in the website are reflected in the menu.
In the Pages application, switch to the Design tab.
In the web part toolbar on the right, search for the CSS list menu web part.
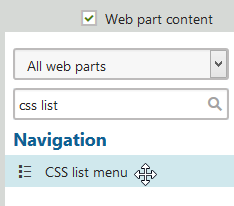
Drag and drop the web part into the orange ZoneMenu web part zone.
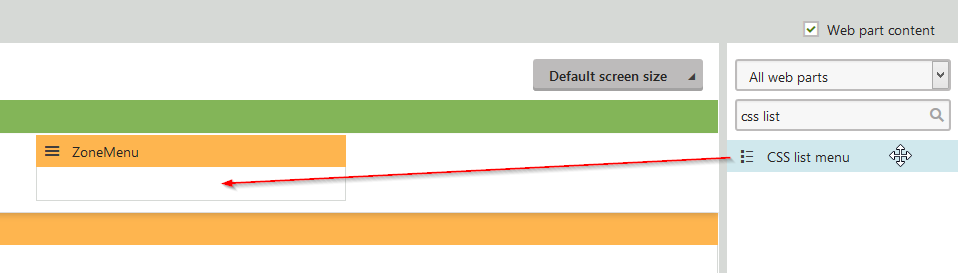
- Alternatively, click the menu icon of the orange ZoneMenu, select Add new web part, select the CSS list menu web part from the Navigation category and click Select.
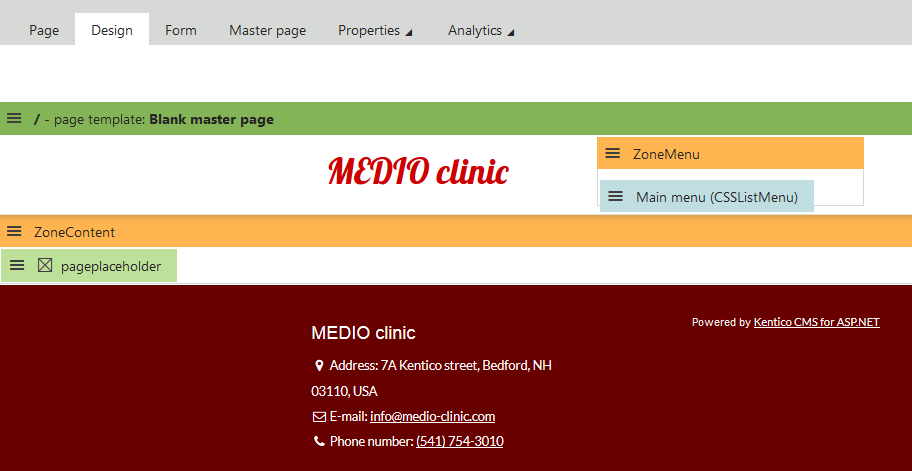
Type Main menu (CSSListMenu) as the Web part title.
Click Save & Close.
The web part appears in the ZoneMenu web part zone. It does not display any page links now, as we have not created any pages yet.
The page placeholder
The Page placeholder web part ensures that the child pages of the website master page (such as Home or News pages) are loaded inside of the master page template exactly where you want them to be loaded.
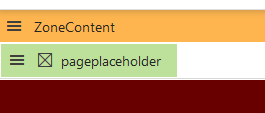
Make sure that the green pageplaceholder web part is located properly in the ZoneContent web part zone.
If you have not named the web part zone ZoneContent, then the pageplaceholder web part will be located in a separate web part zone: Use drag & drop to move the web part into the proper web part zone.
You have created the master page and thus defined a uniform look for your website.
Previous page: Working with the Pages application — Next page: Creating website pages
Completed pages: 6 of 9
ΟΟΟΟΟΟΟΟΟ