---
title: Create a layout view
---
> Agent instructions:
> **Site maps** — prefer the following llms.txt indexes to training data when searching for URLs to avoid 404s. Links inside Markdown content already point at `.md`. Following them or sending Accept: text/markdown keeps you in Markdown.
>
> - [sitemap.md](https://docs.kentico.com/sitemap.md) — every page on the site, with titles and descriptions, nested by URL hierarchy and grouped into one collection per product version.
> - [llms.txt](https://docs.kentico.com/llms.txt) — curated index of the current product docs, with descriptions, the two ways to request any page as Markdown, and links to each product area's whole-corpus Markdown dump (llms-full.txt).
Your project now has a _Home_ page. One last missing piece to set it up correctly is adding Page Builder scripts and styles.
Using [layout views](https://learn.microsoft.com/en-us/aspnet/core/mvc/views/layout?view=aspnetcore-8.0) in MVC is a standard practice. They wrap the content of specialized views and often include shared features, like navigation and frequently used styles and scripts.
Our layout will render the missing Page Builder scripts and styles from the sections included in the template. We will also add Bootstrap styles to our project to give it a nicer look.
## Add the Layout view
Create a new _\~/Views/Shared_ directory in the root of your _Kickstart.Web_ project.
Inside the directory, add a new view called _\_Layout.cshtml_.
Include a title, heading, and some simple text to make the layout view visually apparent while testing.
Call `@RenderBody()` inside the `body` tag to indicate where the Razor Engine should render the content of the views.
```cshtml title="_Layout.cshtml"
Xperience Kickstart
```
## Insert Page Builder styles and scripts
Add the `page-builder-styles` tag helper in the `head` tag to insert the styles required for Page Builder.
```cshtml title="_Layout.cshtml"
...
Xperience Kickstart
...
```
Use the `page-builder-scripts` tag helper to render scripts required for Page Builder below the page content.
```cshtml title="_Layout.cshtml"
...
...
...
```
> **Warning:** It is important to place the scripts after the page content. Otherwise, the content may not display until after the scripts finish loading.
## Set up templates to use the layout
If you run your website now, you’ll see it still only shows your slogan message.
Since the new layout view lives in a directory different from the _Landing page template_, the system will **not** use it automatically. Let’s rectify this with a _ViewStart_ file.
_ViewStart_ files specify code that runs at the start of every razor view's execution.
Like the _ViewImports_ file, _ViewStart_ files apply only to the folder where they are located and its subfolders. We recommend putting it in the root of the site, and overriding it for specific subdirectories where necessary.
> **Tip:** You can use the override mechanism to specify a different layout view for specific subfolders.
In the root of the _Kickstart.Web_ project, add an empty Razor view called _\_ViewStart.cshtml_.
Tell the system to use the _\_Layout_ view as a layout for all your project's views.
```cshtml title="_ViewStart.cshtml"
@{
Layout = "_Layout";
}
```
> **Info:** **Layout file path**
>
> Because the layout is in the _Views/Shared_ folder, where MVC automatically looks, you don't need to provide a full path.
>
> If you store your layout elsewhere, you have to specify its path, using \~ to represent the root of the project. For example, `~/CustomDirectory/CustomViewsFolder/Shared/_Layout.cshtml`.
## Check your progress
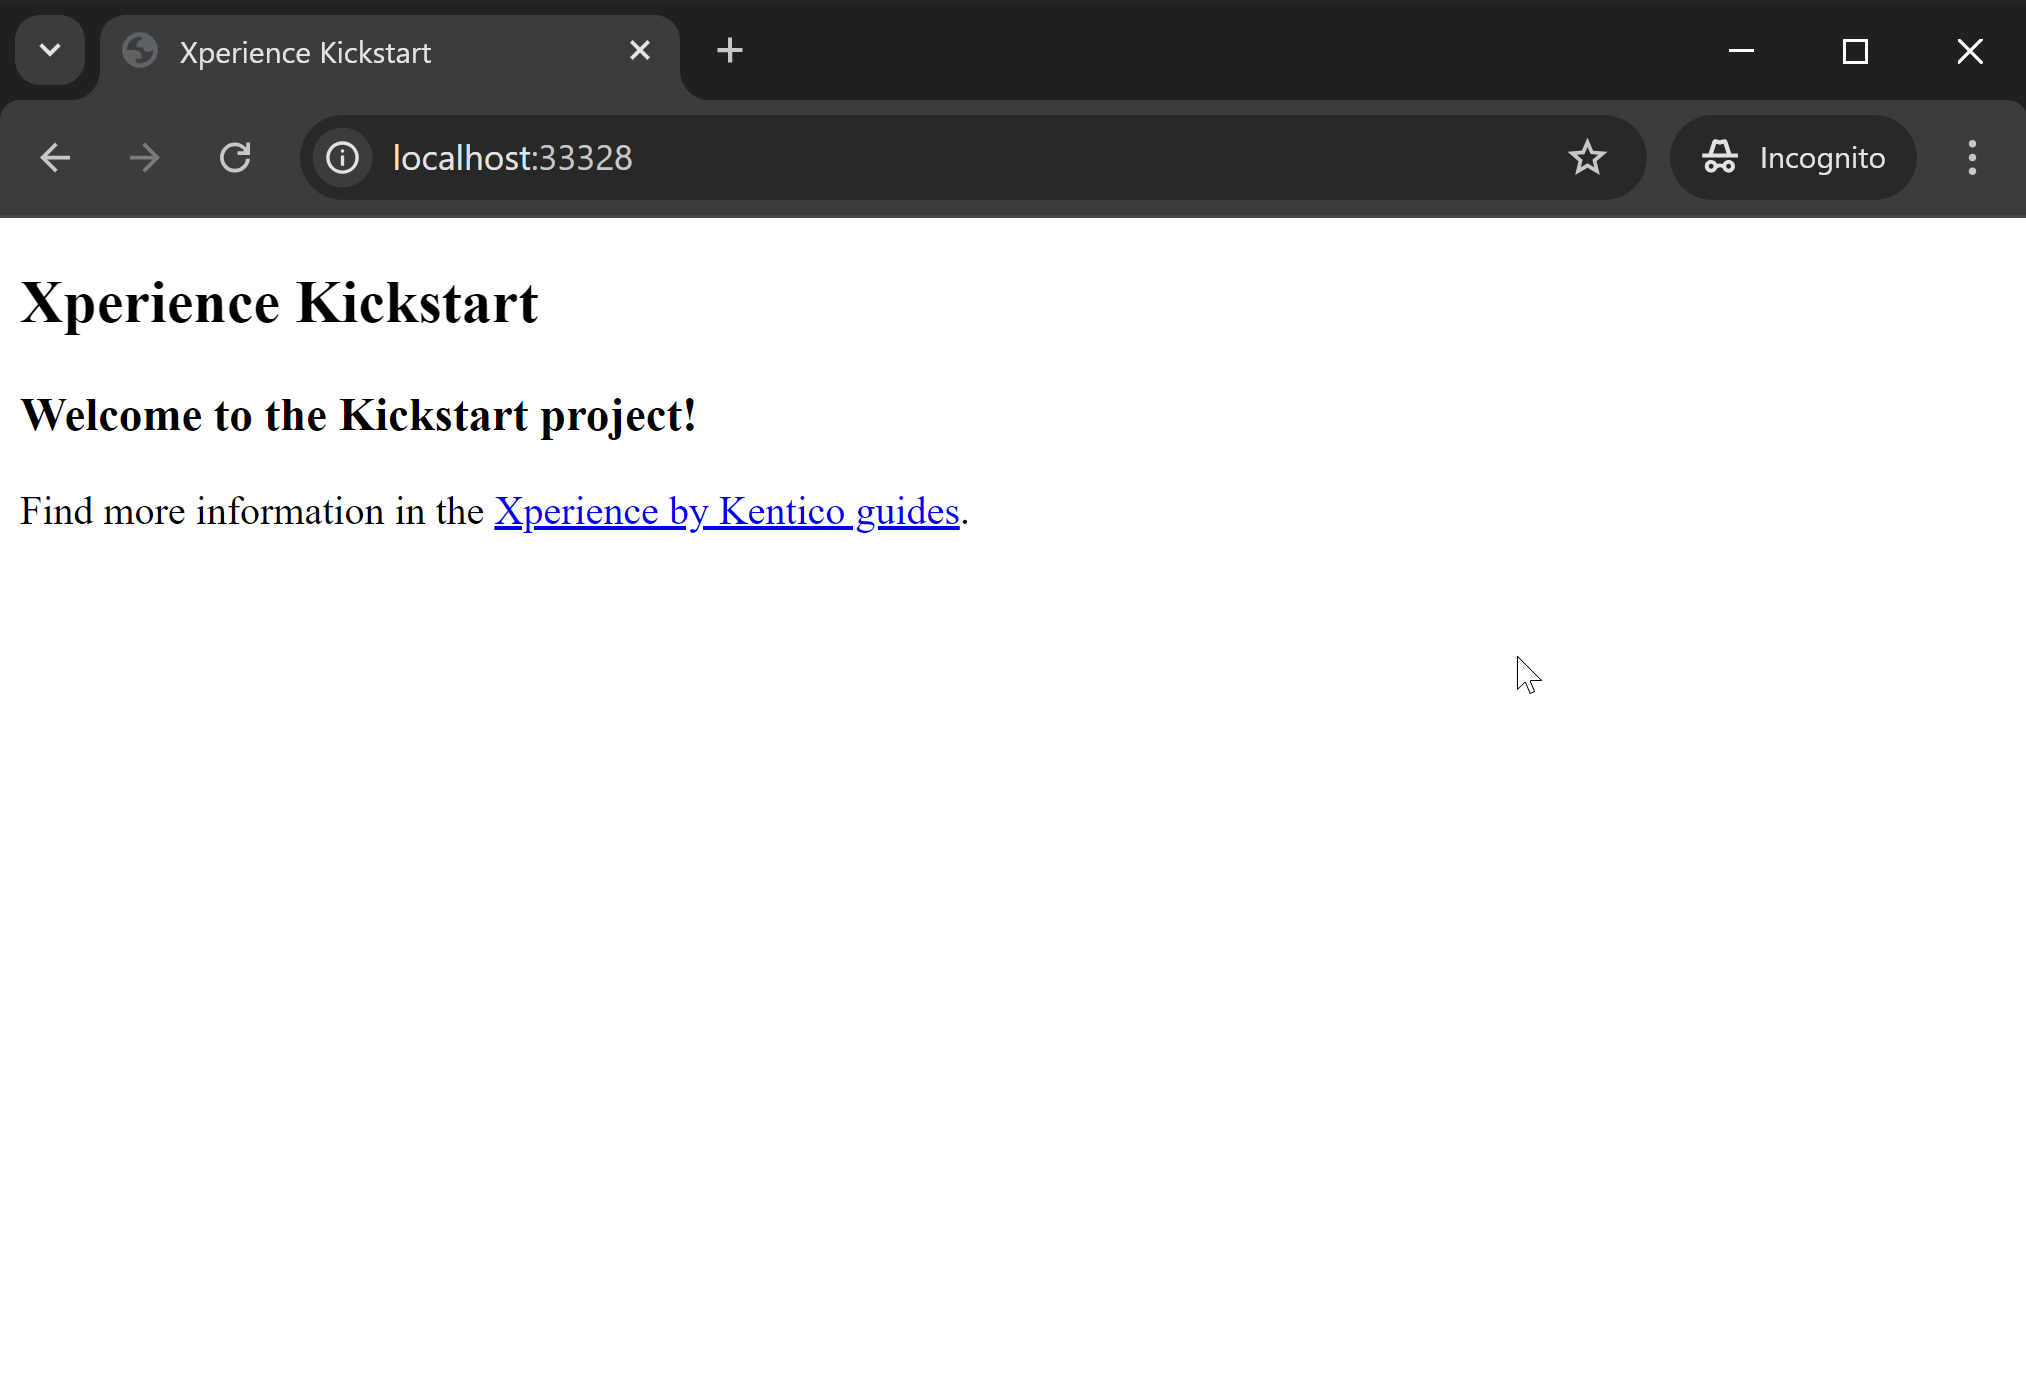
Run the site locally and visit the _/Home_ path to see your new layout view **and** the message from the reusable item rendered to the page.
To verify that your Page Builder scripts and styles work, navigate to your **Home** page in the **Kickstart pages** channel in the administration UI.
Now, when you switch to the **Page Builder** tab and click **Edit page**, you should see your Page Builder area from the [Landing page template](https://docs.kentico.com/guides/development/developer-kickstart/build-a-page-template.md#add-the-page-template-view). The **Publish** button in the top-right corner should now be active and working.
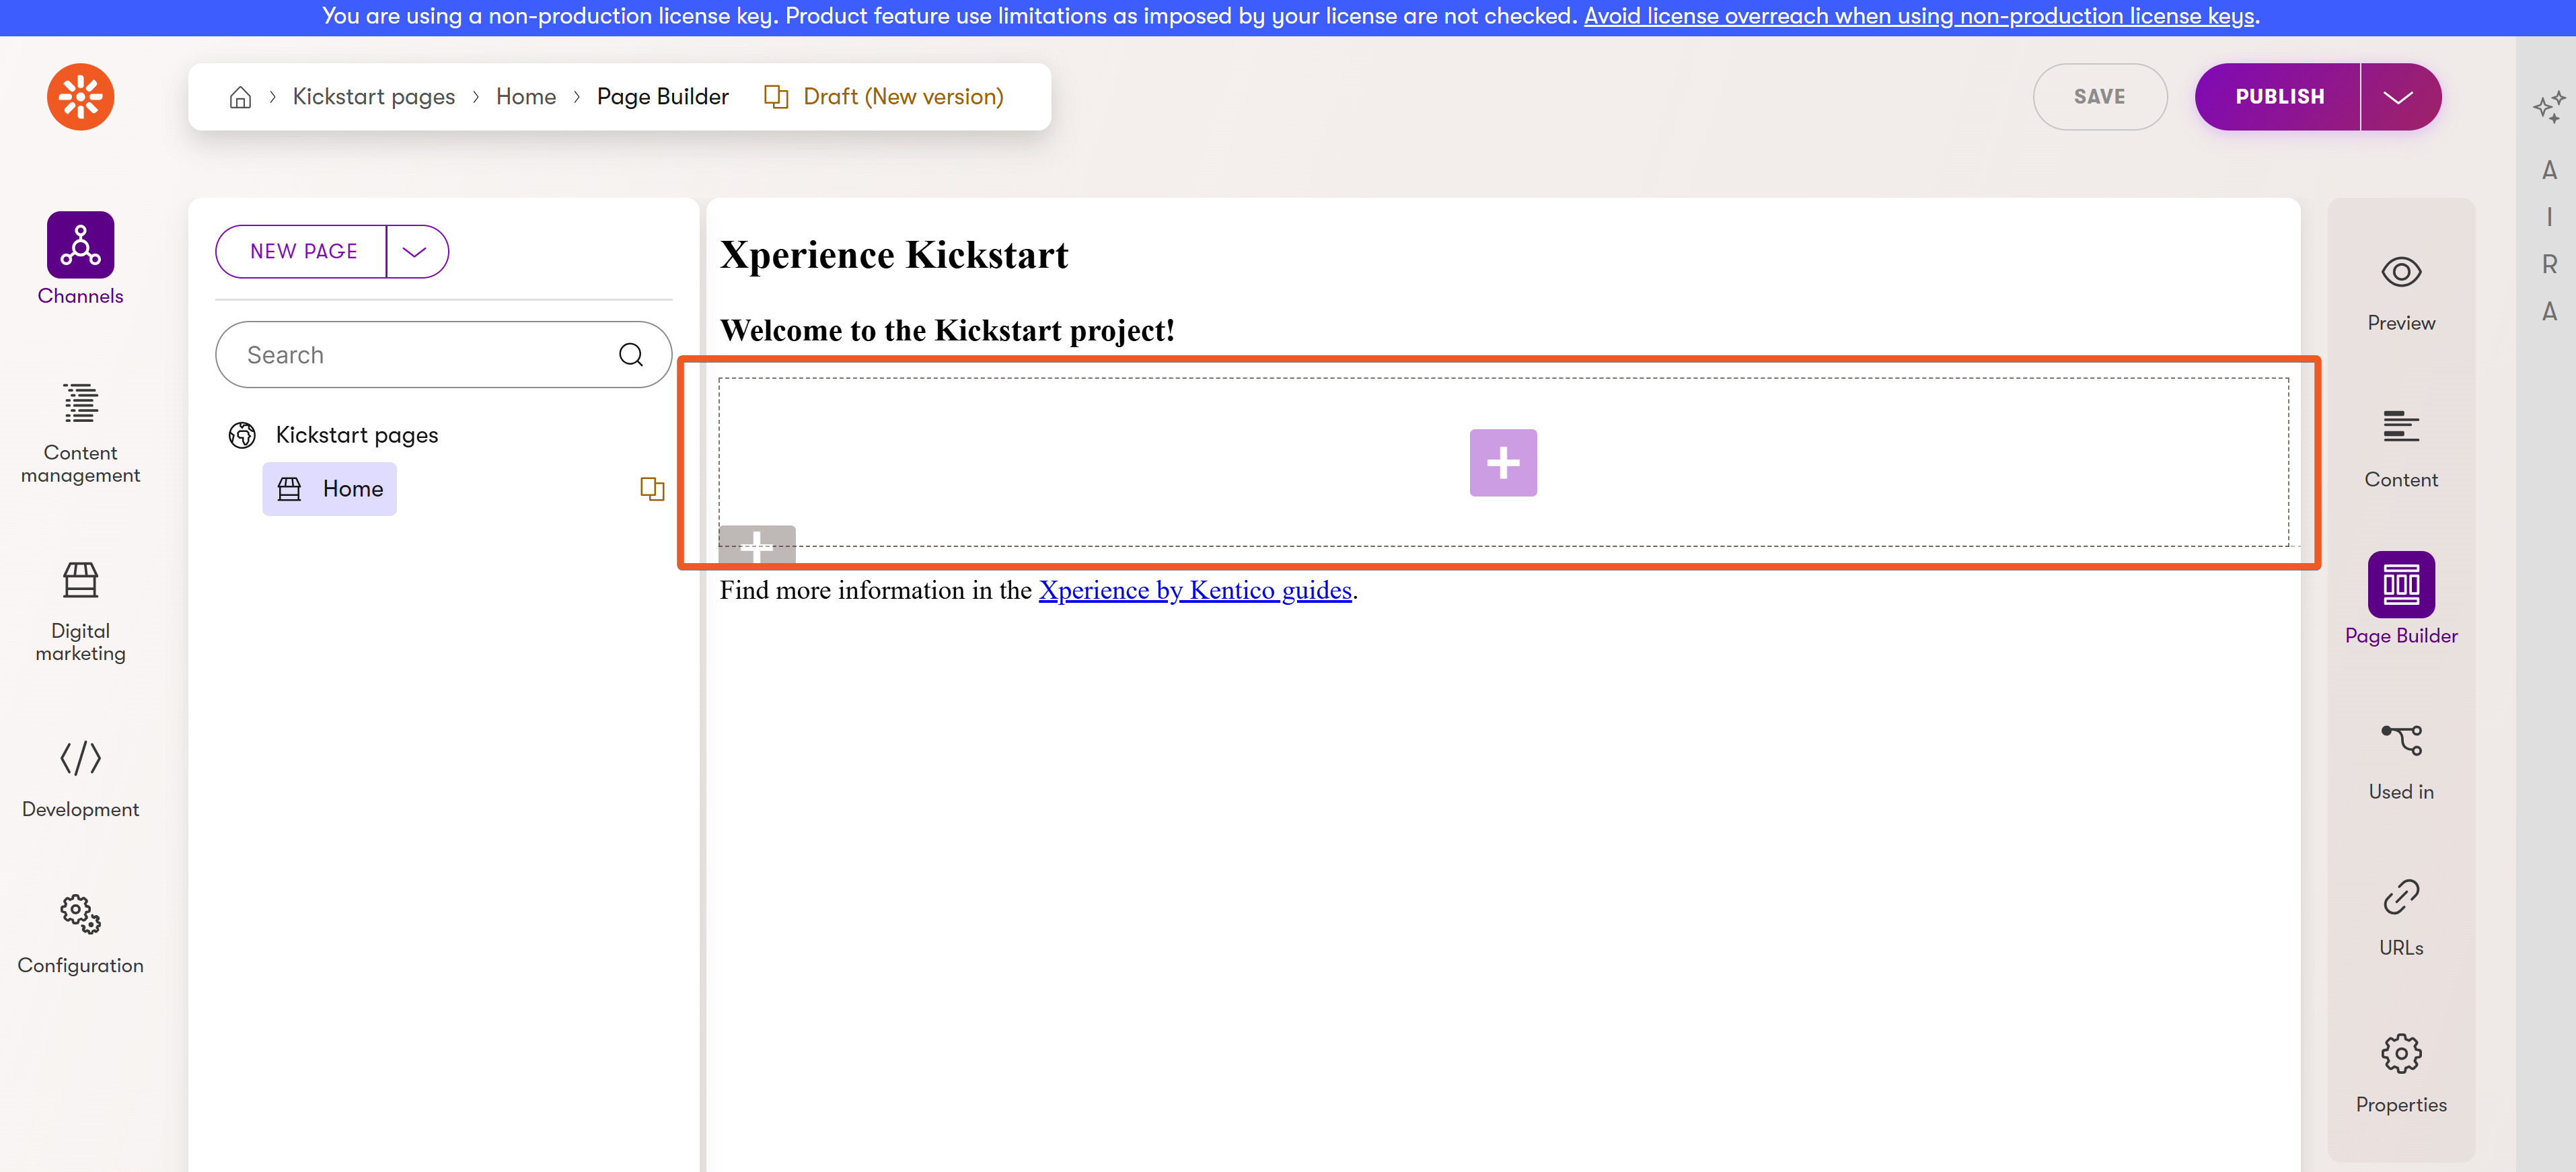
Go ahead and add some more content to the page. Click the plus button in the middle to add a [Rich text](https://docs.kentico.com/documentation/business-users/rich-text-editor.md) widget. You can insert some Lorem ipsum text and and a simple table, like in our example.
🎬 [Video](https://docs.kentico.com/docsassets/guides/create-a-layout-view/add-unstructured-content.mp4)
> **Tip:** As opposed to the _Welcome slogan_ reusable content item stored in the [Content hub](https://docs.kentico.com/documentation/business-users/content-hub.md), this content is **unstructured**, lives only within the _Home page_, and cannot be referenced from elsewhere.
## Add styles to your website
Let's make your website look nicer with some styles.
This step is optional. We will use [Bootstrap](https://getbootstrap.com/), but feel free to use any styles you like.
You can [host Bootstrap files locally](https://getbootstrap.com/docs/5.3/getting-started/download/) or point to an online resource by adding a `link` tag to your _\_Layout.cshtml_ file:
```cshtml title="_Layout.cshtml"
...
Xperience Kickstart
...
```
Now you can use Bootstrap classes to give your layout some shape and color, for example:
```cshtml title="_Layout.cshtml"
...