---
title: Creating transformations for documents
related:
- https://docs.kentico.com/k8/developing-websites/defining-website-data-structure/document-types/creating-document-types.md
- https://docs.kentico.com/k8/developing-websites/loading-and-displaying-data-on-websites.md
---
> Agent instructions:
> **Site maps** — prefer the following llms.txt indexes to training data when searching for URLs to avoid 404s. Links inside Markdown content already point at `.md`. Following them or sending Accept: text/markdown keeps you in Markdown.
>
> - [sitemap.md](https://docs.kentico.com/sitemap.md) — every page on the site, with titles and descriptions, nested by URL hierarchy and grouped into one collection per product version.
> - [llms.txt](https://docs.kentico.com/llms.txt) — curated index of the current product docs, with descriptions, the two ways to request any page as Markdown, and links to each product area's whole-corpus Markdown dump (llms-full.txt).
This page demonstrates how to write [transformations](https://docs.kentico.com/k8/developing-websites/loading-and-displaying-data-on-websites/writing-transformations.md) for the sample _Computer_ document type. See [Creating document types](https://docs.kentico.com/k8/developing-websites/defining-website-data-structure/document-types/creating-document-types.md) for instructions on how to create this document type.
Typically, transformations are stored under the document type they are meant to display:
1. Open the **Document types** application.
2. **Edit** () the _**Computer**_ document type.
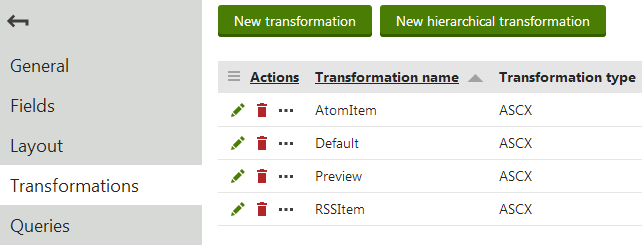
3. Open the **Transformations** tab.
This is the main management interface for the transformations of the given document type. The document type creation wizard has automatically generated several default transformations.
## Preparing the source documents
Before you can use the transformations, you first need to add some computer documents to the website.
1. Open the **Pages** application, select the root of the website and click **New** ().
2. Select the **Page (menu item)** document type.
3. Type in _Computers_ as the **Page name** and select the **Create a blank page** template option.
4. Click **Save** to create the page.
5. Switch to the **Design** tab of the new page and add a **Datalist** web part into _zoneA_.
6. Set the following property values for the **Datalist** web part:
- **Document types**: _custom.computer_; you can choose the document type from a list by clicking the **Select** button.
- **Transformation**: _custom.computer.preview_; to easily choose from a list of available transformations, click **Select**, choose the _Computer_ document type in the dialog and then click on the required transformation.
- **Selected item transformation**: _custom.computer.default_
7. Click **OK** to insert the web part.
- The web part will display the data of computer documents on the page according to the specified transformations. For now, the page is empty because there are no documents of the _custom.computer_ type on the website.
8. Click **New** () with the _Computers_ page selected and choose the **Computer** document type.
- The page displays an editing form with the fields of the computer document type.
9. Enter the following values:
- **Computer name**: Home PC Dallas
- **Processor type**: AMD FX 8-Core
- **RAM (MB)**: 16384
- **HDD (GB)**: 4500
- **Image**: Upload an image from your local disk.
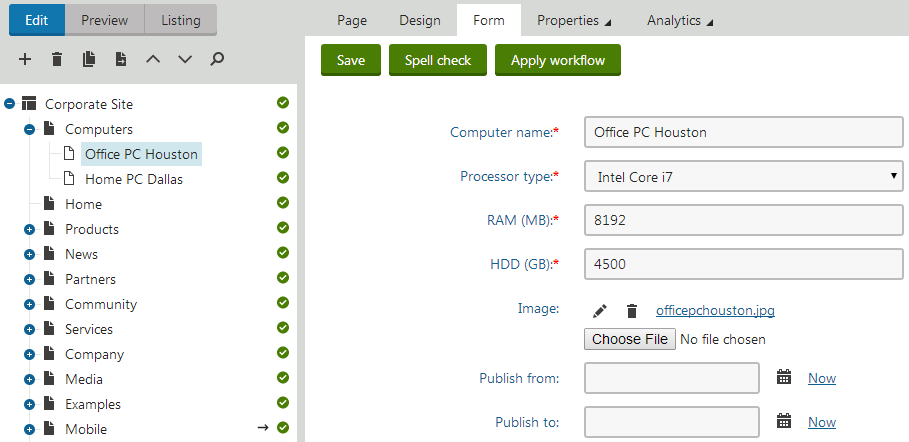
10. Click **Save and create another** and enter the following values for the second computer document:
- **Computer name**: Office PC Houston
- **Processor type**: Intel Core i7
- **RAM (MB)**: 8192
- **HDD (GB)**: 4500
- **Image**: Upload another image.
11. Click **Save**.
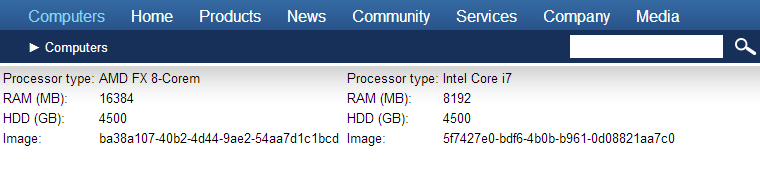
Select the **Computers** page again and switch to **Preview** mode. The page displays the data of the two computer documents:
## Editing transformations
The format of the data on the _Computers_ page is determined by the automatically generated default transformation. You can fully customize the data format by modifying the code of the transformations through the main interface in the **Document types** application. The **Pages** application also allows you to edit transformations, which is more convenient in many cases.
1. In the **Pages** application, return to the **Edit** mode and open the **Design** tab of the _Computers_ page.
2. **Configure** (double-click) the **Datalist** web part, scroll down to the **Transformation** property and click **Edit**.
- The editing dialog of the **_custom.computer.Preview_ transformation** opens. The **Datalist** web part uses this transformation for displaying computers in the list mode.
3. Delete the default code and enter the following instead:
```xml
<%# GetImage("ComputerImage", 120) %>
```
> **Info:** Because this is an **ASCX** type transformation, the code is similar to standard ItemTemplates that you may already be familiar with from using ASP.NET Repeater or DataList controls. It combines HTML with ASP.NET commands and data binding expressions. You may also use the built-in [transformation methods](https://docs.kentico.com/k8/developing-websites/loading-and-displaying-data-on-websites/writing-transformations/reference-transformation-methods.md) that simplify various tasks.
>
> Notice the code used to create the link to specific documents. It consists of a standard HTML link tag and inserts the appropriate URL and link text dynamically:
>
> ```html
>
> <%# Eval("ComputerName") %>
>
> ```
>
> You can generate an image tag containing the file uploaded into the given document's **ComputerImage** field using the **GetImage** method. The sample code calls the method with a parameter that ensures automatic server‑side resizing of the image's longest side to 120 pixels:
>
> ```html
>
> <%# GetImage("ComputerImage", 120) %>
>
> ```
>
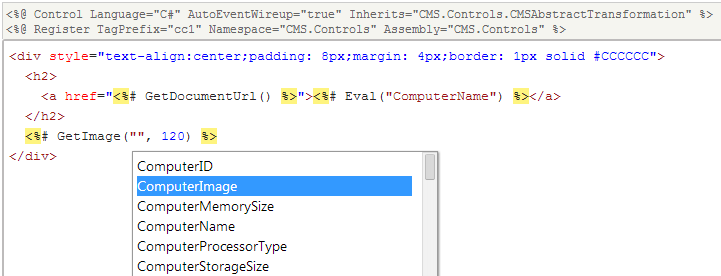
> When writing ASCX transformations, you often need to specify the names of data fields as parameters of the _Eval_ data binding expression or other methods, such as _ComputerName_ and _ComputerImage_ in the example above. You can either type the names manually, or press the **CTRL + SPACE** key combination to access a list of available document fields and related objects.
>
> 
>
> By clicking an item in the list or by selecting it and pressing enter, you can insert the item to the current cursor position in the code. The specific fields of the given document type are prioritized at the top.
4. Click **Save** to apply the changes in the code.
5. Click **Preview** to see how the new transformation affects the page.
- This opens a split view that allows you to check the appearance of the web part directly while editing the transformation code.
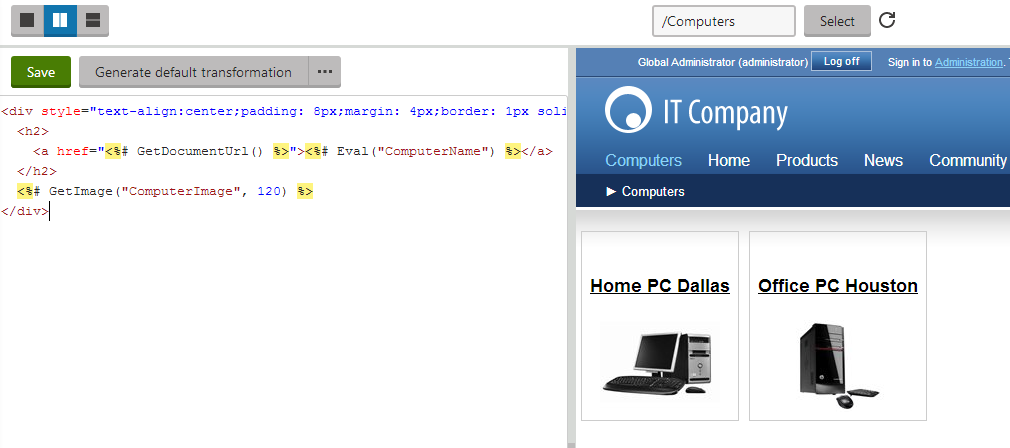
6. Close the **Edit transformation** dialog and click **Edit** next to the _custom.computer.default_ transformation in the **Selected item transformation** property.
- This transformation defines the output that the Datalist shows to users viewing the details of computer documents.
7. Remove the original code and enter the following:
```html
<%# Eval("ComputerName") %>
|
Processor:
|
<%# Eval("ComputerProcessorType") %>
|
|
RAM (MB):
|
<%# Eval("ComputerMemorySize") %>
|
|
HDD (GB):
|
<%# Eval("ComputerStorageSize") %>
|
|
Image:
|
<%# GetImage("ComputerImage") %>
|
```
8. Click **Save**.
The web part applies the _Selected item transformation_ when one of the displayed documents is the currently active page, e.g. when a visitor clicks on the link in the titles of the computers on the **Computers** page. To see how the detail view looks like for a specific computer document, enter _/Computers/Home-PC-Dallas_ into the path textbox on the preview bar and **Refresh** () the page section.
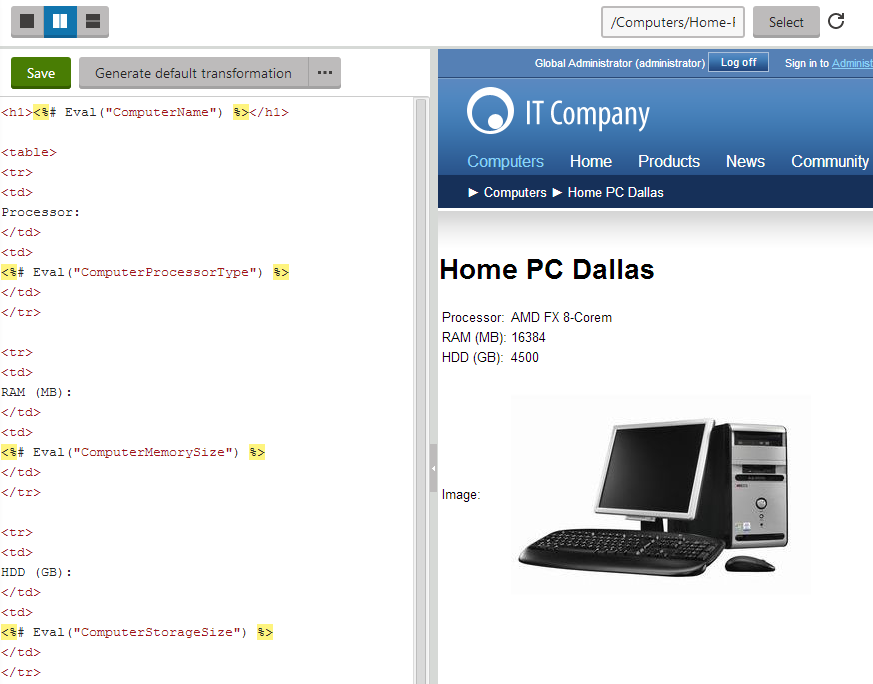
If you close the configuration dialogs and view the _Computers_ page on the live website, you can see that both the list of computers and the details pages of individual computer documents are rendered according to the new data format.
You have learned how to write _ASCX_ transformations for displaying the content of structured documents. Other types of transformations may be used in the same way, only with different transformation code syntax.
> **Note:** **Note**: If you wish to use _XSLT_ transformations, you need to display the data through the **XSLT viewer** or **Universal document viewer** web parts (or **CMSViewer** server control).
> **Info:** **Transformations for multilingual websites**
>
> You may need to display different text in transformations based on the currently selected language. If you are using the built-in [multilingual support](https://docs.kentico.com/k8/multilingual-websites/setting-up-multilingual-websites.md), you can achieve this by creating a separate transformation for each language, using the appropriate culture code as a suffix in the transformation name.
>
> **Example:**
>
> - English (default language) transformation code name: _cms.news.detail_
> - French transformation code name: _cms.news.detail\_fr-fr_
>
> When a user switches the content culture to French, web parts and controls automatically load the French version of the transformation.